headlights VOLVO S80 2007 User Guide
[x] Cancel search | Manufacturer: VOLVO, Model Year: 2007, Model line: S80, Model: VOLVO S80 2007Pages: 251, PDF Size: 5.7 MB
Page 154 of 251
156 04 Comfort and driving pleasure
Blind Spot Information System (option)
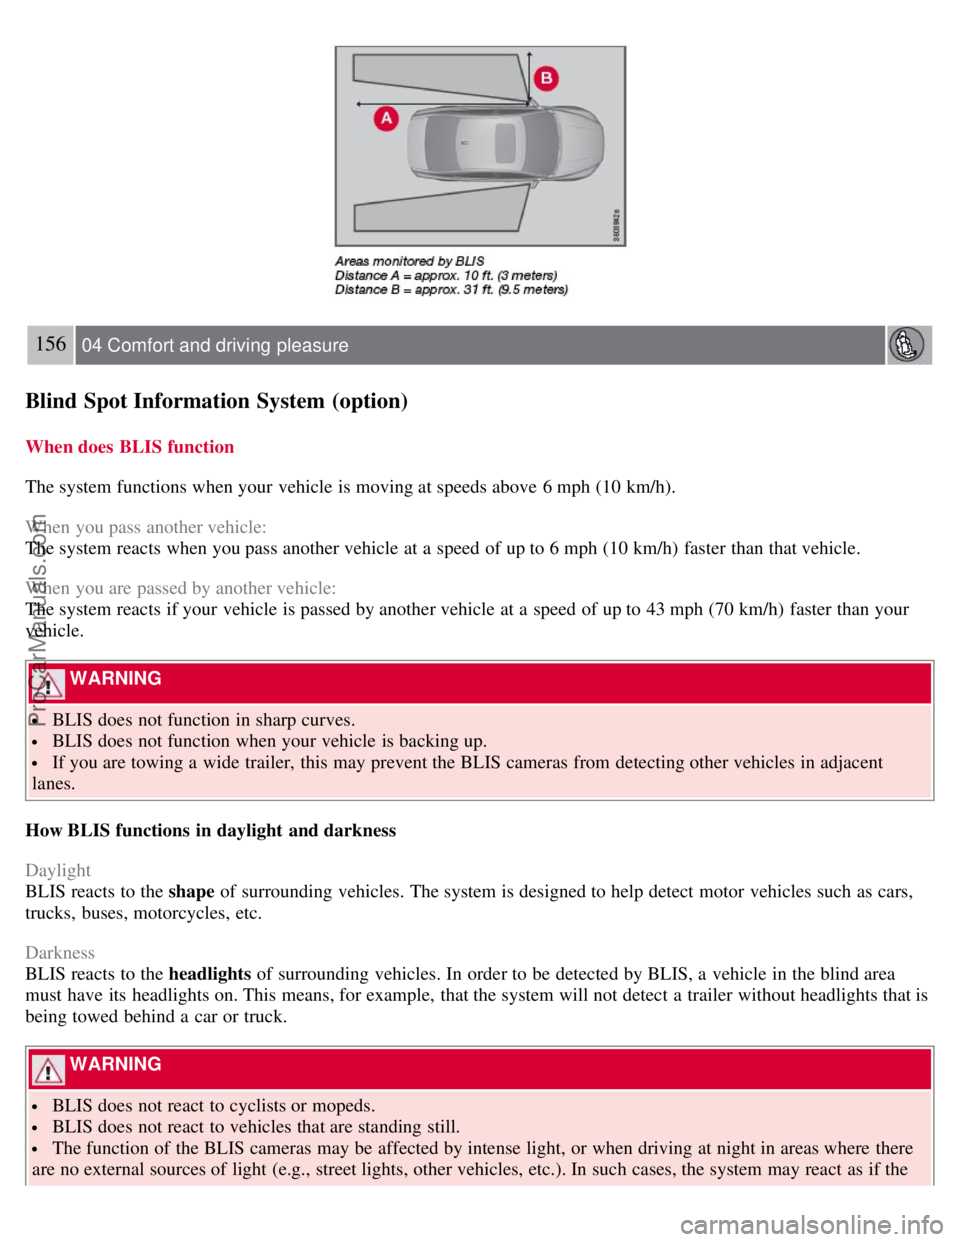
When does BLIS function
The system functions when your vehicle is moving at speeds above 6 mph (10 km/h).
When you pass another vehicle:
The system reacts when you pass another vehicle at a speed of up to 6 mph (10 km/h) faster than that vehicle.
When you are passed by another vehicle:
The system reacts if your vehicle is passed by another vehicle at a speed of up to 43 mph (70 km/h) faster than your
vehicle.
WARNING
BLIS does not function in sharp curves.
BLIS does not function when your vehicle is backing up.
If you are towing a wide trailer, this may prevent the BLIS cameras from detecting other vehicles in adjacent
lanes.
How BLIS functions in daylight and darkness
Daylight
BLIS reacts to the shape of surrounding vehicles. The system is designed to help detect motor vehicles such as cars,
trucks, buses, motorcycles, etc.
Darkness
BLIS reacts to the headlights of surrounding vehicles. In order to be detected by BLIS, a vehicle in the blind area
must have its headlights on. This means, for example, that the system will not detect a trailer without headlights that is
being towed behind a car or truck.
WARNING
BLIS does not react to cyclists or mopeds.
BLIS does not react to vehicles that are standing still.
The function of the BLIS cameras may be affected by intense light, or when driving at night in areas where there
are no external sources of light (e.g., street lights, other vehicles, etc.). In such cases, the system may react as if the
ProCarManuals.com
Page 184 of 251
Each time the car is refueled:
Check the engine oil level.
Clean the windshield, windshield wipers, headlights, and tail lights.
Monthly:
Check cold tire pressure in all tires. Inspect the tires for wear.
Check that engine coolant and other fluid levels are between the indicated "min" and "max" markings.
Clean interior glass surfaces with a glass cleaner and soft paper towels.
Wipe driver information displays with a soft cloth.
Visually inspect battery terminals for corrosion. Corrosion may indicate a loose terminal connector, or a battery near
the end of its useful service life. Consult your Volvo retailer for additional information.
As needed:
Wash the car, including the undercarriage, to reduce wear that can be caused by a buildup of dirt, and corrosion that
can be caused by salt residues.
Clean leaves and twigs from air intake vents at the base of the windshield, and from other places where they may
collect.
NOTE
Complete service information for qualified technicians is available online for purchase or subscription at
www.volvotechinfo.com
.
192 06 Maintenance and specifications
Maintaining your car
Emission inspection readiness
What is an Onboard Diagnostic System (OBD II)?
OBD II is part of your vehicle's computerized engine management system. It stores diagnostic information about your
vehicle's emission controls. It can light the Check Engine light (MIL) if it detects an emission control "fault." A "fault"
is a component or system that is not performing within an expected range. A fault may be permanent or temporary.
OBD II will store a message about any fault.
How do states use OBD II for emission inspections?
Many states connect a computer directly to a vehicle's OBD II system. The inspector can then read "faults." In some
states, this type of inspection has replaced the tailpipe emission test.
How can my vehicle fail OBD II emission inspection?
Your vehicle can fail OBD II emission inspection for any of the following reasons.
If your Check Engine (MIL) light is lit, your vehicle may fail inspection.
If your vehicle's Check Engine light was lit, but went out without any action on your part, OBD II will still have a
recorded fault. Your vehicle may pass or fail, depending on the inspection practices in your area.
If you had recent service that required disconnecting the battery, OBD II diagnostic information may be incomplete
and "not ready" for inspection. A vehicle that is not ready may fail inspection.
How can I prepare for my next OBD II emission inspection?
ProCarManuals.com
Page 190 of 251
Check the level frequently. The fluid does not require changing. The fluid level must be between the MIN and MAX
marks. For capacities and recommended fluid grade, see page 248.
WARNING
If a problem should occur in the power steering system or if the vehicle has no electrical current and must be towed,
it is still possible to steer the vehicle. However, keep in mind that greater effort will be required to turn the steering
wheel.
CAUTION
Keep the area around the power steering fluid reservoir clean when checking.
198 06 Maintenance and specifications
Replacing bulbs
Introduction
All bulb specifications are listed on page 204
. The following bulbs should only be replaced by a trained and qualified
Volvo service technician:
Dome lighting
Reading lights
Glove compartment lighting
Turn signals in the door mirror
Approach lighting in the door mirror
Brake lights
Active Bi -Xenon and LED bulbs
WARNING
Active Bi -Xenon headlights (option) - due to the high voltage used by these headlights, these bulbs should only be
replaced by a trained and qualified Volvo service technician.
Turn off the lights and remove the remote key from the ignition before changing any bulbs.
Headlight housing
ProCarManuals.com
Page 192 of 251
6. Replace the defective bulb(s), see page 204.
Reinserting the headlight housing
1. Plug in the connector until it clicks into place.
2. Reinstall the headlight housing and locking pins. Check that they are correctly inserted. The headlight housing must
be properly inserted and secured in place before the lighting is switched on or the remote key is inserted into the
ignition slot.
3. Check that the lights function properly.
Removing the cover to access the headlights and parking lights
NOTE
Before starting to replace a bulb, see page 198
.
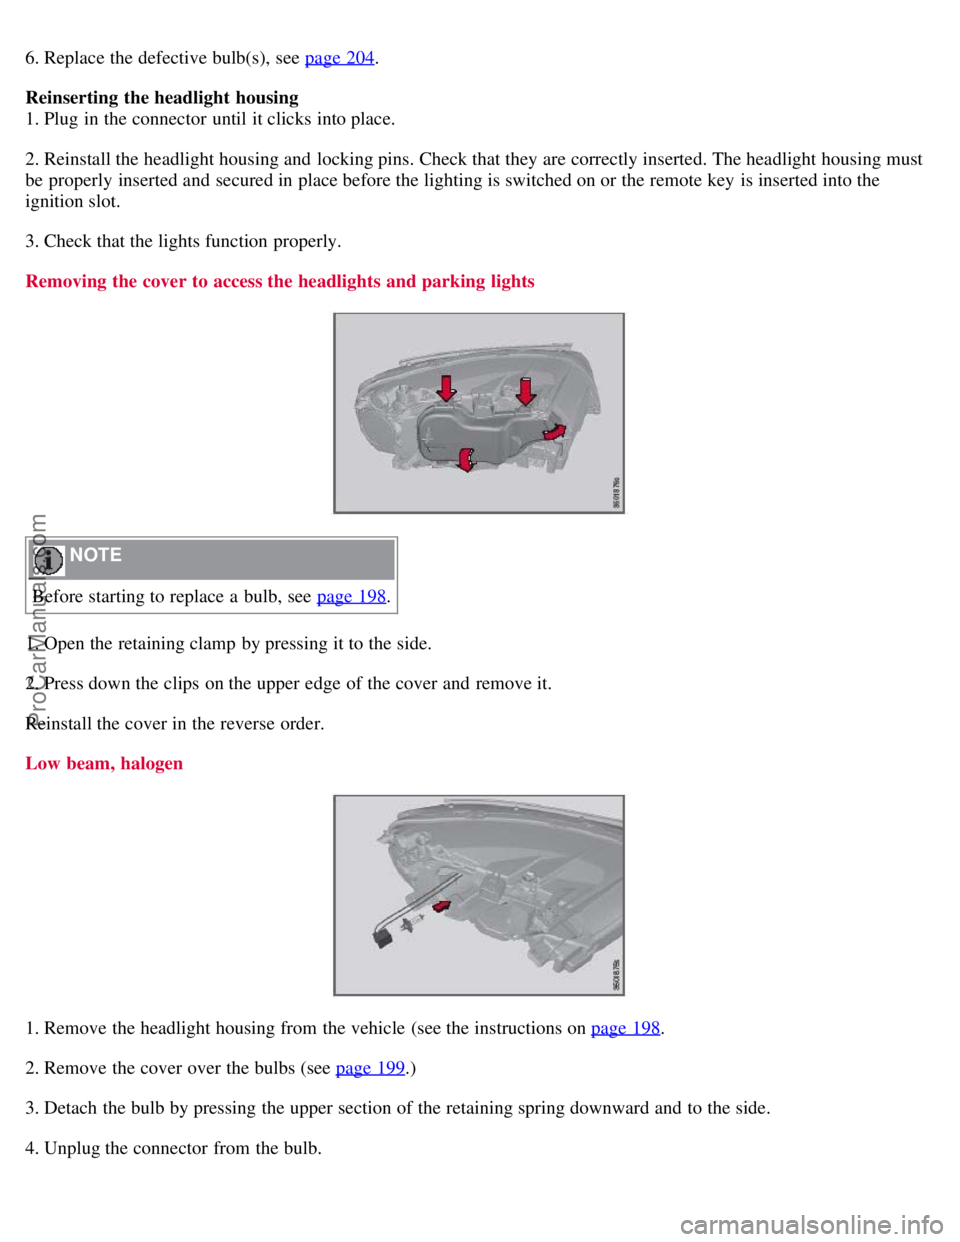
1. Open the retaining clamp by pressing it to the side.
2. Press down the clips on the upper edge of the cover and remove it.
Reinstall the cover in the reverse order.
Low beam, halogen
1. Remove the headlight housing from the vehicle (see the instructions on page 198.
2. Remove the cover over the bulbs (see page 199
.)
3. Detach the bulb by pressing the upper section of the retaining spring downward and to the side.
4. Unplug the connector from the bulb.
ProCarManuals.com
Page 230 of 251
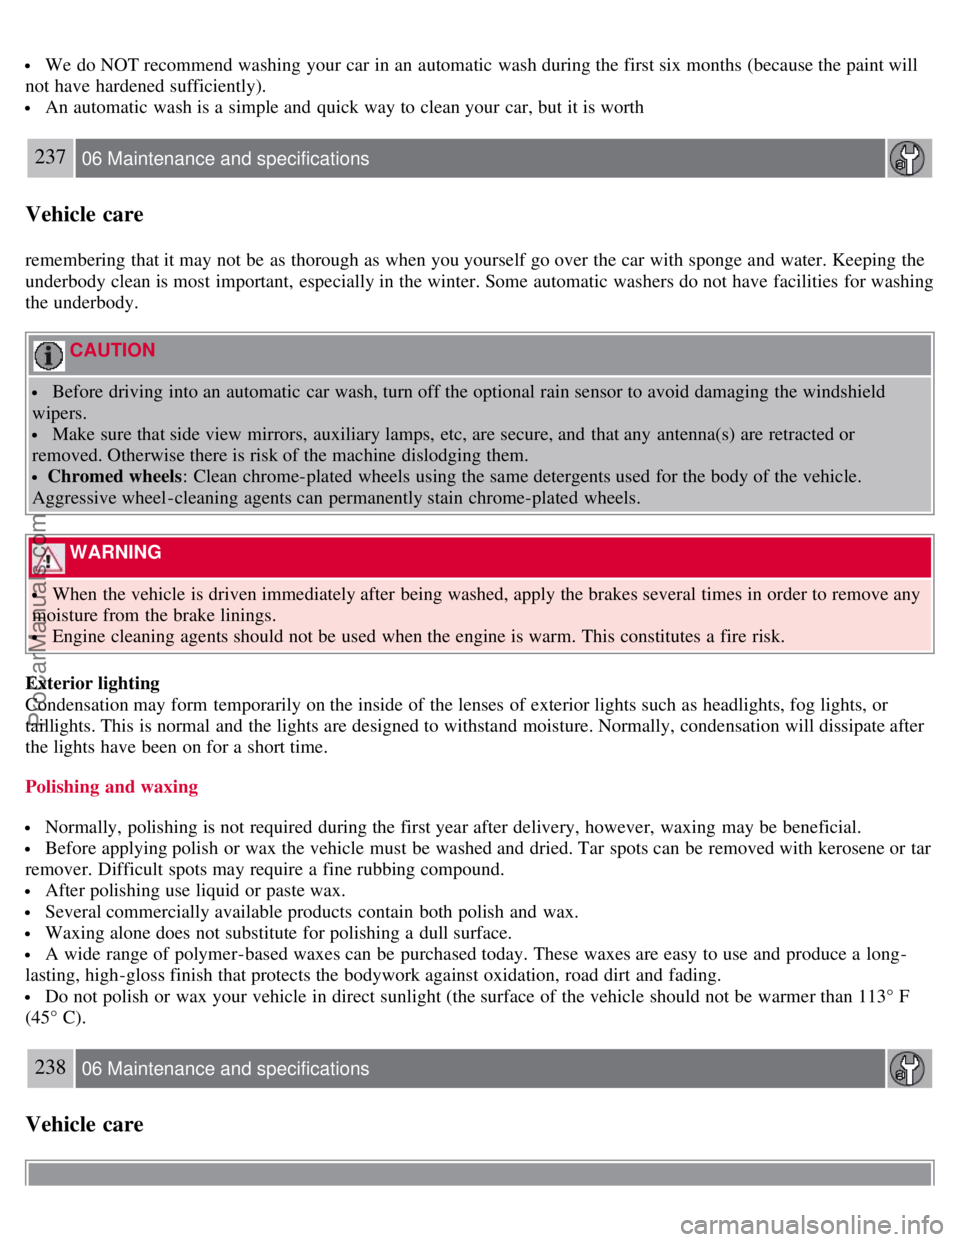
We do NOT recommend washing your car in an automatic wash during the first six months (because the paint will
not have hardened sufficiently).
An automatic wash is a simple and quick way to clean your car, but it is worth
237 06 Maintenance and specifications
Vehicle care
remembering that it may not be as thorough as when you yourself go over the car with sponge and water. Keeping the
underbody clean is most important, especially in the winter. Some automatic washers do not have facilities for washing
the underbody.
CAUTION
Before driving into an automatic car wash, turn off the optional rain sensor to avoid damaging the windshield
wipers.
Make sure that side view mirrors, auxiliary lamps, etc, are secure, and that any antenna(s) are retracted or
removed. Otherwise there is risk of the machine dislodging them.
Chromed wheels : Clean chrome-plated wheels using the same detergents used for the body of the vehicle.
Aggressive wheel-cleaning agents can permanently stain chrome-plated wheels.
WARNING
When the vehicle is driven immediately after being washed, apply the brakes several times in order to remove any
moisture from the brake linings.
Engine cleaning agents should not be used when the engine is warm. This constitutes a fire risk.
Exterior lighting
Condensation may form temporarily on the inside of the lenses of exterior lights such as headlights, fog lights, or
taillights. This is normal and the lights are designed to withstand moisture. Normally, condensation will dissipate after
the lights have been on for a short time.
Polishing and waxing
Normally, polishing is not required during the first year after delivery, however, waxing may be beneficial.
Before applying polish or wax the vehicle must be washed and dried. Tar spots can be removed with kerosene or tar
remover. Difficult spots may require a fine rubbing compound.
After polishing use liquid or paste wax.
Several commercially available products contain both polish and wax.
Waxing alone does not substitute for polishing a dull surface.
A wide range of polymer-based waxes can be purchased today. These waxes are easy to use and produce a long-
lasting, high-gloss finish that protects the bodywork against oxidation, road dirt and fading.
Do not polish or wax your vehicle in direct sunlight (the surface of the vehicle should not be warmer than 113° F
(45° C).
238 06 Maintenance and specifications
Vehicle care
ProCarManuals.com
Page 240 of 251
2 0 0 7
VOLVO S80
252 Index
Numerics
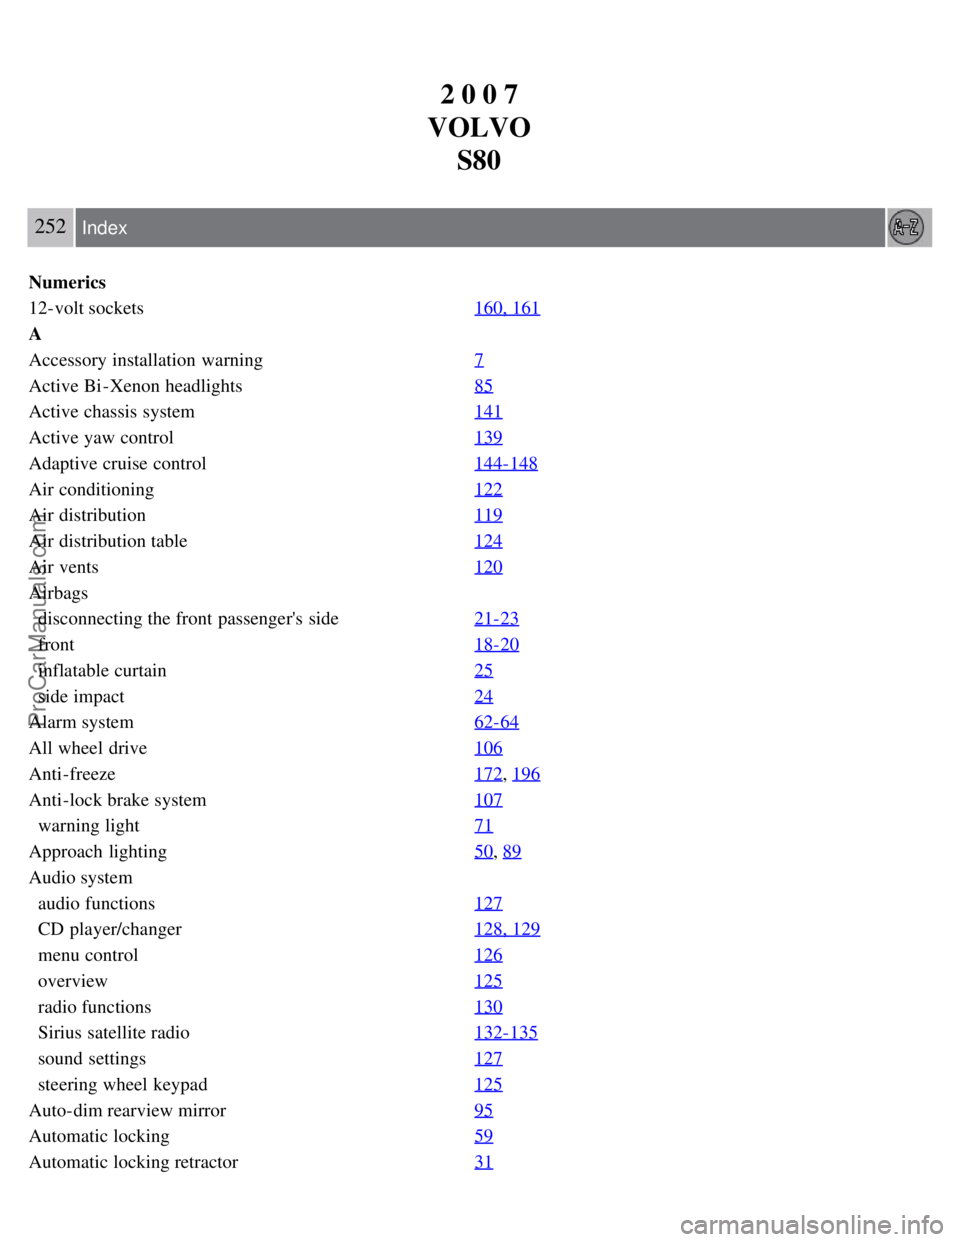
12-volt sockets 160, 161
A
Accessory installation warning7
Active Bi -Xenon headlights85
Active chassis system141
Active yaw control139
Adaptive cruise control144-148
Air conditioning122
Air distribution119
Air distribution table124
Air vents120
Airbags
disconnecting the front passenger's side21-23
front18-20
inflatable curtain25
side impact24
Alarm system62-64
All wheel drive106
Anti-freeze172, 196
Anti-lock brake system107
warning light71
Approach lighting50, 89
Audio system
audio functions127
CD player/changer128, 129
menu control126
overview125
radio functions130
Sirius satellite radio132-135
sound settings127
steering wheel keypad125
Auto-dim rearview mirror95
Automatic locking59
Automatic locking retractor31
ProCarManuals.com
Page 241 of 251
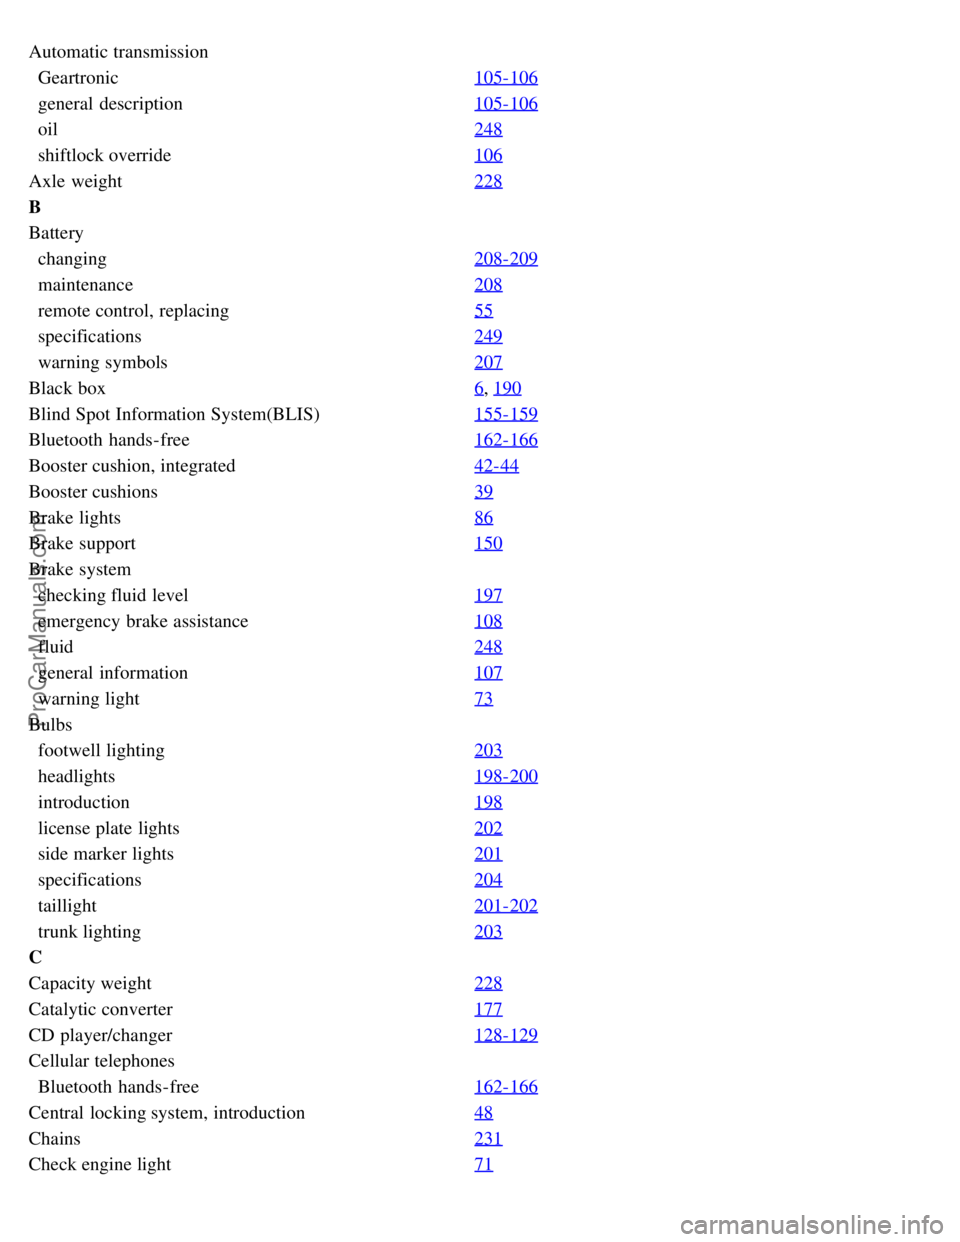
Automatic transmission
Geartronic105-106
general description105-106
oil248
shiftlock override106
Axle weight228
B
Battery
changing208-209
maintenance208
remote control, replacing55
specifications249
warning symbols207
Black box6, 190
Blind Spot Information System(BLIS)155-159
Bluetooth hands-free162-166
Booster cushion, integrated42-44
Booster cushions39
Brake lights86
Brake support150
Brake system
checking fluid level197
emergency brake assistance108
fluid248
general information107
warning light73
Bulbs
footwell lighting203
headlights198-200
introduction198
license plate lights202
side marker lights201
specifications204
taillight201-202
trunk lighting203
C
Capacity weight228
Catalytic converter177
CD player/changer128-129
Cellular telephones
Bluetooth hands-free162-166
Central locking system, introduction48
Chains231
Check engine light71
ProCarManuals.com
Page 244 of 251
G
Gauges70
Geartronic automatic transmission105-106
General warnings7
Generator warning light73
Glossary of tire terminology227
Glove compartment159
locking60
Grocery bag holder180
Gross vehicle weight228
H
Hazard warning flashers87
Headlight washers91
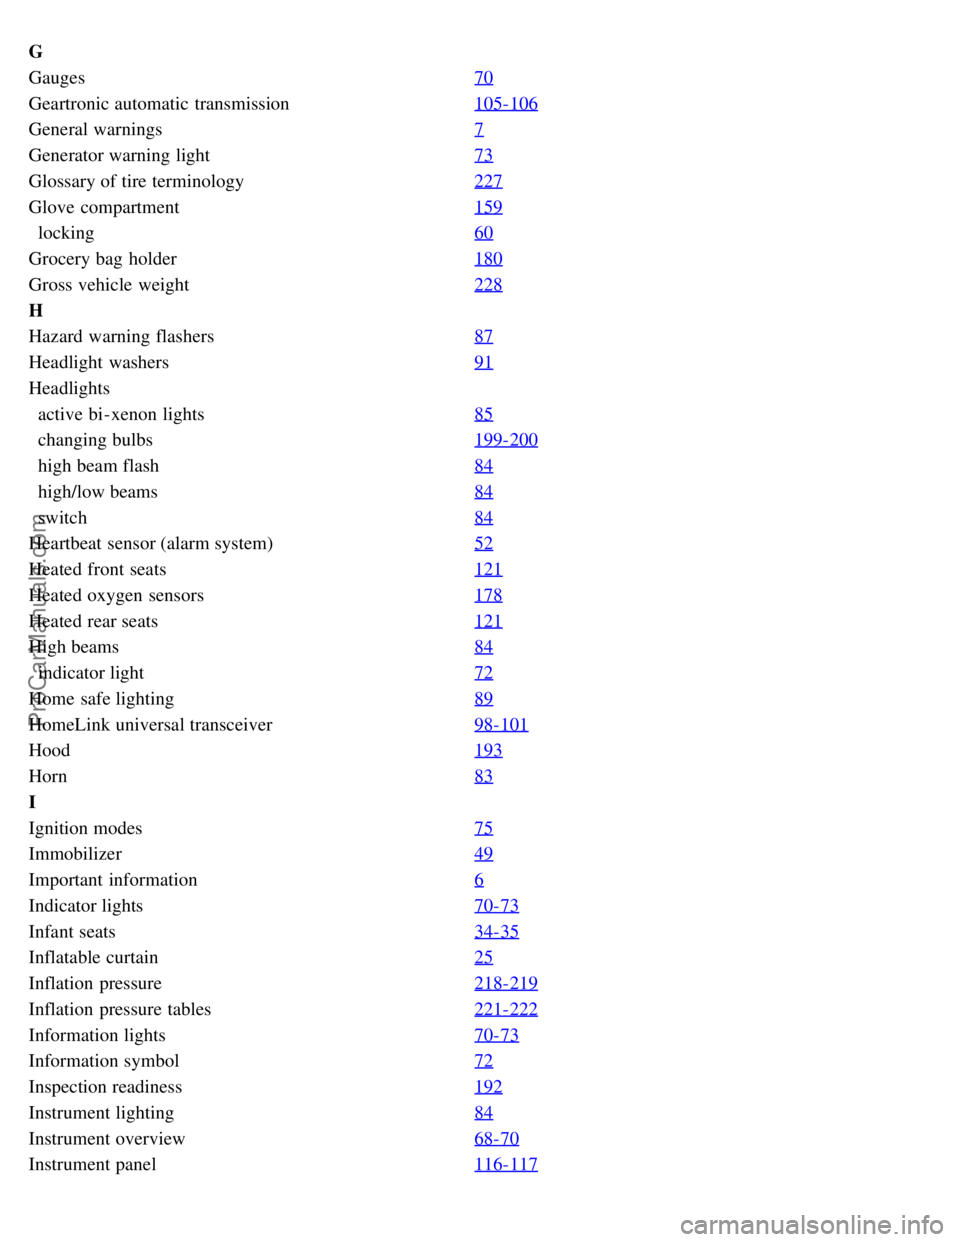
Headlights
active bi-xenon lights85
changing bulbs199-200
high beam flash84
high/low beams84
switch84
Heartbeat sensor (alarm system)52
Heated front seats121
Heated oxygen sensors178
Heated rear seats121
High beams84
indicator light72
Home safe lighting89
HomeLink universal transceiver98-101
Hood193
Horn83
I
Ignition modes75
Immobilizer49
Important information6
Indicator lights70-73
Infant seats34-35
Inflatable curtain25
Inflation pressure218-219
Inflation pressure tables221-222
Information lights70-73
Information symbol72
Inspection readiness192
Instrument lighting84
Instrument overview68-70
Instrument panel116-117
ProCarManuals.com