set clock VOLVO V4 2001 Owners Manual
[x] Cancel search | Manufacturer: VOLVO, Model Year: 2001, Model line: V4, Model: VOLVO V4 2001Pages: 87, PDF Size: 2.34 MB
Page 15 of 87

20Hood latch 52
21Steering wheel height adjustment 34
22Heating driver's seat 32
23AC on and off 36
24Trip Computer 27
25Cup holder 34
26Recirculation 36/37
27Cup holder 33
28Defroster 26
29not in use -
30 DSA 30
31Seat heater front passenger's seat 32
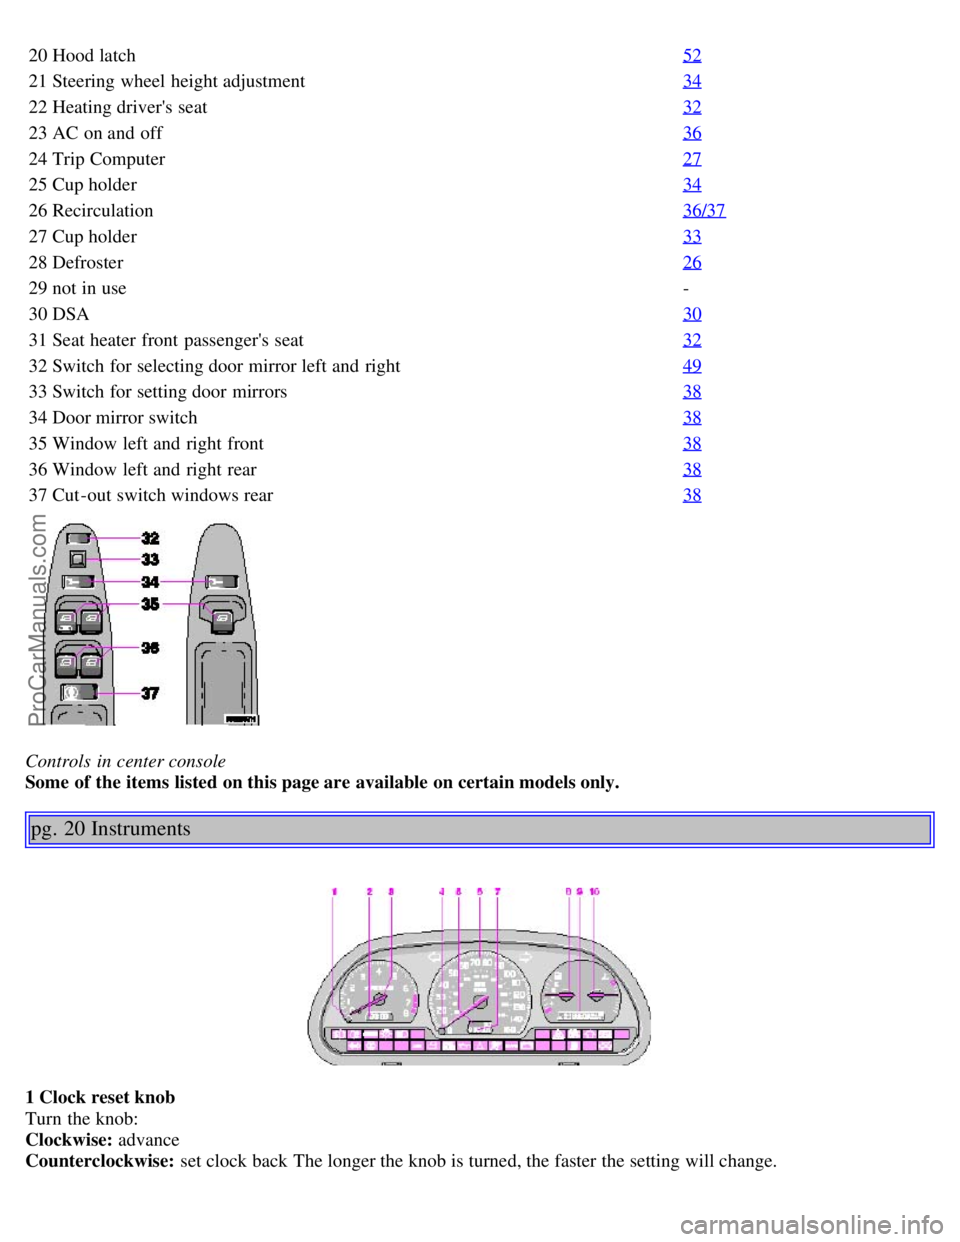
32Switch for selecting door mirror left and right 49
33Switch for setting door mirrors 38
34Door mirror switch 38
35Window left and right front 38
36Window left and right rear 38
37Cut -out switch windows rear 38
Controls in center console
Some of the items listed on this page are available on certain models only.
pg. 20 Instruments
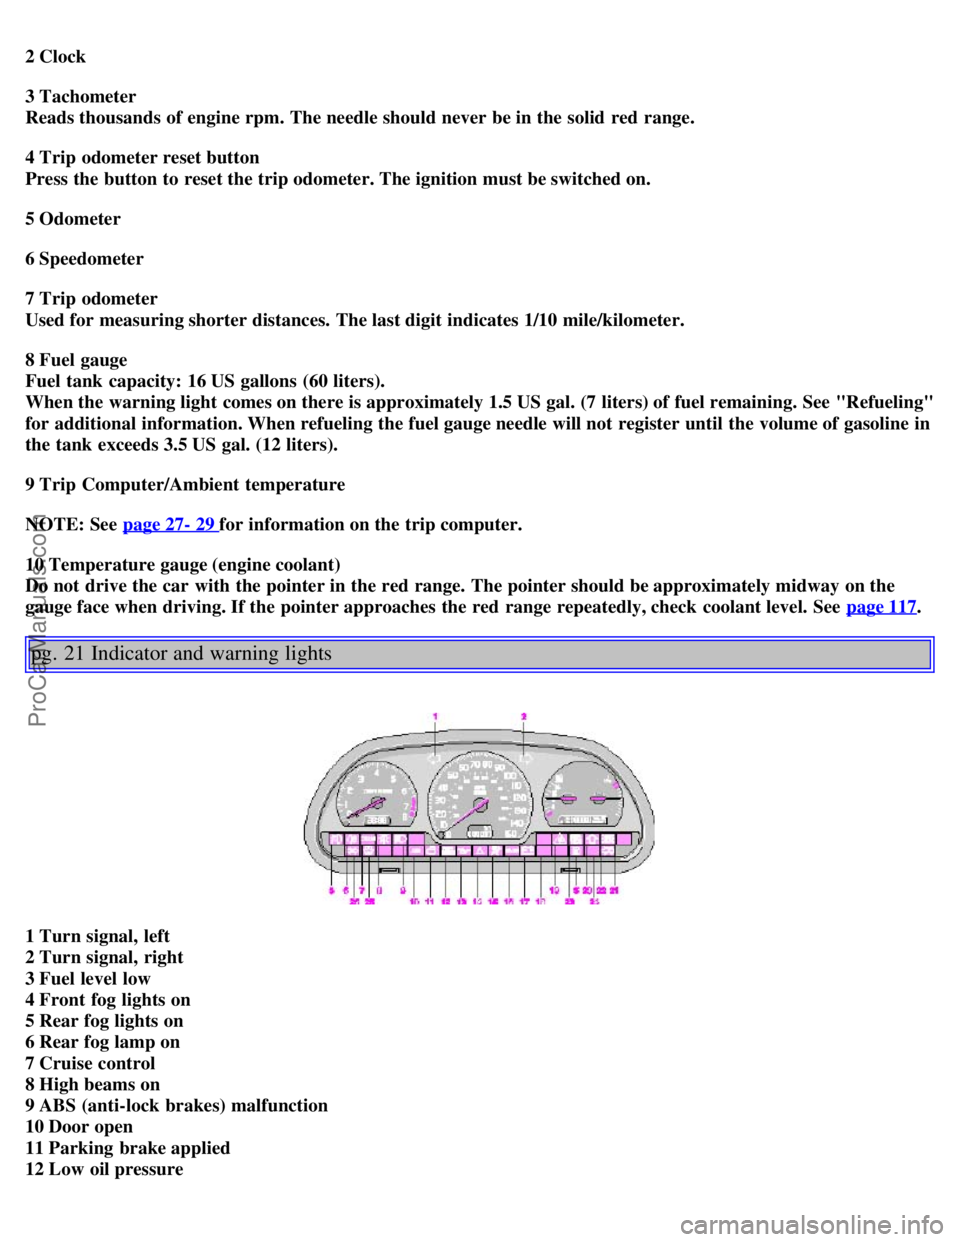
1 Clock reset knob
Turn the knob:
Clockwise: advance
Counterclockwise: set clock back The longer the knob is turned, the faster the setting will change.
ProCarManuals.com
Page 16 of 87

2 Clock
3 Tachometer
Reads thousands of engine rpm. The needle should never be in the solid red range.
4 Trip odometer reset button
Press the button to reset the trip odometer. The ignition must be switched on.
5 Odometer
6 Speedometer
7 Trip odometer
Used for measuring shorter distances. The last digit indicates 1/10 mile/kilometer.
8 Fuel gauge
Fuel tank capacity: 16 US gallons (60 liters).
When the warning light comes on there is approximately 1.5 US gal. (7 liters) of fuel remaining. See "Refueling"
for additional information. When refueling the fuel gauge needle will not register until the volume of gasoline in
the tank exceeds 3.5 US gal. (12 liters).
9 Trip Computer/Ambient temperature
NOTE: See page 27- 29
for information on the trip computer.
10 Temperature gauge (engine coolant)
Do not drive the car with the pointer in the red range. The pointer should be approximately midway on the
gauge face when driving. If the pointer approaches the red range repeatedly, check coolant level. See page 117
.
pg. 21 Indicator and warning lights
1 Turn signal, left
2 Turn signal, right
3 Fuel level low
4 Front fog lights on
5 Rear fog lights on
6 Rear fog lamp on
7 Cruise control
8 High beams on
9 ABS (anti-lock brakes) malfunction
10 Door open
11 Parking brake applied
12 Low oil pressure
ProCarManuals.com
Page 28 of 87

· LED flashes rapidly before the ignition is switched on - the alarm has been triggered
· LED flashes rapidly for 15 seconds after the ignition has been switched on - a fault has been detected in the alarm
system. Contact a Volvo retailer.
Automatic relock
If only the driver's door is unlocked with the remote control, the lock will automatically reengage (re-lock) and the
alarm will be set after 2 minutes unless the door has been opened.
Batteries
Each remote transmitter is powered by two three-volt batteries, type CR 2016. If the range of the transmitter is
noticeably reduced, this indicates that the battery is weak and should be replaced.
Replacement: Open the remote control by twisting a coin in the ring between front and back (leave the ring in place).
Replace the batteries. Reinstall the cover, making sure it is secured tightly.
CAUTION: Do not attempt to service or repair any components of the alarm system yourself. This should only be
done by an authorized Volvo retailer.
pg. 45 Trunk/Tailgate, Glove compartment
Opening/unlocking the trunk/tailgate
The trunk/tailgate locks are incorporated in the central locking system and are locked or unlocked when the driver's
door is locked/unlocked.
A - Remove key vertically : Trunk/tailgate remains locked (disconnected from the central locking system).
B - Turn key clockwise and remove: Trunk/tailgate are locked/unlocked with the central locking system).
C - Turn key counterclockwise: Insert key and open lock without using central locking system. The key cannot be
ProCarManuals.com
Page 75 of 87

Volume control
Turn knob clockwise to increase volume. Volume control is electronic and does not have an end stop.
Bass, Treble and Balance left-right
Press the "SOURCE" button to bring up Bass, Treble or Balance. Adjust using plus or minus buttons. The selected
function is shown in the display.
Radio Band selector
Turn the "SOURCE" knob to select FM or AM. The station and Band are displayed. You can also select cassette deck,
CD or CD changer, if connected, with this knob.
pg. 134 Audio system
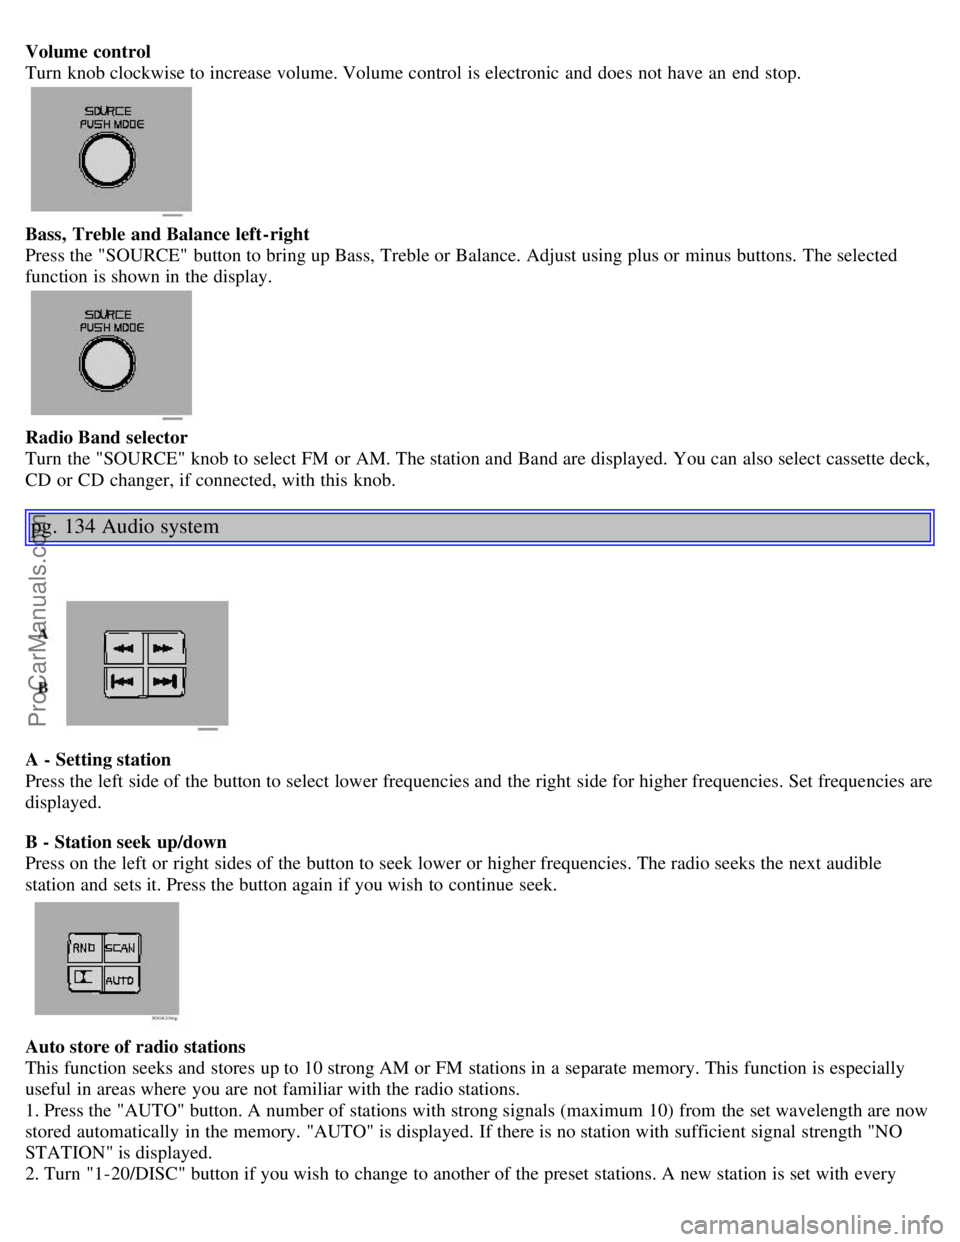
A - Setting station
Press the left side of the button to select lower frequencies and the right side for higher frequencies. Set frequencies are
displayed.
B - Station seek up/down
Press on the left or right sides of the button to seek lower or higher frequencies. The radio seeks the next audible
station and sets it. Press the button again if you wish to continue seek.
Auto store of radio stations
This function seeks and stores up to 10 strong AM or FM stations in a separate memory. This function is especially
useful in areas where you are not familiar with the radio stations.
1. Press the "AUTO" button. A number of stations with strong signals (maximum 10) from the set wavelength are now
stored automatically in the memory. "AUTO" is displayed. If there is no station with sufficient signal strength "NO
STATION" is displayed.
2. Turn "1-20/DISC" button if you wish to change to another of the preset stations. A new station is set with every
ProCarManuals.com