ECU VOLVO V4 2002 Owners Manual
[x] Cancel search | Manufacturer: VOLVO, Model Year: 2002, Model line: V4, Model: VOLVO V4 2002Pages: 88, PDF Size: 2.34 MB
Page 23 of 88

2 0 0 2
VOLVO
S40 & V40
Chapter 3 - Body and interior
pg. 39 Body and interior
Body and interior
The seats, sun roof, mirrors, etc. are described on the following pages. Keys
40
Remote keyless entry system41
Doors and locks42
Alarm43
Trunk/Tailgate/Glove compartment45
Opening the trunk from the inside (S40)46
Front seats47
Child safety locks49
Rear/side view mirrors/Vanity mirrors50
Interior lights, Sunroof51
Sunroof52
Hood/Luggage cover53
Storage compartments54
Folding rear seat55
Securing carge56
Cargo space/Trunk light, Spare tire, Jack57
Side cargo net, Cargo net58
Weight distribution, Handling, Roadholding, Roof rack59
pg. 40 Keys
ProCarManuals.com
Page 28 of 88

LED alarm status signals
The status of the alarm system is indicated by the red LED at the right side of the dash:
· LED off - the alarm is not armed (set)
· LED flashes once per second - the alarm is armed (set)
· LED flashes rapidly before the ignition is switched on - the alarm has been triggered
· LED flashes rapidly for 15 seconds after the ignition has been switched on - a fault has been detected in the alarm
system. Contact a Volvo retailer.
Automatic relock
If only the driver's door is unlocked with the remote control, the lock will automatically reengage (re-lock) and the
alarm will be set after 2 minutes unless the door has been opened.
Batteries
Each remote transmitter is powered by two three-volt batteries, type CR 2016. If the range of the transmitter is
noticeably reduced, this indicates that the battery is weak and should be replaced.
Replacement: Open the remote control by twisting a coin in the ring between front and back (leave the ring in place).
Replace the batteries. Reinstall the cover, making sure it is secured tightly.
CAUTION: Do not attempt to service or repair any components of the alarm system yourself. This should only be
done by an authorized Volvo retailer.
pg. 45 Trunk/Tailgate, Glove compartment
Opening/unlocking the trunk/tailgate
ProCarManuals.com
Page 45 of 88

The screwdriver is combined with the socket wrench. The tools can be alternated by pulling the shaft out of the handle
and reinserting the opposite end of the shaft into the handle.
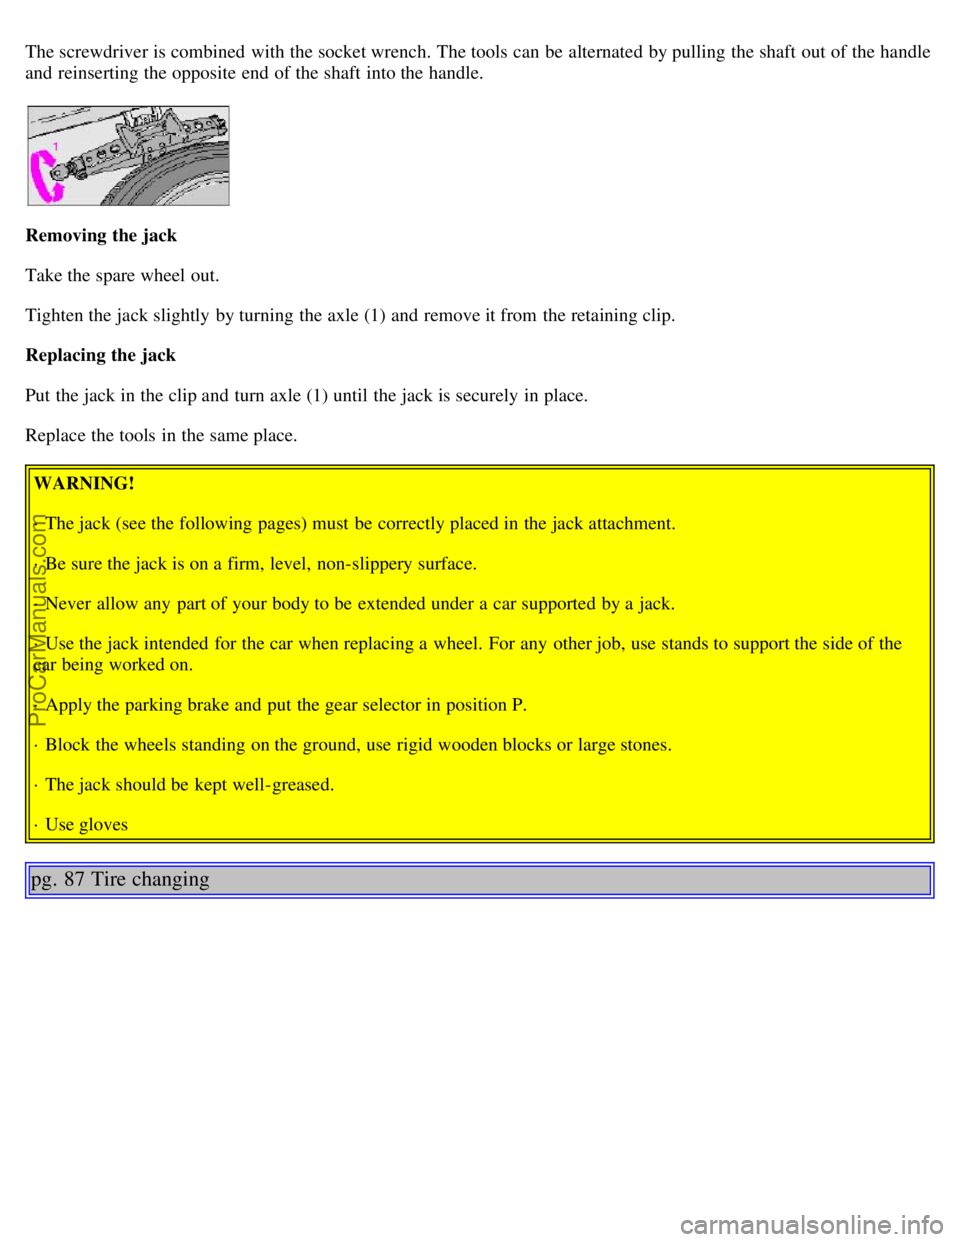
Removing the jack
Take the spare wheel out.
Tighten the jack slightly by turning the axle (1) and remove it from the retaining clip.
Replacing the jack
Put the jack in the clip and turn axle (1) until the jack is securely in place.
Replace the tools in the same place.WARNING!
· The jack (see the following pages) must be correctly placed in the jack attachment.
· Be sure the jack is on a firm, level, non-slippery surface.
· Never allow any part of your body to be extended under a car supported by a jack.
· Use the jack intended for the car when replacing a wheel. For any other job, use stands to support the side of the
car being worked on.
· Apply the parking brake and put the gear selector in position P.
· Block the wheels standing on the ground, use rigid wooden blocks or large stones.
· The jack should be kept well-greased.
· Use gloves
pg. 87 Tire changing
ProCarManuals.com
Page 48 of 88

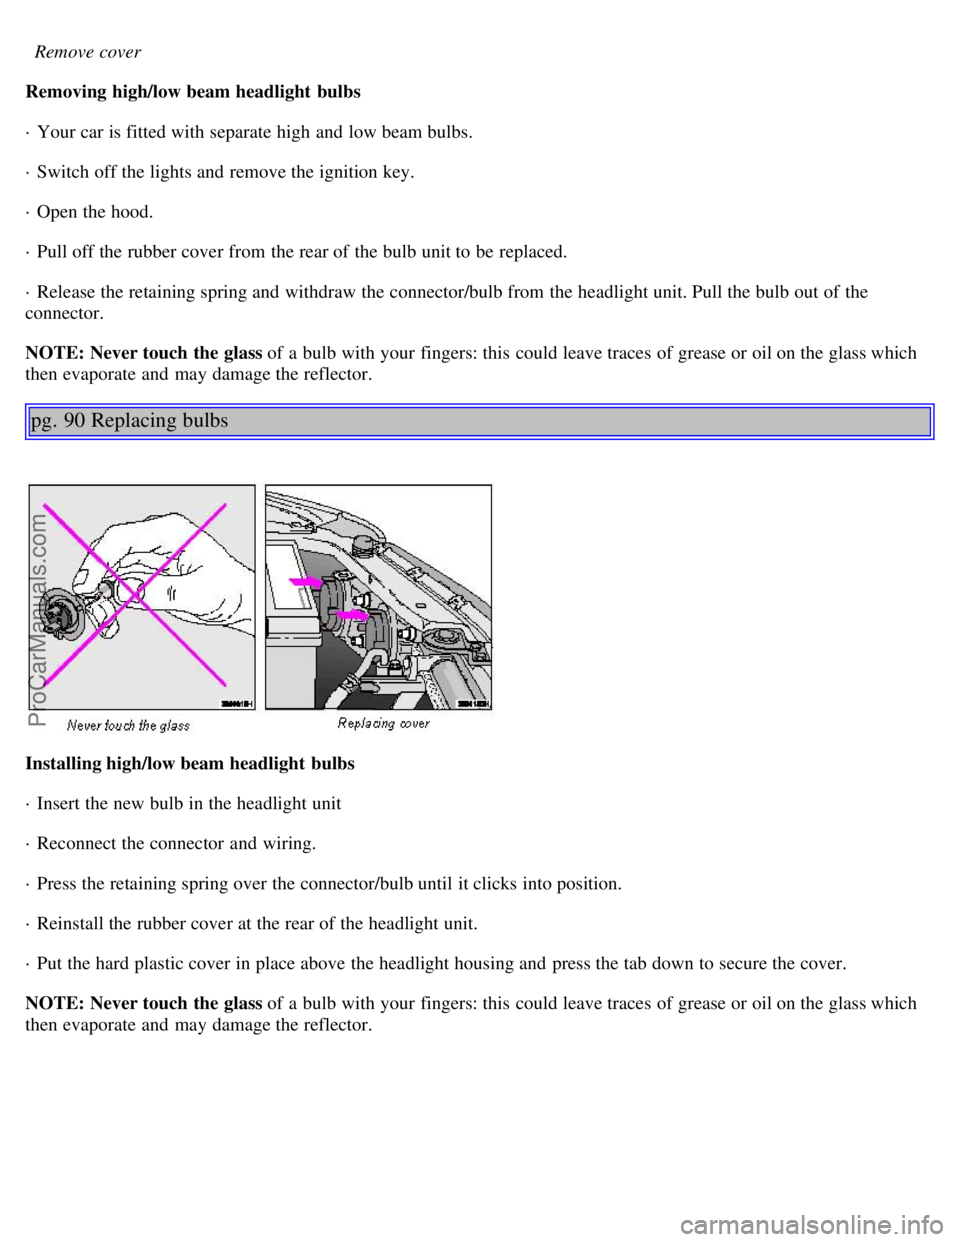
Remove cover
Removing high/low beam headlight bulbs
· Your car is fitted with separate high and low beam bulbs.
· Switch off the lights and remove the ignition key.
· Open the hood.
· Pull off the rubber cover from the rear of the bulb unit to be replaced.
· Release the retaining spring and withdraw the connector/bulb from the headlight unit. Pull the bulb out of the
connector.
NOTE: Never touch the glass of a bulb with your fingers: this could leave traces of grease or oil on the glass which
then evaporate and may damage the reflector.
pg. 90 Replacing bulbs
Installing high/low beam headlight bulbs
· Insert the new bulb in the headlight unit
· Reconnect the connector and wiring.
· Press the retaining spring over the connector/bulb until it clicks into position.
· Reinstall the rubber cover at the rear of the headlight unit.
· Put the hard plastic cover in place above the headlight housing and press the tab down to secure the cover.
NOTE: Never touch the glass of a bulb with your fingers: this could leave traces of grease or oil on the glass which
then evaporate and may damage the reflector.
ProCarManuals.com
Page 55 of 88

· Tar spots can be removed with kerosene or tar remover after the car has been washed.
· A stiff-bristle brush and lukewarm soapy water can be used to clean the wiper blades. Frequent cleaning improves
visibility considerably.
· Wash off the dirt from the underside (wheel housings fenders, etc.).
· In areas of high industrial fallout, more frequent washing is recommended.
CAUTION: During high pressure washing, the spray nozzle must never be closer to the vehicle than 13" (30 cm). Do
not spray into the locks.
· When washing or steam cleaning the engine, avoid spraying water or steam directly on the electrical components or
toward the rear side of the engine.
· After cleaning the engine, the spark plug wells should be inspected for water and blown dry if necessary.
Suitable detergents
Special car washing detergents should be used. A suitable mixture is about 2.5 fl. oz. (8.5 cl) of detergent to 2.6 US
gal. (10 liters) of warm water. After washing with a detergent the car should be well rinsed with clean water.
WARNING!
· When the car is driven immediately after being washed, apply the brakes several times in order to remove any
moisture from the brake linings.
· Engine cleaning agents should not be used when the engine is warm. This may constitute a fire risk.
NOTE: When washing the car, remember to remove dirt from the drain holes in the doors and sills. Bumpers: Wash
the bumpers with the same cleaning agent used on the rest of the car. Never clean the bumpers with gasoline or paint
thinner. Difficult spots can be removed with denatured alcohol. To avoid scratches, do not dry the bumpers with paper.
pg. 104 Automatic car washing, Polishing and waxing
Automatic washing simple and quick
Brushless car washes are recommended. An automatic wash is a simple and quick way to clean your car, but it is
worth remembering that it may not be as thorough as when you yourself go over the car with sponge and water.
Keeping the underbody clean is most important, especially in the winter. Some automatic washers do not have
facilities for washing the underbody.
Before driving into an automatic wash, make sure that side view mirrors, auxiliary lamps, etc., are secure, otherwise
there is risk of the machine dislodging them. You should also lower the antenna (sedans).
We do NOT recommend washing your car in an automatic wash during the first six months because the paint
will not have hardened sufficiently.
Polishing and waxing
Normally, polishing is not required during the first year after delivery, however, waxing is recommended.
ProCarManuals.com
Page 56 of 88

Before applying polish or wax the car must be washed and dried. Tar spots can be removed with kerosene or tar
remover. Difficult spots may require a fine rubbing compound.
After polishing use liquid or paste wax.
Several commercially available products contain both polish and wax.
Waxing alone does not substitute for polishing of a dull surface.
A wide range of polymer-based car waxes can be purchased today. These waxes are easy to use and produce a long-
lasting, high-gloss finish that protects the bodywork against oxidation, road dirt and fading.
Note: Polishing removes oxidized paint from the surface. This is normal. Therefore, when polishing, it may be noticed
that traces of paint color remain on the polishing cloth. This is also normal.
Note: Machine buffing is not recommended.
pg. 105 Cleaning the upholstery
Cleaning the upholstery
The fabric can be cleaned with soapy water or a detergent. For more difficult spots caused by oil, ice cream, shoe
polish, grease, etc., use a clothing/fabric stain remover.
The plastic in the upholstery can be cleaned with a soft cloth and mild soap solution.
Leather upholstery/suede-like upholstery (Alcantera™) can be cleaned with a soft cloth and mild soap solution.
For more difficult spots, Volvo offers a leather care kit.
Under no circumstances should gasoline, naphtha or similar cleaning agents be used on the plastic or the leather
since these can cause damage.
Clean only with lukewarm water and mild soap solution.
Cleaning floor mats
The floor mats should be vacuumed or brushed clean regularly, especially during winter when they should be taken out
for drying. Spots on textile mats can be removed with a mild detergent. Make sure the carpets are properly secured in
the fixation points on the floor.
Bear in mind
· Take extra care when removing stains such as ink or lipstick since the coloring can spread.
· Use solvents sparingly. Too much solvent can damage the seat padding.
· Start from the outside of the stain and work toward the center.
pg. 106
ProCarManuals.com