bulb VOLVO V4 2002 Owners Manual
[x] Cancel search | Manufacturer: VOLVO, Model Year: 2002, Model line: V4, Model: VOLVO V4 2002Pages: 88, PDF Size: 2.34 MB
Page 17 of 88
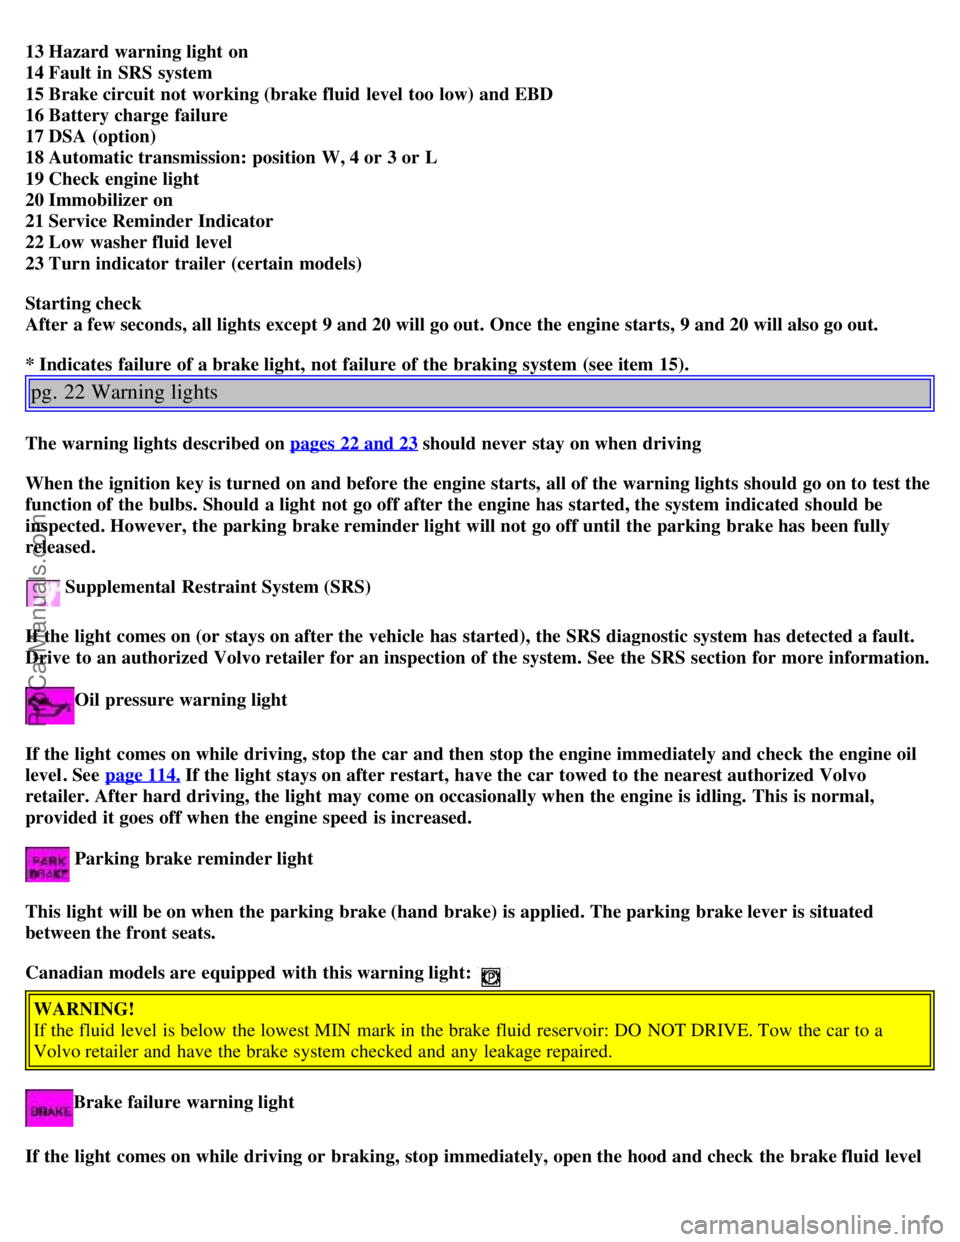
13 Hazard warning light on
14 Fault in SRS system
15 Brake circuit not working (brake fluid level too low) and EBD
16 Battery charge failure
17 DSA (option)
18 Automatic transmission: position W, 4 or 3 or L
19 Check engine light
20 Immobilizer on
21 Service Reminder Indicator
22 Low washer fluid level
23 Turn indicator trailer (certain models)
Starting check
After a few seconds, all lights except 9 and 20 will go out. Once the engine starts, 9 and 20 will also go out.
* Indicates failure of a brake light, not failure of the braking system (see item 15).
pg. 22 Warning lights
The warning lights described on pages 22 and 23 should never stay on when driving
When the ignition key is turned on and before the engine starts, all of the warning lights should go on to test the
function of the bulbs. Should a light not go off after the engine has started, the system indicated should be
inspected. However, the parking brake reminder light will not go off until the parking brake has been fully
released.
Supplemental Restraint System (SRS)
If the light comes on (or stays on after the vehicle has started), the SRS diagnostic system has detected a fault.
Drive to an authorized Volvo retailer for an inspection of the system. See the SRS section for more information.
Oil pressure warning light
If the light comes on while driving, stop the car and then stop the engine immediately and check the engine oil
level . See page 114.
If the light stays on after restart, have the car towed to the nearest authorized Volvo
retailer. After hard driving, the light may come on occasionally when the engine is idling. This is normal,
provided it goes off when the engine speed is increased.
Parking brake reminder light
This light will be on when the parking brake (hand brake) is applied. The parking brake lever is situated
between the front seats.
Canadian models are equipped with this warning light:
WARNING!
If the fluid level is below the lowest MIN mark in the brake fluid reservoir: DO NOT DRIVE. Tow the car to a
Volvo retailer and have the brake system checked and any leakage repaired.
Brake failure warning light
If the light comes on while driving or braking, stop immediately, open the hood and check the brake fluid level
ProCarManuals.com
Page 18 of 88
in the reservoir. See page 116 for reservoir position.
If the control lamp still stays on, the EBD (Electronic Brakeforce Distribution) is not working.
Drive to your Volvo dealer. See ABS control lamp and also page 73.
Canadian models are equipped with this warning light:
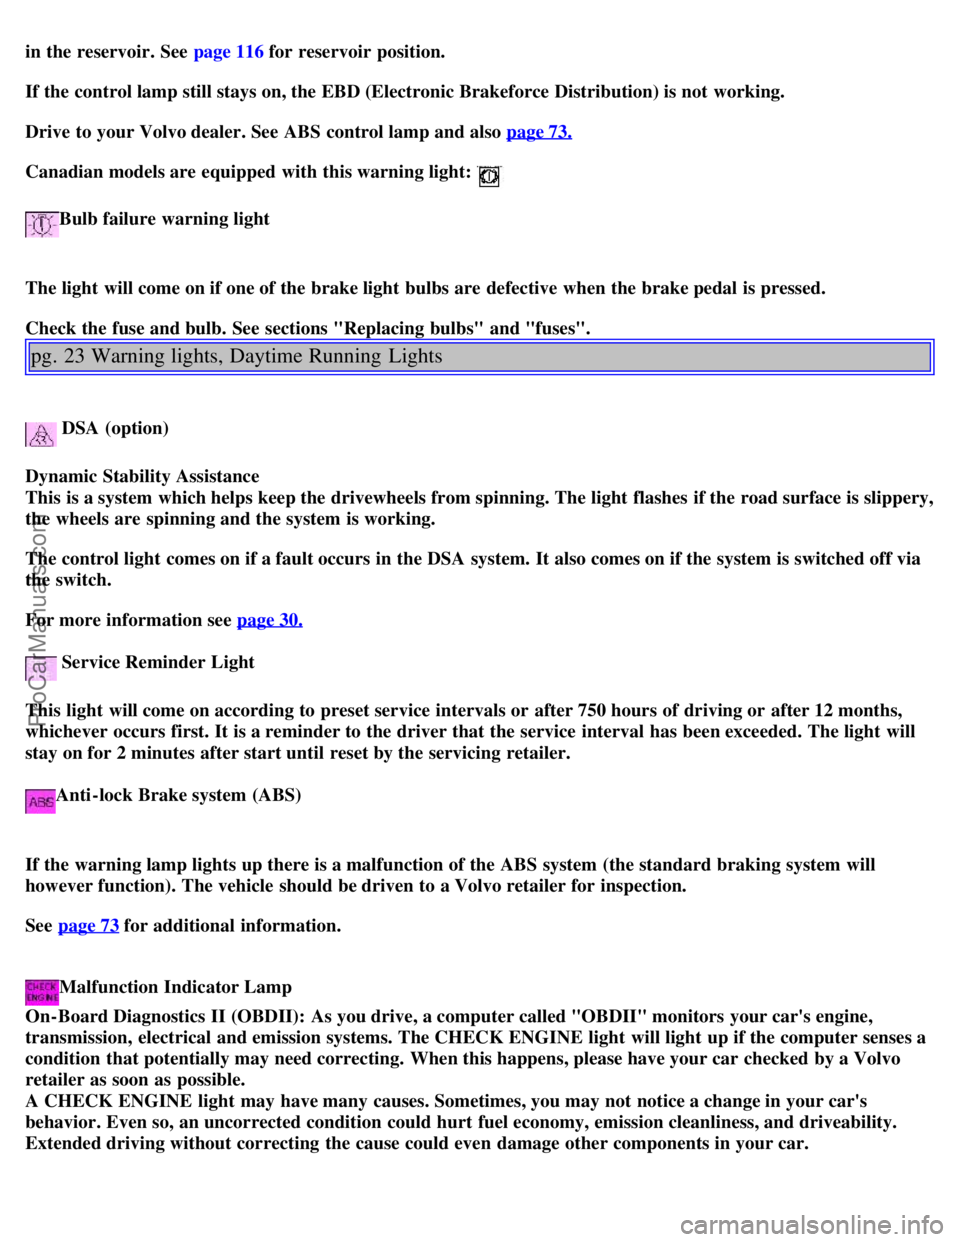
Bulb failure warning light
The light will come on if one of the brake light bulbs are defective when the brake pedal is pressed.
Check the fuse and bulb. See sections "Replacing bulbs" and "fuses".
pg. 23 Warning lights, Daytime Running Lights
DSA (option)
Dynamic Stability Assistance
This is a system which helps keep the drivewheels from spinning. The light flashes if the road surface is slippery,
the wheels are spinning and the system is working.
The control light comes on if a fault occurs in the DSA system. It also comes on if the system is switched off via
the switch.
For more information see page 30.
Service Reminder Light
This light will come on according to preset service intervals or after 750 hours of driving or after 12 months,
whichever occurs first. It is a reminder to the driver that the service interval has been exceeded. The light will
stay on for 2 minutes after start until reset by the servicing retailer.
Anti-lock Brake system (ABS)
If the warning lamp lights up there is a malfunction of the ABS system (the standard braking system will
however function). The vehicle should be driven to a Volvo retailer for inspection.
See page 73
for additional information.
Malfunction Indicator Lamp
On-Board Diagnostics II (OBDII): As you drive, a computer called "OBDII" monitors your car's engine,
transmission, electrical and emission systems. The CHECK ENGINE light will light up if the computer senses a
condition that potentially may need correcting. When this happens, please have your car checked by a Volvo
retailer as soon as possible.
A CHECK ENGINE light may have many causes. Sometimes, you may not notice a change in your car's
behavior. Even so, an uncorrected condition could hurt fuel economy, emission cleanliness, and driveability.
Extended driving without correcting the cause could even damage other components in your car.
ProCarManuals.com
Page 21 of 88
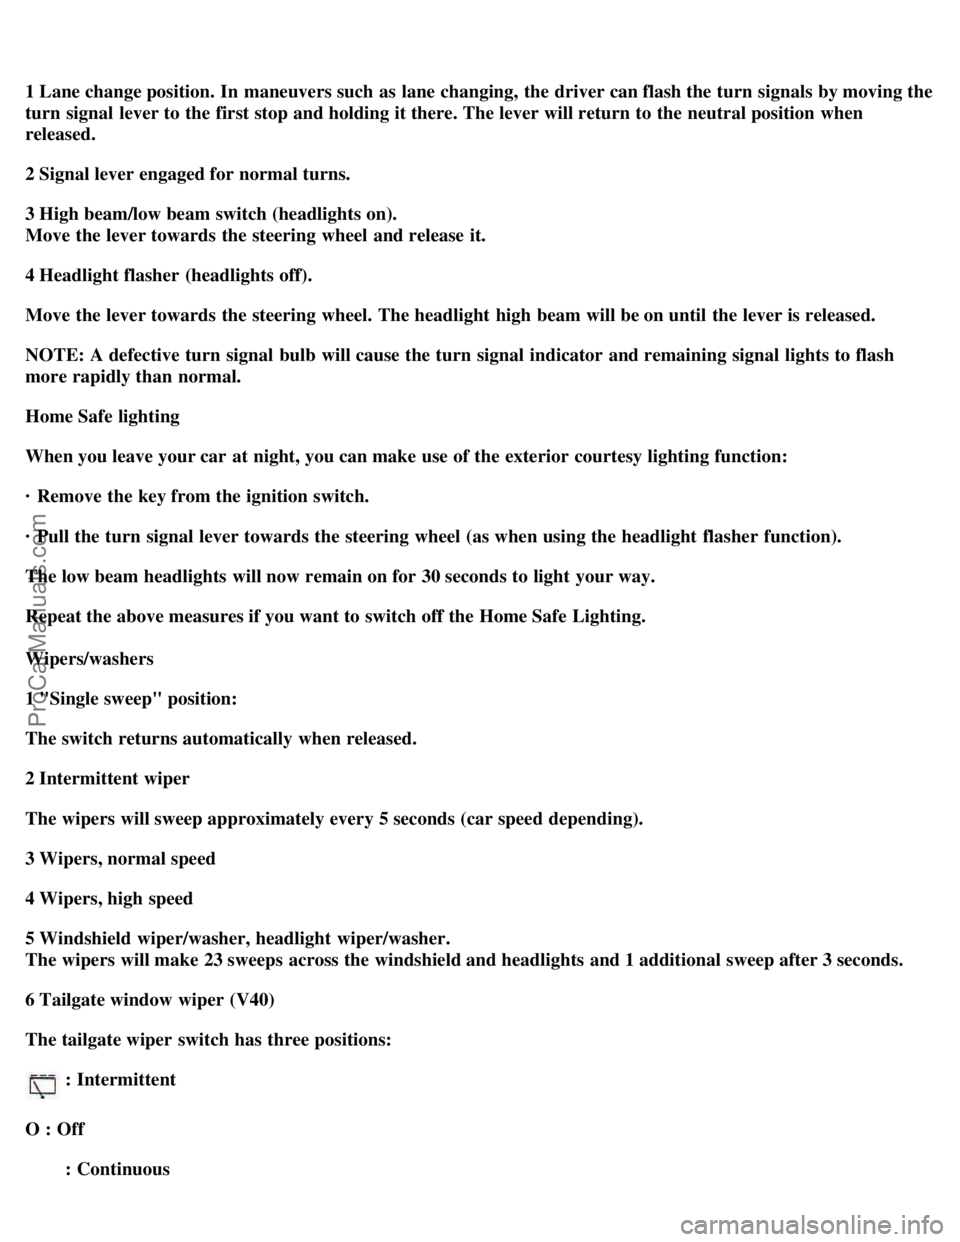
1 Lane change position. In maneuvers such as lane changing, the driver can flash the turn signals by moving the
turn signal lever to the first stop and holding it there. The lever will return to the neutral position when
released.
2 Signal lever engaged for normal turns.
3 High beam/low beam switch (headlights on).
Move the lever towards the steering wheel and release it.
4 Headlight flasher (headlights off).
Move the lever towards the steering wheel. The headlight high beam will be on until the lever is released.
NOTE: A defective turn signal bulb will cause the turn signal indicator and remaining signal lights to flash
more rapidly than normal.
Home Safe lighting
When you leave your car at night, you can make use of the exterior courtesy lighting function:
· Remove the key from the ignition switch.
· Pull the turn signal lever towards the steering wheel (as when using the headlight flasher function).
The low beam headlights will now remain on for 30 seconds to light your way.
Repeat the above measures if you want to switch off the Home Safe Lighting.
Wipers/washers
1 "Single sweep" position:
The switch returns automatically when released.
2 Intermittent wiper
The wipers will sweep approximately every 5 seconds (car speed depending).
3 Wipers, normal speed
4 Wipers, high speed
5 Windshield wiper/washer, headlight wiper/washer.
The wipers will make 23 sweeps across the windshield and headlights and 1 additional sweep after 3 seconds.
6 Tailgate window wiper (V40)
The tailgate wiper switch has three positions:
: Intermittent
O : Off : Continuous
ProCarManuals.com
Page 44 of 88
2 0 0 2
VOLVO
S40 & V40
Chapter 6 - In case of an emergency
pg. 85 In case of an emergency
In case of an emergency
Even if you maintain your car in good running condition, there is always the possibility that something might go wrong
and prevent you from driving, such as a punctured tire, blown fuse or bulb, etc. For additional information, see section
"ON CALL Road Assistance". Tool kit, Jack
86
Changing a tire87
Replacing bulbs89
Replacing fuses95
Replacing wiper blades98
In case of emergency99
Manually closing the sun roof100
pg. 86 Tool kit, Jack
Tool kit and jack
The tool kit and jack are under the carpet in the cargo space floor, next to the spare wheel.
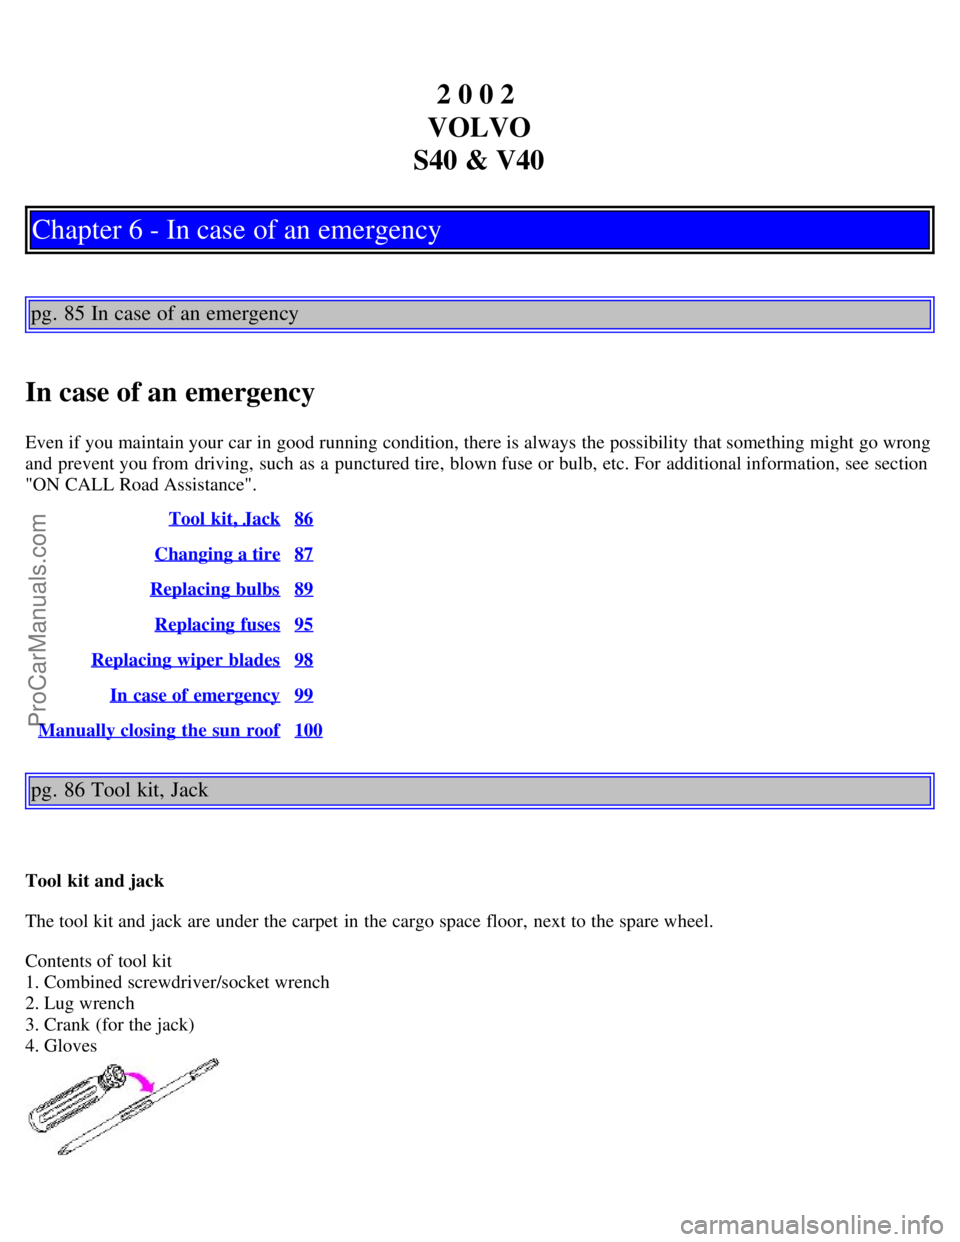
Contents of tool kit
1. Combined screwdriver/socket wrench
2. Lug wrench
3. Crank (for the jack)
4. Gloves
ProCarManuals.com
Page 47 of 88

Attaching the jack
There are two jack attachment points located on each side of the car. These attachment points are marked by arrows on
the outside of the cover over the bottom sill (see illustration).
Check that the doors are closed and stay closed all the time the car is jacked up.
· Position the jack under the two notches closest to the wheel to be changed (1).
· Attach the crank to the jack (A).
· Attach the lug wrench (B) to the crank.
· Raise the jack by cranking it clockwise. Be sure the jack engages the attachment point correctly.
The base of the jack must be flat on a level, firm, non-slippery surface. Before raising the car, check that the
jack is still correctly positioned in the attachment point.
· Raise the car until the wheel to be changed is lifted off the ground.
· Unscrew the wheel bolts completely and carefully remove the wheel so as not to damage the thread on the studs.
WARNING!
The jack must be correctly placed in the jack attachment.
Installing the wheel
Clean the contact surfaces on the wheel and hub. Lift the wheel and place it on the hub. Install the wheel bolts
crosswise and tighten until snug by turning clockwise. Lower the vehicle to the ground and alternately tighten the bolts
to 81 ft. lbs. (110 Nm). Install the wheel cover (where applicable).
CAUTION:
· Correct tightening torque on wheel bolts must be observed. The wheel bolts should never be greased or lubricated.
Extended, chromed wheel bolts must not be used with steel rims, as they make it impossible to fit the hub caps.
pg. 89 Replacing bulbs
ProCarManuals.com
Page 48 of 88
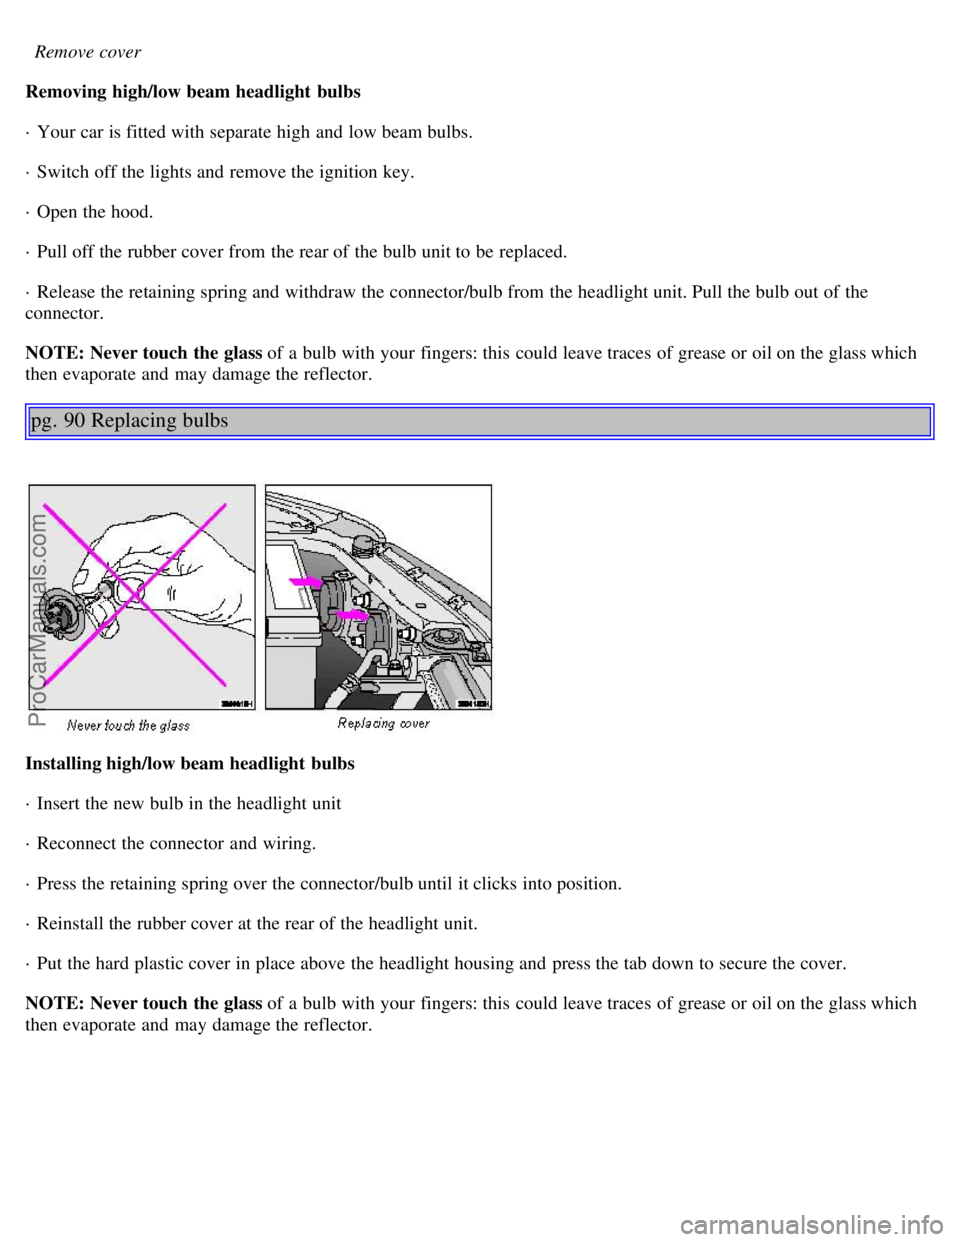
Remove cover
Removing high/low beam headlight bulbs
· Your car is fitted with separate high and low beam bulbs.
· Switch off the lights and remove the ignition key.
· Open the hood.
· Pull off the rubber cover from the rear of the bulb unit to be replaced.
· Release the retaining spring and withdraw the connector/bulb from the headlight unit. Pull the bulb out of the
connector.
NOTE: Never touch the glass of a bulb with your fingers: this could leave traces of grease or oil on the glass which
then evaporate and may damage the reflector.
pg. 90 Replacing bulbs
Installing high/low beam headlight bulbs
· Insert the new bulb in the headlight unit
· Reconnect the connector and wiring.
· Press the retaining spring over the connector/bulb until it clicks into position.
· Reinstall the rubber cover at the rear of the headlight unit.
· Put the hard plastic cover in place above the headlight housing and press the tab down to secure the cover.
NOTE: Never touch the glass of a bulb with your fingers: this could leave traces of grease or oil on the glass which
then evaporate and may damage the reflector.
ProCarManuals.com
Page 49 of 88
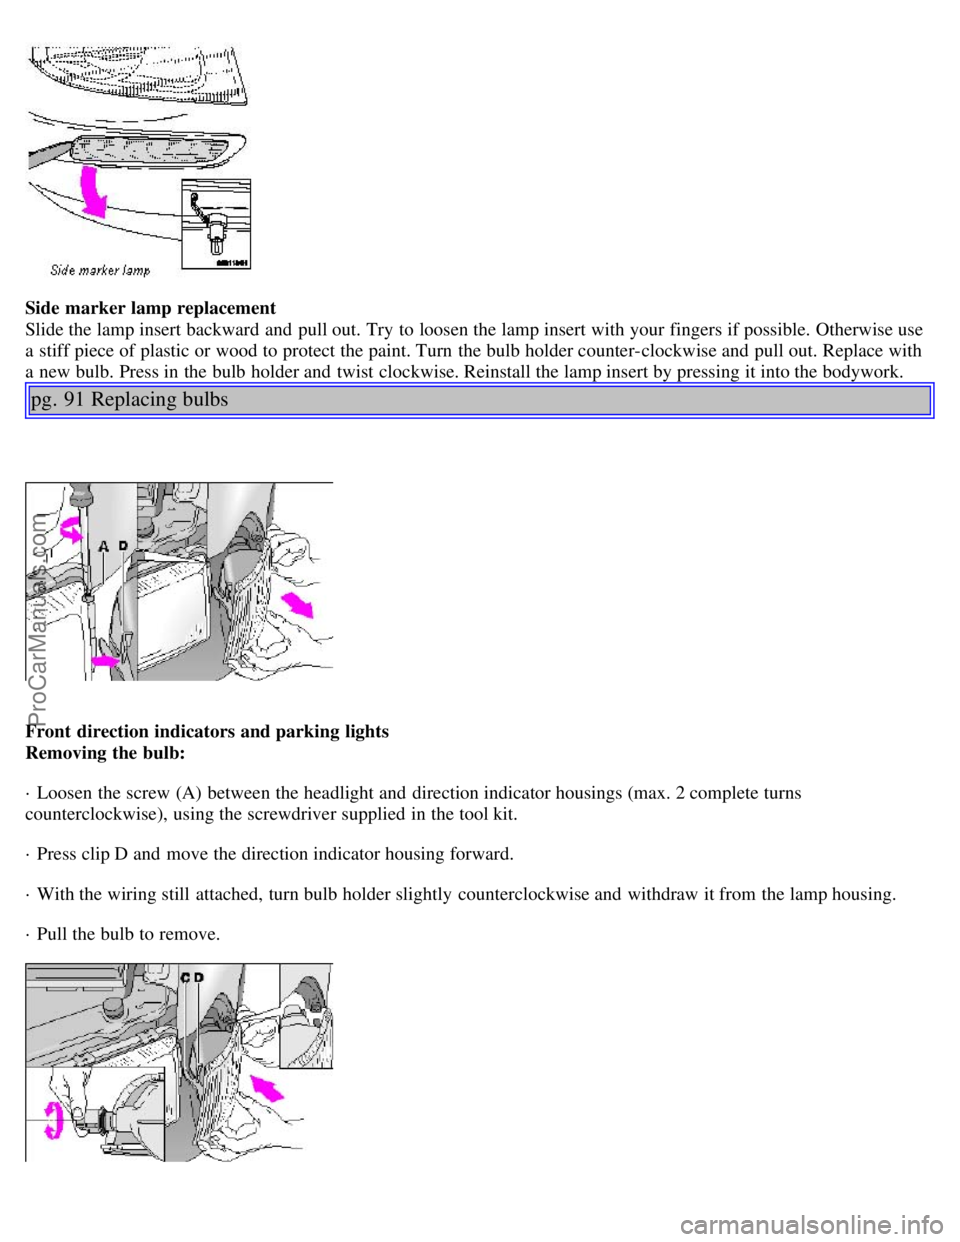
Side marker lamp replacement
Slide the lamp insert backward and pull out. Try to loosen the lamp insert with your fingers if possible. Otherwise use
a stiff piece of plastic or wood to protect the paint. Turn the bulb holder counter-clockwise and pull out. Replace with
a new bulb. Press in the bulb holder and twist clockwise. Reinstall the lamp insert by pressing it into the bodywork.
pg. 91 Replacing bulbs
Front direction indicators and parking lights
Removing the bulb:
· Loosen the screw (A) between the headlight and direction indicator housings (max. 2 complete turns
counterclockwise), using the screwdriver supplied in the tool kit.
· Press clip D and move the direction indicator housing forward.
· With the wiring still attached, turn bulb holder slightly counterclockwise and withdraw it from the lamp housing.
· Pull the bulb to remove.
ProCarManuals.com
Page 50 of 88

Replacement
· Insert a new bulb in the holder.
· Reinsert the bulb holder in the lamp housing and turn it clockwise until it clicks into place.
· Press the lamp housing into place.
Make sure than locating pin B fits into the hole in the fender and slotted hole (C) around the screw.
· Tighten the screw.
pg. 92 Replacing bulbs
Replacement of rear light bulbs - S40
All the bulbs in the rear light unit are replaced from inside the trunk Procedure:
· Switch off the lights and remove the ignition key.
· Turn the clip 90° and pull it out. Fold the panel in the boot towards the middle so as to get access to the bulb holder.
· Push catches A and B in and remove the bulb holder. The bulbs are held in the bulb holder.
· Leave the connector and cables connected to the bulb holder.
· Remove the bulb by pressing it inwards and turning it a few degrees counterclockwise.
· Insert a new bulb into the bulb holder and replace the holder. Check that the bulb works and refit the panel.
Replacement of rear light bulbs - V40
All the bulbs in the rear light unit are replaced from inside the cargo area. Procedure:
· Switch off the lights and remove the ignition key.
· Open the cover in the panel
ProCarManuals.com
Page 51 of 88

· Push catches A and B in and remove the bulb holder. The bulbs are held in the bulb holder.
· Leave the connector and cables connected to the bulb holder.
· Remove the bulb by pressing it inwards and turning it a few degrees counterclockwise.
· Insert a new bulb into the bulb holder and replace the holder. Check that the bulb works and refit the cover.
1 Tail light (rear parking light) 5W
2 Direction indicator 21W
3 Brake light 21W
4 Tail light 5W
5 Backup light 21W
6 Rear fog light (LH side only) 21W
pg. 93 Replacing bulbs
Side direction indicator
1. Slide the lens forward and pull out the rear edge.
2. Pull out the entire lens/bulb unit.
3. With the lens toward you, turn the bulb holder 1/4 turn (the wires should not be disconnected from the holder) and
pull out the bulb holder from the lens unit.
4. Pull the old bulb straight out and press a new one into place.
5. Replace the entire unit in the reverse order.
Insert screwdriver, turn and pull downward
Front courtesy lights
· Switch off the ignition.
· Insert a flat screwdriver and turn carefully to loosen the glass lens.
ProCarManuals.com
Page 52 of 88
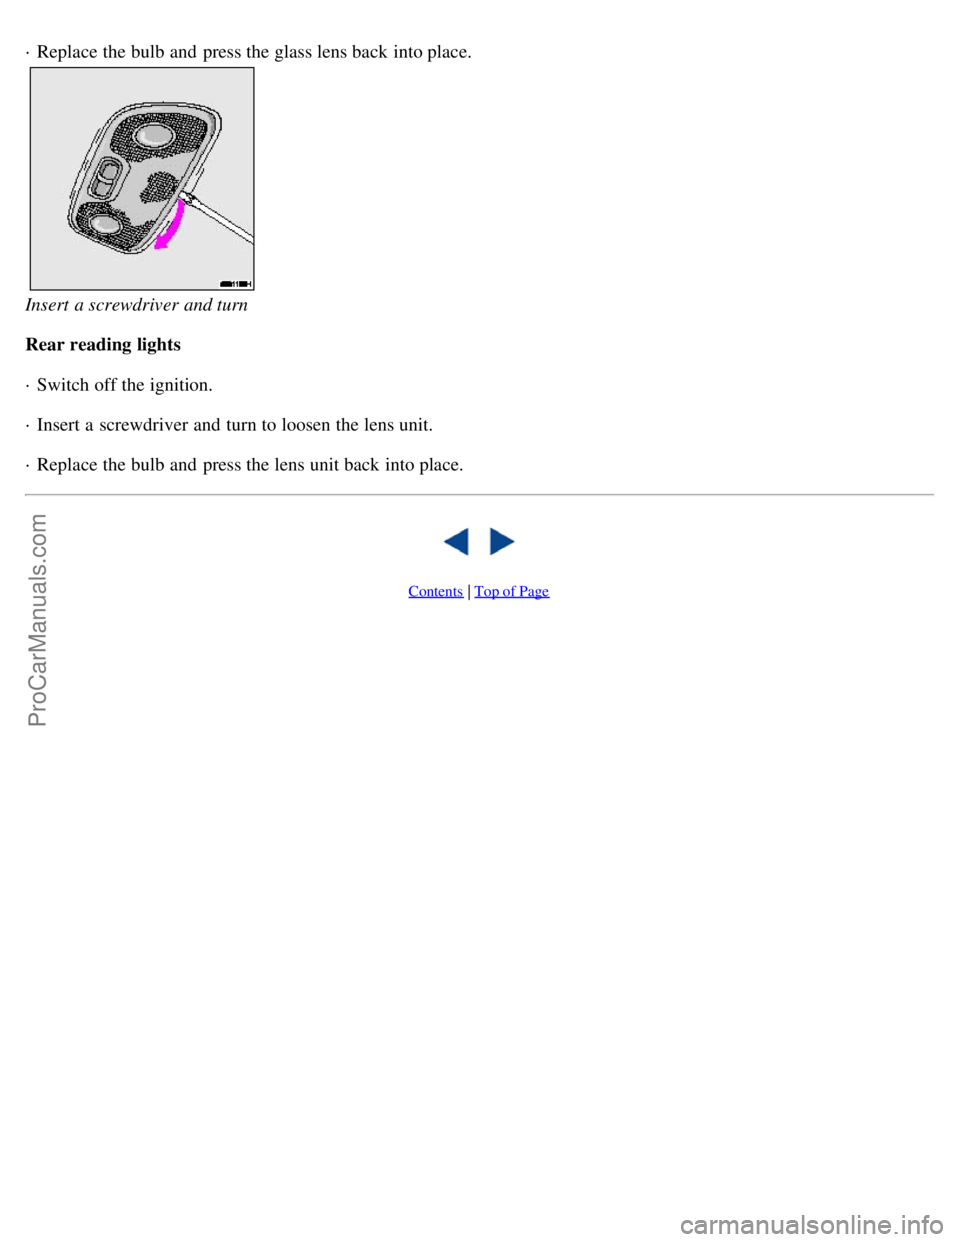
· Replace the bulb and press the glass lens back into place.
Insert a screwdriver and turn
Rear reading lights
· Switch off the ignition.
· Insert a screwdriver and turn to loosen the lens unit.
· Replace the bulb and press the lens unit back into place.
Contents | Top of Page
ProCarManuals.com