headlight bulb VOLVO V4 2002 Owners Manual
[x] Cancel search | Manufacturer: VOLVO, Model Year: 2002, Model line: V4, Model: VOLVO V4 2002Pages: 88, PDF Size: 2.34 MB
Page 21 of 88
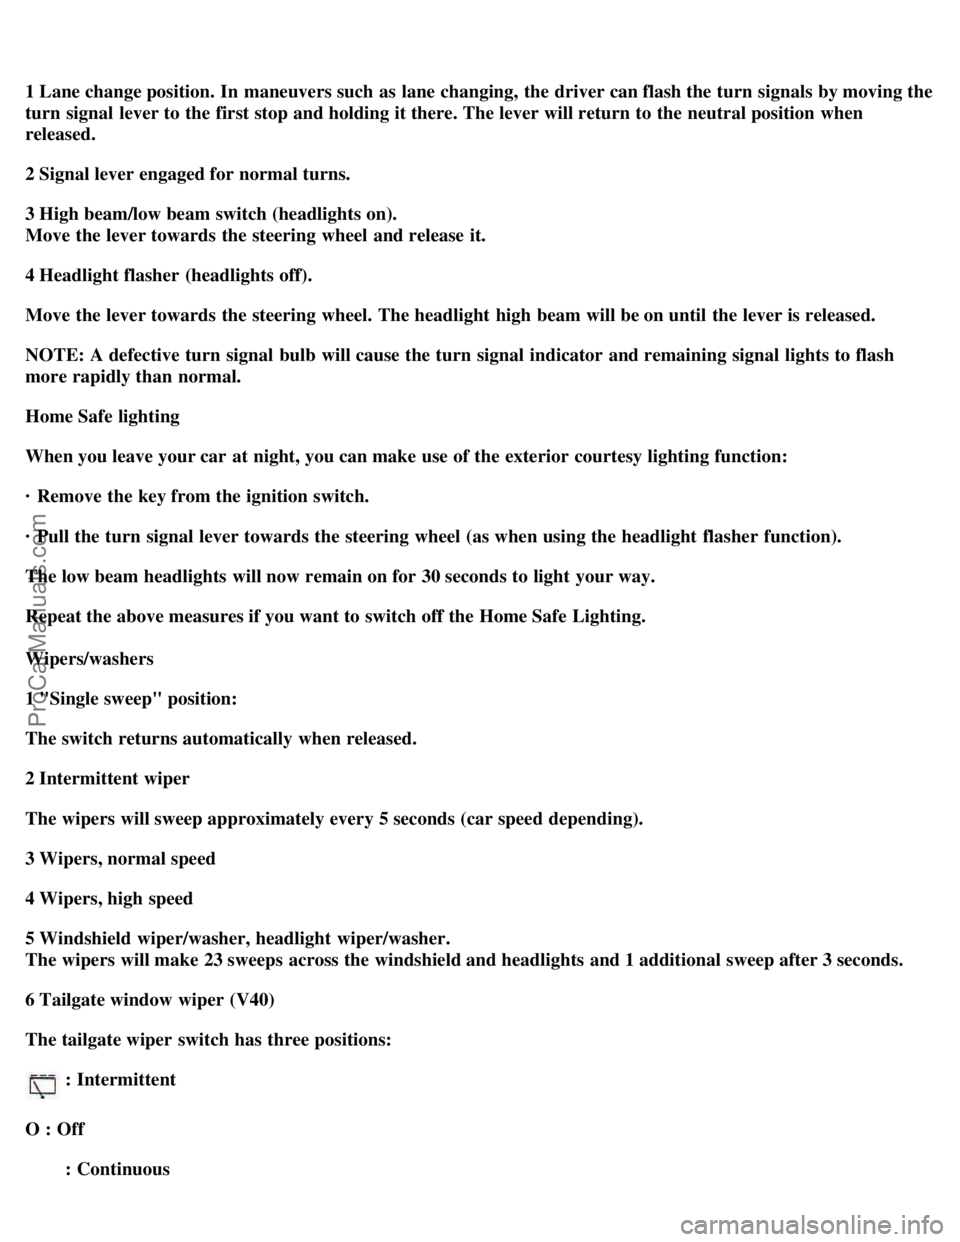
1 Lane change position. In maneuvers such as lane changing, the driver can flash the turn signals by moving the
turn signal lever to the first stop and holding it there. The lever will return to the neutral position when
released.
2 Signal lever engaged for normal turns.
3 High beam/low beam switch (headlights on).
Move the lever towards the steering wheel and release it.
4 Headlight flasher (headlights off).
Move the lever towards the steering wheel. The headlight high beam will be on until the lever is released.
NOTE: A defective turn signal bulb will cause the turn signal indicator and remaining signal lights to flash
more rapidly than normal.
Home Safe lighting
When you leave your car at night, you can make use of the exterior courtesy lighting function:
· Remove the key from the ignition switch.
· Pull the turn signal lever towards the steering wheel (as when using the headlight flasher function).
The low beam headlights will now remain on for 30 seconds to light your way.
Repeat the above measures if you want to switch off the Home Safe Lighting.
Wipers/washers
1 "Single sweep" position:
The switch returns automatically when released.
2 Intermittent wiper
The wipers will sweep approximately every 5 seconds (car speed depending).
3 Wipers, normal speed
4 Wipers, high speed
5 Windshield wiper/washer, headlight wiper/washer.
The wipers will make 23 sweeps across the windshield and headlights and 1 additional sweep after 3 seconds.
6 Tailgate window wiper (V40)
The tailgate wiper switch has three positions:
: Intermittent
O : Off : Continuous
ProCarManuals.com
Page 48 of 88
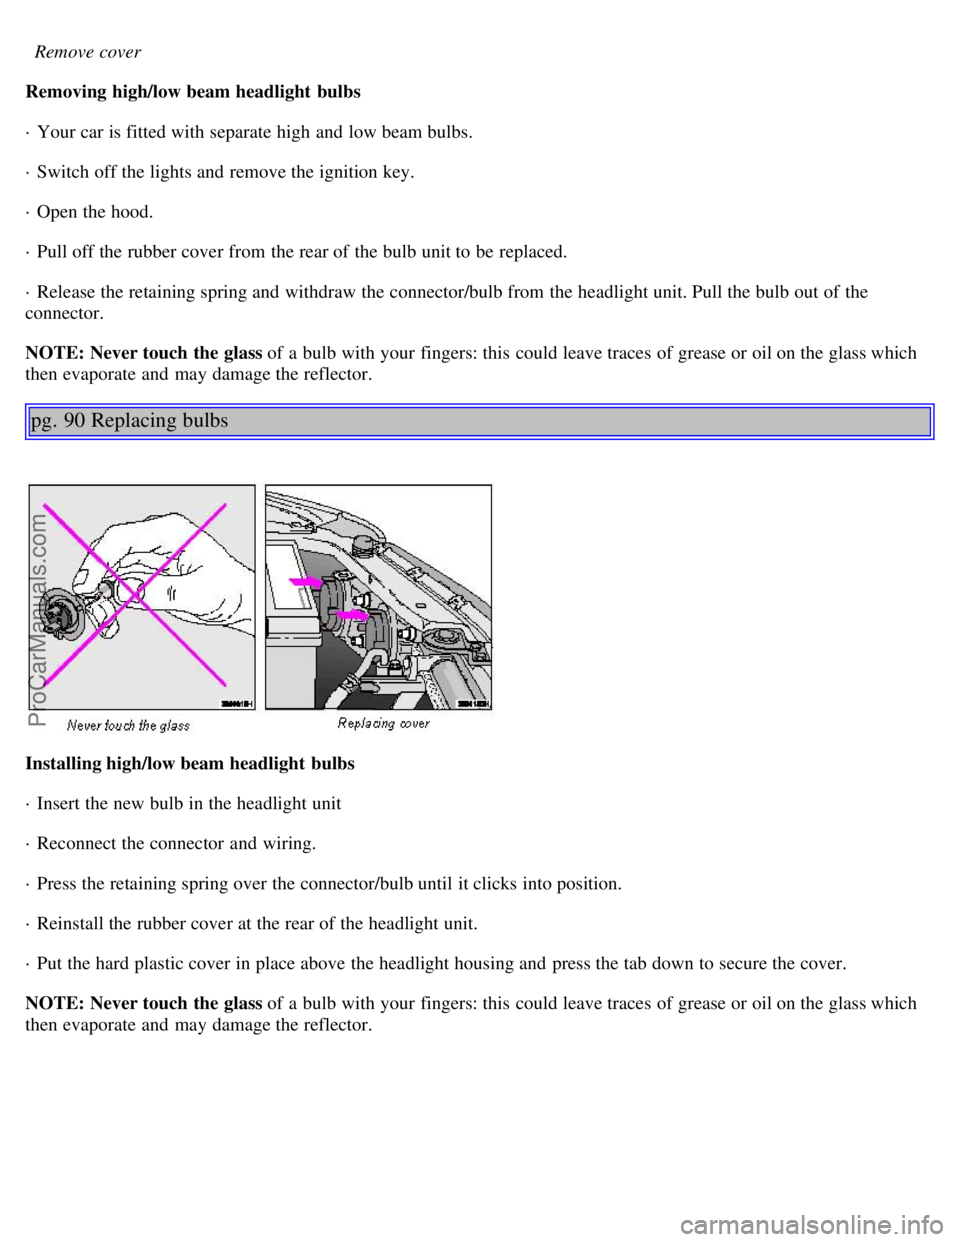
Remove cover
Removing high/low beam headlight bulbs
· Your car is fitted with separate high and low beam bulbs.
· Switch off the lights and remove the ignition key.
· Open the hood.
· Pull off the rubber cover from the rear of the bulb unit to be replaced.
· Release the retaining spring and withdraw the connector/bulb from the headlight unit. Pull the bulb out of the
connector.
NOTE: Never touch the glass of a bulb with your fingers: this could leave traces of grease or oil on the glass which
then evaporate and may damage the reflector.
pg. 90 Replacing bulbs
Installing high/low beam headlight bulbs
· Insert the new bulb in the headlight unit
· Reconnect the connector and wiring.
· Press the retaining spring over the connector/bulb until it clicks into position.
· Reinstall the rubber cover at the rear of the headlight unit.
· Put the hard plastic cover in place above the headlight housing and press the tab down to secure the cover.
NOTE: Never touch the glass of a bulb with your fingers: this could leave traces of grease or oil on the glass which
then evaporate and may damage the reflector.
ProCarManuals.com
Page 49 of 88
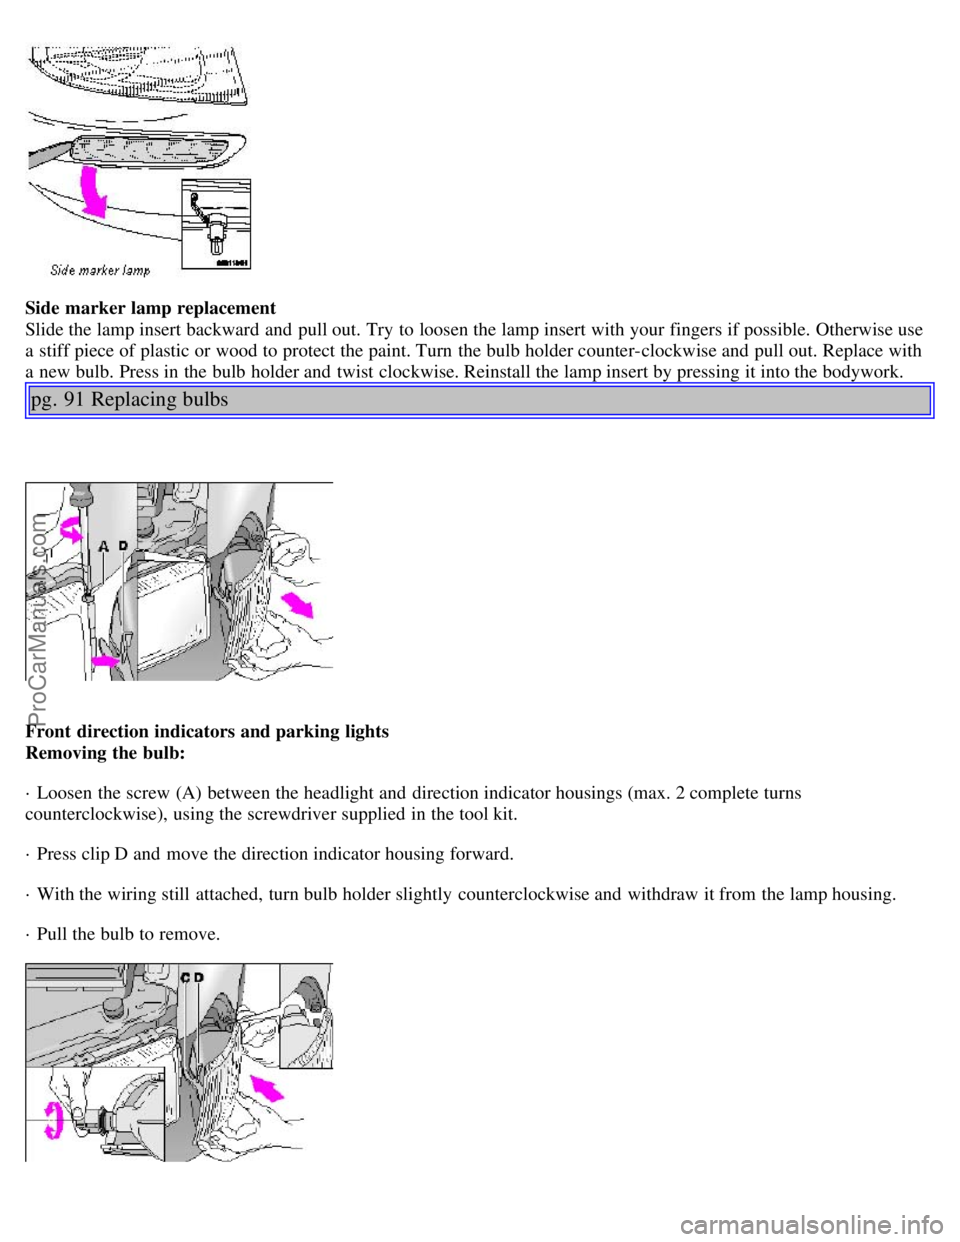
Side marker lamp replacement
Slide the lamp insert backward and pull out. Try to loosen the lamp insert with your fingers if possible. Otherwise use
a stiff piece of plastic or wood to protect the paint. Turn the bulb holder counter-clockwise and pull out. Replace with
a new bulb. Press in the bulb holder and twist clockwise. Reinstall the lamp insert by pressing it into the bodywork.
pg. 91 Replacing bulbs
Front direction indicators and parking lights
Removing the bulb:
· Loosen the screw (A) between the headlight and direction indicator housings (max. 2 complete turns
counterclockwise), using the screwdriver supplied in the tool kit.
· Press clip D and move the direction indicator housing forward.
· With the wiring still attached, turn bulb holder slightly counterclockwise and withdraw it from the lamp housing.
· Pull the bulb to remove.
ProCarManuals.com
Page 68 of 88
Electrical system
12 Volt, negative ground.
Voltagecontrolled generator. Singlewire system with chassis and engine used as conductors.
Battery
Voltage: 12 Volt, capacity: 600 A/100 min
The battery contains corrosive and poisonous acids. It is of the utmost importance that old batteries are disposed of
correctly. Your Volvo retailer can assist you in this matter.
Generator
Rated output: 120 A
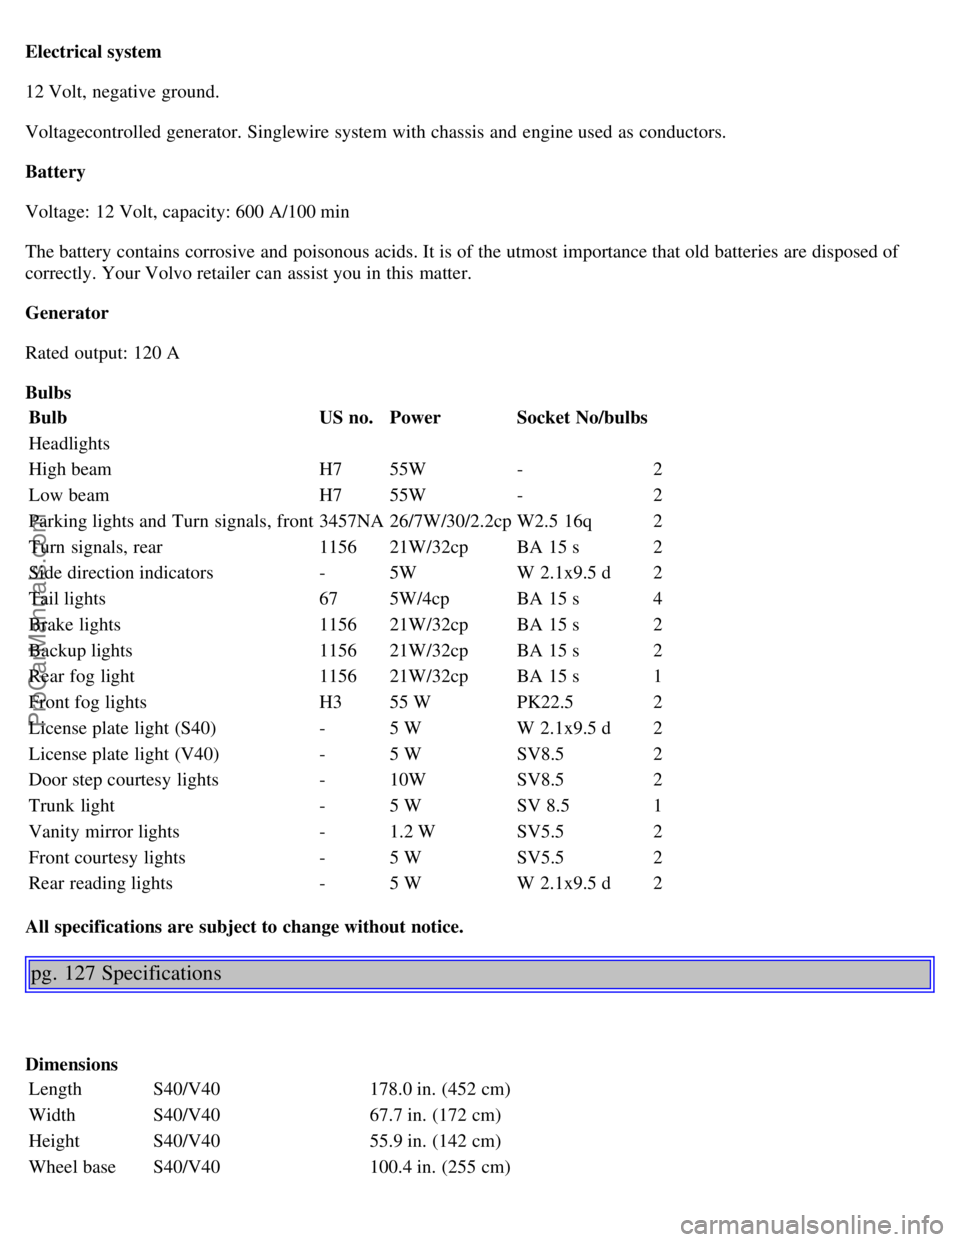
BulbsBulb US no.Power Socket No/bulbs
Headlights
High beam H755W - 2
Low beam H755W - 2
Parking lights and Turn signals, front 3457NA26/7W/30/2.2cp W2.5 16q 2
Turn signals, rear 115621W/32cp BA 15 s 2
Side direction indicators -5W W 2.1x9.5 d 2
Tail lights 675W/4cp BA 15 s 4
Brake lights 115621W/32cp BA 15 s 2
Backup lights 115621W/32cp BA 15 s 2
Rear fog light 115621W/32cp BA 15 s 1
Front fog lights H355 W PK22.5 2
License plate light (S40) -5 W W 2.1x9.5 d 2
License plate light (V40) -5 W SV8.5 2
Door step courtesy lights -10W SV8.5 2
Trunk light -5 W SV 8.5 1
Vanity mirror lights -1.2 W SV5.5 2
Front courtesy lights -5 W SV5.5 2
Rear reading lights -5 W W 2.1x9.5 d 2
All specifications are subject to change without notice.
pg. 127 Specifications
Dimensions Length S40/V40 178.0 in. (452 cm)
Width S40/V40 67.7 in. (172 cm)
Height S40/V40 55.9 in. (142 cm)
Wheel base S40/V40 100.4 in. (255 cm)
ProCarManuals.com
Page 82 of 88
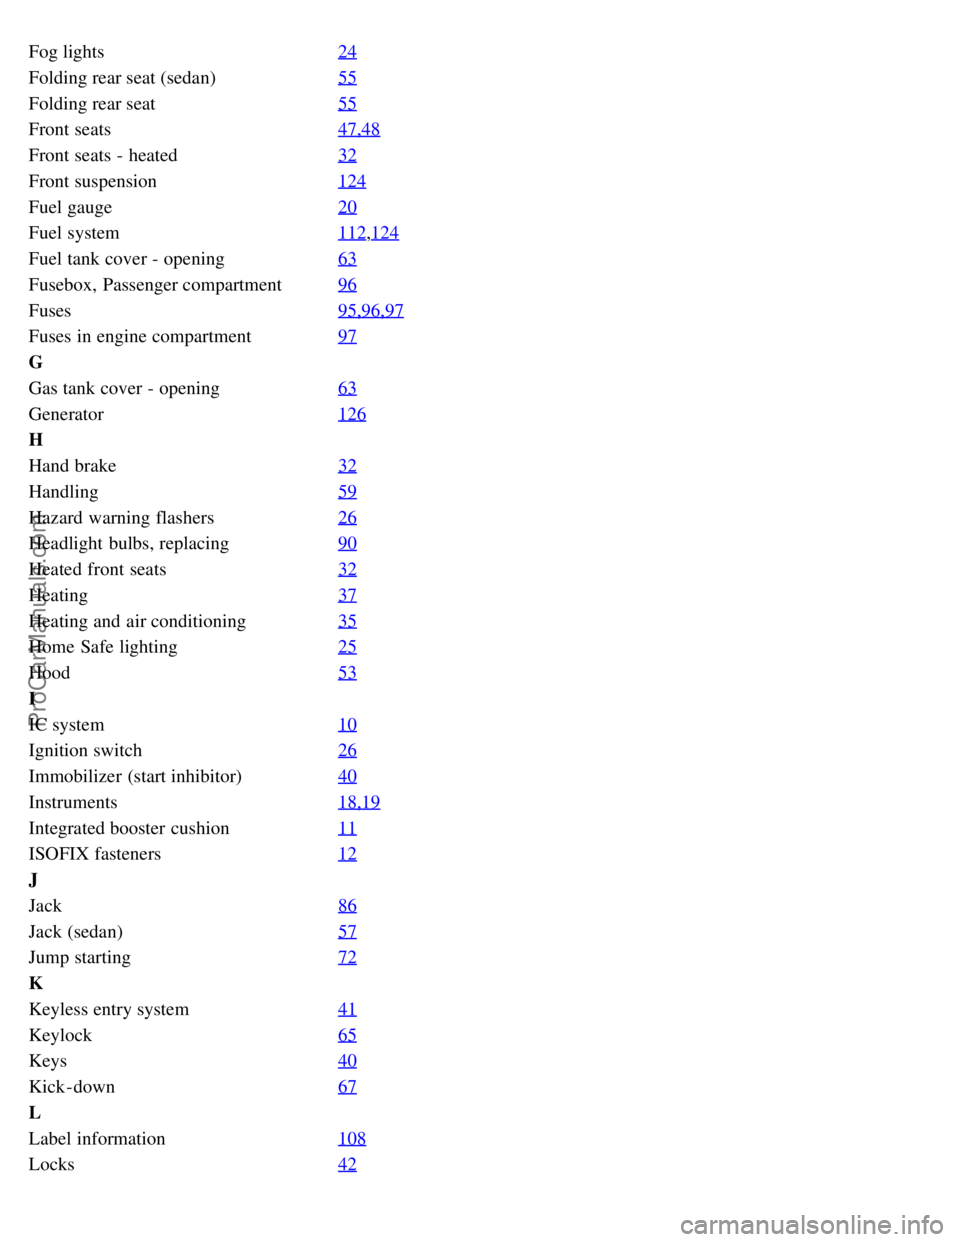
Fog lights24
Folding rear seat (sedan)55
Folding rear seat55
Front seats47,48
Front seats - heated32
Front suspension124
Fuel gauge20
Fuel system112,124
Fuel tank cover - opening63
Fusebox, Passenger compartment96
Fuses95,96,97
Fuses in engine compartment97
G
Gas tank cover - opening63
Generator126
H
Hand brake32
Handling59
Hazard warning flashers26
Headlight bulbs, replacing90
Heated front seats32
Heating37
Heating and air conditioning35
Home Safe lighting25
Hood53
I
IC system10
Ignition switch26
Immobilizer (start inhibitor)40
Instruments18,19
Integrated booster cushion11
ISOFIX fasteners12
J
Jack86
Jack (sedan)57
Jump starting72
K
Keyless entry system41
Keylock65
Keys40
Kick -down67
L
Label information108
Locks42
ProCarManuals.com