clock VOLVO V60 CROSS COUNTRY 2018 Owner´s Manual
[x] Cancel search | Manufacturer: VOLVO, Model Year: 2018, Model line: V60 CROSS COUNTRY, Model: VOLVO V60 CROSS COUNTRY 2018Pages: 404, PDF Size: 9.6 MB
Page 5 of 404
3
INSTRUMENTS AND CONTROLS
Instrument overview 68
Information displays – introduction 71
Eco Guide * and Power Meter *
74
Information displays – indicator symbols 75
Information displays – warning symbols 77
My Car – introduction 79
Information displays – ambient tem- perature sensor 80
Information displays – trip odometerand clock 81
Inserting/removing remote key 81
Ignition modes 82
Front seats 83
Front seats – folding backrest *
84
Front seats – power seat 84
Key memory – power driver's seat *
and door mirrors 86
Rear seats – head restraints 87
Rear seats – folding backrest 89
Steering wheel 91
Electrically heated * steering wheel
92
Lighting panel 92
High/low beam headlights 93
Active high beams (AHB) *
94
Tunnel detection (models with the rain sensor * only) 95
Active Bending Lights (ABL)
*
95
Auxiliary lights *
96
Instrument and "theater" lighting 97
Parking lights 97
Rear fog lights 98
Hazard warning flashers 98
Turn signals 99
Front interior lighting 100
Rear interior lighting 101
Home safe lighting 101
Approach lighting 101
Windshield wipers 102
Rain sensor *
103
Windshield washer 103
Tailgate wiper/washer 104
Power windows 105
Power door mirrors 106
Power door mirrors – automatic tilt- ing/retraction 107
Heated windshield *, rear window and
door mirror defrosters 108
Interior rearview mirror 108
Digital compass *
109
Power moonroof * – introduction
110
Power moonroof * – operation
111
HomeLink®
Wireless Control Sys-
tem * – introduction 112
HomeLink ®
Wireless Control Sys-
tem * – programming 113
Volvo Sensus 115
Information display – menu controls 116
Information display – menu overview 117
Information display – messages 117
Trip computer – introduction 118
Trip computer – functions, analog instrument panel 120
Trip computer – functions, digitalinstrument panel 123
Trip computer – Supplementaryinformation 125
Trip computer – Trip statistics 126
Page 72 of 404
||
INSTRUMENTS AND CONTROLS
* Option/accessory.
70
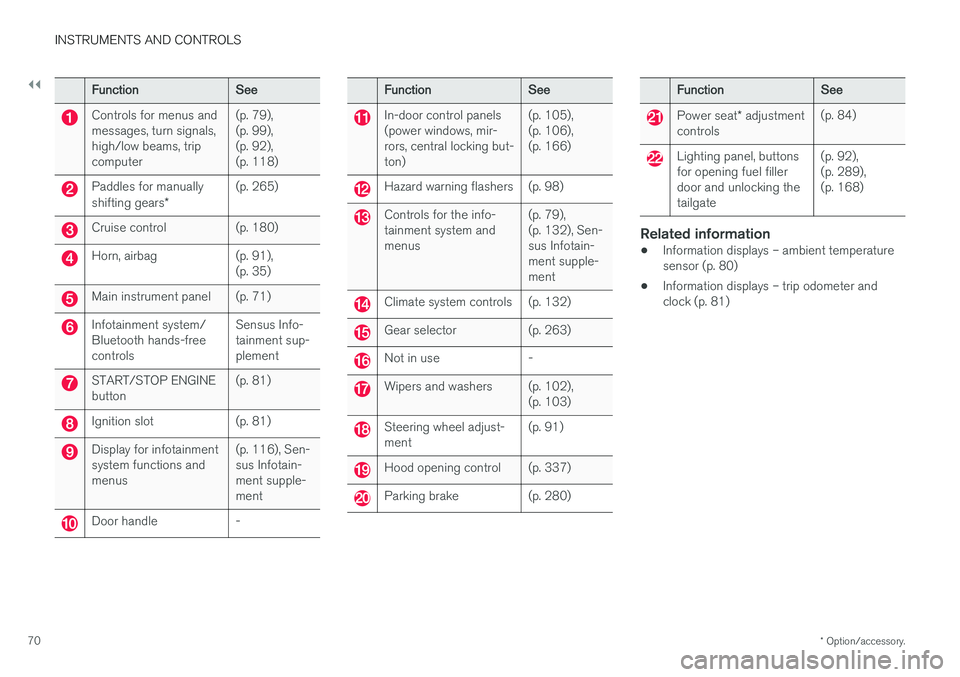
Function See
Controls for menus and messages, turn signals,high/low beams, tripcomputer(p. 79),(p. 99),(p. 92),(p. 118)
Paddles for manually shifting gears
*(p. 265)
Cruise control (p. 180)
Horn, airbag (p. 91),
(p. 35)
Main instrument panel (p. 71)
Infotainment system/ Bluetooth hands-freecontrolsSensus Info-tainment sup-plement
START/STOP ENGINE button
(p. 81)
Ignition slot (p. 81)
Display for infotainment system functions andmenus(p. 116), Sen-sus Infotain-ment supple-ment
Door handle -
Function
See
In-door control panels (power windows, mir-rors, central locking but-ton)(p. 105),(p. 106),(p. 166)
Hazard warning flashers (p. 98)
Controls for the info- tainment system andmenus
(p. 79),(p. 132), Sen-sus Infotain-ment supple-ment
Climate system controls (p. 132)
Gear selector (p. 263)
Not in use -
Wipers and washers (p. 102),
(p. 103)
Steering wheel adjust- ment(p. 91)
Hood opening control (p. 337)
Parking brake (p. 280)
Function
See
Power seat* adjustment
controls (p. 84)
Lighting panel, buttons for opening fuel fillerdoor and unlocking thetailgate(p. 92),(p. 289),(p. 168)
Related information
•
Information displays – ambient temperature sensor (p. 80)
• Information displays – trip odometer andclock (p. 81)
Page 81 of 404
INSTRUMENTS AND CONTROLS
}}
79
Reminder – doors not closed
If one of the doors is not closed properly, the
information or warning symbol illuminates
(depending on the vehicle's speed), a graphic will be displayed in instrument panel and an explana- tory text message 3
will also be displayed in the
instrument panel. Stop the vehicle in a safe place as soon as possible and close the door.
If the vehicle is driven at a speed lowerthan approximately 5 mph (7 km/h),the information symbol illuminates.
If the vehicle is driven at a speed higher than approximately 5 mph(7 km/h), the warning symbol illumi-
nates.
If the hood is not closed properly, the warning
symbol illuminates, a graphic will be displayed in instrument panel and an explanatory text mes- sage 3
will also be displayed in the instrument
panel. Stop the vehicle in a safe place as soon as possible and close the hood. If the tailgate is not closed properly, the infor-
mation symbol illuminates and a graphic will be
displayed in instrument panel. Stop the vehicle in a safe place as soon as possible and close thetailgate.
Related information
• Information displays – introduction (p. 71)
• Information displays – indicator symbols(p. 75)
• Engine compartment – coolant (p. 342)
My Car – introduction
The MY CAR menu system provides access to menus for operating many of the vehicle's func-tions, such as setting the clock, door mirrors,lock and alarm settings, etc.
Some of the features or functions are standard; others are optional and vary according to model/market.
OperationUse the buttons on the center console or thesteering wheel keypad to navigate in the menus.
3 Text message applies only to models with the optional digital instrument panel
Page 83 of 404
INSTRUMENTS AND CONTROLS
}}
* Option/accessory.81
Information displays – trip odometer and clock The trip odometers
T1 and T2 and clock are dis-
played in the instrument panel.
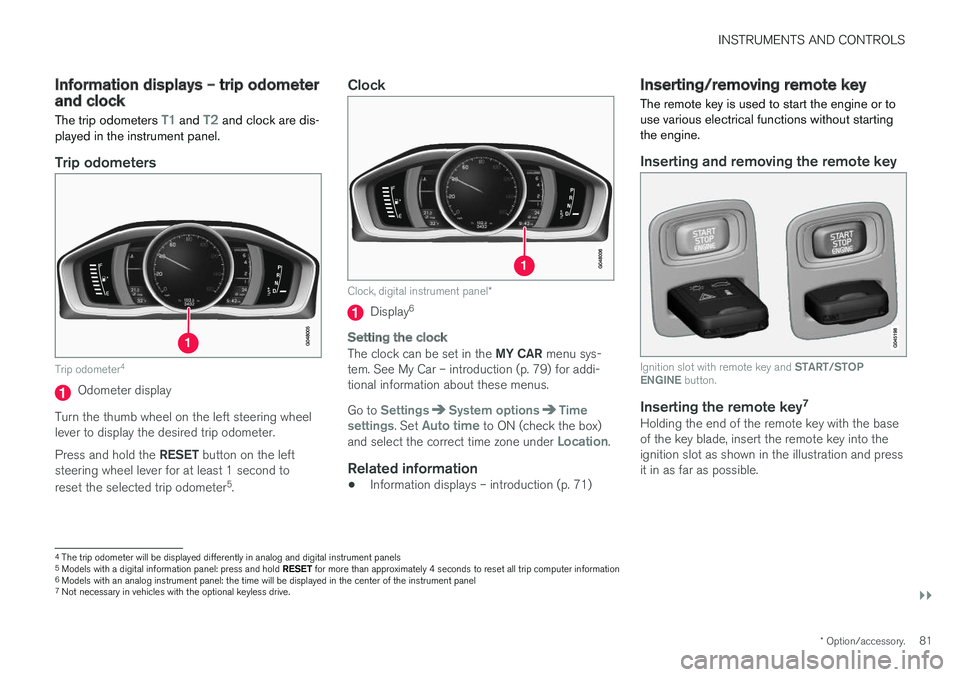
Trip odometers
Trip odometer 4
Odometer display
Turn the thumb wheel on the left steering wheel lever to display the desired trip odometer. Press and hold the RESET button on the left
steering wheel lever for at least 1 second to reset the selected trip odometer 5
.
Clock
Clock, digital instrument panel *
Display6
Setting the clock
The clock can be set in the
MY CAR menu sys-
tem. See My Car – introduction (p. 79) for addi- tional information about these menus. Go to
SettingsSystem optionsTime
settings. Set Auto time to ON (check the box)
and select the correct time zone under Location.
Related information
• Information displays – introduction (p. 71)
Inserting/removing remote key The remote key is used to start the engine or to use various electrical functions without startingthe engine.
Inserting and removing the remote key
Ignition slot with remote key and
START/STOP
ENGINE button.
Inserting the remote key 7Holding the end of the remote key with the base of the key blade, insert the remote key into theignition slot as shown in the illustration and pressit in as far as possible.
4
The trip odometer will be displayed differently in analog and digital instrument panels
5 Models with a digital information panel: press and hold RESET for more than approximately 4 seconds to reset all trip computer information
6 Models with an analog instrument panel: the time will be displayed in the center of the instrument panel
7
Not necessary in vehicles with the optional keyless drive.
Page 84 of 404
||
INSTRUMENTS AND CONTROLS
* Option/accessory.
82
CAUTION
Foreign objects in the ignition slot can impair function or cause damage.
Removing the remote keyThe remote key can be removed from the ignition slot by pulling it out.
Related information
• Ignition modes (p. 82)
Ignition modes
The vehicle's ignition has 3 modes: 0, I, and II
that can be used without starting the engine. The following table shows examples of whichfunctions are available in the respective modes.
NOTE
To access ignition modes I or II without star-
ting the engine, the brake pedal must not be
depressed.
Mode Function
0 The odometer, clock and temperature gauge are illuminated. Power seats
*
can be adjusted and the infotainment system can be used for a limited time(to minimize battery drain, see theSensus Infotainment Supplement).
I The Moonroof *, power windows,12-
volt sockets in the passenger com- partment, navigation system *, climate
system blower, windshield wipers can be used.
II The headlights/taillights illuminate.Warning/indicator lights illuminate for5 seconds. Other systems are acti- vated. However, the heated seats
* and
heated rear window function can only be activated when the engine is run- ning. Mode II should only be used
for very short periods to help avoid draining the battery.
Ignition modes
Ignition mode 0
–The vehicle is unlocked.
Page 136 of 404
CLIMATE
134
Temperature and blower control
When the vehicle is started, the most recent set- ting is resumed. The blower should always be activated to help avoid condensation and fogging on the win-dows.
Temperature controlThe temperatures on the driver and passenger sides can beset separately.
NOTE
Heating or cooling cannot be speeded up by selecting a higher/lower temperature thanthe actual temperature required.
Blower controlTurn the control clockwise to increase or counterclockwise todecrease the blower speed. If AUTO (p. 134) is selected,
blower speed will be regulated automatically and this will over-ride manual adjustment.
NOTE
If the blower is turned off completely, the air conditioning is disengaged, which may resultin fogging on the windows.
Related information
• Climate – general information (p. 128)
• Electronic climate control (ECC) (p. 132)
• Air conditioning (p. 135)
• Climate – sensors (p. 128)
Automatic climate control The Auto function automatically controls tem- perature (p. 134), air conditioning (p. 135),blower speed (p. 134), recirculation (p. 137)and air distribution (p. 131).
If you select one or more man- ual functions, the other func-tions continue to be controlledautomatically. The air qual-ity (p. 129) sensor is engagedand all manual settings are switched off when
AUTO is
pressed. The display shows
AUTO CLIMATE.
Blower speed in automatic mode can be set under
Climate settingsAutomatic blower
adjustment. Choose between Low, Normal orHigh.
NOTE
Selecting the lowest blower speed may increases the risk of fog forming on the win-dows.
Related information
• Climate – general information (p. 128)
Page 161 of 404
LOCKS AND ALARM
}}
159
G017870
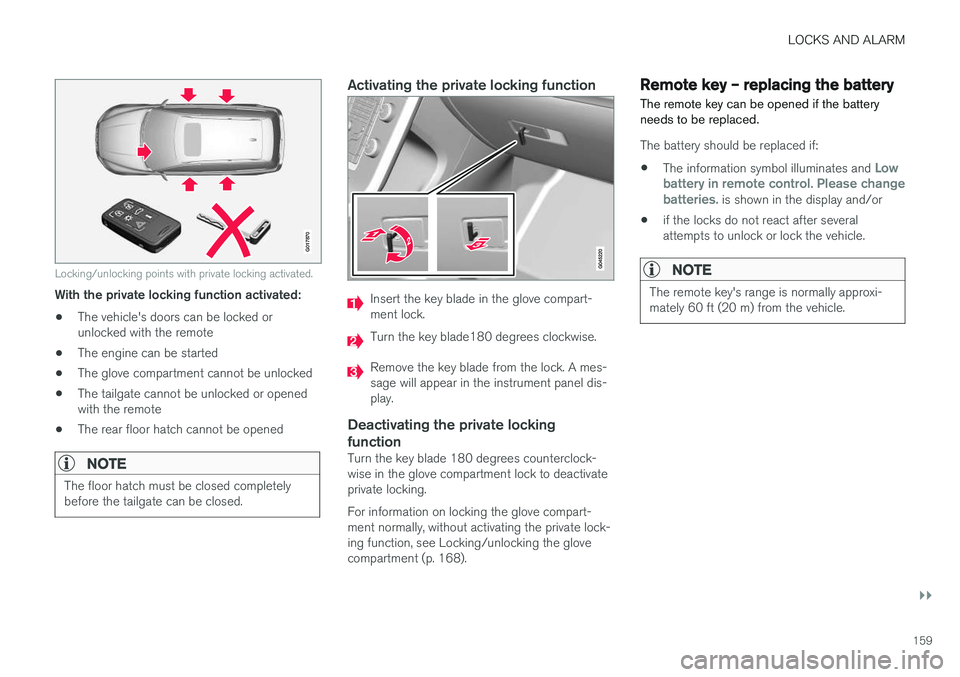
Locking/unlocking points with private locking activated.
With the private locking function activated:• The vehicle's doors can be locked or unlocked with the remote
• The engine can be started
• The glove compartment cannot be unlocked
• The tailgate cannot be unlocked or openedwith the remote
• The rear floor hatch cannot be opened
NOTE
The floor hatch must be closed completely before the tailgate can be closed.
Activating the private locking function
Insert the key blade in the glove compart- ment lock.
Turn the key blade180 degrees clockwise.
Remove the key blade from the lock. A mes- sage will appear in the instrument panel dis-play.
Deactivating the private locking function
Turn the key blade 180 degrees counterclock- wise in the glove compartment lock to deactivateprivate locking. For information on locking the glove compart- ment normally, without activating the private lock-ing function, see Locking/unlocking the glovecompartment (p. 168).
Remote key – replacing the battery The remote key can be opened if the battery needs to be replaced.
The battery should be replaced if:
• The information symbol illuminates and
Low
battery in remote control. Please change batteries.
is shown in the display and/or
• if the locks do not react after several attempts to unlock or lock the vehicle.
NOTE
The remote key's range is normally approxi- mately 60 ft (20 m) from the vehicle.
Page 170 of 404
LOCKS AND ALARM
168
Locking/unlocking – glove compartment
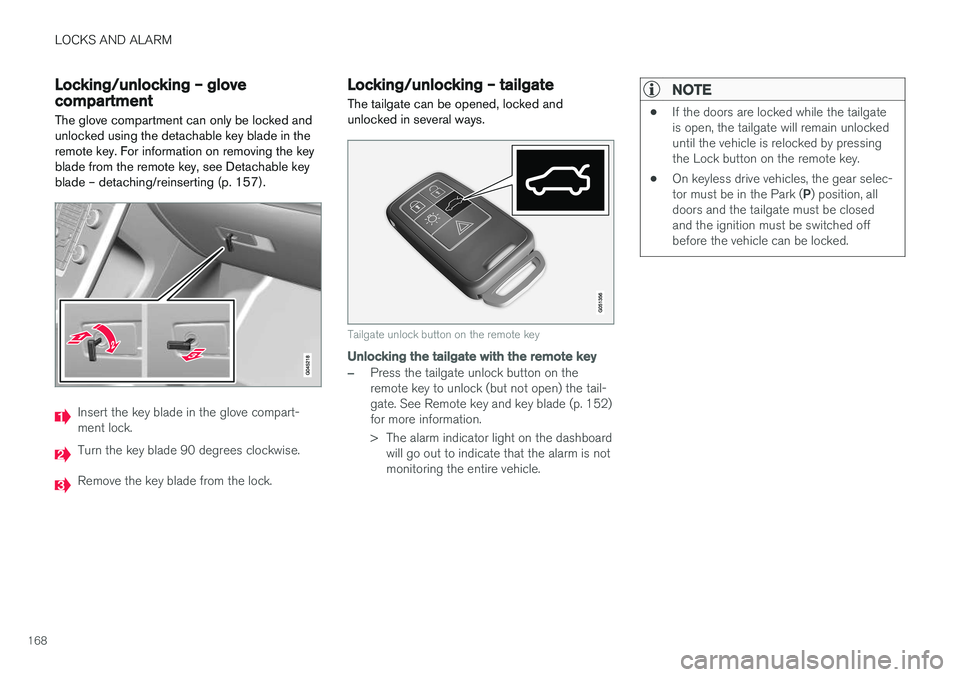
The glove compartment can only be locked and unlocked using the detachable key blade in theremote key. For information on removing the keyblade from the remote key, see Detachable keyblade – detaching/reinserting (p. 157).
Insert the key blade in the glove compart- ment lock.
Turn the key blade 90 degrees clockwise.
Remove the key blade from the lock.
Locking/unlocking – tailgate The tailgate can be opened, locked and unlocked in several ways.
Tailgate unlock button on the remote key
Unlocking the tailgate with the remote key
–Press the tailgate unlock button on the remote key to unlock (but not open) the tail-gate. See Remote key and key blade (p. 152)for more information.
> The alarm indicator light on the dashboard will go out to indicate that the alarm is not monitoring the entire vehicle.
NOTE
• If the doors are locked while the tailgate is open, the tailgate will remain unlockeduntil the vehicle is relocked by pressingthe Lock button on the remote key.
• On keyless drive vehicles, the gear selec- tor must be in the Park (
P) position, all
doors and the tailgate must be closed and the ignition must be switched offbefore the vehicle can be locked.
Page 292 of 404
STARTING AND DRIVING
290
Refueling – opening/closing fuel capIf necessary, the fuel filler door can be opened
manually.
Opening/closing the fuel cap
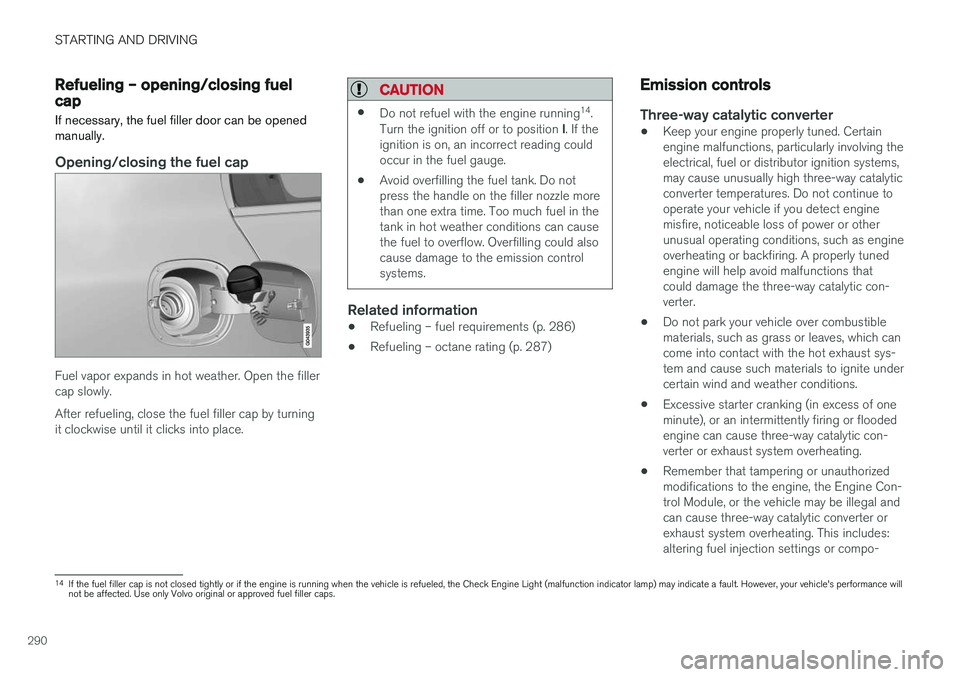
Fuel vapor expands in hot weather. Open the filler cap slowly. After refueling, close the fuel filler cap by turning it clockwise until it clicks into place.
CAUTION
• Do not refuel with the engine running 14
.
Turn the ignition off or to position I. If the
ignition is on, an incorrect reading could occur in the fuel gauge.
• Avoid overfilling the fuel tank. Do notpress the handle on the filler nozzle morethan one extra time. Too much fuel in thetank in hot weather conditions can causethe fuel to overflow. Overfilling could alsocause damage to the emission controlsystems.
Related information
•Refueling – fuel requirements (p. 286)
• Refueling – octane rating (p. 287)
Emission controls
Three-way catalytic converter
•Keep your engine properly tuned. Certain engine malfunctions, particularly involving theelectrical, fuel or distributor ignition systems,may cause unusually high three-way catalyticconverter temperatures. Do not continue tooperate your vehicle if you detect enginemisfire, noticeable loss of power or otherunusual operating conditions, such as engineoverheating or backfiring. A properly tunedengine will help avoid malfunctions thatcould damage the three-way catalytic con-verter.
• Do not park your vehicle over combustiblematerials, such as grass or leaves, which cancome into contact with the hot exhaust sys-tem and cause such materials to ignite undercertain wind and weather conditions.
• Excessive starter cranking (in excess of oneminute), or an intermittently firing or floodedengine can cause three-way catalytic con-verter or exhaust system overheating.
• Remember that tampering or unauthorizedmodifications to the engine, the Engine Con-trol Module, or the vehicle may be illegal andcan cause three-way catalytic converter orexhaust system overheating. This includes:altering fuel injection settings or compo-
14
If the fuel filler cap is not closed tightly or if the engine is running when the vehicle is refueled, the Check Engine Light (malfunction indicator lamp) may indicate a fault. However, your vehicle's performance will not be affected. Use only Volvo original or approved fuel filler caps.
Page 306 of 404
||
WHEELS AND TIRES
3043.
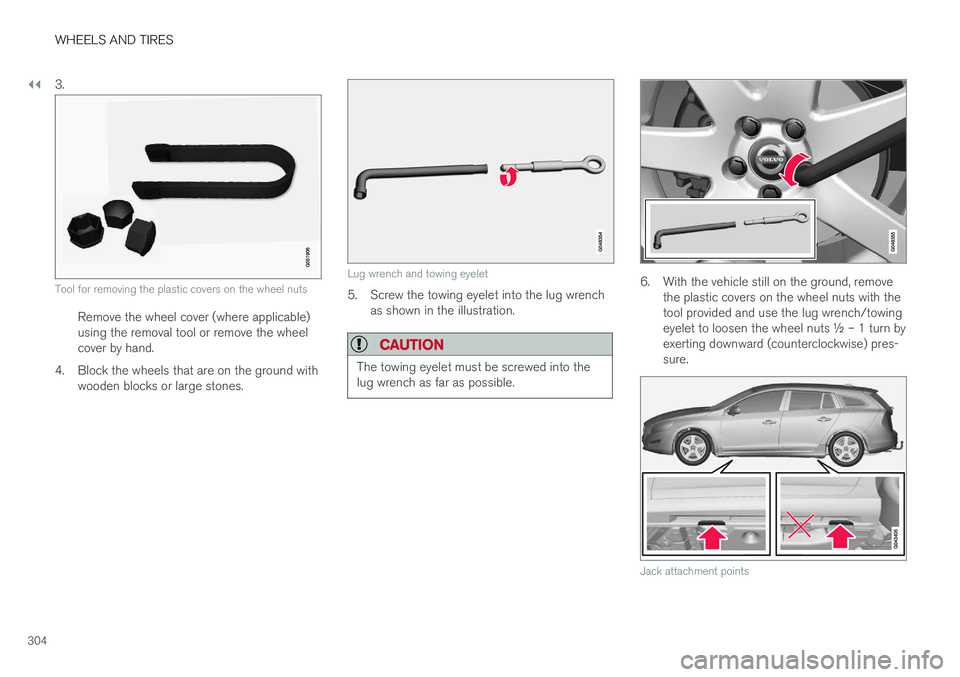
Tool for removing the plastic covers on the wheel nuts
Remove the wheel cover (where applicable) using the removal tool or remove the wheelcover by hand.
4. Block the wheels that are on the ground with wooden blocks or large stones.
Lug wrench and towing eyelet
5. Screw the towing eyelet into the lug wrenchas shown in the illustration.
CAUTION
The towing eyelet must be screwed into the lug wrench as far as possible.
6. With the vehicle still on the ground, remove the plastic covers on the wheel nuts with the tool provided and use the lug wrench/towingeyelet to loosen the wheel nuts ½ – 1 turn byexerting downward (counterclockwise) pres-sure.
Jack attachment points