remove seats VOLVO V70 2002 Owners Manual
[x] Cancel search | Manufacturer: VOLVO, Model Year: 2002, Model line: V70, Model: VOLVO V70 2002Pages: 123, PDF Size: 3.25 MB
Page 37 of 123

Move the seat as far rearward as possible for easiest access to the lumbar support control.
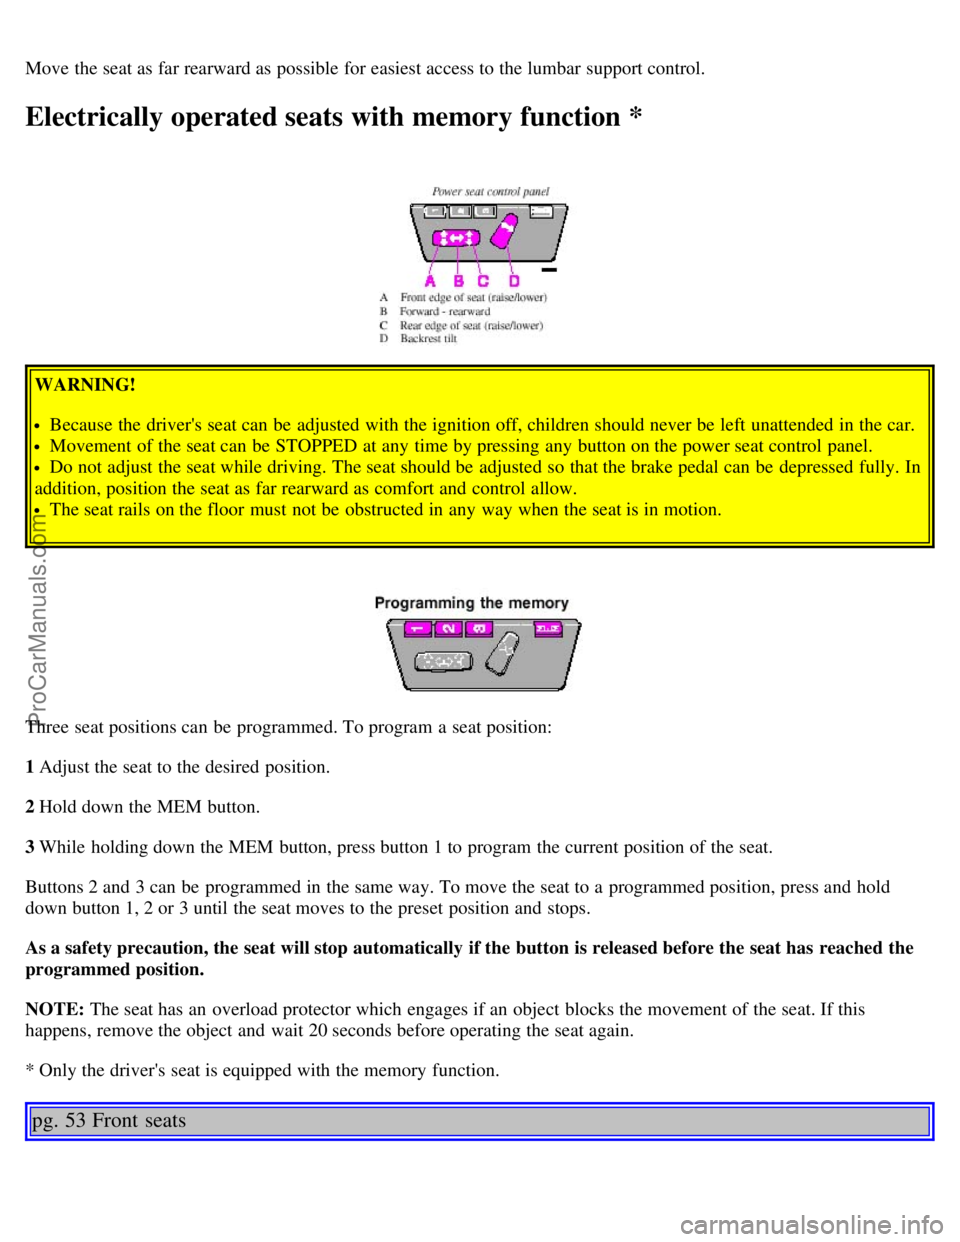
Electrically operated seats with memory function *
WARNING!
Because the driver's seat can be adjusted with the ignition off, children should never be left unattended in the car.
Movement of the seat can be STOPPED at any time by pressing any button on the power seat control panel.
Do not adjust the seat while driving. The seat should be adjusted so that the brake pedal can be depressed fully. In
addition, position the seat as far rearward as comfort and control allow.
The seat rails on the floor must not be obstructed in any way when the seat is in motion.
Three seat positions can be programmed. To program a seat position:
1 Adjust the seat to the desired position.
2 Hold down the MEM button.
3 While holding down the MEM button, press button 1 to program the current position of the seat.
Buttons 2 and 3 can be programmed in the same way. To move the seat to a programmed position, press and hold
down button 1, 2 or 3 until the seat moves to the preset position and stops.
As a safety precaution, the seat will stop automatically if the button is released before the seat has reached the
programmed position.
NOTE: The seat has an overload protector which engages if an object blocks the movement of the seat. If this
happens, remove the object and wait 20 seconds before operating the seat again.
* Only the driver's seat is equipped with the memory function.
pg. 53 Front seats
ProCarManuals.com
Page 38 of 123

Electrically operated seats - general information
Adjusting the front seats:
<="" b="">The passenger's seat can only be adjusted if the ignition key is in position I or II.
Driver's seat: The driver's seat can be adjusted if the ignition key is in position I or II (see page 52
). However, it can
also be adjusted:
Within 40 seconds after the ignition has been switched off (even if the key has been removed from the ignition
switch).
Within 40 seconds after the driver's door has been unlocked with the key or remote control and opened. The key
does not have to be in the ignition switch during this period.
Remote keyless entry system and driver's seat
The remote control transmitter also controls the electrically operated driver's seat in the following way:
Adjust the seat to your preferences.
When you leave your car, lock it using the remote control.
The next time you unlock the driver's door with the same remote control(the one you used to lock the doors with(
and open the driver's door, the driver's seat will automatically move to the position in which you left it. The seat will
move to this position even if someone else has adjusted it since you last drove the car.
NOTE:
This feature will work in the same way with all of the remote control transmitters (up to 3) that you use with your
car.
This feature will not function if you lock your car with the key.
Folding front seat backrest
The passenger seat backrest can be folded down to the horizontal position for carrying long loads. To fold down the
backrest:
Move the seat as far rearward as possible
Adjust the backrest tilt to the most upright position
Lift the catches on the lower rear side of the backrest
Without releasing the catches, push the backrest forward
Move the seat as far forward as possible
WARNING!
ProCarManuals.com
Page 82 of 123

Replacing high/low beam headlight bulbs
The headlight bulbs must be replaced from the engine compartment.
CAUTION:
Do not touch the glass on halogen bulbs with your fingers. Grease, oil or any other impurities can be carbonized onto
the bulb and cause damage to the reflector.
Be sure to use bulbs of the correct type and voltage.
To remove a defective low beam bulb:
Switch off all lights and turn the ignition switch to position 0.
Open the hood.
Remove the plastic cover over the bulb (1) by turning it counterclockwise.
Remove the connector (2).
Loosen the retaining spring (3) by first moving it to the right and then moving it down, out of the way.
Pull out the defective bulb. Note the position of the guide lug on the base of the bulb (4).
To install a new low beam bulb (H7):
Insert the new bulb, without touching the glass, with the guide lug upward (1). The bulb will only seat properly in
this position.
Move the retaining spring up and push it slightly to the left until it seats properly (2).
Press the connector into place on the bulb (3).
Reinstall the plastic cover and turn it clockwise until it is correctly in place (4). "TOP" must be upward.
NOTE: If the vertical aim of your headlights needs to be adjusted for any reason (e.g., towing a trailer for extended
periods), this should be done by an authorized Volvo retailer.
ProCarManuals.com