key VOLVO V70 2004 Owner's Manual
[x] Cancel search | Manufacturer: VOLVO, Model Year: 2004, Model line: V70, Model: VOLVO V70 2004Pages: 127, PDF Size: 3.08 MB
Page 88 of 127

Front fog lights (option)
CAUTION:
Avoid touching the glass on the bulb with your fingers.
Switch off all lights and turn the ignition key to position 0.
Turn the bulb holder slightly counterclockwise to release it.
Replace the bulb. The shape of the base of the bulb corresponds to the shape of the bulb holder.
Reinstall the bulb holder by turning it slightly clockwise. "TOP" on the holder should be upward.
* R-models: H3
Side direction indicator
Open the front door halfway.
From the inside of the fender, push the lamp housing out.
Turn the bulb holder 1/4 turn counterclockwise and pull it out from the lens.
Remove the defective bulb by pulling it straight out.
Insert a new bulb.
Reinsert the bulb holder in the lens and press the entire unit back into place on the fender.
Door step courtesy lights
The door step courtesy lights are located under the dash on the driver's and passenger's sides.
To replace a bulb:
Carefully insert a screwdriver and pry out the lens.
Replace the defective bulb.
ProCarManuals.com
Page 106 of 127

Internal CD changer
Station scan - press
TV (option on certain models)
External CD changer (option)
7. Radio - Station seek up/down
CD - Selecting next/previous track
8. Radio - Manual station selection
CD - Fast forward/backward
9. CD eject
10. Dolby Pro Logic - switching on
11. 2 channel stereo
12. 3 channel stereo
13. CD slot
14. CD random play
15. Program type
16. News
17. Traffic information
18. Automatic presetting of radio stations
19. Display
pg. 156 Audio systems HU-613/HU-803
Switch on/off
Press the knob to switch on or turn off the radio.
Volume control
Turn the knob clockwise to increase volume. Volume control is electronic and does not have an end stop. If you have
a key pad in the steering wheel, increase or decrease the volume with the + or - buttons.
Bass
ProCarManuals.com
Page 108 of 127

A - Setting station
Press the left side of the button to select lower frequencies and the right side for higher frequencies. Set frequencies are
displayed.
B - Station seek up/down
Press the left side (lower frequency) or right side (higher frequency) of the button to start the seek function. The radio
seeks the next audible station and tunes it in. Repeat the procedure to continue the seek function.
Audio system controls on the steering wheel
Station seek up/down
If you have a key pad in the steering wheel press the right or left arrow to switch between preset stations.
Scan function
Press the SCAN button (HU-613) or the SOURCE button (HU-803) to start the station scan function. When a station
is found, scanning stops for several seconds, after which scanning will continue.
Press the SCAN or SOURCE button when a station has been found if you would like to listen to that station and to
discontinue the scan function.
pg. 158 Audio systems HU-613/HU-803 - radio
ProCarManuals.com
Page 114 of 127

time to complete the training.
The programmed button on your HomeLink® Universal Transceiver should now operate your garage door opener. The
original hand -held transmitter can also be used, as desired, to operate the garage door.
The remaining two HomeLink® buttons can be programmed in the same way. In the event of any problems in
programming the HomeLink® Universal Transceiver, call toll-free 1-800-355-3515 (Internet: www.HomeLink.com
).
Operating the HomeLink® Universal Transceiver
Once programmed, the HomeLink® Universal Transceiver can be used in place of your hand -held transmitters.
To operate, the key must be turned to the "accessory" position (II) or the engine must be running. Press the
programmed HomeLink® button to activate the garage door, driveway gate, security lighting, home security system,
etc.
Your original hand -held transmitters may, of course, be used at any time.
Erasing programmed buttons
Individual buttons cannot be erased. To erase all three programmed buttons:
1. Turn the ignition key to the "accessory" position (II).
2. Hold down the two outside buttons on the HomeLink® Universal Transceiver for about 20 seconds, until
HomeLink®'s indicator light begins to flash.
3. Release both buttons.
The HomeLink® buttons can be reprogrammed using the procedures described on the previous page.
(HomeLink® information continues on the next page)
pg. 171 HomeLink® Universal Transceiver (option)
Reprogramming a single HomeLink® button
1. Press and hold the desired HomeLink® button. Do not release the button until step 3 has been completed.
2. When the indicator light begins to flash slowly (after approximately 20 seconds), position your hand -held
transmitter 2 to 5 in. (5 to 12 cm) away from the HomeLink® surface.
3. Press and hold the hand -held transmitter button. The HomeLink® indicator light will flash first slowly, then rapidly.
When the indicator light flashes rapidly, release both buttons.
The previously programmed device has now been erased and the new device can be activated by pressing the
HomeLink® button that has just been programmed. This procedure will not affect any other programmed HomeLink®
buttons.
NOTE:
Retain the original transmitter(s) for future programming procedures (e.g., if you purchase a new car).
For your own security, erase all programmed buttons on the HomeLink® Universal Transceiver when you sell your
car.
Metallic sun protection films should not be used on any windows in a car equipped with HomeLink® Universal
Transceiver. This could interfere with the transceiver's function.
ProCarManuals.com
Page 118 of 127

Climate system - general information47
Clock27
Clutch interlock89
Coat hanger61
Coin compartment59
Cold weather driving105
Combination filter48, 51
Coolant133
Cooling system - general information97
Courtesy light76
Courtesy lights (front) - replacing126
Courtesy lights - exterior76
Cruise control33
Cup holder59
Cup holder in the center console60
D
Detachable trailer hitch - installing103
Dimensions145
Direction indicators36
Distributor ignition system149
Door step courtesy lights - replacing125
Doors and locks76
Drive belt133
Driver's seat and remote keyless entry system57
Driving economy96
Driving mode indicator27
Driving mode W91, 93, 105
Driving with trunk open97
E
Economical driving96
Electric socket in cargo compartment67
Electrical system150
Electrical system - general information97
Electrically operated front seats56
Electrically operated moonroof42
Electrically operated sideview mirrors41
Electrically operated windows40
Electronic Brake Force Distribution19
Electronic Climate Control (ECC)48 - 51
Emergency Locking Retractor (ELR)14
Emergency towing100, 101
Emergency warning flashers38
Emissions systems132
Engine - specifications147
ProCarManuals.com
Page 120 of 127

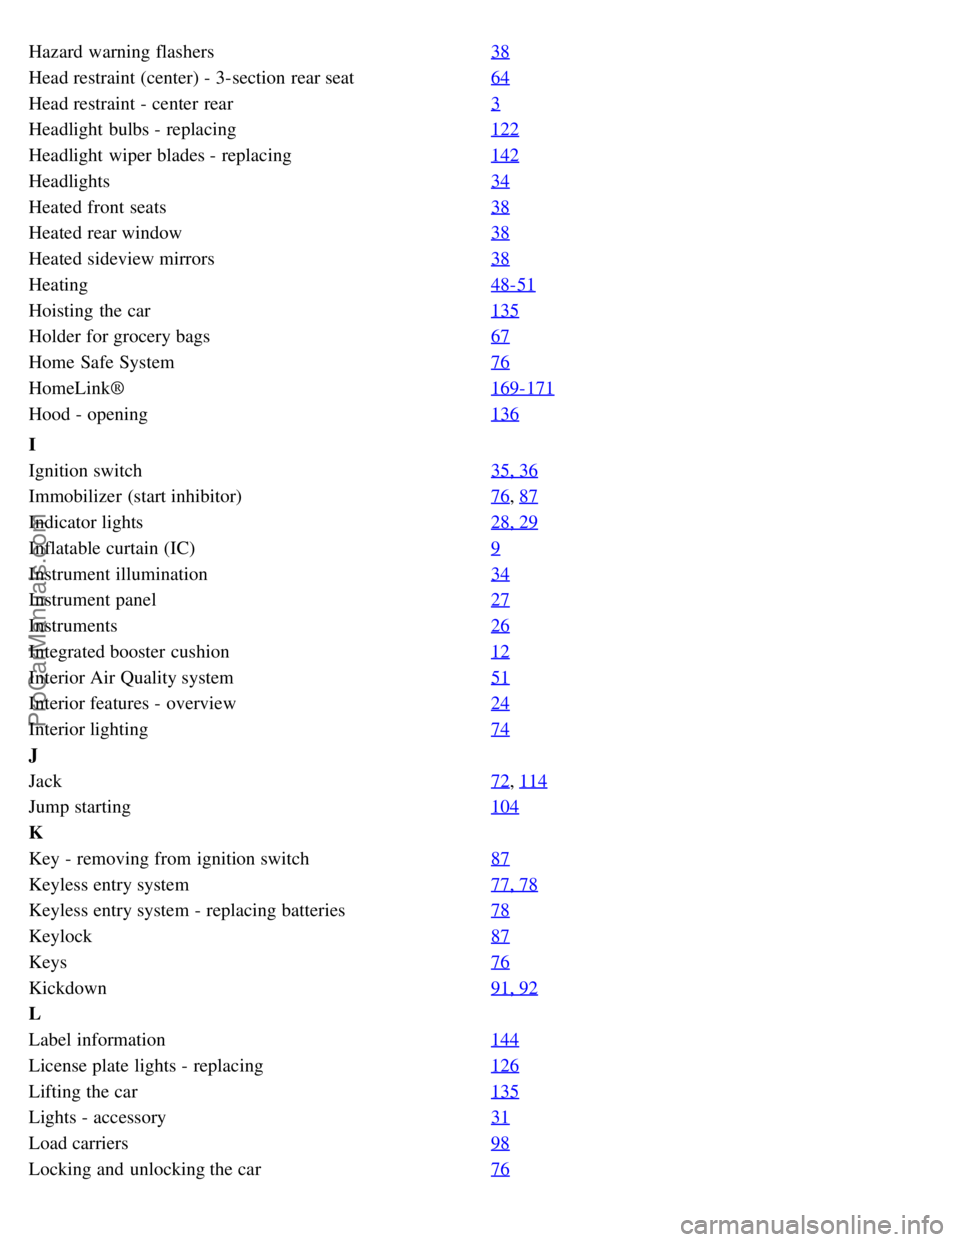
Hazard warning flashers38
Head restraint (center) - 3-section rear seat64
Head restraint - center rear3
Headlight bulbs - replacing122
Headlight wiper blades - replacing142
Headlights34
Heated front seats38
Heated rear window38
Heated sideview mirrors38
Heating48-51
Hoisting the car135
Holder for grocery bags67
Home Safe System76
HomeLink®169-171
Hood - opening136
I
Ignition switch35, 36
Immobilizer (start inhibitor)76, 87
Indicator lights28, 29
Inflatable curtain (IC)9
Instrument illumination34
Instrument panel27
Instruments26
Integrated booster cushion12
Interior Air Quality system51
Interior features - overview24
Interior lighting74
J
Jack72
, 114
Jump starting104
K
Key - removing from ignition switch87
Keyless entry system77, 78
Keyless entry system - replacing batteries78
Keylock87
Keys76
Kickdown91, 92
L
Label information144
License plate lights - replacing126
Lifting the car135
Lights - accessory31
Load carriers98
Locking and unlocking the car76
ProCarManuals.com
Page 122 of 127

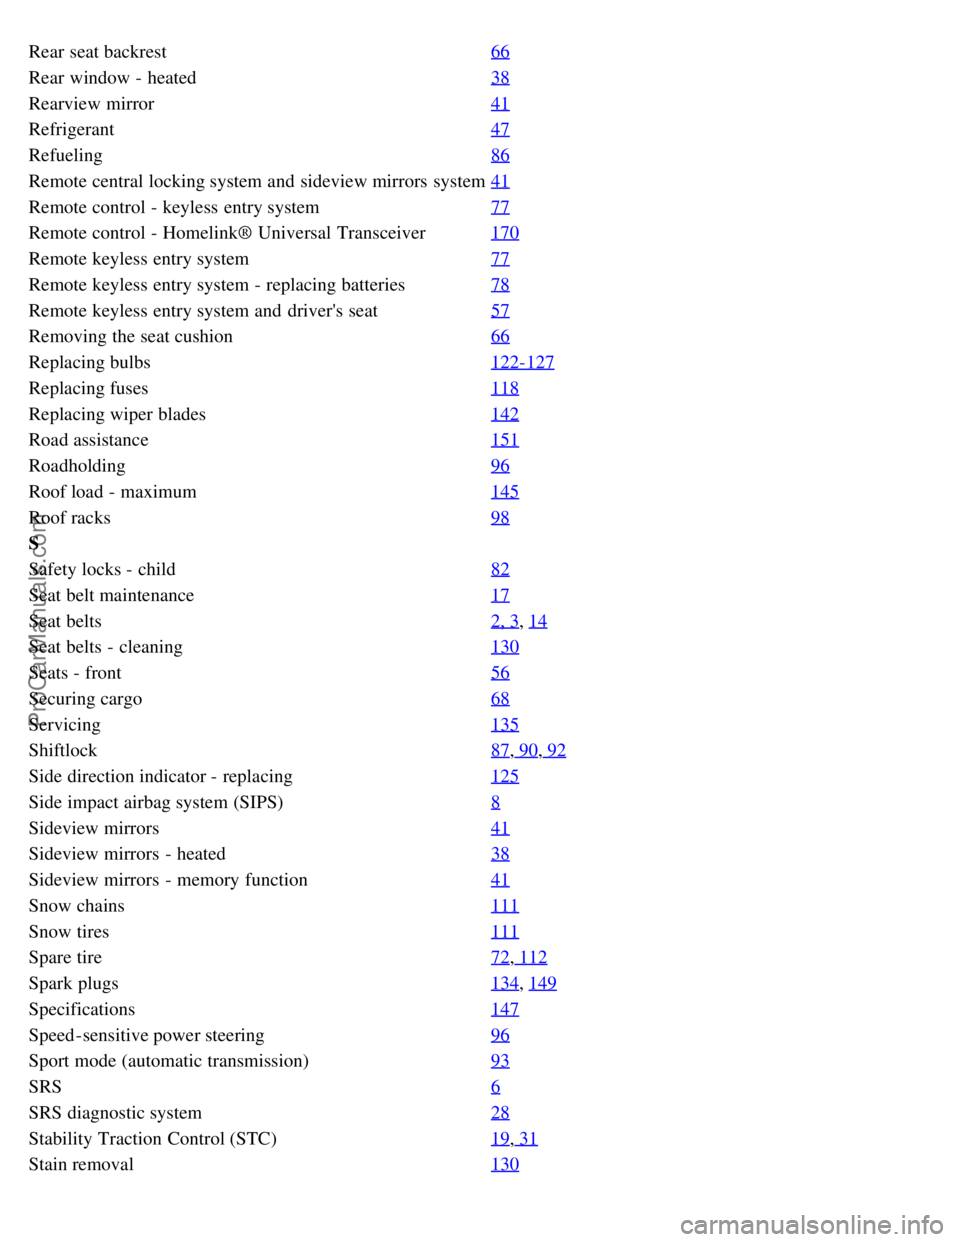
Rear seat backrest66
Rear window - heated38
Rearview mirror41
Refrigerant47
Refueling86
Remote central locking system and sideview mirrors system41
Remote control - keyless entry system77
Remote control - Homelink® Universal Transceiver170
Remote keyless entry system77
Remote keyless entry system - replacing batteries78
Remote keyless entry system and driver's seat57
Removing the seat cushion66
Replacing bulbs122-127
Replacing fuses118
Replacing wiper blades142
Road assistance151
Roadholding96
Roof load - maximum145
Roof racks98
S
Safety locks - child82
Seat belt maintenance17
Seat belts2, 3, 14
Seat belts - cleaning130
Seats - front56
Securing cargo68
Servicing135
Shiftlock87, 90, 92
Side direction indicator - replacing125
Side impact airbag system (SIPS)8
Sideview mirrors41
Sideview mirrors - heated38
Sideview mirrors - memory function41
Snow chains111
Snow tires111
Spare tire72, 112
Spark plugs134, 149
Specifications147
Speed -sensitive power steering96
Sport mode (automatic transmission)93
SRS6
SRS diagnostic system28
Stability Traction Control (STC)19, 31
Stain removal130
ProCarManuals.com