mirror VOLVO V70 2004 Owners Manual
[x] Cancel search | Manufacturer: VOLVO, Model Year: 2004, Model line: V70, Model: VOLVO V70 2004Pages: 127, PDF Size: 3.08 MB
Page 18 of 127

2 0 0 4
VOLVO V70
Chapter 2 - Instruments, switches and controls
pg. 23 Instruments, switches and controls
Interior24
Exterior25
Instruments26
Instrument panel27
Indicator and warning lights28
Text information window30
Switches in the center console31
Trip computer32
Cruise control33
Light switch panel34
Steering wheel adjustment/lock35
Ignition switch, Turn signals36
Windshield wipers/washers37
Warning flashers, heated mirrors/rear window, heated front seats38
Parking brake, auxiliary socket/ashtrays39
Electrically operated windows40
Rearview/sideview mirrors41
Power moonroof42
pg. 24 Interior
ProCarManuals.com
Page 31 of 127

pg. 49 Electronic Climate Control (ECC)
AUTO
This function automatically regulates the Electronic Climate Control system so that the selected temperatures are
maintained. The blower, heating, air distribution (air flow) and air conditioning are controlled. If you prefer to
manually set any of these functions, the remaining functions will still be controlled automatically. Pressing the AUTO
button overrides any settings that were previously made manually.
Temperature
These controls are used to individually set the temperature for both sides of the passenger compartment. Please note
that the compartment will not be heated or cooled faster by setting the temperature higher or lower than necessary. Set
the control to the temperature you prefer.
Defroster
This function demists/de-ices the windshield and front side windows. The LED in the switch will light up to indicate
that the defrost function is engaged. Blower speed increases automatically and the air in the passenger compartment is
dehumidified. Recirculation will not function while defrost is engaged.
Heated rear window/sideview mirrors
ProCarManuals.com
Page 32 of 127

This function demists/de-ices the rear window and sideview mirrors. The LED in the switch will light up to indicate
that the heating function is engaged. See page 38 for additional information on this function.
CAUTION:
Never use ice scrapers made of metal as they can easily scratch the mirror surface.
pg. 50 Electronic Climate Control (ECC) - manual settings
Recirculation (see also page 48)
Press this switch to engage the recirculation function (air in the passenger compartment recirculates - no fresh air
enters the compartment). The LED in the switch will light up to indicate that the function is engaged.
Use this function if the outside air is contaminated with exhaust gases, smoke, etc or to heat/cool the car quickly.
Recirculation should not be used for more than 15 minutes. If your windows begin to fog or mist, make sure that the
recirculation function is switched off.
Selecting Defroster automatically switches recirculation off.
Timer mode activation: (Cars with Interior Air Quality system have no timer mode) Press and hold the recirculation
button for at least 3 seconds to activate a recirculation timer mode. The amber LED in the recirculation button will
flash 5 times to show that the timer mode is being activated. In the timer mode, each time the recirculation button is
pressed, the climate control system will recirculate the air in the passenger compartment for 5-12 minutes, depending
on the outside air and then revert back to fresh air.
Timer mode deactivation: Press and hold the recirculation button for at least 3 seconds. The amber LED in the
recirculation button will illuminate steadily for 5 seconds to show a return to "normal" mode.
In normal mode, when the recirculation button is pressed, the climate control system will recirculate the air in the
passenger compartment until the recirculation button is pressed again.
Timer mode memory: If the car is turned off while timer mode is active, timer mode will still be active when the
car is restarted.
Heated front seats (option)
Please see page 38 for more information on this function.
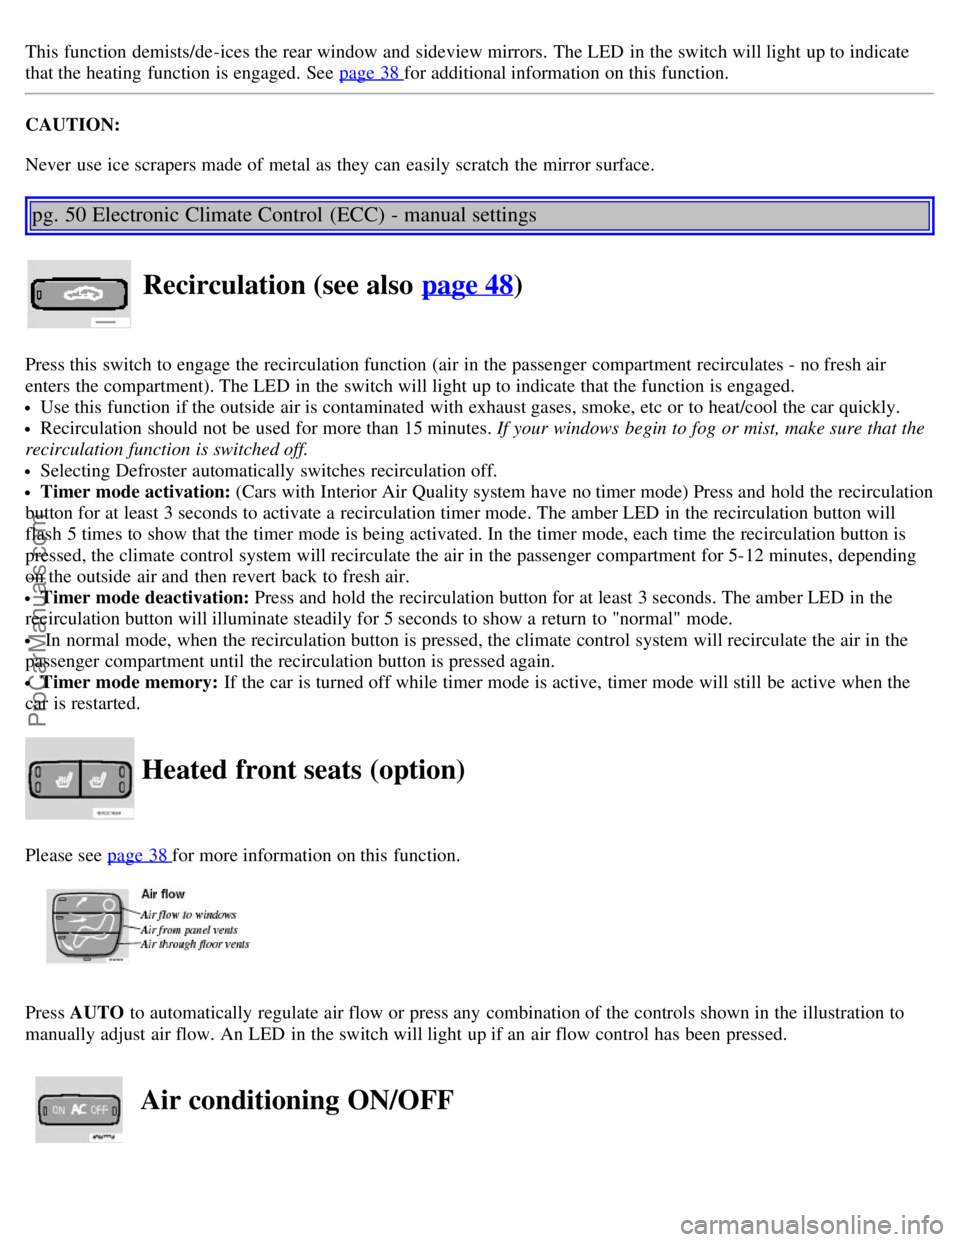
Press AUTO to automatically regulate air flow or press any combination of the controls shown in the illustration to
manually adjust air flow. An LED in the switch will light up if an air flow control has been pressed.
Air conditioning ON/OFF
ProCarManuals.com
Page 34 of 127

You can switch between these three functions by repeatedly pressing
Keep the following in mind:
Make it a rule to have the Air quality sensor activated at all times.
Recirculation is limited in cold climates to avoid misting up.
If misting occurs, you should deactivate the Air quality sensor.
If the windows mist up, you can also use the windshield and side window defroster functions. See page 49.
The filter should be changed at the intervals listed in the Warranty and Service Records Information booklet.
However, if the car is used in a severely contaminated environment, it may be necessary to change the filter more
frequently.
pg. 52 Manual climate control with air conditioning, A/C
pg. 53 Manual climate control with air conditioning, A/C
A/C - ON/OFF
The air conditioning function is engaged by pressing ON and disengaged by pressing OFF. When you select Defroster
, the air conditioning is automatically engaged if the fan is not set to position 0.
Heated front seats (option)
Please see page 38 for more information on this function.
Heated rear window/sideview mirrors
ProCarManuals.com
Page 35 of 127

This function demists/de-ices the rear window and sideview mirrors. The LED in the switch will light up to indicate
that the heating function is engaged. See page 38
for additional information on this function.
CAUTION:
Never use ice scrapers made of metal as they can easily scratch the mirror surface.
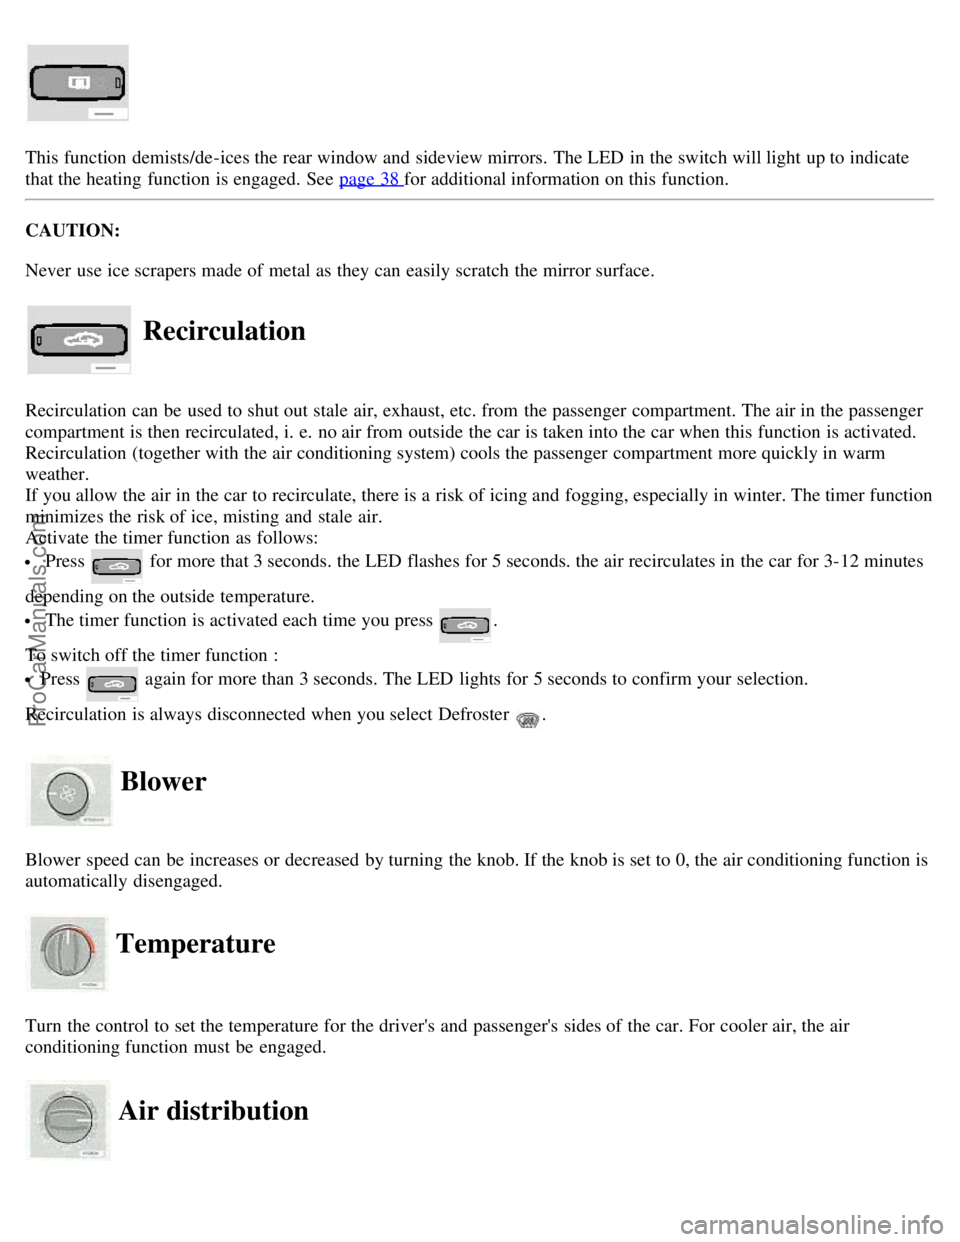
Recirculation
Recirculation can be used to shut out stale air, exhaust, etc. from the passenger compartment. The air in the passenger
compartment is then recirculated, i. e. no air from outside the car is taken into the car when this function is activated.
Recirculation (together with the air conditioning system) cools the passenger compartment more quickly in warm
weather.
If you allow the air in the car to recirculate, there is a risk of icing and fogging, especially in winter. The timer function
minimizes the risk of ice, misting and stale air.
Activate the timer function as follows:
Press for more that 3 seconds. the LED flashes for 5 seconds. the air recirculates in the car for 3-12 minutes
depending on the outside temperature.
The timer function is activated each time you press .
To switch off the timer function :
Press again for more than 3 seconds. The LED lights for 5 seconds to confirm your selection.
Recirculation is always disconnected when you select Defroster
.
Blower
Blower speed can be increases or decreased by turning the knob. If the knob is set to 0, the air conditioning function is
automatically disengaged.
Temperature
Turn the control to set the temperature for the driver's and passenger's sides of the car. For cooler air, the air
conditioning function must be engaged.
Air distribution
ProCarManuals.com
Page 46 of 127

One turn with the key towards lock in the drivers door locks all doors and tailgate.
Use the switch on the front door armrests to lock/unlock the car from the inside.WARNING!
If the doors are locked while driving, this may hinder rapid access to the occupants of the car in the event of an
accident. (Also see information on "Child safety locks").
NOTE: To help prevent accidentally locking the keys in the car, the central locking system is designed to unlock the
doors immediately if the key is left in the ignition switch, the car is locked using the lock button on the door and the
door is then closed. A sound from the lock will be audible at this time.
Please note that this function will not unlock the doors if the engine is running.
Immobilizer (start inhibitor)
Each of the keys supplied with your car contains a coded transmitter. The code in the key is transmitted to an antenna
in the ignition switch where it is compared to the code stored in the start inhibitor module. The car will start only with
a properly coded key. If you misplace a key, take the other keys to an authorized Volvo retailer for reprogramming as
an antitheft measure.
*This key operates only driver's door and ignition switch/steering wheel lock.
This device complies with part 15 of the FCC rules. Operation is subject to the following condition: (1) This device
may not cause harmful interference, and (2) this device must accept any interference received, including interference
that may cause undesired operation.
Exterior courtesy lights
Home Safe System
When you leave your car at night, you can make use of the courtesy lighting function:
Remove the key from the ignition switch.
Pull the direction indicator lever towards the steering wheel (as when activating the high beams).
Exit the car and lock the doors.
The headlights, parking lights, license plate lights and the lights in the sideview mirrors will now come on and remain
on for 30, 60 or 90 seconds (the time interval is at your discretion and can be changed by an authorized Volvo retailer).
Approach lighting
When approaching the car at night, press the yellow button in the central locking remote control (see illustration on
page 77
). This lights up the interior courtesy light, parking lights, license plate lights and the lights in the sideview
mirrors.
pg. 77 Remote keyless entry system
ProCarManuals.com
Page 47 of 127

Remote keyless entry system
Your car is equipped with two coded remote control transmitters with integrated ignition keys called Key Integrated
Remote (KIR). These transmitters use a radio frequency that will enable you to lock/unlock all doors and the tailgate
from a distance of 10-15 feet (3-5 meters).
The transmitters will also activate or allow "keyless" entry into the passenger compartment or the tailgate. They will
also activate or deactivate the vehicle's alarm system(s).
The car can also be locked/unlocked with the key.
If one of the transmitters is misplaced, contact your nearest authorized Volvo retailer for replacement.
Buttons in remote control
1 - Fold key in/out, 2 - Lock, 3 - Approach lighting
4 - "Panic" function *, 5 - Unlock tailgate, 6 - Unlock
Using the remote control
Button 1: Press to extend the key. This button must also be pressed when the key is folded back into the slot in the
side of the remote control unit.
Button 2 ( Lock): Press once to lock all doors, and the tailgate.
Button 3 ( Approach lighting ): Press this button when approaching the car at night to light up the interior courtesy
light, parking lights, license plate lights and the lights in the sideview mirrors.
Button 4 ( Panic): See page 80
for more information on this function.
Button 5 ( Tailgate unlock ): Press this button twice within 3 seconds to unlock the tailgate (without unlocking the
other doors).
Button 6 ( Unlock): Press this button once to unlock the driver's door only. Wait for at least 1 second and press the
ProCarManuals.com
Page 56 of 127

Open the fuel filler cap slowly during hot weather conditions.
NOTE: During a transitional period, a small number of service stations may still have fuel nozzles that are not
compatible with the fuel filler neck on cars equipped with the evaporative control system. Please refer to page 132
for
additional information.
WARNING!
Never carry a cell phone that is switched on while refueling your vehicle. If the phone rings, this may cause a spark
that could ignite gasoline fumes, resulting in fire and injury.
CAUTION:
Do not refuel with the engine running *. Turn the ignition off or to position I. If the ignition is on, an incorrect
reading could occur in the fuel gauge.
After refueling, close the fuel filler cap by turning it clockwise until it clicks into place *.
Allow for fuel expansion by not overfilling the tank. Overfilling could also cause damage to the emission control
systems.
Avoid spilling gasoline when refueling. In addition to causing damage to the environment, gasolines containing
alcohol can cause damage to painted surfaces, which may not be covered under the New Vehicle Limited Warranty.
Do not use gasolines containing methanol (methyl alcohol, wood alcohol). This practice can result in vehicle
performance deterioration and can damage critical parts in the fuel system. Such damage may not be covered under the
New Vehicle Limited Warranty.
* If the fuel filler cap is not closed tightly or if the engine is running when the car is refueled, the Check Engine light
(malfunction indicator lamp) may indicate a fault. However, your vehicle's performance will not be affected. Use only
Volvo original or approved fuel filler caps.
pg. 87 Starting the engine
Starting the engine
1. Fasten the seat belt.
WARNING!
Before starting, check that the seat, steering wheel and mirrors adjusted properly. Make sure the brake pedal can be
depressed completely. Adjust the seat if necessary. See page 56.
2. Apply the parking brake, if not already set. The gear selector ( automatic transmission) is locked in the (P)ark
position ( SHIFT -LOCK ). Manual transmission: the clutch must be fully depressed.
3. Without touching the accelerator pedal, turn the ignition key* to the starting position. Allow the starter to operate
for up to 10 seconds. Release the key as soon as the engine starts. If the engine fails to start, repeat this step.
For cold starts at altitudes above 6000 ft (1800 meters), depress the accelerator pedal halfway and turn the key to the
starting position. Release the pedal slowly when the engine starts.
NOTE:
On certain models, when the car is started, idle speed may be noticeably higher than normal for a short period,
depending on the temperature of the engine.
This has been done to help bring components in the emission control system to their normal operating temperature as
quickly as possible, which enables them to function normally.
For cold starts at altitudes above 6000 ft (1800 meters), depress the accelerator pedal halfway and turn the key to the
ProCarManuals.com
Page 82 of 127

LocationAmperage
1 Low beam headlights 15A
2 High beam headlights 20A
3 Power driver's seat 30A
4 Power passenger's seat 30A
5 Speed -dependent power steering, vacuum pump 15A
6 -
7 Heated seat - front left (option) 15A
8 Heated seat - front right (option) 15A
9 ABS/STC/DSTC 5A
10 Daytime running lights 10A
11 Daytime running lights 10A
12 Headlight wipers (certain models) 15A
13 Electric socket 12 V 15A
14 Power passenger's seat 5A
15 Audio system, VNS 5A
16 Audio system 20A
17 Audio amplifier 30A
18 Front fog lights 15A
19 VNS display 10A
20 -
21 Automatic transmission, shiftlock, extended D2 feed 10A
22 Direction indicators 20A
23 Headlight switch module, climate control system, onboard diagnostic connector,
steering wheel lever modules 5A
24 Relay for extended D1 feed: climate control system, power driver's seat, driver's info 10A
25 Ignition switch, relay starter motor, SRS, engine control module 10A
26 Climate control system blower 30A
27 -
28 Electronic module - courtesy lighting 10A
29 -
30 Left front/rear parking lights 7.5A
31 Right front/rear parking lights, license plate lights 7.5A
32 Central electrical module, vanity mirror lightings,
glove compartment light, interior courtesy lighting 10A
ProCarManuals.com
Page 83 of 127

33 Fuel pump15A
34 Power moonroof15A
35 Central locking system, power windows - left door mirror 25A
36 Central locking system, power windows - right door mirror 25A
37 Rear power windows 30A
38 Alarm siren 5A
* Please be aware that if this fuse is not intact, or if it is removed, the alarm will sound.
pg. 121 Fuses in the cargo area
Fuses in the cargo area
The fuses in the cargo area are located on the trim on the left-hand side. When replacing a blown fuse, be sure to
replace it with a new one of the same color and amperage (written on the fuse).
Ordinary fuses
LocationAmperage
1 Rear electrical module, cargo area lighting 10A
2 Rear fog light 10A
3 Brake lights 15A
4 Backup lights 10A
5 Rear window defroster, relay 15I - accessories 5A
6 Unlocking tailgate 10A
7 Auxiliary 12 volt socket in cargo area (option) 15A
8 Central locking rear doors/fuel filler door 20A
9 Trailer hitch(30 feed) 15A
10 CD changer, VNS 10A
11 Accessory control module (AEM) 15A
12 Tailgate wiper 15A
13 Loudspeaker (subwoofer) cargo area - option 15A
14 Brake lights 7.5A
15 Trailer hitch (15I feed) 20A
16 -
ProCarManuals.com