warning light VOLVO V70 2005 Owner's Manual
[x] Cancel search | Manufacturer: VOLVO, Model Year: 2005, Model line: V70, Model: VOLVO V70 2005Pages: 139, PDF Size: 3.84 MB
Page 78 of 139
panel, and will display a message in the text window. The wording of this message is determined by the degree of
inflation pressure loss.
When the tire pressure monitoring system warning light is on, one or more of your tires is significantly under-inflated.
You should stop and check your tires as soon as possible, and inflate them to the proper pressure as indicated on the
vehicle's tire information placard.
Driving on a significantly under-inflated tire causes the tire to overheat and can lead to tire failure. Under-inflation
also reduces fuel efficiency and tire tread life, and may affect the vehicle's handling and stopping ability. Each tire,
including the spare, should be checked monthly when cold and set to the recommended inflation pressure as specified
in the vehicle placard and owner's manual.
NOTE: TPMS indicates low tire pressure but does not replace normal tire maintenance. For information on correct tire
pressure, please refer to the table on page 117
, or consult your Volvo retailer.
Erasing warning messages
When a low tire pressure warning message has been displayed, and the tire pressure warning light has come on:
1. Use a tire pressure gauge to check the inflation pressure of all four tires.
2. Re-inflate the tire(s) to the correct pressure (consult the tire pressure placard or the table on page 117
).
3. Drive the car for at least one minute at a speed of 20 mph (30 km/h) or faster.
This will erase the warning text and the warning light will go out.
WARNING!
Incorrect inflation pressure could lead to tire failure, resulting in a loss of control of the vehicle.
Changing tires
Please note the following when changing or replacing the factory installed TPMS wheels/tires on the vehicle:
Only the factory-mounted wheels are equipped with TPMS sensors in the valves.
If the vehicle is equipped with a temporary spare tire, this tire does not have a TPMS sensor.
If, for example, winter wheels/tires are used that are not equipped with TPMS sensors, the message TIRE PRESSURE
SYSTEM SERVICE REQUIRED will be displayed after the car has been driven for several minutes at approximately
35 mph (50 km/h) or faster.
This message will remain on until wheels with TPMS sensors are mounted on the vehicle and it has been driven for at
least one minute at a speed of 20 mph (30 km/h) or faster.
TPMS valves can be fitted on winter wheels or full-size spare wheels/tires. Consult your Volvo retailer.
CAUTION!
When inflating tires with TPMS valves, press the pump's mouthpiece straight onto the valve to help avoid bending or
otherwise damaging the valve.
pg. 119 Wheels and tires
Self supporting run flat tires (option)
Certain models equipped with the Tire Pressure Monitoring System (TPMS) can also be equipped with self supporting
run flat tires.
Tires of this type have specially reinforced sidewalls that make it possible to continue driving in the event of a drop in
inflation pressure. Tires of this type are mounted on special rims.
NOTE: Self supporting run flat tires are only available in conjunction with TPMS.
If a self supporting run flat tire should lose inflation pressure, the yellow TPMS warning symbol (
) in the instrument
panel lights up to alert the driver, and a message will be shown in the text window in the instrument panel.
ProCarManuals.com
Page 86 of 139
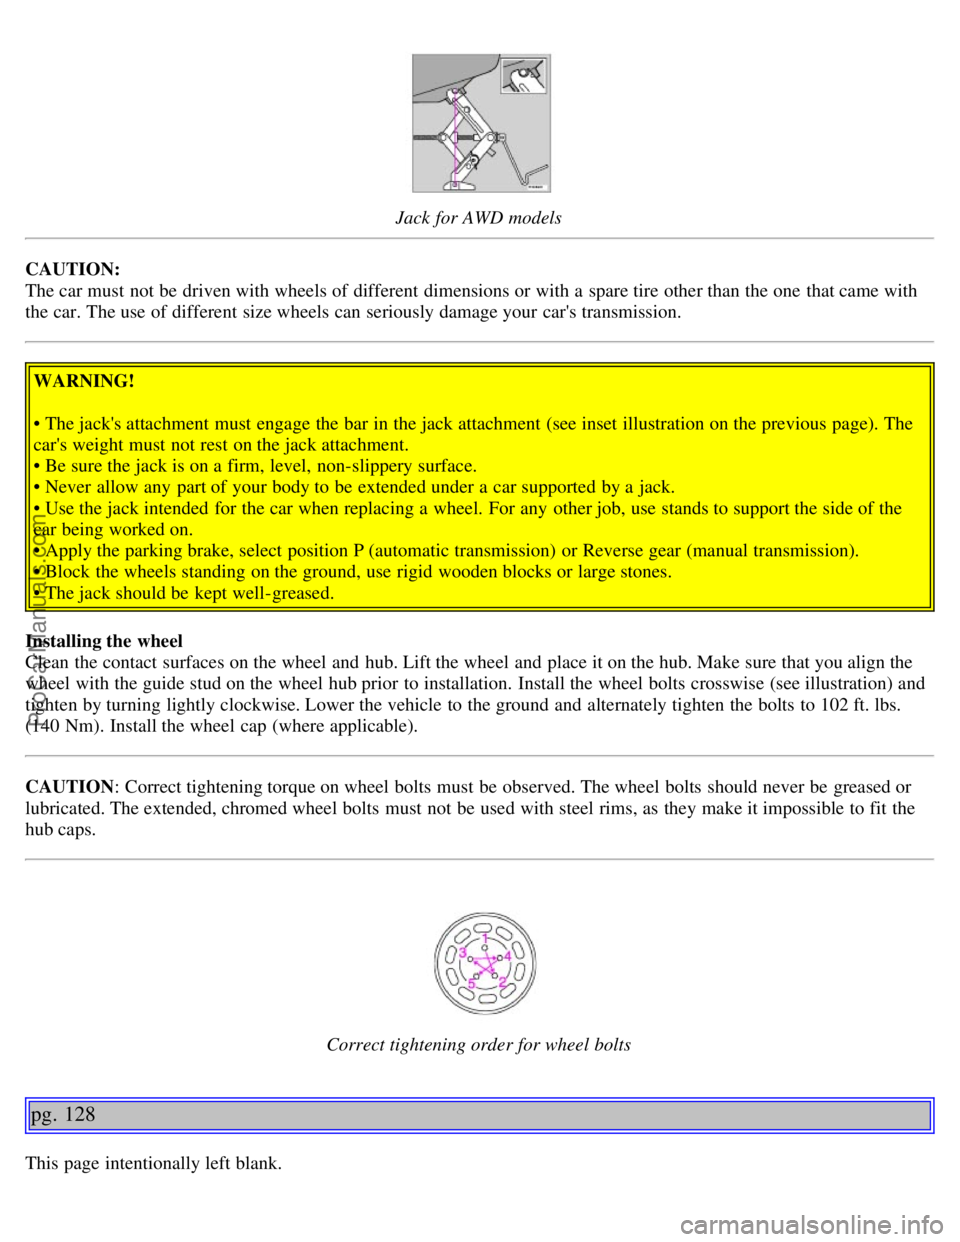
Jack for AWD models
CAUTION:
The car must not be driven with wheels of different dimensions or with a spare tire other than the one that came with
the car. The use of different size wheels can seriously damage your car's transmission.
WARNING!
• The jack's attachment must engage the bar in the jack attachment (see inset illustration on the previous page). The
car's weight must not rest on the jack attachment.
• Be sure the jack is on a firm, level, non-slippery surface.
• Never allow any part of your body to be extended under a car supported by a jack.
• Use the jack intended for the car when replacing a wheel. For any other job, use stands to support the side of the
car being worked on.
• Apply the parking brake, select position P (automatic transmission) or Reverse gear (manual transmission).
• Block the wheels standing on the ground, use rigid wooden blocks or large stones.
• The jack should be kept well-greased.
Installing the wheel
Clean the contact surfaces on the wheel and hub. Lift the wheel and place it on the hub. Make sure that you align the
wheel with the guide stud on the wheel hub prior to installation. Install the wheel bolts crosswise (see illustration) and
tighten by turning lightly clockwise. Lower the vehicle to the ground and alternately tighten the bolts to 102 ft. lbs.
(140 Nm). Install the wheel cap (where applicable).
CAUTION : Correct tightening torque on wheel bolts must be observed. The wheel bolts should never be greased or
lubricated. The extended, chromed wheel bolts must not be used with steel rims, as they make it impossible to fit the
hub caps.
Correct tightening order for wheel bolts
pg. 128
This page intentionally left blank.
ProCarManuals.com
Page 95 of 139
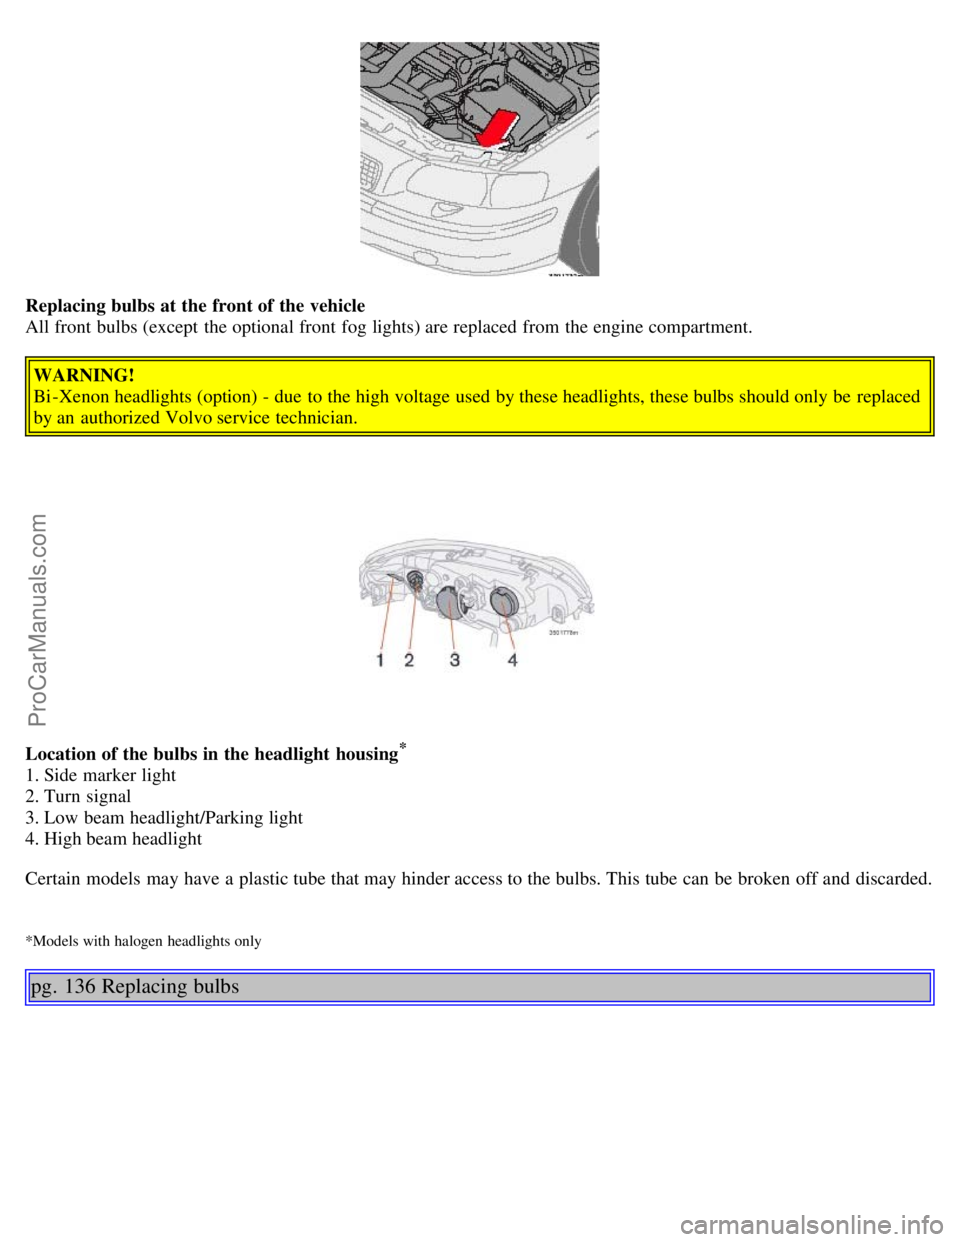
Replacing bulbs at the front of the vehicle
All front bulbs (except the optional front fog lights) are replaced from the engine compartment.
WARNING!
Bi -Xenon headlights (option) - due to the high voltage used by these headlights, these bulbs should only be replaced
by an authorized Volvo service technician.
Location of the bulbs in the headlight housing
*
1. Side marker light
2. Turn signal
3. Low beam headlight/Parking light
4. High beam headlight
Certain models may have a plastic tube that may hinder access to the bulbs. This tube can be broken off and discarded.
*Models with halogen headlights only
pg. 136 Replacing bulbs
ProCarManuals.com
Page 114 of 139
The battery contains corrosive and poisonous acids. It is of the utmost importance that old batteries are disposed of
correctly. Your Volvo retailer can assist you in this matter.
Generator
Rated output: max. current: 140 A
Starter motor:
Output: 1.7 kW
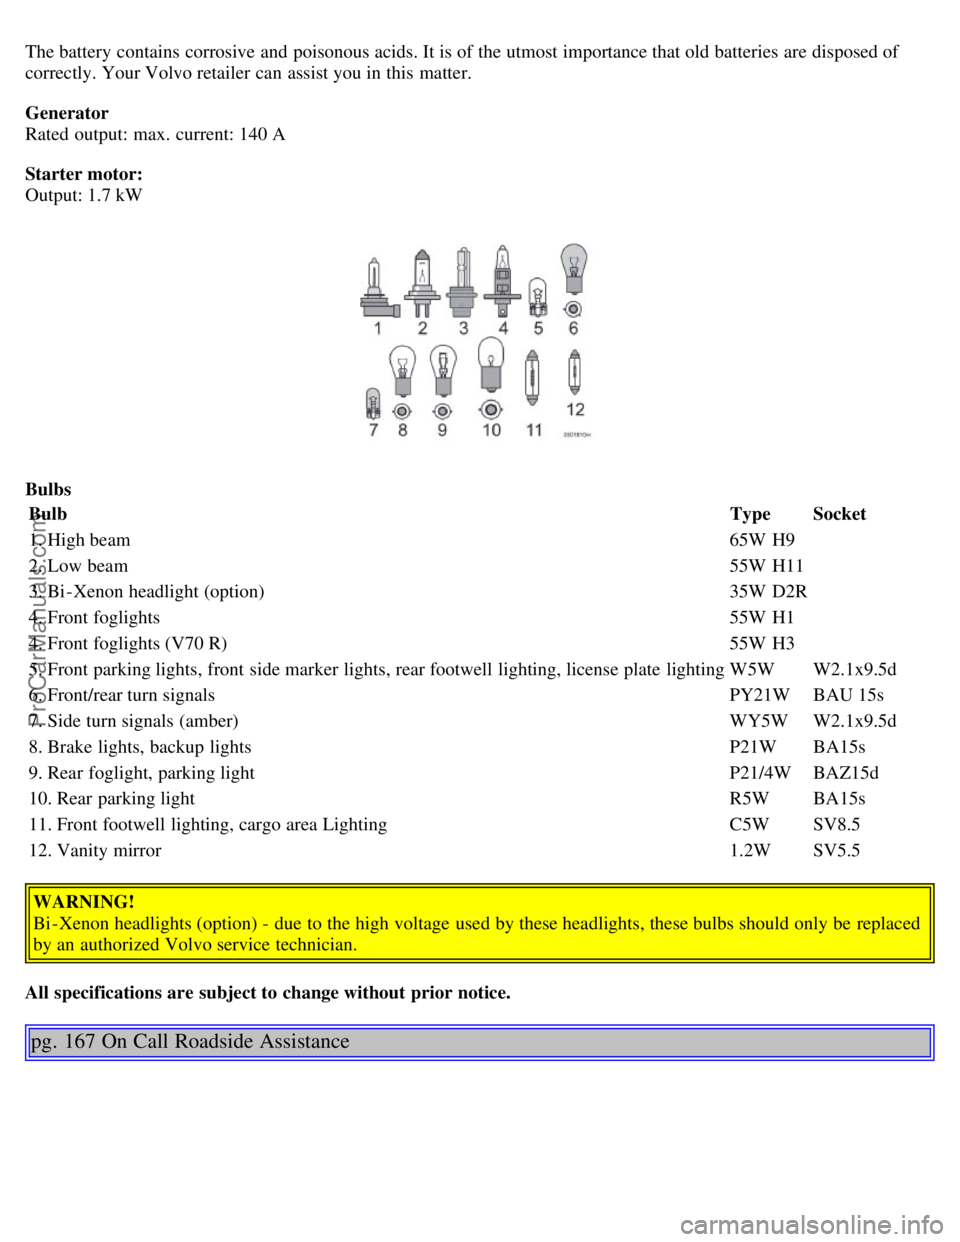
BulbsBulb Type Socket
1. High beam 65W H9
2. Low beam 55W H11
3. Bi -Xenon headlight (option) 35W D2R
4. Front foglights 55W H1
4. Front foglights (V70 R) 55W H3
5. Front parking lights, front side marker lights, rear footwell lighting, license plate lighting W5W W2.1x9.5d
6. Front/rear turn signals PY21W BAU 15s
7. Side turn signals (amber) WY5W W2.1x9.5d
8. Brake lights, backup lights P21W BA15s
9. Rear foglight, parking light P21/4W BAZ15d
10. Rear parking light R5W BA15s
11. Front footwell lighting, cargo area Lighting C5W SV8.5
12. Vanity mirror 1.2W SV5.5
WARNING!
Bi -Xenon headlights (option) - due to the high voltage used by these headlights, these bulbs should only be replaced
by an authorized Volvo service technician.
All specifications are subject to change without prior notice.
pg. 167 On Call Roadside Assistance
ProCarManuals.com
Page 125 of 139

been successfully programmed. Release both buttons.
5. If you are programming a rolling code-equipped device (e.g., garage door opener or entry door lock), refer to
"Programming rolling codes" on the next page to complete the programming process.
Repeat steps 3 and 4 to program the other two transceiver buttons.
If, after several attempts, you are unable to successfully train the HomeLink® Universal Transceiver to learn your
hand -held transmitter's signal, contact HomeLink® toll-free 1-800-355-3515 (Internet: www.HomeLink.com
).
WARNING!
If you use HomeLink® to open a garage door or gate, be sure no one is near the gate or door while it is in motion.
Do not use the HomeLink® Universal Transceiver with any garage door opener that lacks safety "stop" and
"reverse" features as required by federal safety standards. (This includes any garage door opener model
manufactured before April 1, 1982) A garage door opener that cannot "detect" an object, signalling the door to
"stop" and "reverse" does not meet current federal safety standards. Using a garage door opener without these
features increases the risk of serious injury or death. For more information on this matter, call toll-free 1-800-355-
3515 (Internet: www.HomeLink.com
).
pg. 187 HomeLink® Universal Transceiver (option)
NOTE - Canadian residents:
During programming, your hand -held transmitter may automatically stop transmitting. To successfully train
HomeLink®, continue to hold the HomeLink® button. At the same time, repeatedly press and hold your hand -held
transmitter's button at two -second intervals until HomeLink® has learned your transmitter's code. The HomeLink®
indicator light will flash first slowly, and then rapidly to indicate that the button has been successfully programmed.
Determining if your garage door uses a rolling code
Determine, in one of the following ways, if your garage door uses a rolling code system and is manufactured after
1996:
Refer to the garage door opener owner's manual for verification.
If your hand -held transmitter appears to program the HomeLink® Universal Transceiver but the programmed button
does not activate the garage door, your garage door opener may have a rolling code.
Press the programmed HomeLink® button. If the garage door opener has the rolling code feature, the HomeLink®
indicator light flashes rapidly and then glows steadily after approximately 2 seconds.
To train a rolling code garage door opener, follow these instructions after programming the desired transceiver
button according to "Programming the transceiver." The help of a second person may make training easier.
1. Locate the training button on the garage door opener motor head unit . The location and color of the training button
may vary. If you encounter difficulty, refer to the garage door opener owner's manual or call toll-free 1-800-355-3515
(Internet: www.HomeLink.com
).
2. Press the "training" button on the garage door opener motor head unit until the "training" light comes on.
3. Press and release the programmed HomeLink® button. Press and release the programmed HomeLink® button a
second time to complete the training process. Some garage door openers may require you to do this procedure a third
time to complete the training.
The programmed button on your HomeLink® Universal Transceiver should now operate your garage door opener. The
ProCarManuals.com
Page 128 of 139
2 0 0 5
VOLVO V70
INDEX
pg. 189 - 192 Index
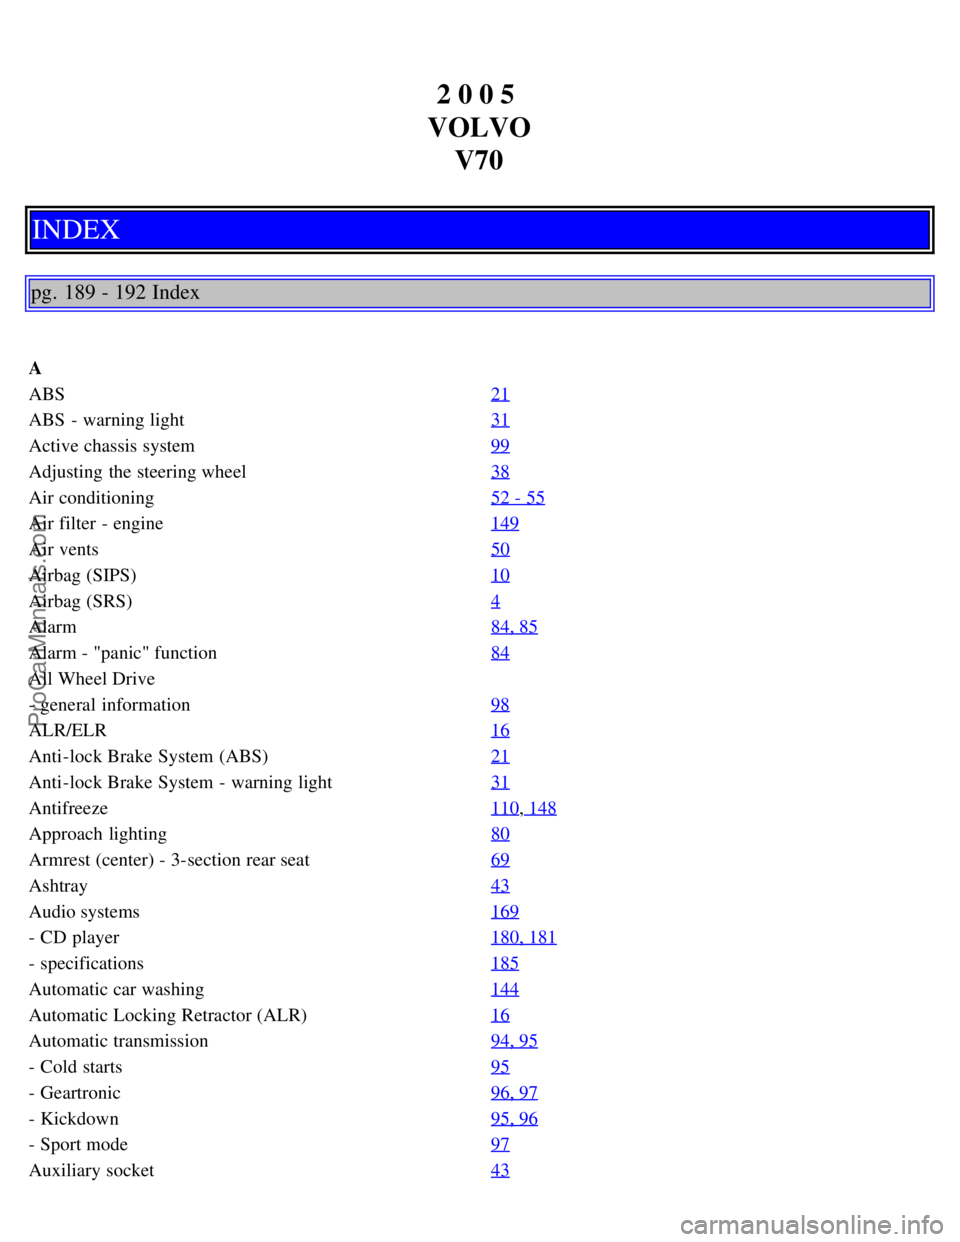
A
ABS 21
ABS - warning light31
Active chassis system99
Adjusting the steering wheel38
Air conditioning52 - 55
Air filter - engine149
Air vents50
Airbag (SIPS)10
Airbag (SRS)4
Alarm84, 85
Alarm - "panic" function84
All Wheel Drive
- general information98
ALR/ELR16
Anti-lock Brake System (ABS)21
Anti-lock Brake System - warning light31
Antifreeze110, 148
Approach lighting80
Armrest (center) - 3-section rear seat69
Ashtray43
Audio systems169
- CD player180, 181
- specifications185
Automatic car washing144
Automatic Locking Retractor (ALR)16
Automatic transmission94, 95
- Cold starts95
- Geartronic96, 97
- Kickdown95, 96
- Sport mode97
Auxiliary socket43
ProCarManuals.com
Page 129 of 139
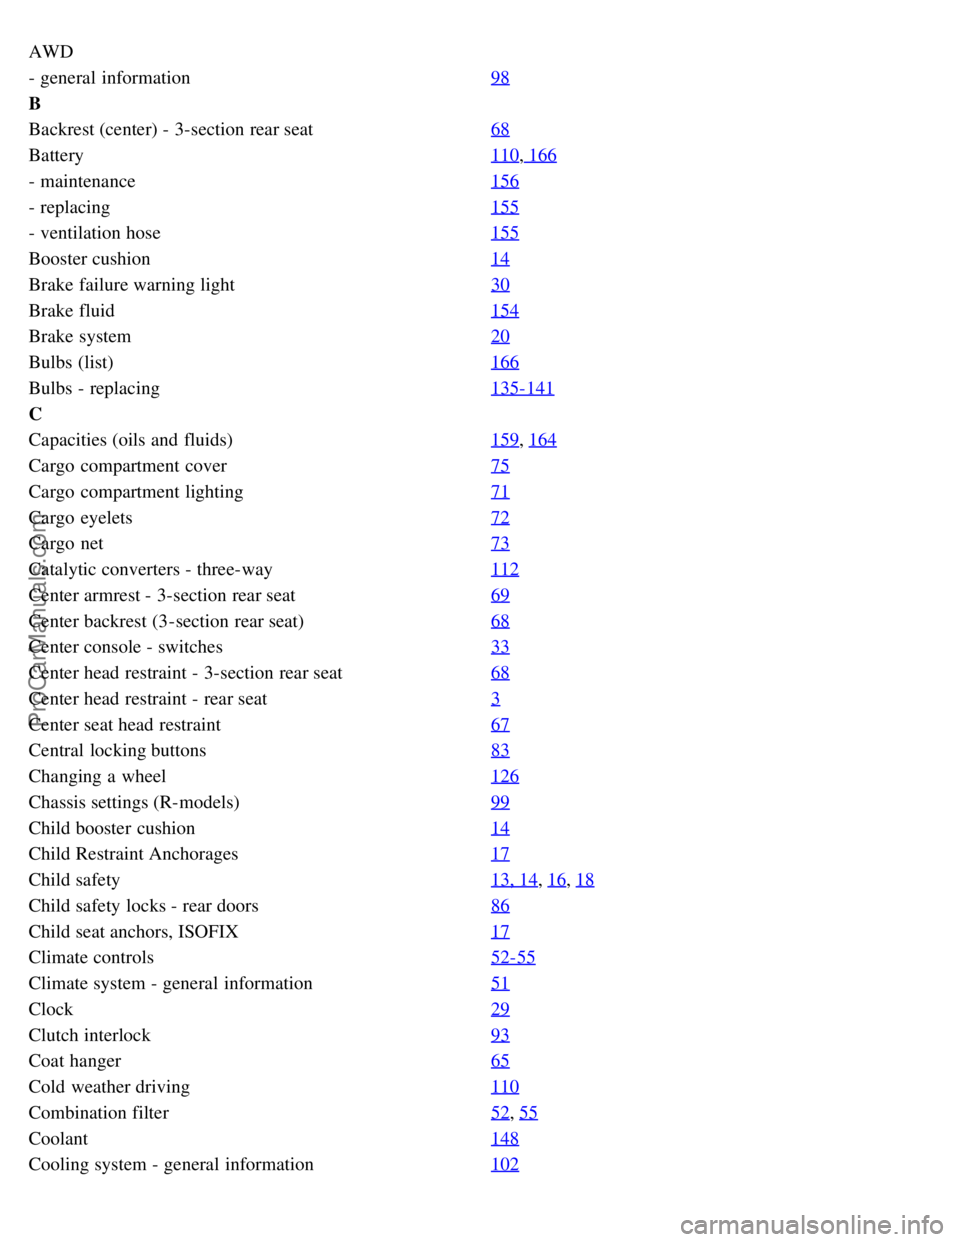
AWD
- general information98
B
Backrest (center) - 3-section rear seat68
Battery110, 166
- maintenance156
- replacing155
- ventilation hose155
Booster cushion14
Brake failure warning light30
Brake fluid154
Brake system20
Bulbs (list)166
Bulbs - replacing135-141
C
Capacities (oils and fluids)159
, 164
Cargo compartment cover75
Cargo compartment lighting71
Cargo eyelets72
Cargo net73
Catalytic converters - three-way112
Center armrest - 3-section rear seat69
Center backrest (3-section rear seat)68
Center console - switches33
Center head restraint - 3-section rear seat68
Center head restraint - rear seat3
Center seat head restraint67
Central locking buttons83
Changing a wheel126
Chassis settings (R-models)99
Child booster cushion14
Child Restraint Anchorages17
Child safety13, 14, 16, 18
Child safety locks - rear doors86
Child seat anchors, ISOFIX17
Climate controls52-55
Climate system - general information51
Clock29
Clutch interlock93
Coat hanger65
Cold weather driving110
Combination filter52, 55
Coolant148
Cooling system - general information102
ProCarManuals.com
Page 130 of 139

Courtesy light78
Courtesy lights (front) - replacing140
Courtesy lights - exterior80
Cruise control35
D
Detachable trailer hitch - installing108
Dimensions161
Direction indicators39
Distributor ignition system165
Door step courtesy lights - replacing141
Doors and locks80
Drive belt148
Driving economy101
Driving mode indicator29
Driving mode W95, 97, 110
Driving with trunk open102
E
Economical driving101
Electric socket in cargo compartment71
Electrical system166
Electrical system - general information102
Electrically operated moonroof46
Electrically operated sideview mirrors45
Electrically operated windows44
Electronic Brake Force Distribution21
Electronic Climate Control (ECC)52 - 55
Emergency Locking Retractor (ELR)16
Emergency towing105, 106
Emergency warning flashers42
Emissions systems147
Engine - specifications163
Engine - starting91, 92
Engine air filter149
Engine compartment151
Engine oil110, 152, 153
Extension of cargo compartment67
Exterior courtesy lights80
Exterior features - overview27
Extra seat77
F
Fog light - rear31
, 38
Fog lights - front38
Folding passenger's seat backrest62
Folding table66
ProCarManuals.com
Page 131 of 139

Four-C active chassis system99
Front airbags - SRS4 - 9
Front airbags - SRS - warning light30
Front courtesy lights - replacing140
Front fog lights38
Front park assist (accessory)100
Front reading lights78
Front seats - adjusting60, 61
Front seats - heated42
Front suspension165
Fuel88
Fuel filler cap90
Fuel filler door, unlocking37
Fuel filter149
Fuel formulations89
Fuel gauge29
Fuel requirements88
Fuel system147, 149, 165
Fuel/emissions systems147
Fuses130-134
G
Gas cap90
Gasoline88
Gear indicator29
Geartronic (automatic transmission)96, 97
Generator166
Generator warning light30
Glossary of tire terminology121
H
Hand brake43
Handgrip - XC7059, 77
Handling101
Hazard warning flashers42
Head restraint (center) - 3-section rear seat68
Head restraint - center rear3
Headlight wiper blades - replacing157
Headlights37
Heated front seats42
Heated rear window42
Heated sideview mirrors42
Heating52-55
Hoisting the car150
Holder for grocery bags71
Home Safe System80
ProCarManuals.com
Page 133 of 139

Moonroof46
N
Net - cargo73
Nylon cargo net73
O
Occupant safety19
Octane rating88
Odometer29
Oil - engine110, 152, 153
Oil -level (R-models)153
Oil pressure warning light30
Opening the hood151
P
Paint touch-up142
Panic function (alarm)84
Park Assist100
Parking brake43
Parking brake reminder light30
Parking lights37
Passenger's seat backrest - folding62
PCV system149
Pen holder65
Polishing144
Power moonroof46
Power seats60, 61
Power steering - speed sensitive101
Power steering fluid154
Power windows44
R
R-models, checking oil level153
Radio169
Rain sensor40
Rain sensor - windshield wipers40
Reading lights - front/rear78
Rear fog light31, 38
Rear park assist87, 100
Rear reading lights78
Rear seat backrest70
Rear window - heated42
Rearview mirror45
Refrigerant51
Refueling90
Remote central locking system and sideview mirrors system45
Remote control - keyless entry system81
ProCarManuals.com