child seat VOLVO V90 2017 Owner's Manual
[x] Cancel search | Manufacturer: VOLVO, Model Year: 2017, Model line: V90, Model: VOLVO V90 2017Pages: 594, PDF Size: 15.07 MB
Page 83 of 594
SAFETY
81
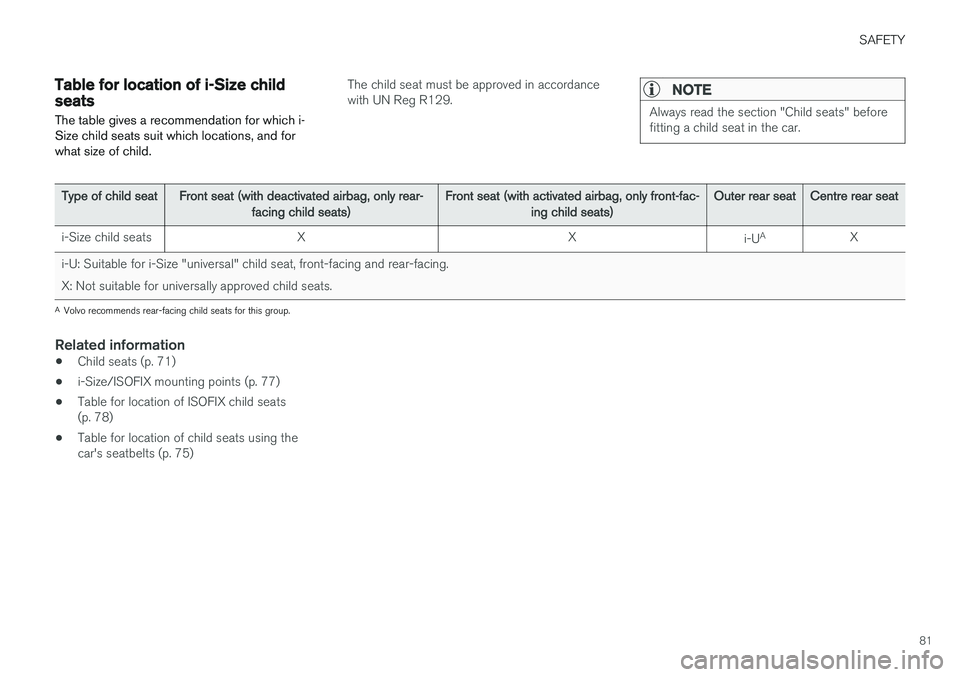
Table for location of i-Size child seats
The table gives a recommendation for which i- Size child seats suit which locations, and forwhat size of child.The child seat must be approved in accordance with UN Reg R129.NOTE
Always read the section "Child seats" before fitting a child seat in the car.
Type of child seat Front seat (with deactivated airbag, only rear-
facing child seats) Front seat (with activated airbag, only front-fac-
ing child seats) Outer rear seat
Centre rear seat
i-Size child seats X X
i-UA
X
i-U: Suitable for i-Size "universal" child seat, front-facing and rear-facing.
X: Not suitable for universally approved child seats.
A Volvo recommends rear-facing child seats for this group.
Related information
• Child seats (p. 71)
• i-Size/ISOFIX mounting points (p. 77)
• Table for location of ISOFIX child seats (p. 78)
• Table for location of child seats using thecar's seatbelts (p. 75)
Page 84 of 594
SAFETY
* Option/accessory.
82
Integrated booster cushion *
The integrated booster cushions on the outer seats in the rear seat allow children to sit com-fortably and safely.
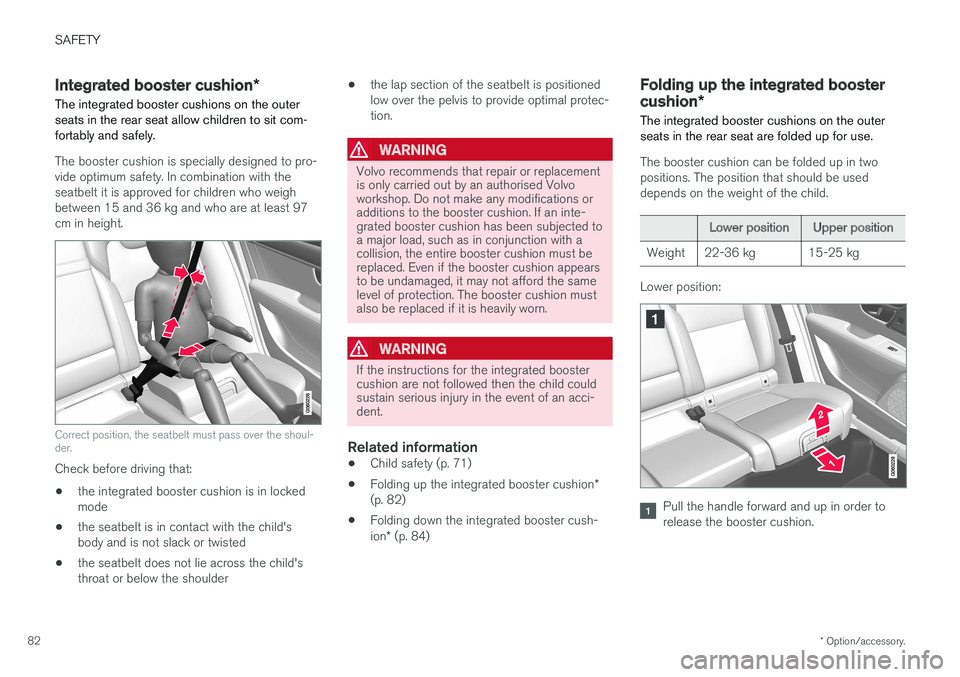
The booster cushion is specially designed to pro- vide optimum safety. In combination with theseatbelt it is approved for children who weighbetween 15 and 36 kg and who are at least 97cm in height.
Correct position, the seatbelt must pass over the shoul- der.
Check before driving that: • the integrated booster cushion is in locked mode
• the seatbelt is in contact with the child'sbody and is not slack or twisted
• the seatbelt does not lie across the child'sthroat or below the shoulder •
the lap section of the seatbelt is positionedlow over the pelvis to provide optimal protec-tion.
WARNING
Volvo recommends that repair or replacement is only carried out by an authorised Volvoworkshop. Do not make any modifications oradditions to the booster cushion. If an inte-grated booster cushion has been subjected toa major load, such as in conjunction with acollision, the entire booster cushion must bereplaced. Even if the booster cushion appearsto be undamaged, it may not afford the samelevel of protection. The booster cushion mustalso be replaced if it is heavily worn.
WARNING
If the instructions for the integrated booster cushion are not followed then the child couldsustain serious injury in the event of an acci-dent.
Related information
•Child safety (p. 71)
• Folding up the integrated booster cushion
*
(p. 82)
• Folding down the integrated booster cush- ion
* (p. 84)
Folding up the integrated booster cushion *
The integrated booster cushions on the outer seats in the rear seat are folded up for use.
The booster cushion can be folded up in two positions. The position that should be useddepends on the weight of the child.
Lower position Upper position
Weight 22-36 kg 15-25 kg
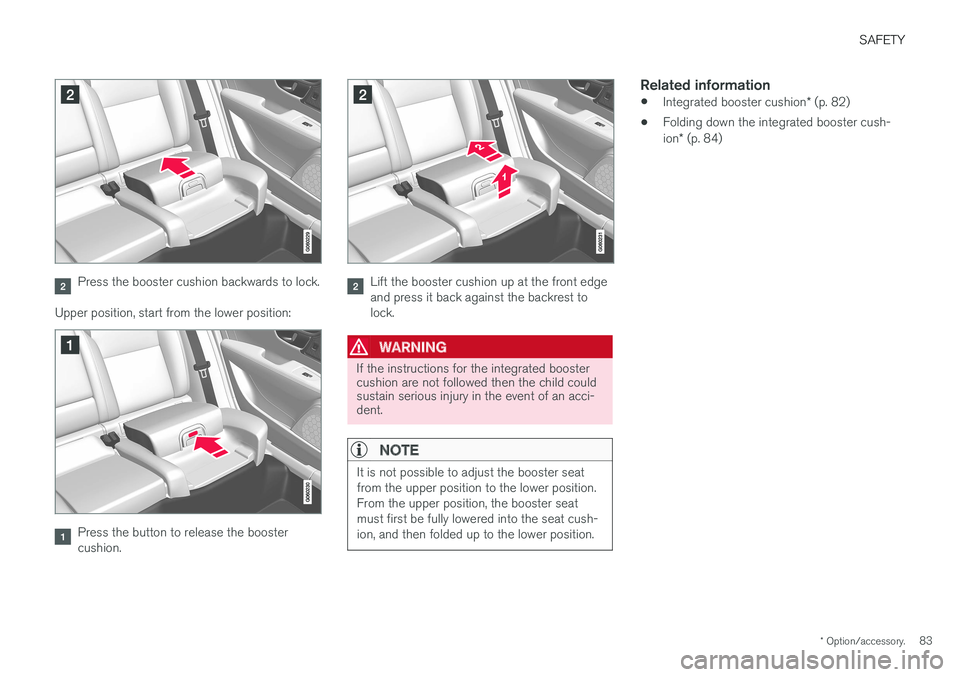
Lower position:
Pull the handle forward and up in order to release the booster cushion.
Page 85 of 594
SAFETY
* Option/accessory.83
Press the booster cushion backwards to lock.
Upper position, start from the lower position:
Press the button to release the booster cushion.
Lift the booster cushion up at the front edge and press it back against the backrest tolock.
WARNING
If the instructions for the integrated booster cushion are not followed then the child couldsustain serious injury in the event of an acci-dent.
NOTE
It is not possible to adjust the booster seat from the upper position to the lower position.From the upper position, the booster seatmust first be fully lowered into the seat cush-ion, and then folded up to the lower position.
Related information
• Integrated booster cushion
* (p. 82)
• Folding down the integrated booster cush- ion
* (p. 84)
Page 125 of 594
INSTRUMENTS AND CONTROLS
}}
* Option/accessory.123
3.
Within three seconds, depress the 1 or 2
button.
> When the position has been stored in the selected memory button an acoustic sig- nal sounds and the light indicator in the M
button extinguishes.
If none of the memory buttons is depressedwithin three seconds then the M button extin-
guishes and no storing takes place. The seat must be adjusted again before a new memory can be set.
Using a stored settingA stored setting can be used with the front dooreither open or closed:
Open front door
–Depress one of the memory buttons 1 or 2
with a short press. Seat, door mirrors and head-up display move and then stop at thepositions stored in the selected memory but-ton.
Closed front door
–Hold one of the memory buttons 1 or 2
depressed until seat, door mirrors and head- up display stop in the positions that arestored in the selected memory button.
If the memory button is released, the movementof the seat, door mirrors and head-up display willbe stopped.
WARNING
Risk of crushing! Make sure that children do not play with the keypad. Check that there areno objects in front of, behind or under theseat during adjustment. Make sure that noneof the passengers in the rear seat is in dangerof becoming trapped.
Related information
• Power front seat
* (p. 121)
• Adjusting the power front seat
* (p. 122)
Multi-functional front seat *
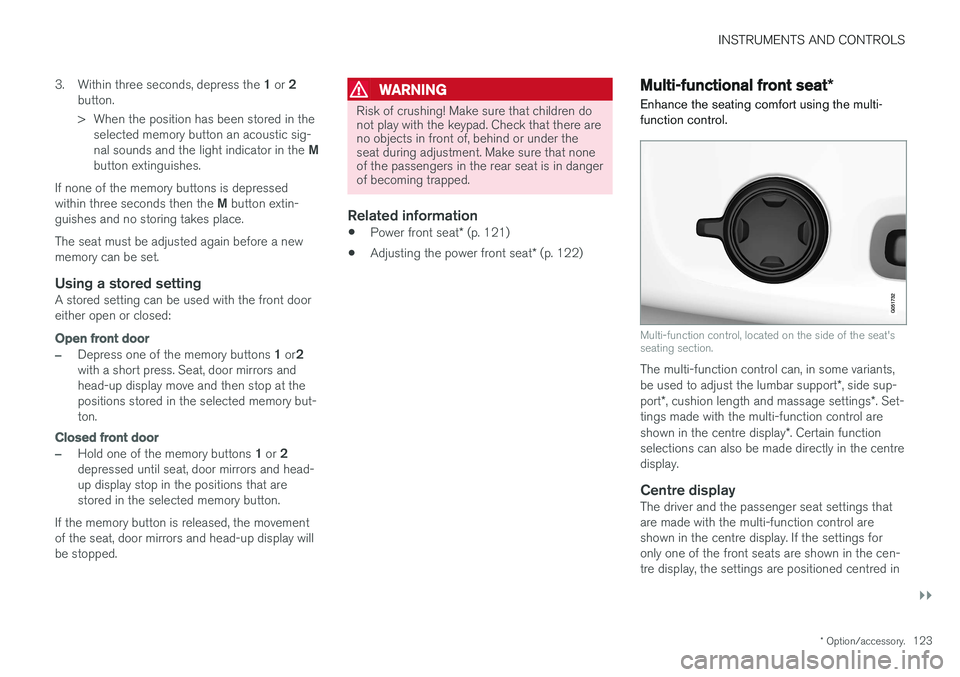
Enhance the seating comfort using the multi- function control.
Multi-function control, located on the side of the seat's seating section.
The multi-function control can, in some variants, be used to adjust the lumbar support *, side sup-
port *, cushion length and massage settings *. Set-
tings made with the multi-function control areshown in the centre display *. Certain function
selections can also be made directly in the centre display.
Centre displayThe driver and the passenger seat settings thatare made with the multi-function control areshown in the centre display. If the settings foronly one of the front seats are shown in the cen-tre display, the settings are positioned centred in
Page 581 of 594
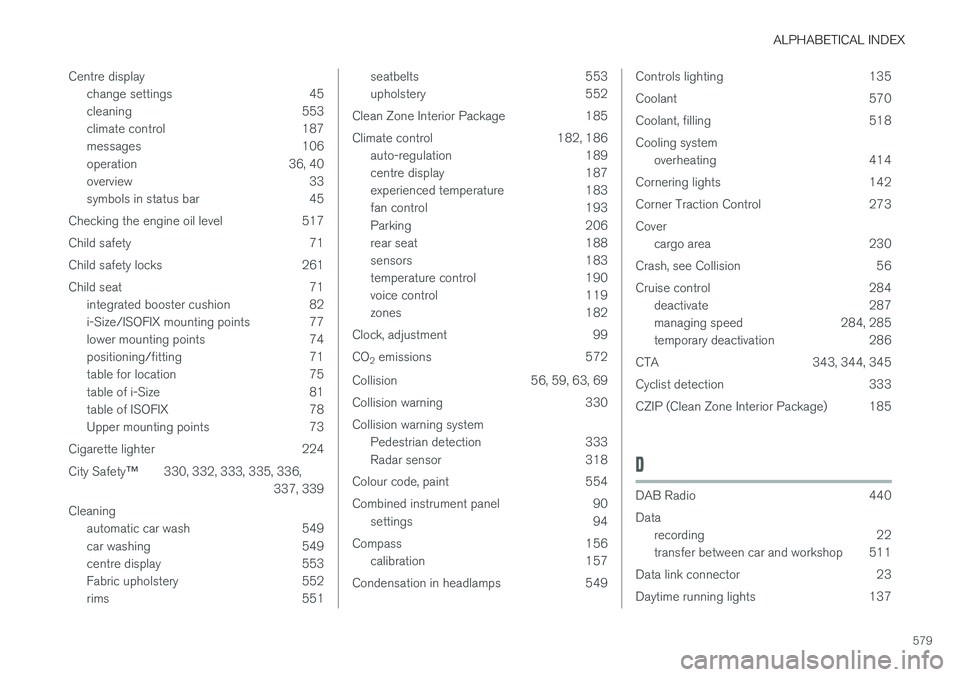
ALPHABETICAL INDEX
579
Centre display
change settings 45
cleaning 553
climate control 187
messages 106
operation 36, 40
overview 33
symbols in status bar 45
Checking the engine oil level 517
Child safety 71
Child safety locks 261
Child seat 71 integrated booster cushion 82
i-Size/ISOFIX mounting points 77
lower mounting points 74
positioning/fitting 71
table for location 75
table of i-Size 81
table of ISOFIX 78
Upper mounting points 73
Cigarette lighter 224 City Safety ™330, 332, 333, 335, 336,
337, 339
Cleaning automatic car wash 549
car washing 549
centre display 553
Fabric upholstery 552
rims 551
seatbelts 553
upholstery 552
Clean Zone Interior Package 185
Climate control 182, 186 auto-regulation 189
centre display 187
experienced temperature 183
fan control 193
Parking 206
rear seat 188
sensors 183
temperature control 190
voice control 119
zones 182
Clock, adjustment 99 CO 2 emissions 572
Collision 56, 59, 63, 69
Collision warning 330Collision warning system Pedestrian detection 333
Radar sensor 318
Colour code, paint 554
Combined instrument panel 90 settings 94
Compass 156 calibration 157
Condensation in headlamps 549Controls lighting 135
Coolant 570
Coolant, filling 518Cooling system overheating 414
Cornering lights 142
Corner Traction Control 273Cover cargo area 230
Crash, see Collision 56
Cruise control 284 deactivate 287
managing speed 284, 285
temporary deactivation 286
CTA 343, 344, 345
Cyclist detection 333
CZIP (Clean Zone Interior Package) 185
D
DAB Radio 440 Data recording 22
transfer between car and workshop 511
Data link connector 23
Daytime running lights 137