fuel VOLVO V90 CROSS COUNTRY 2018 Owner´s Manual
[x] Cancel search | Manufacturer: VOLVO, Model Year: 2018, Model line: V90 CROSS COUNTRY, Model: VOLVO V90 CROSS COUNTRY 2018Pages: 662, PDF Size: 11.93 MB
Page 86 of 662
DISPLAYS AND VOICE CONTROL
* Option/accessory.
84
Instrument panel
The instrument panel displays information rela- ted to the vehicle and driving.
The instrument panel contains gauges, indicators and monitoring and warning symbols. What isshown in the instrument panel varies dependingon the equipment, settings and functions cur-rently active. The instrument panel is activated as soon as a door is opened, i.e. in ignition mode 0. The panel
will power down after a short period of time if it is not used. To reactivate it, do one of the following:
• Depress the brake pedal.
• Activate ignition mode
I.
• Open one of the doors. The instrument panel is available in two versions: 12"
* and 8".WARNING
If the instrument panel is not functioning properly, information about brakes, airbags orother safety-related systems may not be dis-played. The driver will then not be able tocheck the status of the vehicle systems orreceive relevant warnings and information.
WARNING
If the instrument panel turns off, does not activate when the ignition is switched on, orpart/all of the panel cannot be read, do notdrive the vehicle. Consult a workshop immedi-ately. Volvo recommends an authorized Volvoworkshop.
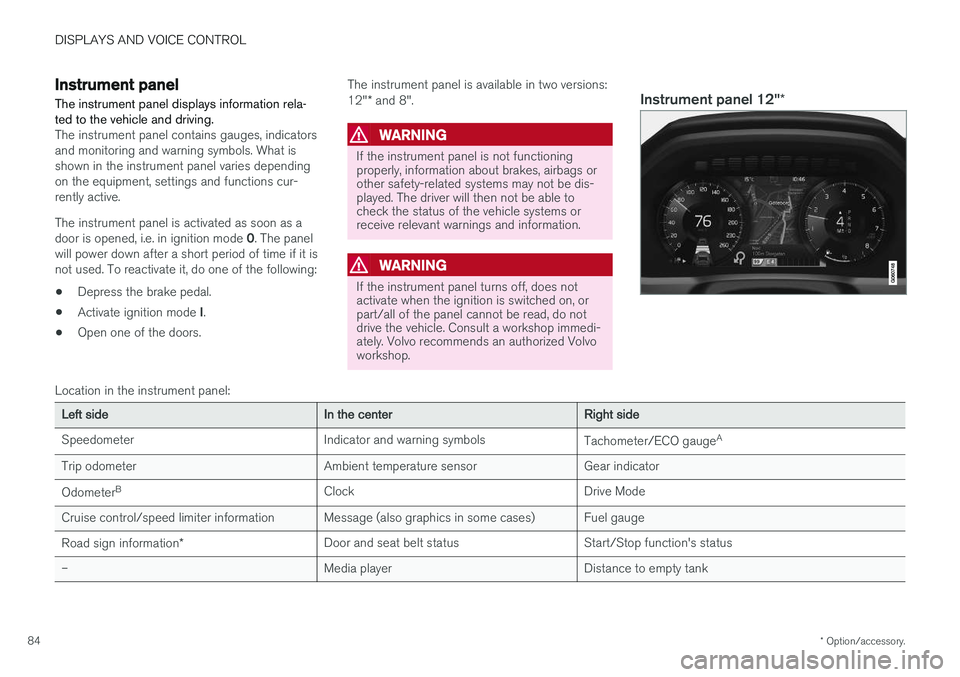
Instrument panel 12" *
Location in the instrument panel:
Left sideIn the centerRight side
Speedometer Indicator and warning symbols Tachometer/ECO gaugeA
Trip odometer Ambient temperature sensor Gear indicator Odometer B
Clock Drive Mode
Cruise control/speed limiter information Message (also graphics in some cases) Fuel gauge
Road sign information * Door and seat belt status Start/Stop function's status
– Media player Distance to empty tank
Page 87 of 662
DISPLAYS AND VOICE CONTROL
}}
* Option/accessory.85
Left sideIn the centerRight side
– Navigation system map Current fuel consumption
– PhoneApp menu (activated using steering wheel keypad)
– Voice Control –
– CompassA
–
ADepends on selected drive mode.
B Total distance.
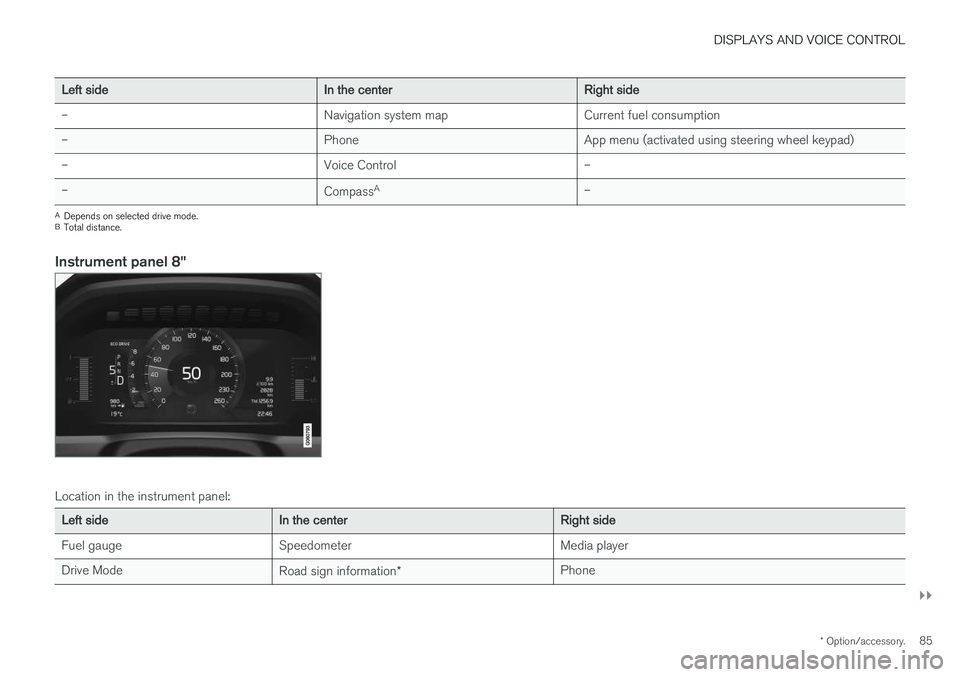
Instrument panel 8"
Location in the instrument panel:
Left sideIn the centerRight side
Fuel gauge Speedometer Media player Drive Mode Road sign information* Phone
Page 88 of 662
||
DISPLAYS AND VOICE CONTROL
86
Left sideIn the centerRight side
Gear indicator Cruise control/speed limiter information Navigation information Tachometer/ECO gauge A
Door and seat belt status Clock
Distance to empty tank Start/Stopp function's status App menu (activated using steering wheel keypad) Ambient temperature sensor – Current fuel consumption
Indicator and warning symbols – OdometerB
– – Trip odometer
– – Indicator and warning symbols
– – Voice Control
– – Engine temperature gauge
– – Message (also graphics in some cases)
– –
CompassA
A
Depends on selected drive mode.
B Total distance.
Dynamic symbolDynamic symbol in basic mode.
In the center of the instrument panel is a dynamic symbol that changes appearance according to the type of message displayed. The severity ofthe control or warning symbol is indicated by anamber or red marking around the symbol. An ani-mation may be used to change the symbol into alarger image in order to graphically depict thelocation of a problem or to clarify information.
Page 91 of 662
DISPLAYS AND VOICE CONTROL
}}
89
Fuel gauge
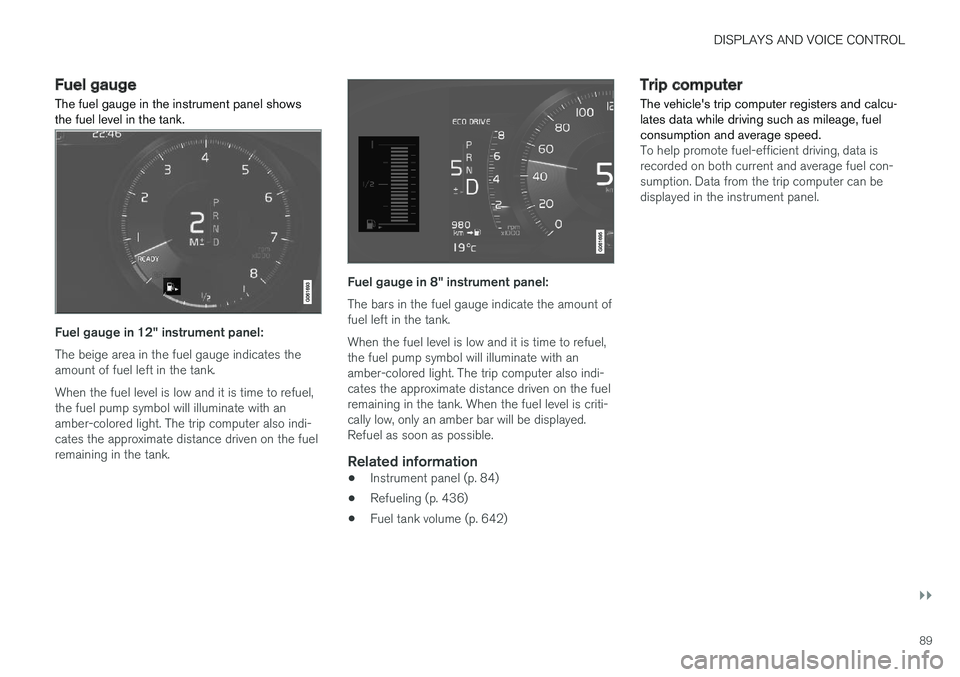
The fuel gauge in the instrument panel shows the fuel level in the tank.
Fuel gauge in 12" instrument panel: The beige area in the fuel gauge indicates the amount of fuel left in the tank. When the fuel level is low and it is time to refuel, the fuel pump symbol will illuminate with anamber-colored light. The trip computer also indi-cates the approximate distance driven on the fuelremaining in the tank.
Fuel gauge in 8" instrument panel: The bars in the fuel gauge indicate the amount of fuel left in the tank. When the fuel level is low and it is time to refuel, the fuel pump symbol will illuminate with anamber-colored light. The trip computer also indi-cates the approximate distance driven on the fuelremaining in the tank. When the fuel level is criti-cally low, only an amber bar will be displayed.Refuel as soon as possible.
Related information
• Instrument panel (p. 84)
• Refueling (p. 436)
• Fuel tank volume (p. 642)
Trip computer The vehicle's trip computer registers and calcu- lates data while driving such as mileage, fuelconsumption and average speed.
To help promote fuel-efficient driving, data is recorded on both current and average fuel con-sumption. Data from the trip computer can bedisplayed in the instrument panel.
Page 92 of 662
||
DISPLAYS AND VOICE CONTROL
* Option/accessory.
90
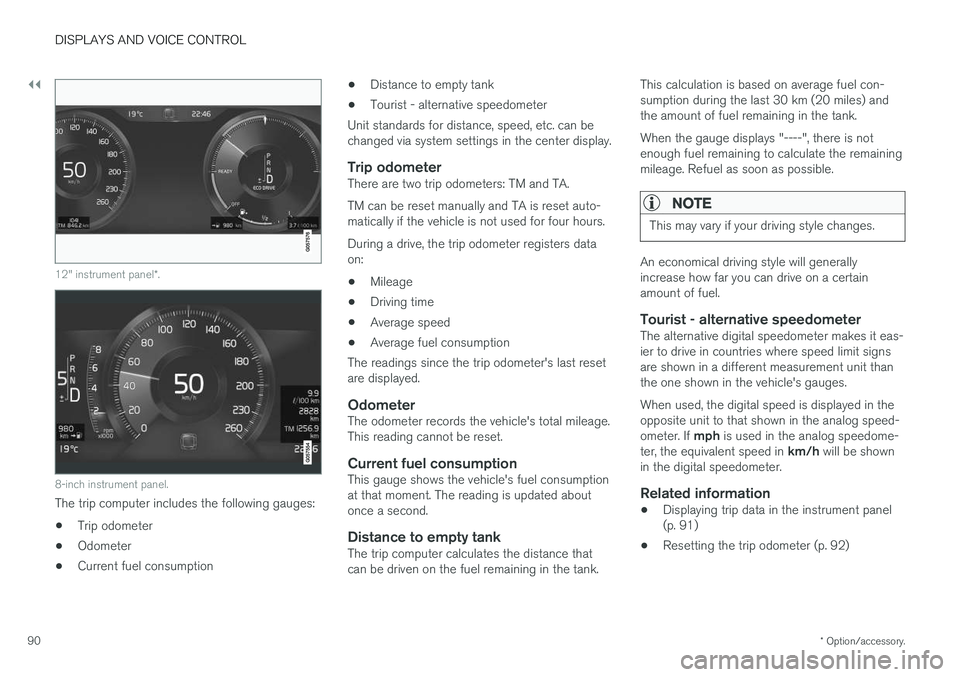
12" instrument panel *.
8-inch instrument panel.
The trip computer includes the following gauges:
• Trip odometer
• Odometer
• Current fuel consumption •
Distance to empty tank
• Tourist - alternative speedometer
Unit standards for distance, speed, etc. can be changed via system settings in the center display.
Trip odometerThere are two trip odometers: TM and TA. TM can be reset manually and TA is reset auto- matically if the vehicle is not used for four hours. During a drive, the trip odometer registers data on:
• Mileage
• Driving time
• Average speed
• Average fuel consumption
The readings since the trip odometer's last resetare displayed.
OdometerThe odometer records the vehicle's total mileage.This reading cannot be reset.
Current fuel consumptionThis gauge shows the vehicle's fuel consumptionat that moment. The reading is updated aboutonce a second.
Distance to empty tankThe trip computer calculates the distance thatcan be driven on the fuel remaining in the tank. This calculation is based on average fuel con-sumption during the last 30 km (20 miles) andthe amount of fuel remaining in the tank. When the gauge displays "----", there is not enough fuel remaining to calculate the remainingmileage. Refuel as soon as possible.
NOTE
This may vary if your driving style changes.
An economical driving style will generally increase how far you can drive on a certainamount of fuel.
Tourist - alternative speedometerThe alternative digital speedometer makes it eas-ier to drive in countries where speed limit signsare shown in a different measurement unit thanthe one shown in the vehicle's gauges. When used, the digital speed is displayed in the opposite unit to that shown in the analog speed- ometer. If
mph is used in the analog speedome-
ter, the equivalent speed in km/h will be shown
in the digital speedometer.
Related information
• Displaying trip data in the instrument panel (p. 91)
• Resetting the trip odometer (p. 92)
Page 93 of 662
DISPLAYS AND VOICE CONTROL
}}
91
•
Displaying trip statistics in the center display (p. 92)
• Instrument panel (p. 84)
Displaying trip data in theinstrument panel
Data recorded and calculated by the trip com- puter can be displayed on the instrument panel.
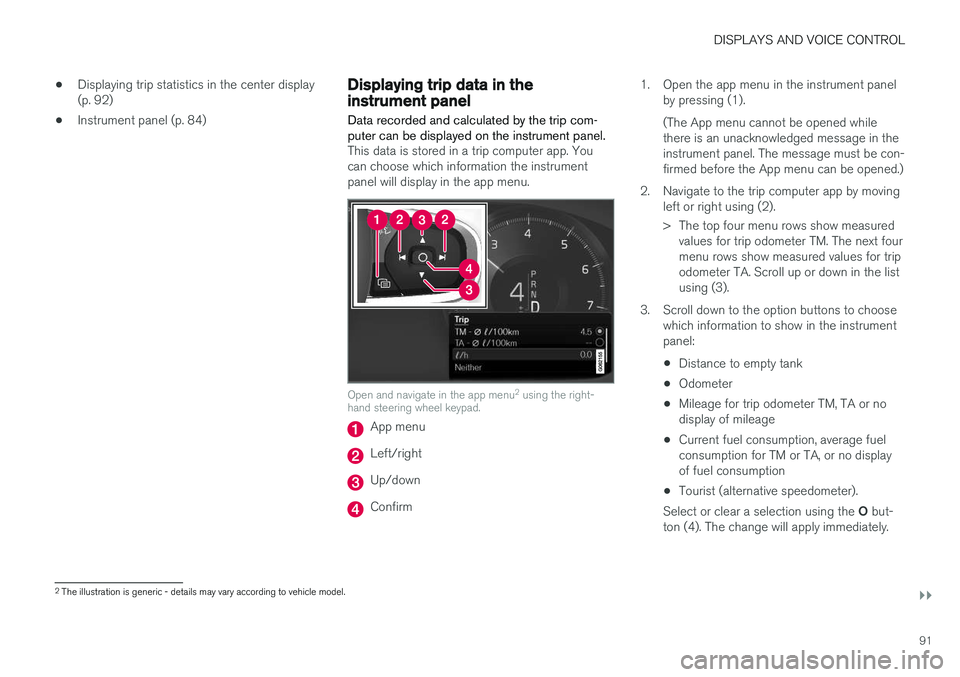
This data is stored in a trip computer app. You can choose which information the instrumentpanel will display in the app menu.
Open and navigate in the app menu 2
using the right-
hand steering wheel keypad.
App menu
Left/right
Up/down
Confirm 1. Open the app menu in the instrument panel
by pressing (1). (The App menu cannot be opened while there is an unacknowledged message in theinstrument panel. The message must be con-firmed before the App menu can be opened.)
2. Navigate to the trip computer app by moving left or right using (2).
> The top four menu rows show measuredvalues for trip odometer TM. The next four menu rows show measured values for tripodometer TA. Scroll up or down in the listusing (3).
3. Scroll down to the option buttons to choose which information to show in the instrumentpanel:
• Distance to empty tank
• Odometer
• Mileage for trip odometer TM, TA or nodisplay of mileage
• Current fuel consumption, average fuelconsumption for TM or TA, or no displayof fuel consumption
• Tourist (alternative speedometer).
Select or clear a selection using the O but-
ton (4). The change will apply immediately.
2 The illustration is generic - details may vary according to vehicle model.
Page 94 of 662
||
DISPLAYS AND VOICE CONTROL
92
Related information
•Trip computer (p. 89)
• Resetting the trip odometer (p. 92)
Resetting the trip odometer
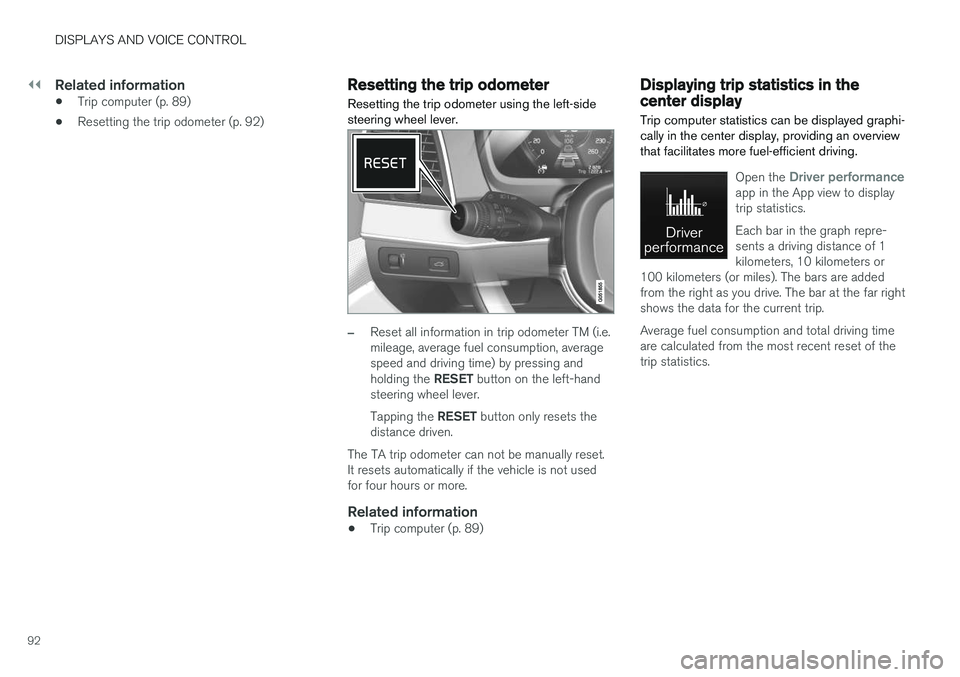
Resetting the trip odometer using the left-side steering wheel lever.
–Reset all information in trip odometer TM (i.e. mileage, average fuel consumption, averagespeed and driving time) by pressing and holding the RESET button on the left-hand
steering wheel lever. Tapping the RESET button only resets the
distance driven.
The TA trip odometer can not be manually reset. It resets automatically if the vehicle is not usedfor four hours or more.
Related information
• Trip computer (p. 89)
Displaying trip statistics in thecenter display
Trip computer statistics can be displayed graphi- cally in the center display, providing an overviewthat facilitates more fuel-efficient driving.
Open the Driver performanceapp in the App view to display trip statistics. Each bar in the graph repre- sents a driving distance of 1kilometers, 10 kilometers or
100 kilometers (or miles). The bars are addedfrom the right as you drive. The bar at the far rightshows the data for the current trip. Average fuel consumption and total driving time are calculated from the most recent reset of thetrip statistics.
Page 235 of 662
KEY, LOCKS AND ALARM
}}
* Option/accessory.233
In rear door*
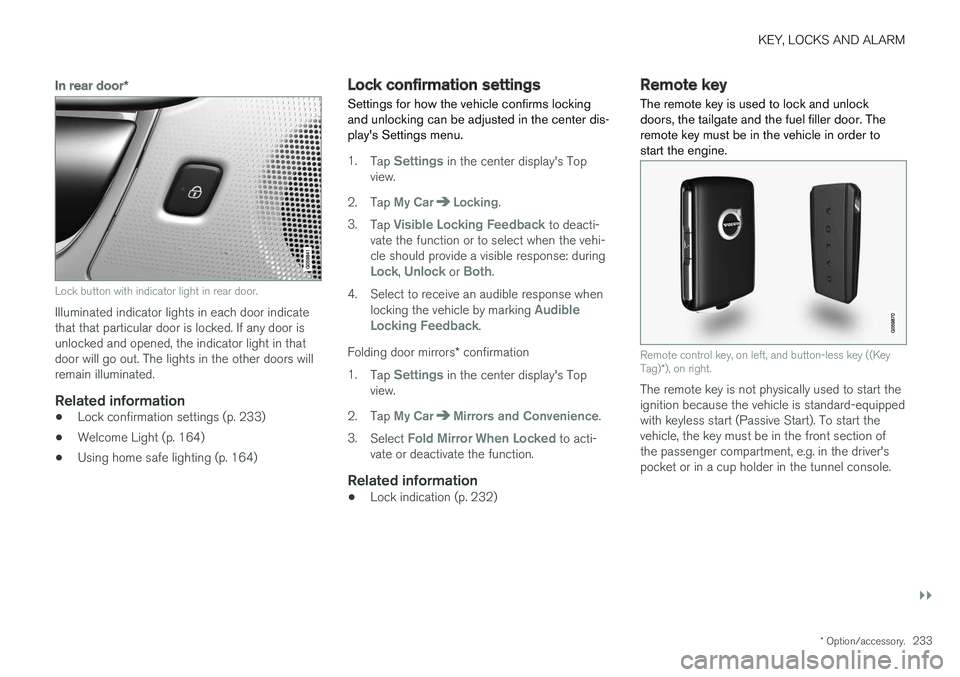
Lock button with indicator light in rear door.
Illuminated indicator lights in each door indicate that that particular door is locked. If any door isunlocked and opened, the indicator light in thatdoor will go out. The lights in the other doors willremain illuminated.
Related information
•Lock confirmation settings (p. 233)
• Welcome Light (p. 164)
• Using home safe lighting (p. 164)
Lock confirmation settings Settings for how the vehicle confirms locking and unlocking can be adjusted in the center dis-play's Settings menu.
1.
Tap Settings in the center display's Top
view.
2. Tap
My CarLocking.
3. Tap
Visible Locking Feedback to deacti-
vate the function or to select when the vehi- cle should provide a visible response: during
Lock, Unlock or Both.
4. Select to receive an audible response when locking the vehicle by marking
Audible
Locking Feedback.
Folding door mirrors * confirmation
1. Tap
Settings in the center display's Top
view.
2. Tap
My CarMirrors and Convenience.
3. Select
Fold Mirror When Locked to acti-
vate or deactivate the function.
Related information
• Lock indication (p. 232)
Remote key
The remote key is used to lock and unlock doors, the tailgate and the fuel filler door. Theremote key must be in the vehicle in order tostart the engine.
Remote control key, on left, and button-less key ((Key Tag) *), on right.
The remote key is not physically used to start the ignition because the vehicle is standard-equippedwith keyless start (Passive Start). To start thevehicle, the key must be in the front section ofthe passenger compartment, e.g. in the driver'spocket or in a cup holder in the tunnel console.
Page 236 of 662
||
KEY, LOCKS AND ALARM
* Option/accessory.
234 The keyless system for locking/unlocking the doors, tailgate (Passive Entry
*) and fuel filler door
is available as an option. This system has a range in a semicircle with a radius of approximately1.5 meter (5 feet) out from the driver's door andapprox. 1 meter (3 feet) out from the tailgate. With keyless start in combination with keyless locking and unlocking, the remote key can belocated anywhere in the passenger compartmentor cargo compartment in order to start theengine. Each remote key supplied with the vehicle can be linked to a driver profile with unique settings forthe vehicle. When a key with a specific profile isused, the vehicle settings are adjusted accordingto that profile.
Buttonless key, Key TagFor vehicles equipped with keyless locking and unlocking *, a smaller, lighter and button-less key
(Key Tag 3
) is also provided. It works the same
way as the regular remote key as regard keyless start and keyless locking and unlocking 4
. It does
not have a detachable key blade and its battery cannot be replaced.
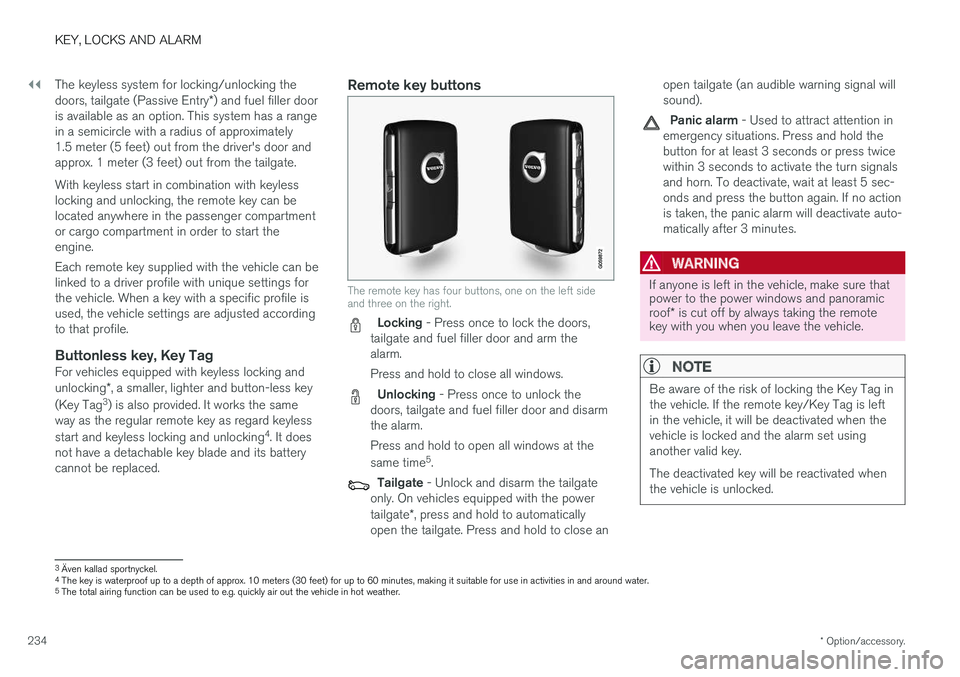
Remote key buttons
The remote key has four buttons, one on the left side and three on the right.
Locking - Press once to lock the doors,
tailgate and fuel filler door and arm the alarm. Press and hold to close all windows.
Unlocking - Press once to unlock the
doors, tailgate and fuel filler door and disarm the alarm. Press and hold to open all windows at the same time 5
.
Tailgate - Unlock and disarm the tailgate
only. On vehicles equipped with the power tailgate *, press and hold to automatically
open the tailgate. Press and hold to close an open tailgate (an audible warning signal will sound).
Panic alarm - Used to attract attention in
emergency situations. Press and hold the button for at least 3 seconds or press twicewithin 3 seconds to activate the turn signalsand horn. To deactivate, wait at least 5 sec-onds and press the button again. If no actionis taken, the panic alarm will deactivate auto-matically after 3 minutes.
WARNING
If anyone is left in the vehicle, make sure that power to the power windows and panoramic roof * is cut off by always taking the remote
key with you when you leave the vehicle.
NOTE
Be aware of the risk of locking the Key Tag in the vehicle. If the remote key/Key Tag is leftin the vehicle, it will be deactivated when thevehicle is locked and the alarm set usinganother valid key. The deactivated key will be reactivated when the vehicle is unlocked.
3 Även kallad sportnyckel.
4 The key is waterproof up to a depth of approx. 10 meters (30 feet) for up to 60 minutes, making it suitable for use in activities in and around water.
5 The total airing function can be used to e.g. quickly air out the vehicle in hot weather.
Page 237 of 662
KEY, LOCKS AND ALARM
}}
* Option/accessory.235
InterferenceElectromagnetic fields or obstructing objects may interfere with the remote key's functions for key- less start and keyless locking and unlocking *.
NOTE
Avoid storing the remote control key near metal objects or electronic devices, e.g. cellphones, tablets, laptops or chargers – pref-erably no closer than 10-15 cm (4-6 in.).
If you experience interference, use the remote key's detachable blade to unlock the vehicle andplace the remote key in the backup key reader inthe tunnel console cup holder to disarm thealarm.
NOTE
When the remote control key is placed in the cup holder, make sure that no other vehiclekeys, metal objects or electronic devices (e.g.cell phones, tablets, laptops or chargers) arefound in the cup holder. Multiple vehicle keysclose to each other in the cup holder can dis-rupt their functionality.
Related information
• Locking and unlocking using the remote key (p. 235)
• Remote key range (p. 237) •
Replacing the remote key's battery (p. 238)
• Detachable key blade (p. 244)
• Red Key - restricted remote key
* (p. 242)
• Electronic immobilizer (p. 246)
Locking and unlocking using theremote key
All doors, tailgate and fuel filler door can be locked and unlocked simultaneously using thebuttons on the remote key.
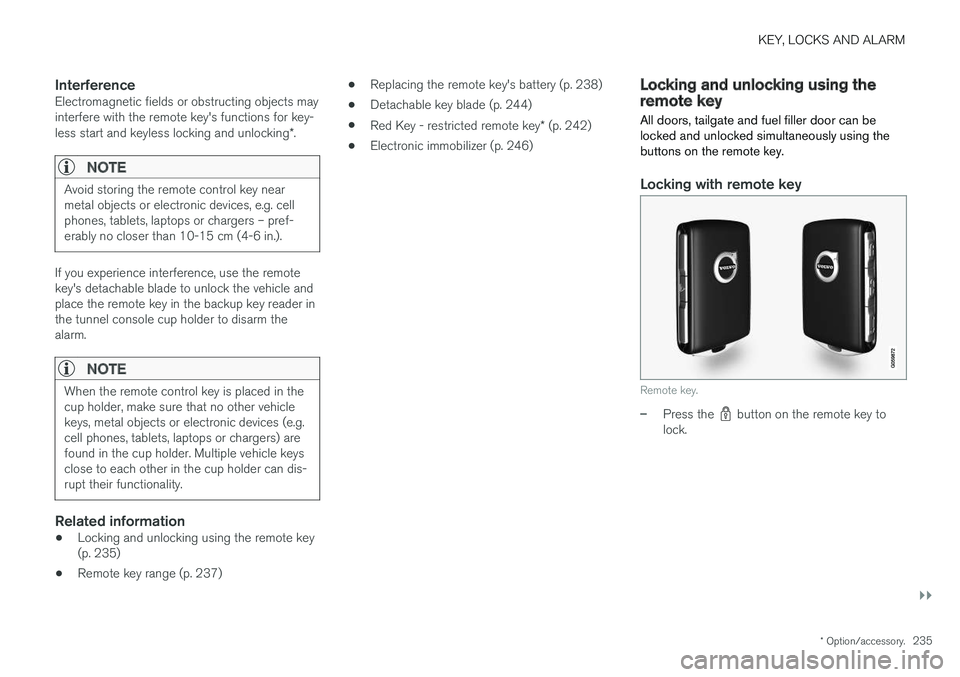
Locking with remote key
Remote key.
–Press the button on the remote key to
lock.