suspension VOLVO V90 CROSS COUNTRY 2021 Owners Manual
[x] Cancel search | Manufacturer: VOLVO, Model Year: 2021, Model line: V90 CROSS COUNTRY, Model: VOLVO V90 CROSS COUNTRY 2021Pages: 683, PDF Size: 14.19 MB
Page 11 of 683
9
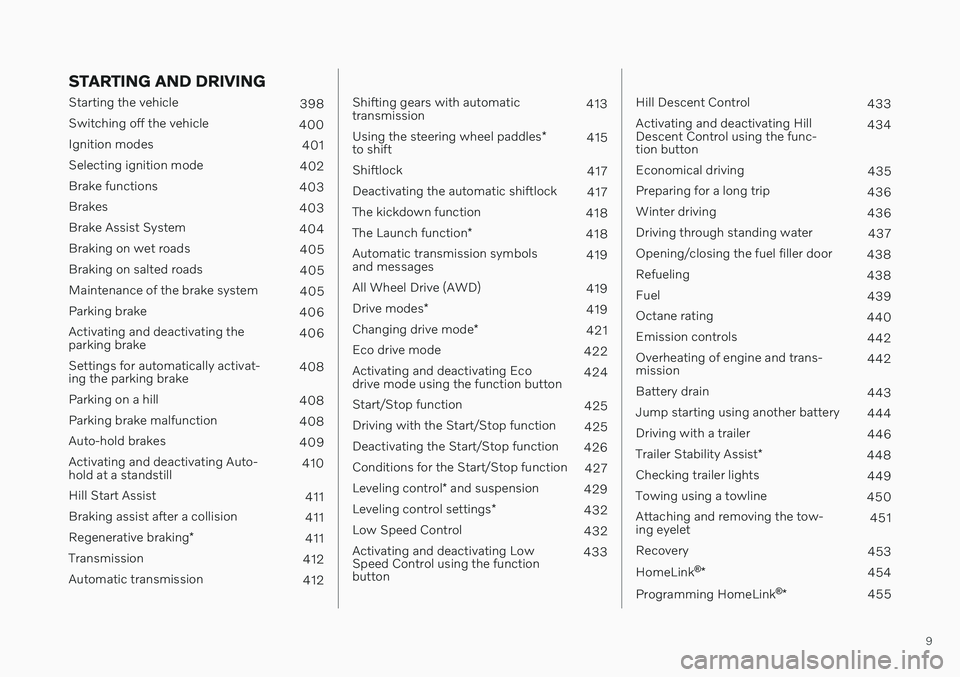
STARTING AND DRIVING
Starting the vehicle398
Switching off the vehicle 400
Ignition modes 401
Selecting ignition mode 402
Brake functions 403
Brakes 403
Brake Assist System 404
Braking on wet roads 405
Braking on salted roads 405
Maintenance of the brake system 405
Parking brake 406
Activating and deactivating the parking brake 406
Settings for automatically activat-ing the parking brake 408
Parking on a hill 408
Parking brake malfunction 408
Auto-hold brakes 409
Activating and deactivating Auto-hold at a standstill 410
Hill Start Assist 411
Braking assist after a collision 411
Regenerative braking *
411
Transmission 412
Automatic transmission 412
Shifting gears with automatic transmission413
Using the steering wheel paddles *
to shift 415
Shiftlock 417
Deactivating the automatic shiftlock 417
The kickdown function 418
The Launch function *
418
Automatic transmission symbolsand messages 419
All Wheel Drive (AWD) 419
Drive modes *
419
Changing drive mode *
421
Eco drive mode 422
Activating and deactivating Ecodrive mode using the function button 424
Start/Stop function 425
Driving with the Start/Stop function 425
Deactivating the Start/Stop function 426
Conditions for the Start/Stop function 427
Leveling control * and suspension
429
Leveling control settings *
432
Low Speed Control 432
Activating and deactivating LowSpeed Control using the functionbutton 433
Hill Descent Control
433
Activating and deactivating Hill Descent Control using the func-tion button 434
Economical driving 435
Preparing for a long trip 436
Winter driving 436
Driving through standing water 437
Opening/closing the fuel filler door 438
Refueling 438
Fuel 439
Octane rating 440
Emission controls 442
Overheating of engine and trans-mission 442
Battery drain 443
Jump starting using another battery 444
Driving with a trailer 446
Trailer Stability Assist *
448
Checking trailer lights 449
Towing using a towline 450
Attaching and removing the tow-ing eyelet 451
Recovery 453
HomeLink ®
* 454
Programming HomeLink ®
* 455
Page 141 of 683
DISPLAYS AND VOICE CONTROL
}}
* Option/accessory.139
Table of settings in the center display
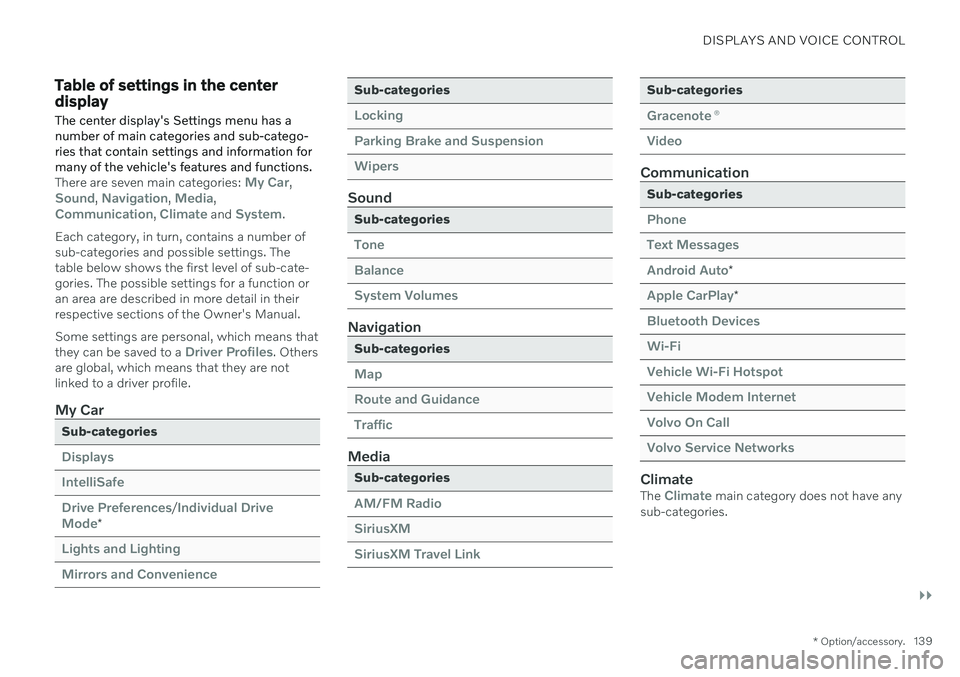
The center display's Settings menu has a number of main categories and sub-catego-ries that contain settings and information formany of the vehicle's features and functions.
There are seven main categories: My Car,Sound, Navigation, Media,Communication, Climate and System.
Each category, in turn, contains a number of sub-categories and possible settings. Thetable below shows the first level of sub-cate-gories. The possible settings for a function oran area are described in more detail in theirrespective sections of the Owner's Manual. Some settings are personal, which means that they can be saved to a
Driver Profiles. Others
are global, which means that they are not linked to a driver profile.
My Car
Sub-categories
Displays IntelliSafeDrive Preferences
/Individual Drive
Mode*
Lights and Lighting Mirrors and Convenience
Sub-categories
Locking Parking Brake and SuspensionWipers
Sound
Sub-categories
Tone BalanceSystem Volumes
Navigation
Sub-categories
Map Route and GuidanceTraffic
Media
Sub-categories
AM/FM Radio SiriusXMSiriusXM Travel Link
Sub-categories
Gracenote ®
Video
Communication
Sub-categories
Phone Text MessagesAndroid Auto
*
Apple CarPlay*
Bluetooth Devices Wi-FiVehicle Wi-Fi Hotspot Vehicle Modem Internet Volvo On Call Volvo Service Networks
ClimateThe Climate main category does not have any
sub-categories.
Page 410 of 683
STARTING AND DRIVING
408
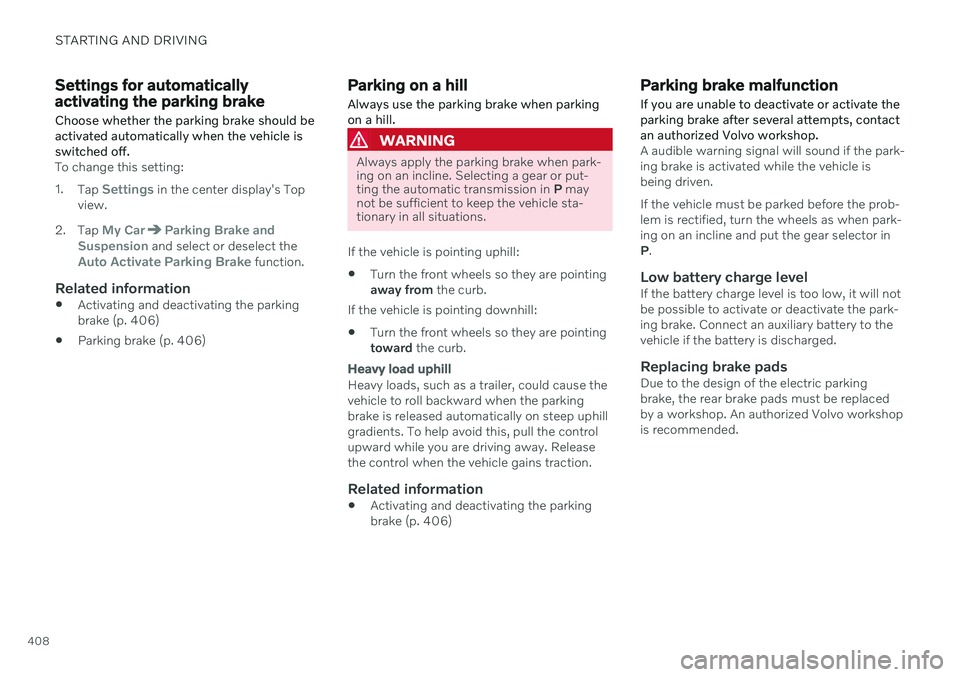
Settings for automatically activating the parking brake Choose whether the parking brake should be activated automatically when the vehicle isswitched off.
To change this setting: 1.Tap
Settings in the center display's Top
view.
2. Tap
My CarParking Brake and
Suspension and select or deselect theAuto Activate Parking Brake function.
Related information
Activating and deactivating the parking brake (p. 406)
Parking brake (p. 406)
Parking on a hill
Always use the parking brake when parking on a hill.
WARNING
Always apply the parking brake when park- ing on an incline. Selecting a gear or put-ting the automatic transmission in P may
not be sufficient to keep the vehicle sta-tionary in all situations.
If the vehicle is pointing uphill:
Turn the front wheels so they are pointing away from
the curb.
If the vehicle is pointing downhill:
Turn the front wheels so they are pointingtoward
the curb.
Heavy load uphill
Heavy loads, such as a trailer, could cause the vehicle to roll backward when the parkingbrake is released automatically on steep uphillgradients. To help avoid this, pull the controlupward while you are driving away. Releasethe control when the vehicle gains traction.
Related information
Activating and deactivating the parkingbrake (p. 406)
Parking brake malfunction
If you are unable to deactivate or activate the parking brake after several attempts, contactan authorized Volvo workshop.
A audible warning signal will sound if the park- ing brake is activated while the vehicle isbeing driven. If the vehicle must be parked before the prob- lem is rectified, turn the wheels as when park-ing on an incline and put the gear selector inP .
Low battery charge levelIf the battery charge level is too low, it will notbe possible to activate or deactivate the park-ing brake. Connect an auxiliary battery to thevehicle if the battery is discharged.
Replacing brake padsDue to the design of the electric parkingbrake, the rear brake pads must be replacedby a workshop. An authorized Volvo workshopis recommended.
Page 422 of 683
||
STARTING AND DRIVING
* Option/accessory.
420
Comfort
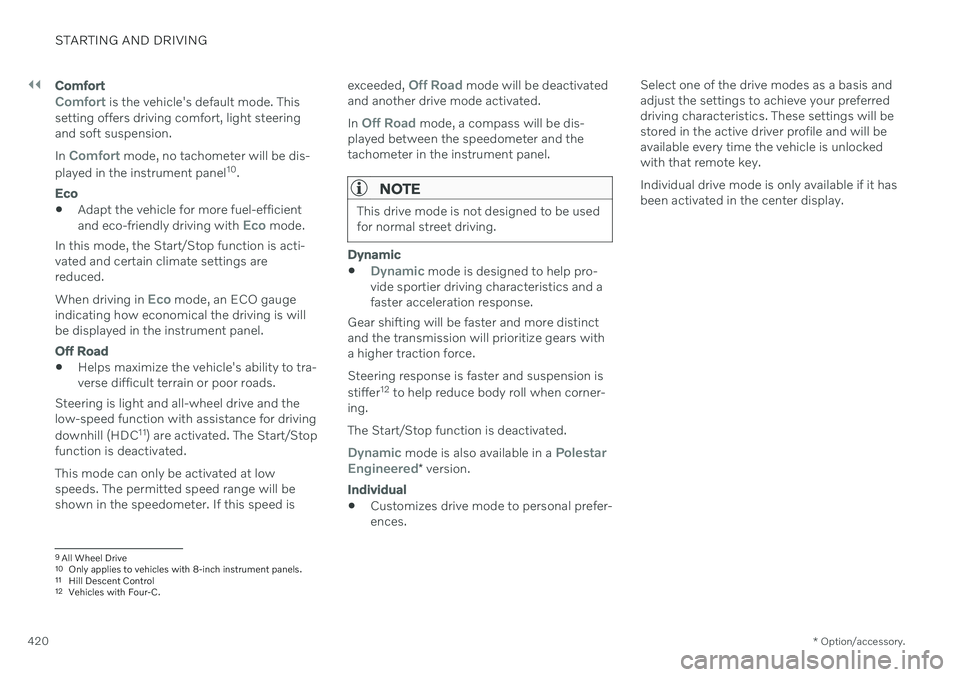
Comfort is the vehicle's default mode. This
setting offers driving comfort, light steering and soft suspension. In
Comfort mode, no tachometer will be dis-
played in the instrument panel 10
.
Eco
Adapt the vehicle for more fuel-efficient and eco-friendly driving with Eco mode.
In this mode, the Start/Stop function is acti- vated and certain climate settings arereduced. When driving in
Eco mode, an ECO gauge
indicating how economical the driving is will be displayed in the instrument panel.
Off Road
Helps maximize the vehicle's ability to tra- verse difficult terrain or poor roads.
Steering is light and all-wheel drive and thelow-speed function with assistance for driving downhill (HDC 11
) are activated. The Start/Stop
function is deactivated. This mode can only be activated at low speeds. The permitted speed range will beshown in the speedometer. If this speed is exceeded,
Off Road mode will be deactivated
and another drive mode activated. In
Off Road mode, a compass will be dis-
played between the speedometer and the tachometer in the instrument panel.
NOTE
This drive mode is not designed to be used for normal street driving.
Dynamic
Dynamic mode is designed to help pro-
vide sportier driving characteristics and a faster acceleration response.
Gear shifting will be faster and more distinctand the transmission will prioritize gears witha higher traction force. Steering response is faster and suspension is stiffer 12
to help reduce body roll when corner-
ing. The Start/Stop function is deactivated.
Dynamic mode is also available in a Polestar
Engineered* version.
Individual
Customizes drive mode to personal prefer- ences. Select one of the drive modes as a basis andadjust the settings to achieve your preferreddriving characteristics. These settings will bestored in the active driver profile and will beavailable every time the vehicle is unlockedwith that remote key. Individual drive mode is only available if it has been activated in the center display.
9
All Wheel Drive
10 Only applies to vehicles with 8-inch instrument panels.
11 Hill Descent Control
12 Vehicles with Four-C.
Page 423 of 683
STARTING AND DRIVING
}}
* Option/accessory.421
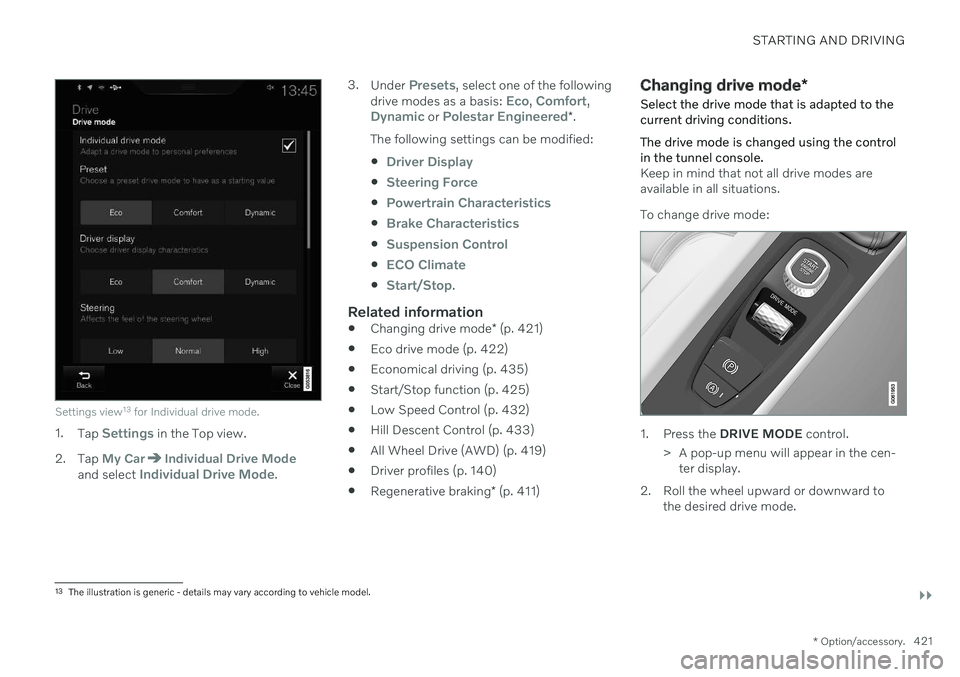
Settings view13
for Individual drive mode.
1. Tap Settings in the Top view.
2. Tap
My CarIndividual Drive Modeand select Individual Drive Mode. 3.
Under
Presets, select one of the following
drive modes as a basis: Eco, Comfort,Dynamic or Polestar Engineered* .
The following settings can be modified:
Driver Display
Steering Force
Powertrain Characteristics
Brake Characteristics
Suspension Control
ECO Climate
Start/Stop.
Related information
Changing drive mode
* (p. 421)
Eco drive mode (p. 422)
Economical driving (p. 435)
Start/Stop function (p. 425)
Low Speed Control (p. 432)
Hill Descent Control (p. 433)
All Wheel Drive (AWD) (p. 419)
Driver profiles (p. 140)
Regenerative braking
* (p. 411)
Changing drive mode *
Select the drive mode that is adapted to the current driving conditions. The drive mode is changed using the control in the tunnel console.
Keep in mind that not all drive modes are available in all situations. To change drive mode:
1. Press the DRIVE MODE control.
> A pop-up menu will appear in the cen- ter display.
2. Roll the wheel upward or downward to the desired drive mode.
13The illustration is generic - details may vary according to vehicle model.
Page 431 of 683
STARTING AND DRIVING
}}
* Option/accessory.429
Leveling control * and suspension
Self-leveling and suspension functions are controlled automatically.
Rear leveling control keeps the rear section of the vehicle at the same height regardless ofload. Leveling control may also remain activewhen the vehicle is parked.
Shock absorbers (Four-C)On vehicles equipped with Four-C, the shockabsorbers are adapted to the selected drive mode and the current vehicle speed. Theshock absorbers are normally set to help opti-mize comfort and are adjusted continuouslyaccording to the road surface and the vehicle'sacceleration, braking and cornering.
TransportingWhen transporting the vehicle on a ferry, trainor truck, only secure (lash) the vehicle aroundthe tires, not using any other parts of the chas-sis. Changes in the pneumatic suspension
may occur during transport, which couldadversely affect the lashing and result in dam-age.
Symbols and messagesIf a problem occurs with the leveling control, amessage will be displayed in the instrumentpanel.
Symbol Message Meaning
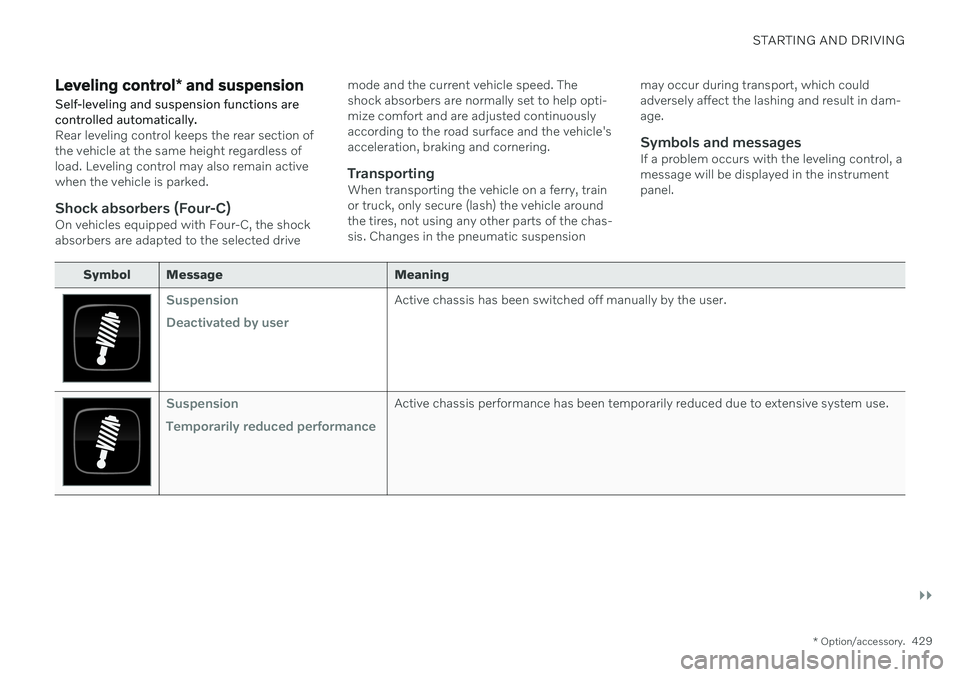
Suspension Deactivated by userActive chassis has been switched off manually by the user.
Suspension Temporarily reduced performanceActive chassis performance has been temporarily reduced due to extensive system use.
Page 432 of 683
||
STARTING AND DRIVING
430
Symbol Message Meaning
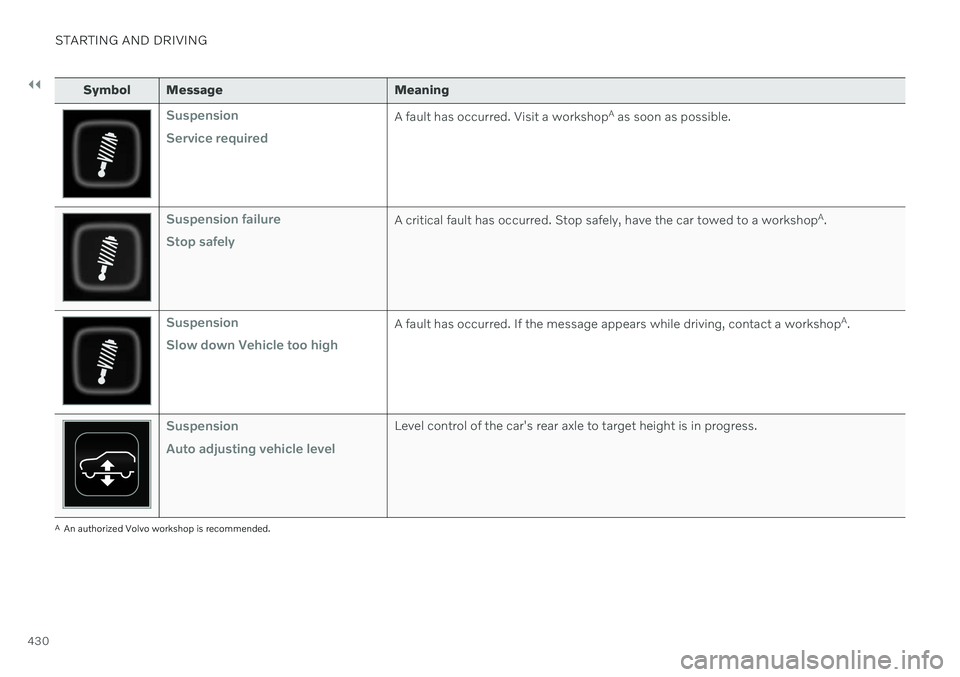
Suspension Service requiredA fault has occurred. Visit a workshopA
as soon as possible.
Suspension failure Stop safelyA critical fault has occurred. Stop safely, have the car towed to a workshop A
.
Suspension Slow down Vehicle too highA fault has occurred. If the message appears while driving, contact a workshop A
.
Suspension Auto adjusting vehicle levelLevel control of the car's rear axle to target height is in progress.
A An authorized Volvo workshop is recommended.
Page 434 of 683
STARTING AND DRIVING
* Option/accessory.
432
Leveling control settings *
Turn off leveling control before lifting the vehicle with a jack to help avoid problemswith the pneumatic suspension.
Center display settings
Disable Leveling Control
In certain situations this function must be turned off e.g. before the vehicle is raised using a jack *. The level difference caused by
raising the vehicle with a jack could cause problems with the pneumatic suspension. Turning off the function in the center display:1. Tap
Settings in the Top view.
2. Tap
My CarParking Brake and
Suspension.
3. Select
Disable Leveling Control.
Related information
Leveling control
* and suspension (p. 429)
Loading recommendations (p. 570)
Low Speed Control
The low-speed function (LSC 15
) facilitates
and improves control and traction on rough roads and slippery surfaces, e.g. when towinga trailer on grass or up boat ramps. In vehicles equipped with drive mode con- trol *, the function is included in the
Off Roaddrive mode.Low Speed Control is designed for driving on rough roads and when towing trailers at lowspeeds, up to approximately 40 km/h (25mph). Low Speed Control prioritizes low gear posi- tions and traction. If the vehicle is all-wheeldrive, power is automatically distributedevenly to provide as much traction as possibleon all wheels and reduce the risk of wheelspin. The accelerator pedal will be less respon-sive to improve traction and speed control atlow speeds. The function is activated together with Hill Descent Control (HDC 16
), which makes it pos-
sible to control speed going down steep hills using the accelerator pedal and reduces theneed to use the brake pedal. The systemmakes it possible to maintain a low and uni-form speed when driving down steep hills.
NOTE
When LSC with HDC is activated, the feel of the accelerator pedal and engineresponse will change.
NOTE
This drive mode is not designed to be used for normal street driving.
NOTE
The function is deactivated when driving at high speeds and must be reactivated atlower speeds if so desired.
Related information
Activating and deactivating Low Speed Control using the function button (p. 433)
Changing drive mode
* (p. 421)
Hill Descent Control (p. 433)
All Wheel Drive (AWD) (p. 419)
15
Low Speed Control
16 Hill Descent Control
Page 449 of 683
STARTING AND DRIVING
}}
* Option/accessory.447
CAUTION
Bumper-attached trailer hitches must not be used on Volvos, nor shouldsafety chains be attached to thebumper.
Trailer hitches attaching to the vehiclerear axle must not be used.
Never connect a trailer's hydraulicbrake system directly to the vehiclebrake system, nor a trailer's lightingsystem directly to the vehicle lightingsystem. Consult your nearest author-ized Volvo retailer for correct installa-tion.
When towing a trailer, the trailer'ssafety chains or wire must be correctlyfastened to the attachment points pro-vided in the trailer hitch on the vehicle.The safety chain or wire must never befastened to or wound around the tow-ing ball.
NOTE
The optional detachable trailer hitch may not be available in all markets or on allmodels. Consult your Volvo retailer.
NOTE
Extreme weather conditions, towing a trailer, high altitude and lower fuel gradethan recommended are factors that cansignificantly increase the vehicle's fuel con-sumption.
Trailer weights
WARNING
Please adhere to the recommendations provided for trailer weight. If the recom-mendations are not followed, the vehicleand trailer may be difficult to control duringevasive maneuvers and braking.
NOTE
The specified maximum trailer weights are those permitted by Volvo. National vehicleregulations may set additional restrictionson trailer weight and speed. The trailerhitches may be certified for higher towingweights than the vehicle is permitted totow.
Self-leveling suspension
*The vehicle's self-leveling system attempts to keep the vehicle at a constant level, regardlessof load (up to the maximum permitted weight).When the vehicle is stationary, the rear end of the vehicle will be slightly lowered, which isnormal.
Driving in hilly terrain or hot weatherIn certain conditions, there is a risk of over-heating when driving with a trailer. If overheat-ing of the engine and drive system is detected,a warning symbol will illuminate in the instru-ment panel and a message will appear. The automatic transmission adapts the gear for the current load and engine speed.
Steep inclines
Do not lock the automatic transmission into a higher gear than what the engine can handle
‒
it is not always preferable to drive in highgears at low rpm.
Parking on a hill
1. Depress the brake pedal.
2. Apply the parking brake.
3. Put the gear selector in P.
4. Release the brake pedal.Put chocks behind the wheels when the vehi- cle is parked on a hill with a trailer attached.
Starting on a hill
1. Depress the brake pedal.
2. Put the gear selector in D.
3. Release the parking brake.
4. Release the brake pedal and start driving.
Page 455 of 683

STARTING AND DRIVING
}}
* Option/accessory.453
To consider before using the towing eyelet
In certain conditions, the towing eyelet may be used to pull the vehicle onto a flat-bed tow truck. The vehicle's position andground clearance determines if this is pos-sible.
If the incline of the tow truck is too steepor if the ground clearance under the vehi-cle is insufficient, attempting to pull it upusing the towing eyelet may result in dam-age.
If necessary, lift the vehicle using the towtruck's lifting device instead of using thetowing eyelet.
WARNING
No person or object should be behind the tow truck when the vehicle is lifted ontothe bed of the truck.
CAUTION
The towing eyelet is only intended for tow- ing on roads – not for pulling vehicles fromditches or any similar purpose involvingsevere strain. Call a tow truck for profes-sional assistance.
Removing the towing eyelet–Unscrew the towing eyelet after use and return it to the foam block. Replace the cover on the bumper.
Related information
Towing using a towline (p. 450)
Recovery (p. 453)
Tool kit (p. 550)
Recovery
This section refers to transporting the vehicle with a tow truck or similar vehicle.
Call a professional towing service for assis- tance. In certain conditions, the towing eyelet can be used to pull the vehicle onto a flatbed towtruck. For vehicles equipped with leveling con- trol *: If the vehicle is equipped with pneumatic
suspension, this feature must be turned off before the vehicle is lifted onto a tow truck.Turning off the function in the center display. 1. Tap
Settings in the Top view.
2. Tap
My CarParking Brake and
Suspension.
3. Select
Disable Leveling Control.
The vehicle's location and ground clearance determine if it can be lifted onto a tow truck. Ifthe incline of the tow truck is too steep or ifthe ground clearance under the vehicle isinsufficient, attempting to pull it up may resultin damage. In this case, the vehicle shouldonly be lifted with the tow truck's lifting equip-ment.