check engine VOLVO XC60 T8 2018 Owner´s Manual
[x] Cancel search | Manufacturer: VOLVO, Model Year: 2018, Model line: XC60 T8, Model: VOLVO XC60 T8 2018Pages: 674, PDF Size: 11.93 MB
Page 422 of 674
||
STARTING AND DRIVING
420augment braking. This is indicated in the instru- ment panel with the pointer down in the red area.
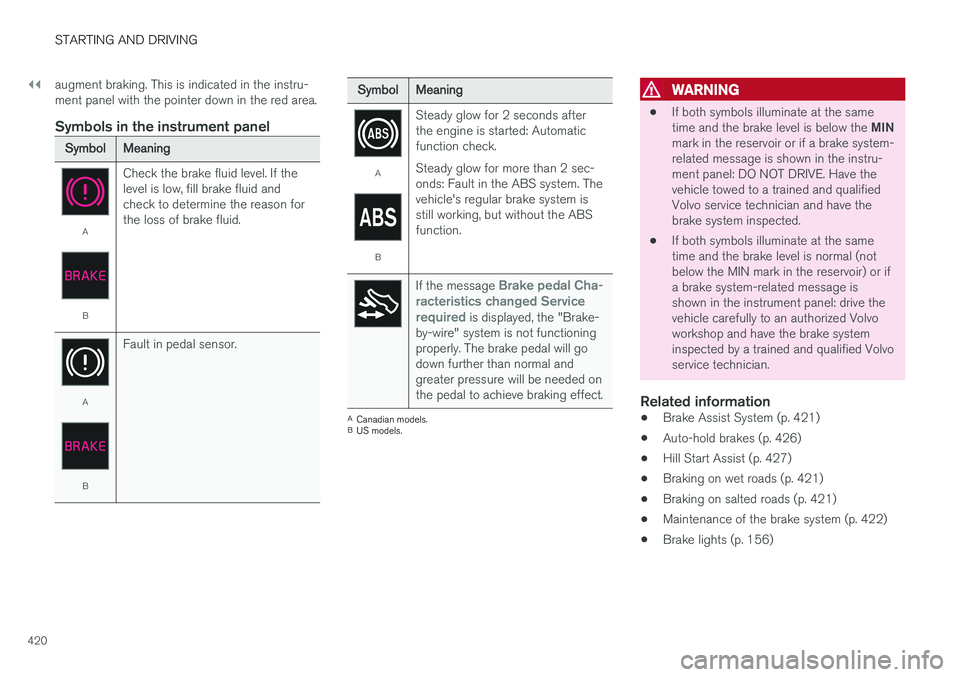
Symbols in the instrument panel
SymbolMeaning
A
B
Check the brake fluid level. If the level is low, fill brake fluid andcheck to determine the reason forthe loss of brake fluid.
A
BFault in pedal sensor.
SymbolMeaning
A
BSteady glow for 2 seconds after the engine is started: Automaticfunction check. Steady glow for more than 2 sec- onds: Fault in the ABS system. Thevehicle's regular brake system isstill working, but without the ABSfunction.
If the message Brake pedal Cha-
racteristics changed Service required
is displayed, the "Brake-
by-wire" system is not functioning properly. The brake pedal will godown further than normal andgreater pressure will be needed onthe pedal to achieve braking effect.
A Canadian models.
B US models.
WARNING
• If both symbols illuminate at the same time and the brake level is below the
MIN
mark in the reservoir or if a brake system- related message is shown in the instru-ment panel: DO NOT DRIVE. Have thevehicle towed to a trained and qualifiedVolvo service technician and have thebrake system inspected.
• If both symbols illuminate at the sametime and the brake level is normal (notbelow the MIN mark in the reservoir) or ifa brake system-related message isshown in the instrument panel: drive thevehicle carefully to an authorized Volvoworkshop and have the brake systeminspected by a trained and qualified Volvoservice technician.
Related information
• Brake Assist System (p. 421)
• Auto-hold brakes (p. 426)
• Hill Start Assist (p. 427)
• Braking on wet roads (p. 421)
• Braking on salted roads (p. 421)
• Maintenance of the brake system (p. 422)
• Brake lights (p. 156)
Page 430 of 674
||
STARTING AND DRIVING
* Option/accessory.
428
Related information
• Rear Collision Warning (p. 338)
• BLIS
* (p. 339)
• Brake functions (p. 419)
Transmission The transmission is part of the vehicle's driveline (power transmission) between the engine andthe drive wheels. The function of the transmis-sion is to change gears depending on speedand power needs.
The vehicle has an 8-speed automatic transmis- sion and an electric motor for rear-wheel drive.The number of gears allows the engine's torqueand power band to be effectively utilized. Two ofthe gears are overdrive gears that save fuel whendriving at a constant engine speed. The steering wheel paddles
* can be used to shift up or down
manually. The instrument panel shows the gear currently in use.
CAUTION
Check the operating temperature of the transmission to help avoid damage to any ofthe drive system components. If there is a riskof overheating, a warning symbol will appearin the instrument panel and a text messagewill be displayed. Follow the recommenda-tions given.
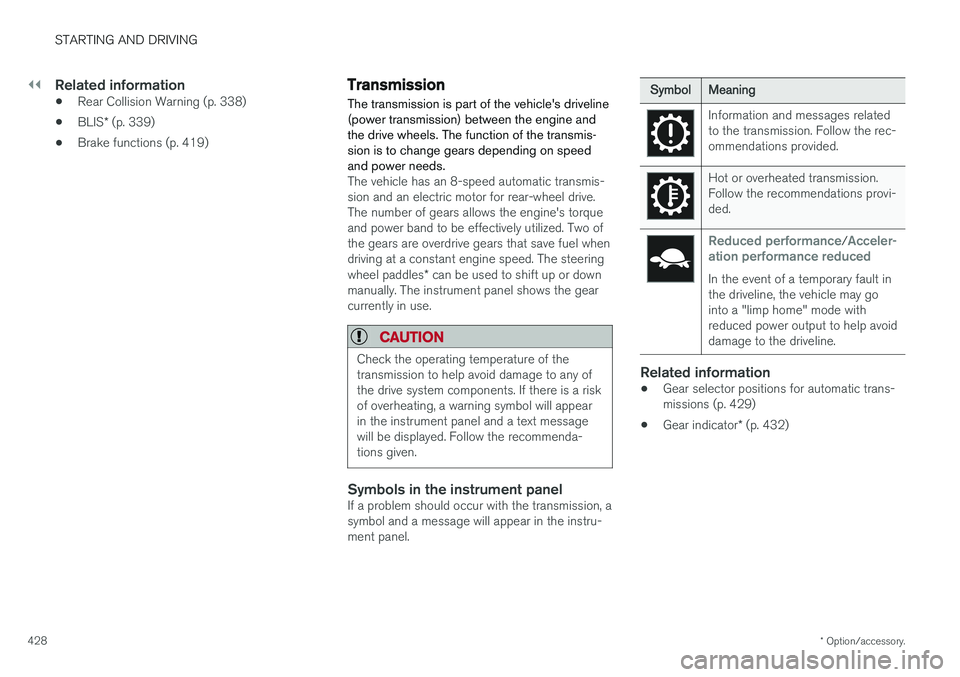
Symbols in the instrument panelIf a problem should occur with the transmission, a symbol and a message will appear in the instru-ment panel.
SymbolMeaning
Information and messages related to the transmission. Follow the rec-ommendations provided.
Hot or overheated transmission. Follow the recommendations provi-ded.
Reduced performance/Acceler-
ation performance reduced
In the event of a temporary fault in the driveline, the vehicle may gointo a "limp home" mode withreduced power output to help avoiddamage to the driveline.
Related information
• Gear selector positions for automatic trans- missions (p. 429)
• Gear indicator
* (p. 432)
Page 449 of 674
STARTING AND DRIVING
}}
447
Driving
•Choose the Pure drive mode to help mini- mize electric power consumption.
• Maintain a steady speed and a generous fol-lowing distance to traffic ahead to minimizebraking. This drive mode has the lowestpower consumption.
• Balance energy requirements using theaccelerator pedal. Use the indicator on theinstrument panel to see available electricpower and avoid starting the combustionengine unnecessarily. The electric motor ismore effective than the combustion engine,especially at low speeds.
• When braking is necessary, brake gentlyusing the brake pedal. This will recharge thehybrid battery. A regenerative function isintegrated in the brake pedal and can beaugmented by the electric motor's brakingcapacity when the gear selector is in mode B
.
• Higher speeds increase energy consumption - air resistance increases with speed.
• Activate the
Hold function in the Function
view at high speeds when traveling farther than is possible using the hybrid battery'scapacity.
• Whenever possible, avoid using the
Chargefunction to charge the hybrid battery. Charg- ing the battery using the combustion engine increases fuel consumption and carbon diox-ide emissions.
• In a cold climate, reduce heating of the wind-shield/rear window, mirrors, seats and thesteering wheel.
• Maintain the correct pressure in the tires andcheck pressure regularly.
• The type of tires used could affect energyconsumption - consult a retailer for advice onsuitable tires.
• Remove unnecessary items from the vehicle- the heavier the load, the higher the fuelconsumption.
• Roof loads increase air resistance andincrease fuel consumption. Remove roofboxes, ski racks, etc. that are not in use.
• Avoid driving with the windows open.
• Do not keep the vehicle still on an upwardgradient by using the accelerator pedal. Usethe brakes instead.
Related information
•
Drive-E
‒
purer driving pleasure (p. 27)
• Factors affecting electric motor range(p. 448)
• Using the electric motor only (p. 447)
• Hybrid gauge (p. 83)
• Checking tire pressure (p. 547)
Using the electric motor only
When using the electric motor, Volvo Twin Engine provides a combination of good fueleconomy, low emissions and high performance.
For energy-efficient driving:
• Select the Pure drive mode to help maximize driving range using only the electric motor.
• Balance energy requirements using theaccelerator pedal. Use the indicator on theinstrument panel's hybrid gauge to see avail-able electric power and avoid starting thecombustion engine unnecessarily.
• When braking is necessary, brake gentlyusing the brake pedal. This will recharge thehybrid battery.
• Activate the
Hold function in the Function
view at high speeds when traveling farther than is possible using the hybrid battery'scapacity.
• Reduce current consumption in the passen-ger compartment by reducing e.g. fan speed,electric heating, or air conditioning use.
Also follow the general economical driving adviceregarding speed, tires and load to maximizerange.
Related information
• General information about Twin Engine(p. 396)
• Economical driving (p. 446)
Page 452 of 674
||
STARTING AND DRIVING
450
Charge
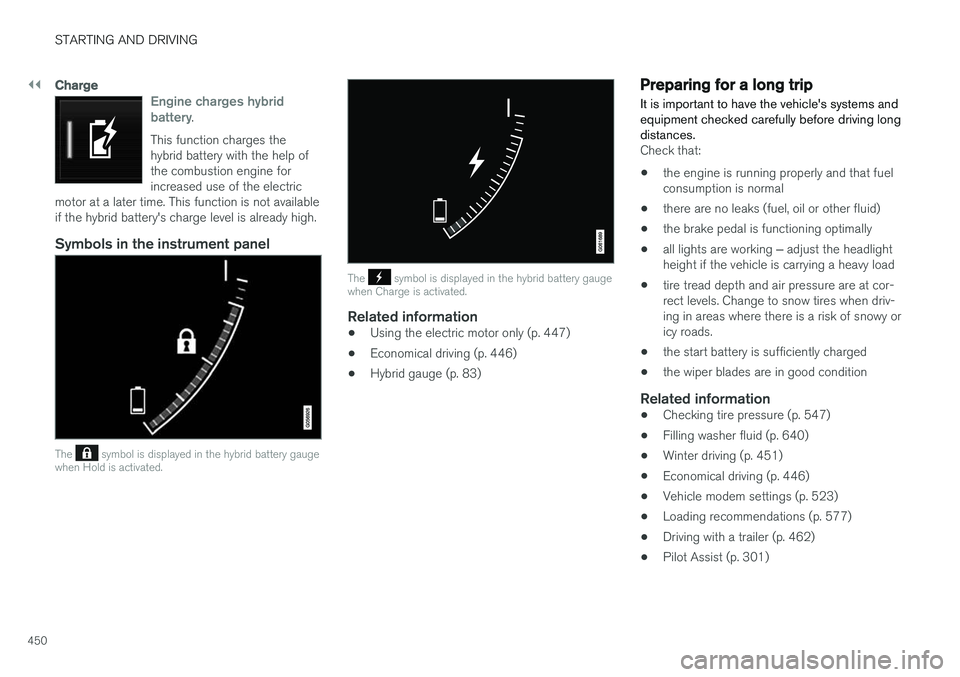
Engine charges hybrid battery.
This function charges the hybrid battery with the help ofthe combustion engine forincreased use of the electric
motor at a later time. This function is not availableif the hybrid battery's charge level is already high.
Symbols in the instrument panel
The symbol is displayed in the hybrid battery gauge
when Hold is activated.
The symbol is displayed in the hybrid battery gauge
when Charge is activated.
Related information
• Using the electric motor only (p. 447)
• Economical driving (p. 446)
• Hybrid gauge (p. 83)
Preparing for a long trip
It is important to have the vehicle's systems and equipment checked carefully before driving longdistances.
Check that:
• the engine is running properly and that fuel consumption is normal
• there are no leaks (fuel, oil or other fluid)
• the brake pedal is functioning optimally
• all lights are working
‒ adjust the headlight
height if the vehicle is carrying a heavy load
• tire tread depth and air pressure are at cor-rect levels. Change to snow tires when driv-ing in areas where there is a risk of snowy oricy roads.
• the start battery is sufficiently charged
• the wiper blades are in good condition
Related information
• Checking tire pressure (p. 547)
• Filling washer fluid (p. 640)
• Winter driving (p. 451)
• Economical driving (p. 446)
• Vehicle modem settings (p. 523)
• Loading recommendations (p. 577)
• Driving with a trailer (p. 462)
• Pilot Assist (p. 301)
Page 453 of 674
STARTING AND DRIVING
451
•
Speed limiter (p. 268)
• Tire sealing system (p. 562)
Winter driving
It is important to check the vehicle before driving in cold/snowy conditions to make sure it can bedriven safely.
Before the cold season arrives:
• Make sure the engine coolant contains 50% antifreeze. This mixture helps protect theengine from frost erosion down toapprox. -35 °C (-31 °F). Do not mix differenttypes of antifreeze as this could pose ahealth risk.
• Keep the fuel tank well filled to prevent con-densation from forming.
• Check the viscosity of the engine oil. Oil withlow viscosity (thinner oil) improves cold-weather starting and reduces fuel consump-tion when driving with a cold engine.
CAUTION
Low-viscosity oil should not be used with hard driving or in hot weather.
•
Check the condition and charge level of the start battery. Cold weather places greaterdemands on the start battery and reduces itscapacity.
• Use washer fluid containing antifreeze tohelp prevent ice from forming in the washerfluid reservoir.
Slippery driving conditionsFor optimal traction and roadholding, Volvo rec-ommends using snow tires on all wheels when-ever there is a risk of snow or ice on the road.
NOTE
Certain countries require use of winter tires by law. Not all countries permit the use ofstudded tires.
Practice driving on slippery surfaces under con- trolled conditions to learn how the vehicle reacts.
Related information
•Snow tires (p. 561)
• Snow chains (p. 561)
• Braking on salted roads (p. 421)
• Braking on wet roads (p. 421)
• Filling washer fluid (p. 640)
• Start battery (p. 605)
• Replacing windshield wiper blades (p. 638)
• Changing rear window wipers (p. 637)
• Refilling coolant (p. 602)
Page 454 of 674
STARTING AND DRIVING
452
Driving through standing water
Driving the vehicle through a deep pool of stand- ing water on a water-covered roadway is calledfording. This must be done with great caution.
To prevent damage to the vehicle when driving through water (e.g. on flooded roads): • Do not drive in water higher than the floor of the vehicle. If possible, check the depth ofthe water at its deepest point before drivingthrough it. Be particularly careful when driv-ing through flowing water.
• Always select the
Off Road drive mode
before driving in water to ensure the gasoline engine is running.
• Do not drive faster than walking speed.
• Do not stop the vehicle in the water. Drivecarefully forward or back the vehicle out ofthe water.
• Remember that waves created by passingvehicles could cause the water level to riseabove the vehicle's floor level.
• Avoid driving through salt water to help avoidthe risk of corrosion.
CAUTION
Parts of the vehicle (e.g. engine, transmission, driveline, electrical components, etc.) can bedamaged if the vehicle is driven through waterhigher than its floor level. Damage to anycomponents caused by flooding, vapor lock orinsufficient oil is not covered under warranty. If the engine stalls while the vehicle is in water, do not attempt to restart it. Have thevehicle towed on the bed of a tow truck to aworkshop - an authorized Volvo workshop isrecommended.
When you have passed the water, press lightly on the brake pedal and check that the brakes arefunctioning properly. Water, mud, slush, etc. canmake the brake linings slippery, resulting indelayed braking effect. If the vehicle is equipped with a trailer coupling contact, clean the contact after driving in water ormud.
Related information
•
Recovery (p. 467)
• Low Speed Control (p. 443)
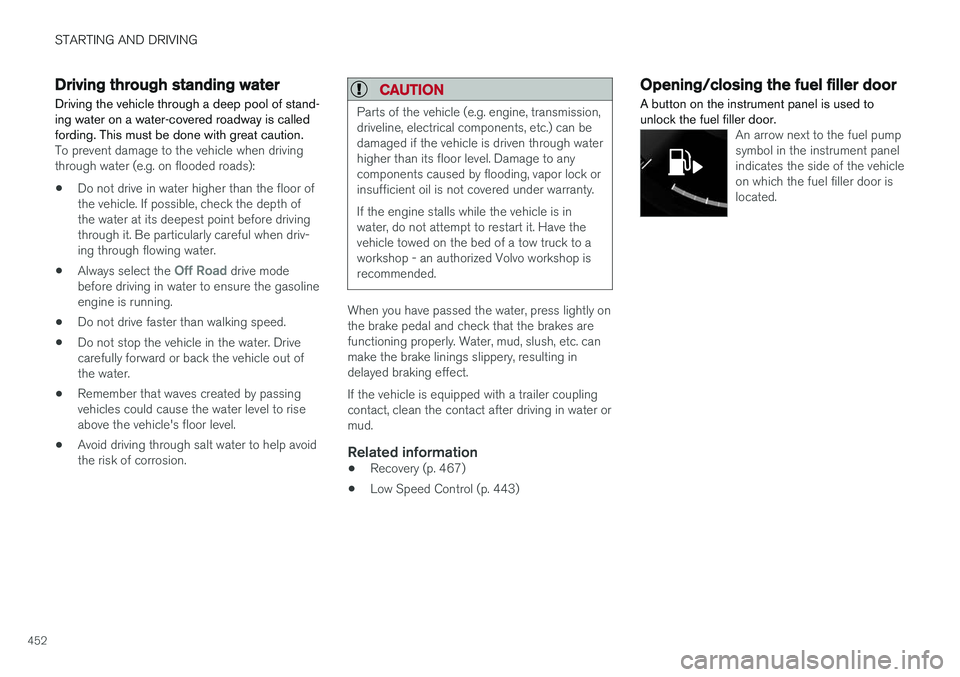
Opening/closing the fuel filler door A button on the instrument panel is used to unlock the fuel filler door.
An arrow next to the fuel pump symbol in the instrument panelindicates the side of the vehicleon which the fuel filler door islocated.
Page 456 of 674
||
STARTING AND DRIVING
454Refueling is done as follows.
1. Turn off the engine and open the fuel filler
door.
NOTE
Refueling must be done within approximately 10 minutes of opening the fuel filler door.After this time, the valve opened by pushingthe button will close and it will no longer bepossible to refuel without the pump's nozzleswitching off. If the valve is closed before refueling is com- plete - press the button again and wait until the driver display shows the message
Fuel
tank Ready for refueling.
2. Select a fuel approved for use in the vehicle. For more information on approved fuels, see the section on "Gasoline".
3. Insert the pump's nozzle into the fuel filler pipe's opening. There are two flaps justinside the fuel filler pipe and the pump's noz-zle must push both of these flaps openbefore fuel can be added. 4. Avoid overfilling the tank. Do not press the
handle on the filler nozzle again after it hasinitially stopped pumping.
> The fuel tank is now filled.
NOTE
An over-full tank may overflow in hot weather.
CAUTION
Avoid spilling gasoline during refueling. In addition to causing damage to the environ-ment, gasolines containing alcohol can causedamage to painted surfaces, which may notbe covered under the New Vehicle LimitedWarranty.
Refueling from a fuel containerWhen filling from a fuel container, use the funnel provided in a foam block under the floor hatch inthe cargo compartment.
1. Open the fuel filler door.
2. Insert the funnel into the fuel filler pipe'sopening. There are two flaps just inside the fuel filler pipe and the tube section of thefunnel must push both of these flaps openbefore fuel can be added.
Related information
• Opening/closing the fuel filler door (p. 452)
Fuel Volvo recommends the use of detergent gaso- line to control engine deposits.
Deposit control gasoline (gasoline with detergent additives)
Detergent gasoline is effective in keeping injec- tors and intake valves clean. Consistent use ofdeposit control gasolines will help ensure gooddriveability and fuel economy. If you are not surewhether the gasoline contains deposit controladditives, check with the service station operator.
NOTE
Volvo recommends not using external fuel injector cleaning systems, e.g. do not adddetergent additives to gasoline before or afterrefueling.
Unleaded fuelAll Volvo vehicles have a three-way catalytic con- verter and must only use unleaded gasoline. USand Canadian regulations require that pumpsdelivering unleaded gasoline are labeled"UNLEADED". Only the nozzles of these pumpswill fit in your vehicle's fuel filler inlet. It is unlaw-ful to dispense leaded fuel into a vehicle labeled"unleaded gasoline only". Leaded gasoline dam-ages the three-way catalytic converter and theheated oxygen sensor system. Repeated use ofleaded gasoline will lessen the effectiveness of
Page 457 of 674
STARTING AND DRIVING
}}
455
the emission control system and could result in loss of emission warranty coverage. State andlocal vehicle inspection programs will makedetection of misfueling easier, possibly resultingin emission test failure for misfueled vehicles.
NOTE
Some U.S. and Canadian gasolines contain an octane enhancing additive called methyl-cyclopentadienyl manganese tricarbonyl(MMT). If such fuels are used, your EmissionControl System performance may be affected,and the Check Engine Light (malfunctionindicator light) located on your instrumentpanel may light. If this occurs, please returnyour vehicle to a trained and qualified Volvoservice technician for service.
Gasoline containing alcohol and ethers, "Oxygenated fuels"
Some fuel suppliers sell gasoline containing "oxygenates" which are usually alcohols orethers. In some areas, state or local laws requirethat the service pump be marked indicating useof alcohols or ethers. However, there are areas inwhich the pumps are unmarked. If you are notsure whether there is alcohol or ethers in thegasoline you buy, check with the service stationoperator. To meet seasonal air quality standards,some areas require the use of "oxygenated" fuel.
Volvo permits the use of the following "oxygen-ated" fuels. However, the specified octane ratingsmust still be met.
Alcohol - Ethanol
Fuels containing up to 10% ethanol by volume may be used. Ethanol may also be referred to asEthyl alcohol, or "Gasohol". Ethers - MTBE/ETBE: Fuels containing up to 15% MTBE/ETBE may be used.
MethanolDo not use gasolines containing methanol(methyl alcohol, wood alcohol). This practice canresult in vehicle performance deterioration andcan damage critical parts in the fuel system. Suchdamage may not be covered under the NewVehicle Limited Warranty.
Related information
•
Octane rating (p. 455)
• Opening/closing the fuel filler door (p. 452)
• Refueling (p. 453)
• Emission controls (p. 457)
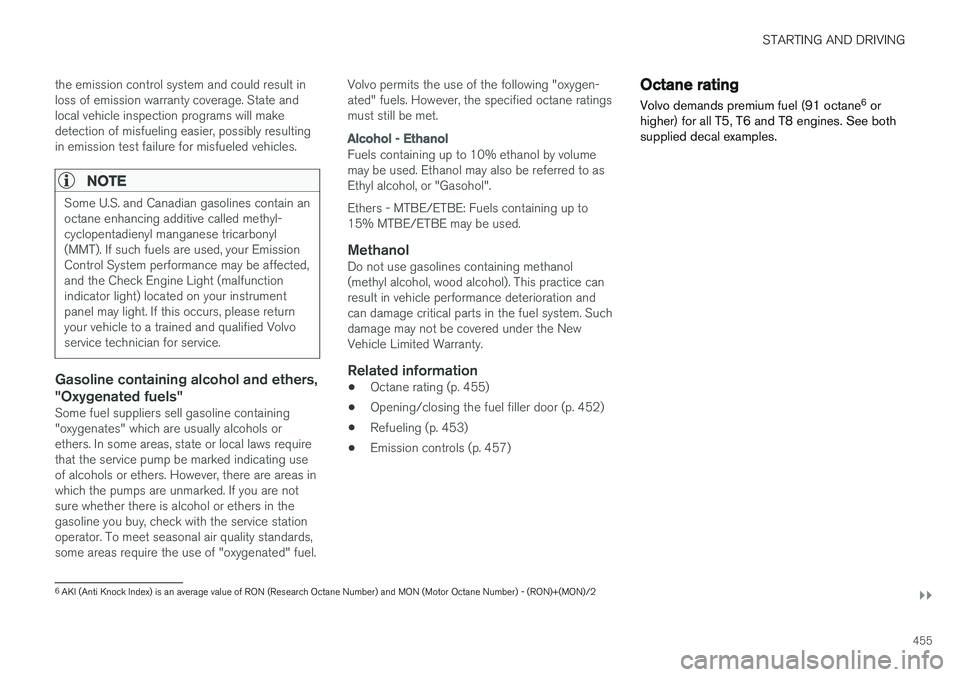
Octane rating Volvo demands premium fuel (91 octane 6
or
higher) for all T5, T6 and T8 engines. See both supplied decal examples.
6 AKI (Anti Knock Index) is an average value of RON (Research Octane Number) and MON (Motor Octane Number) - (RON)+(MON)/2
Page 465 of 674
STARTING AND DRIVING
* Option/accessory.463
CAUTION
•Bumper-attached trailer hitches must not be used on Volvos, nor should safetychains be attached to the bumper.
• Trailer hitches attaching to the vehiclerear axle must not be used.
• Never connect a trailer's hydraulic brakesystem directly to the vehicle brake sys-tem, nor a trailer's lighting system directlyto the vehicle lighting system. Consultyour nearest authorized Volvo retailer forcorrect installation.
• When towing a trailer, the trailer's safetychains or wire must be correctly fastenedto the attachment points provided in thetrailer hitch on the vehicle. The safetychain or wire must never be fastened toor wound around the towing ball.
NOTE
The optional detachable trailer hitch may not be available in all markets or on all models.Consult your Volvo retailer.
NOTE
Extreme weather conditions, towing a trailer, driving at high altitudes and fuel quality arefactors that significantly increase a vehicle'sfuel consumption.
Trailer weights
WARNING
Please adhere to the recommendations provi- ded for trailer weight. If the recommendationsare not followed, the vehicle and trailer maybe difficult to control during evasive maneu-vers and braking.
NOTE
The specified maximum trailer weights are those permitted by Volvo. National vehicleregulations may set additional restrictions ontrailer weight and speed. The trailer hitchesmay be certified for higher towing weightsthan the vehicle is permitted to tow.
Self-leveling suspension
*The vehicle's self-leveling system attempts to keep the vehicle at a constant level, regardless ofload (up to the maximum permitted weight).When the vehicle is stationary, the rear end of thevehicle will be slightly lowered, which is normal.
Driving in hilly terrain or hot weatherIn certain conditions, there is a risk of overheat-ing when driving with a trailer. If overheating ofthe engine and drive system is detected, a warn-ing symbol will illuminate in the instrument panelalong with a message. The automatic transmission selects the optimalgear for the current load and engine speed.
Steep inclines
Do not lock the automatic transmission into a higher gear than what the engine can handle
‒ it
is not always preferable to drive in high gears at low rpm.
Parking on a hill
1. Depress the brake pedal.
2. Apply the parking brake.3. Put the gear selector in P.
4. Release the brake pedal.Put chocks behind the wheels when the vehicle is parked on a hill with a trailer attached.
Starting on a hill
1. Depress the brake pedal. 2. Put the gear selector in D.
3. Release the parking brake.
4. Release the brake pedal and start driving.
Related information
• Trailer Stability Assist
* (p. 464)
• Checking trailer lights (p. 465)
• Towing capacity and tongue weight (p. 650)
• Overheating of engine and transmission (p. 458)
Page 467 of 674
STARTING AND DRIVING
* Option/accessory.465
Checking trailer lights
When connecting a trailer, make sure that all of the lights on the trailer are functioning beforestarting to drive.
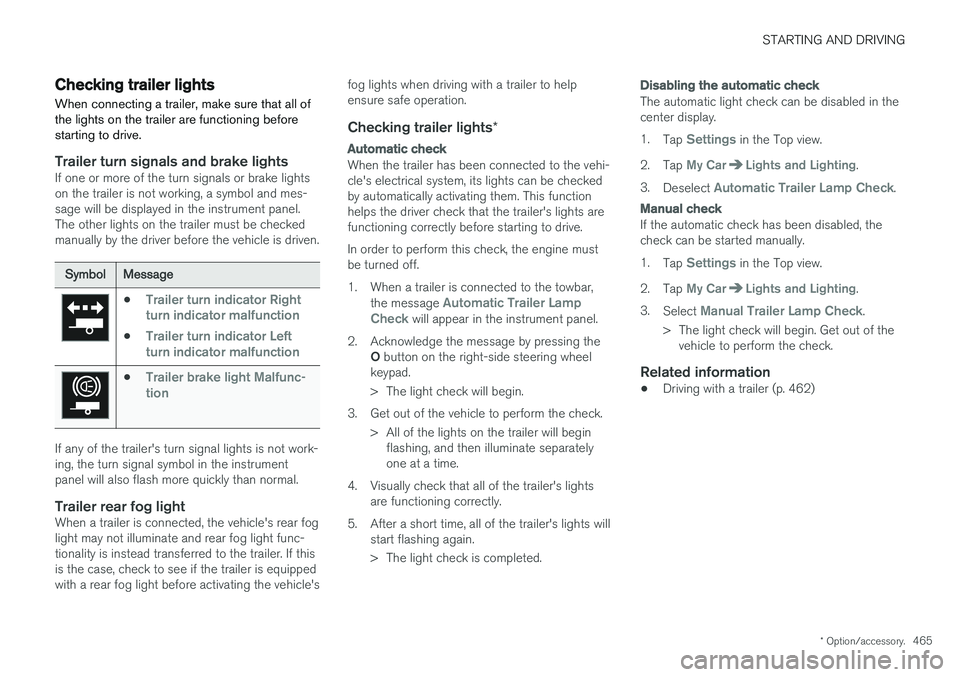
Trailer turn signals and brake lightsIf one or more of the turn signals or brake lights on the trailer is not working, a symbol and mes-sage will be displayed in the instrument panel.The other lights on the trailer must be checkedmanually by the driver before the vehicle is driven.
SymbolMessage
•Trailer turn indicator Right
turn indicator malfunction
•Trailer turn indicator Left
turn indicator malfunction
•Trailer brake light Malfunc-
tion
If any of the trailer's turn signal lights is not work- ing, the turn signal symbol in the instrumentpanel will also flash more quickly than normal.
Trailer rear fog lightWhen a trailer is connected, the vehicle's rear foglight may not illuminate and rear fog light func-tionality is instead transferred to the trailer. If thisis the case, check to see if the trailer is equippedwith a rear fog light before activating the vehicle's fog lights when driving with a trailer to helpensure safe operation.
Checking trailer lights
*
Automatic check
When the trailer has been connected to the vehi- cle's electrical system, its lights can be checkedby automatically activating them. This functionhelps the driver check that the trailer's lights arefunctioning correctly before starting to drive. In order to perform this check, the engine must be turned off.
1. When a trailer is connected to the towbar,
the message
Automatic Trailer Lamp
Check will appear in the instrument panel.
2. Acknowledge the message by pressing the O button on the right-side steering wheel
keypad.
> The light check will begin.
3. Get out of the vehicle to perform the check. > All of the lights on the trailer will beginflashing, and then illuminate separately one at a time.
4. Visually check that all of the trailer's lights are functioning correctly.
5. After a short time, all of the trailer's lights will start flashing again.
> The light check is completed.
Disabling the automatic check
The automatic light check can be disabled in the center display. 1.Tap
Settings in the Top view.
2. Tap
My CarLights and Lighting.
3. Deselect
Automatic Trailer Lamp Check.
Manual check
If the automatic check has been disabled, the check can be started manually. 1.Tap
Settings in the Top view.
2. Tap
My CarLights and Lighting.
3. Select
Manual Trailer Lamp Check.
> The light check will begin. Get out of the vehicle to perform the check.
Related information
• Driving with a trailer (p. 462)