battery location VOLVO XC60 T8 2018 Owner´s Manual
[x] Cancel search | Manufacturer: VOLVO, Model Year: 2018, Model line: XC60 T8, Model: VOLVO XC60 T8 2018Pages: 674, PDF Size: 11.93 MB
Page 8 of 674
6
Preconditioning timer settings223
Adding and editing timer setting for preconditioning 223
Activating and deactivating precondi-tioning timer settings 224
Deleting preconditioning timer settings 224
Climate comfort retaining function 225
Switching on and off the climateretaining function when parking 225
Parking climate symbols and messages 226
KEY, LOCKS AND ALARM
Lock indication228
Lock confirmation settings 229
Remote key 229
Locking and unlocking using the remote key 231
Settings for remote and inside doorunlock 232
Unlocking the tailgate using theremote key 233
Remote key range 233
Replacing the remote key's battery 234
Ordering additional remote keys 238
Red Key - restricted remote key *
238
Red Key * settings
239
Detachable key blade 240
Locking and unlocking with detacha-ble key blade 241
Electronic immobilizer 242
Start and lock system type designations 242
Keyless and touch-sensitive surfaces *
243
Keyless locking and unlocking *
244
Keyless unlock settings *
246
Keyless tailgate unlock *
246
Antenna locations for the start andlock system 247
Locking and unlocking from inside the vehicle247
Unlocking the tailgate from insidethe vehicle 249
Activating and deactivating childsafety locks 249
Automatic locking when driving 251
Opening and closing the power tailgate *
251
Setting a maximum height for the power tailgate * 254
Foot movement tailgate operation *
255
Private Locking 256
Activating and deactivating private locking 257
Alarm 258
Arming and disarming the alarm 259
Foreign Component Detection *
260
Page 82 of 674
DISPLAYS AND VOICE CONTROL
* Option/accessory.
80
Instrument panel
The instrument panel displays information rela- ted to the vehicle and driving.
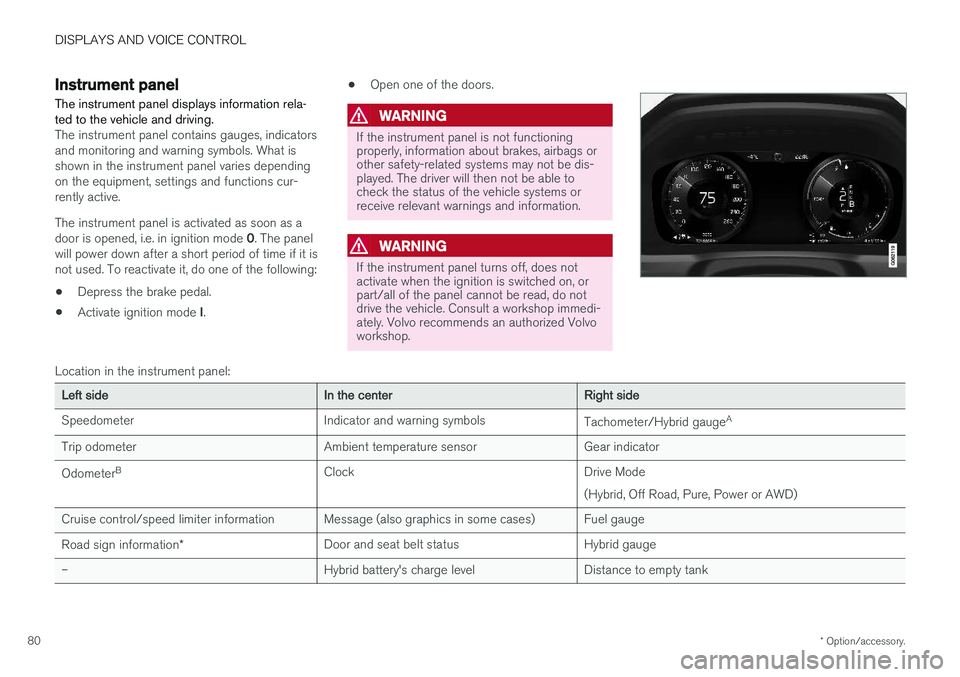
The instrument panel contains gauges, indicators and monitoring and warning symbols. What isshown in the instrument panel varies dependingon the equipment, settings and functions cur-rently active. The instrument panel is activated as soon as a door is opened, i.e. in ignition mode 0. The panel
will power down after a short period of time if it is not used. To reactivate it, do one of the following:
• Depress the brake pedal.
• Activate ignition mode
I. •
Open one of the doors.
WARNING
If the instrument panel is not functioning properly, information about brakes, airbags orother safety-related systems may not be dis-played. The driver will then not be able tocheck the status of the vehicle systems orreceive relevant warnings and information.
WARNING
If the instrument panel turns off, does not activate when the ignition is switched on, orpart/all of the panel cannot be read, do notdrive the vehicle. Consult a workshop immedi-ately. Volvo recommends an authorized Volvoworkshop.
Location in the instrument panel:
Left sideIn the centerRight side
Speedometer Indicator and warning symbols Tachometer/Hybrid gaugeA
Trip odometer Ambient temperature sensor Gear indicator Odometer B
Clock Drive Mode
(Hybrid, Off Road, Pure, Power or AWD)
Cruise control/speed limiter information Message (also graphics in some cases) Fuel gauge Road sign information * Door and seat belt status Hybrid gauge
– Hybrid battery's charge level Distance to empty tank
Page 83 of 674
DISPLAYS AND VOICE CONTROL
81
Left sideIn the centerRight side
– Media player Distance to discharged battery
– Navigation system map Current fuel consumption
– PhoneApp menu (activated using steering wheel keypad)
– Voice Control –
– CompassA
–
ADepends on selected drive mode.
B Total distance.
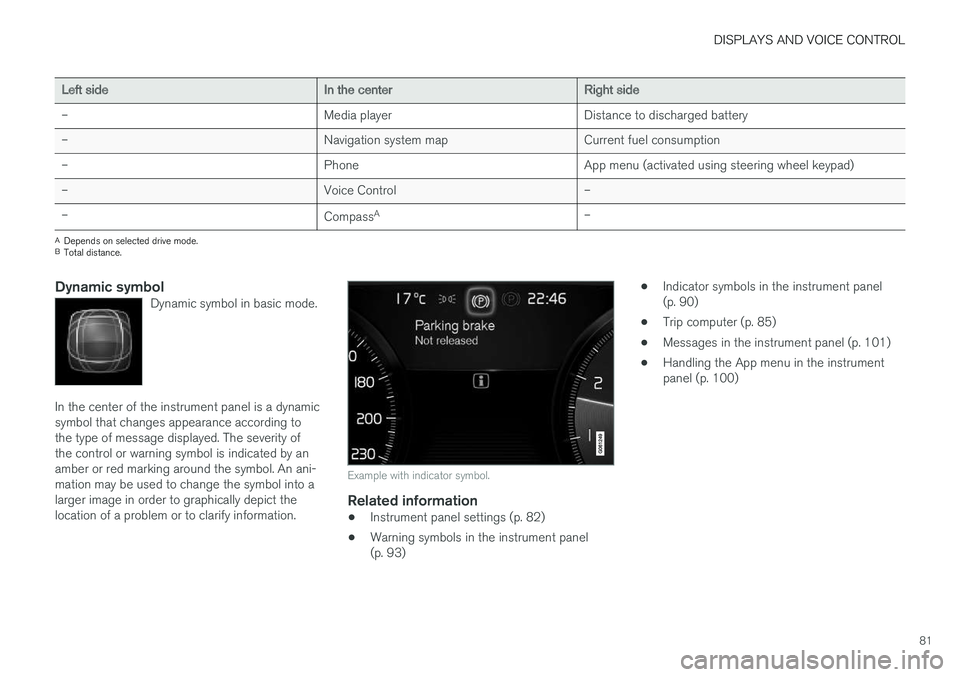
Dynamic symbolDynamic symbol in basic mode.
In the center of the instrument panel is a dynamic symbol that changes appearance according tothe type of message displayed. The severity ofthe control or warning symbol is indicated by anamber or red marking around the symbol. An ani-mation may be used to change the symbol into alarger image in order to graphically depict thelocation of a problem or to clarify information.
Example with indicator symbol.
Related information
• Instrument panel settings (p. 82)
• Warning symbols in the instrument panel (p. 93) •
Indicator symbols in the instrument panel(p. 90)
• Trip computer (p. 85)
• Messages in the instrument panel (p. 101)
• Handling the App menu in the instrumentpanel (p. 100)
Page 236 of 674
||
KEY, LOCKS AND ALARM
* Option/accessory.
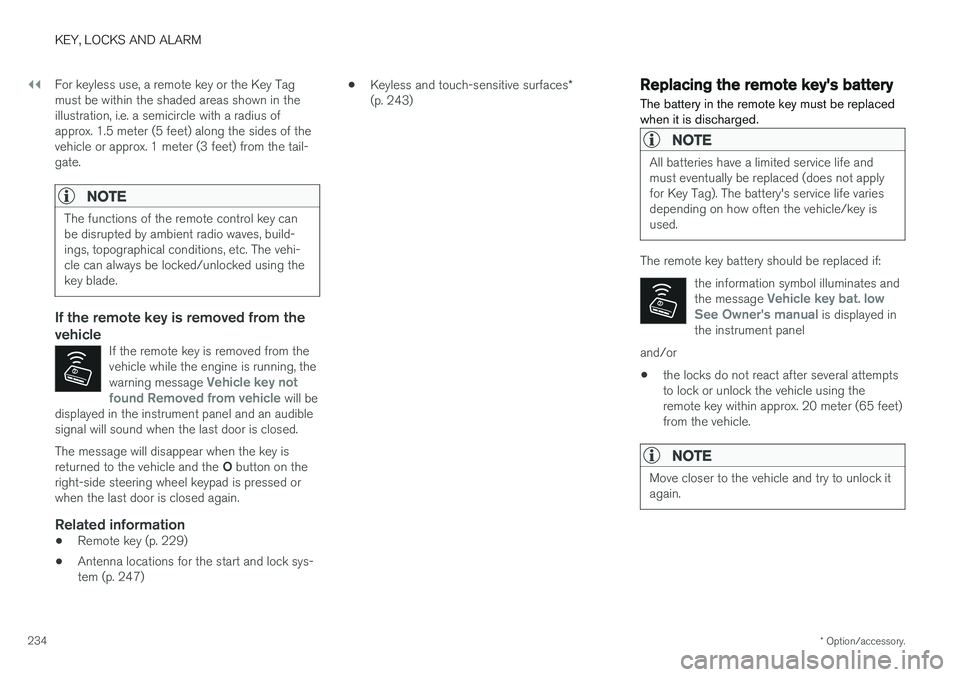
234 For keyless use, a remote key or the Key Tag must be within the shaded areas shown in theillustration, i.e. a semicircle with a radius ofapprox. 1.5 meter (5 feet) along the sides of thevehicle or approx. 1 meter (3 feet) from the tail-gate.
NOTE
The functions of the remote control key can be disrupted by ambient radio waves, build-ings, topographical conditions, etc. The vehi-cle can always be locked/unlocked using thekey blade.
If the remote key is removed from the vehicle
If the remote key is removed from the vehicle while the engine is running, the warning message
Vehicle key not
found Removed from vehicle will be
displayed in the instrument panel and an audible signal will sound when the last door is closed.
The message will disappear when the key is returned to the vehicle and the O button on the
right-side steering wheel keypad is pressed or when the last door is closed again.
Related information
• Remote key (p. 229)
• Antenna locations for the start and lock sys-tem (p. 247) •
Keyless and touch-sensitive surfaces
*
(p. 243)
Replacing the remote key's battery
The battery in the remote key must be replaced when it is discharged.
NOTE
All batteries have a limited service life and must eventually be replaced (does not applyfor Key Tag). The battery's service life variesdepending on how often the vehicle/key isused.
The remote key battery should be replaced if:
the information symbol illuminates and the message
Vehicle key bat. low
See Owner's manual is displayed in
the instrument panel
and/or
• the locks do not react after several attempts to lock or unlock the vehicle using theremote key within approx. 20 meter (65 feet)from the vehicle.
NOTE
Move closer to the vehicle and try to unlock it again.
Page 243 of 674
KEY, LOCKS AND ALARM
}}
241
Locking and unlocking withdetachable key blade
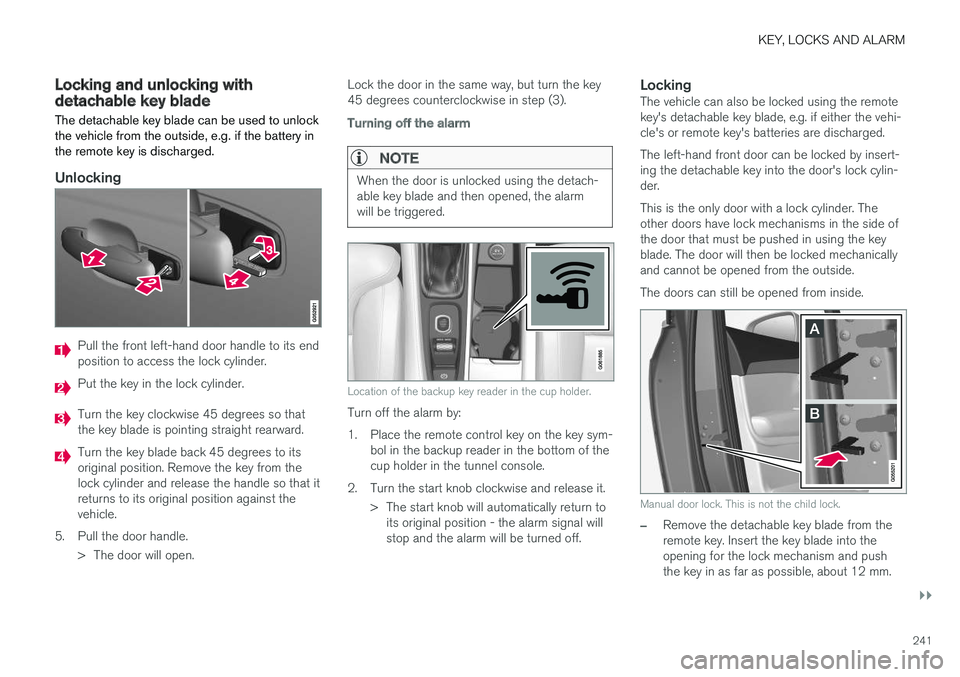
The detachable key blade can be used to unlock the vehicle from the outside, e.g. if the battery inthe remote key is discharged.
Unlocking
Pull the front left-hand door handle to its end position to access the lock cylinder.
Put the key in the lock cylinder.
Turn the key clockwise 45 degrees so that the key blade is pointing straight rearward.
Turn the key blade back 45 degrees to its original position. Remove the key from thelock cylinder and release the handle so that itreturns to its original position against thevehicle.
5. Pull the door handle. > The door will open. Lock the door in the same way, but turn the key45 degrees counterclockwise in step (3).
Turning off the alarm
NOTE
When the door is unlocked using the detach- able key blade and then opened, the alarmwill be triggered.
Location of the backup key reader in the cup holder.
Turn off the alarm by:
1. Place the remote control key on the key sym-
bol in the backup reader in the bottom of the cup holder in the tunnel console.
2. Turn the start knob clockwise and release it. > The start knob will automatically return toits original position - the alarm signal willstop and the alarm will be turned off.
LockingThe vehicle can also be locked using the remotekey's detachable key blade, e.g. if either the vehi-cle's or remote key's batteries are discharged. The left-hand front door can be locked by insert- ing the detachable key into the door's lock cylin-der. This is the only door with a lock cylinder. The other doors have lock mechanisms in the side ofthe door that must be pushed in using the keyblade. The door will then be locked mechanicallyand cannot be opened from the outside. The doors can still be opened from inside.
Manual door lock. This is not the child lock.
–Remove the detachable key blade from the remote key. Insert the key blade into theopening for the lock mechanism and pushthe key in as far as possible, about 12 mm.
Page 262 of 674
||
KEY, LOCKS AND ALARM
* Option/accessory.
260
Disarming the alarm without a functioning
remote key
The vehicle can be unlocked and disarmed even if the remote key is not functioning, e.g. if thebattery is discharged.
1. Open the driver's door using the detachable
key blade.
> This will trigger the alarm.
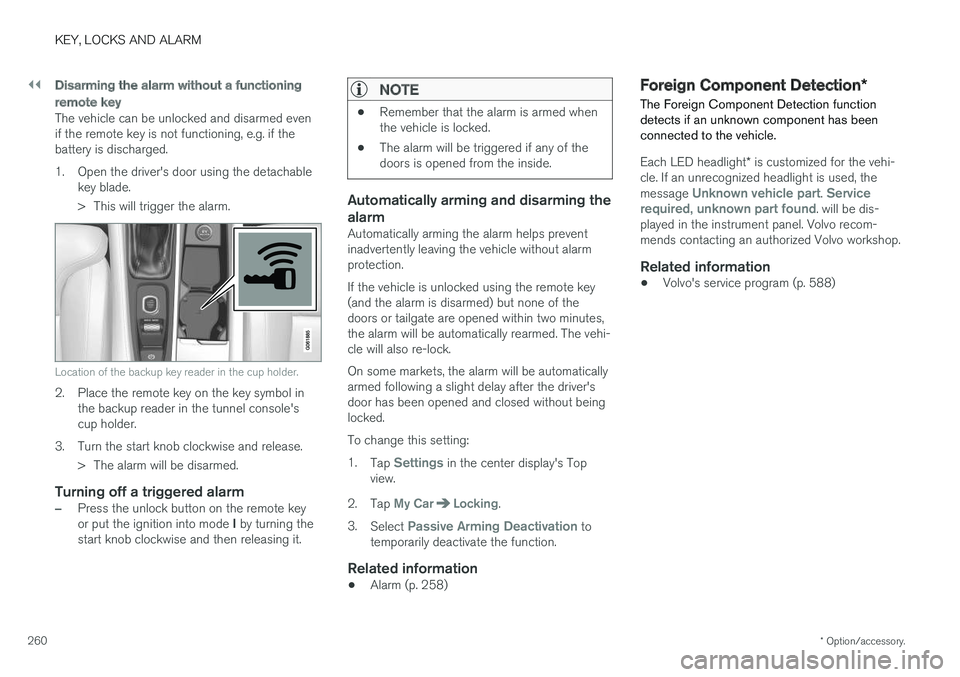
Location of the backup key reader in the cup holder.
2. Place the remote key on the key symbol inthe backup reader in the tunnel console's cup holder.
3. Turn the start knob clockwise and release. > The alarm will be disarmed.
Turning off a triggered alarm
–Press the unlock button on the remote key or put the ignition into mode I by turning the
start knob clockwise and then releasing it.
NOTE
• Remember that the alarm is armed when the vehicle is locked.
• The alarm will be triggered if any of thedoors is opened from the inside.
Automatically arming and disarming the alarm
Automatically arming the alarm helps prevent inadvertently leaving the vehicle without alarmprotection. If the vehicle is unlocked using the remote key (and the alarm is disarmed) but none of thedoors or tailgate are opened within two minutes,the alarm will be automatically rearmed. The vehi-cle will also re-lock. On some markets, the alarm will be automatically armed following a slight delay after the driver'sdoor has been opened and closed without beinglocked. To change this setting:1.
Tap
Settings in the center display's Top
view.
2. Tap
My CarLocking.
3. Select
Passive Arming Deactivation to
temporarily deactivate the function.
Related information
• Alarm (p. 258)
Foreign Component Detection
*
The Foreign Component Detection function detects if an unknown component has beenconnected to the vehicle.
Each LED headlight * is customized for the vehi-
cle. If an unrecognized headlight is used, the message
Unknown vehicle part. Service
required, unknown part found. will be dis-
played in the instrument panel. Volvo recom- mends contacting an authorized Volvo workshop.
Related information
• Volvo's service program (p. 588)
Page 406 of 674
||
HYBRID INFORMATION
404
Related information
•Charging the hybrid battery (p. 397)
• Opening and closing the charging socket cover (p. 401)
• Charging status in the vehicle's chargingsocket (p. 404)
• Charging status in the instrument panel(p. 406)
• Charging status in the charging cable'scharging module (p. 405)
• Stopping hybrid battery charging (p. 408)
Charging status in the vehicle'scharging socket
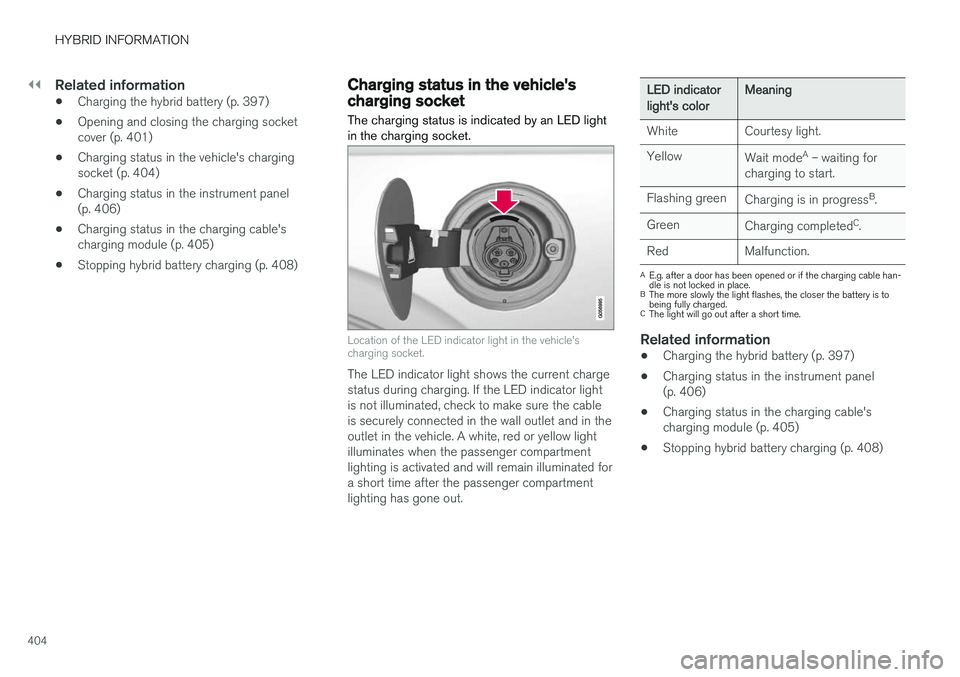
The charging status is indicated by an LED light in the charging socket.
Location of the LED indicator light in the vehicle's charging socket.
The LED indicator light shows the current charge status during charging. If the LED indicator lightis not illuminated, check to make sure the cableis securely connected in the wall outlet and in theoutlet in the vehicle. A white, red or yellow lightilluminates when the passenger compartmentlighting is activated and will remain illuminated fora short time after the passenger compartmentlighting has gone out.
LED indicatorlight's colorMeaning
White Courtesy light. Yellow Wait modeA
– waiting for
charging to start.
Flashing green Charging is in progress B
.
Green Charging completed C
.
Red Malfunction.
A E.g. after a door has been opened or if the charging cable han- dle is not locked in place.
B The more slowly the light flashes, the closer the battery is tobeing fully charged.
C The light will go out after a short time.
Related information
• Charging the hybrid battery (p. 397)
• Charging status in the instrument panel (p. 406)
• Charging status in the charging cable'scharging module (p. 405)
• Stopping hybrid battery charging (p. 408)
Page 413 of 674
HYBRID INFORMATION
411
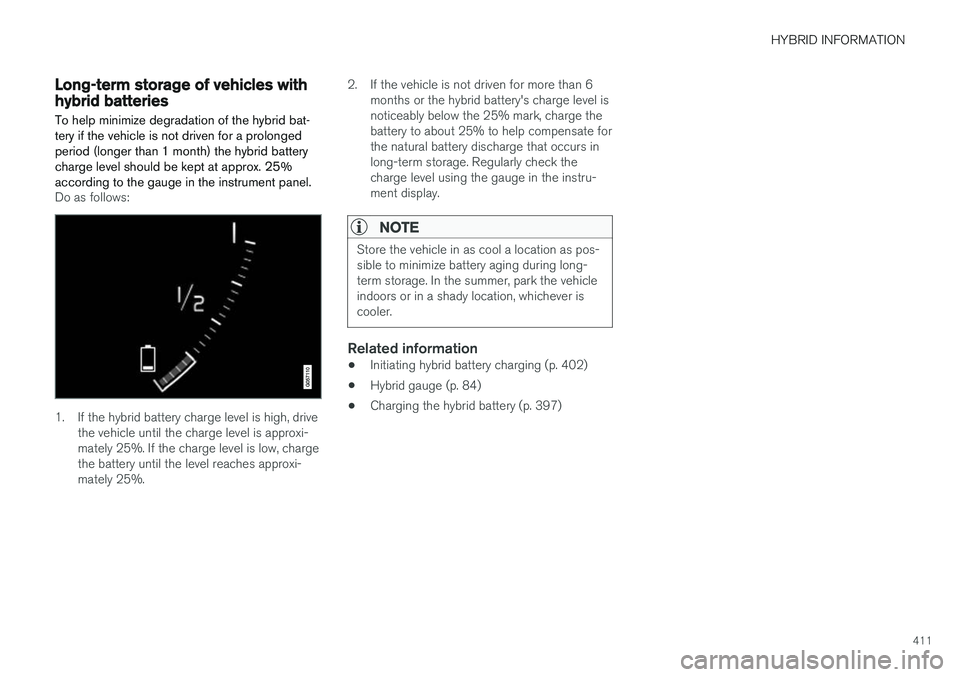
Long-term storage of vehicles withhybrid batteries To help minimize degradation of the hybrid bat- tery if the vehicle is not driven for a prolongedperiod (longer than 1 month) the hybrid batterycharge level should be kept at approx. 25%according to the gauge in the instrument panel.
Do as follows:
1. If the hybrid battery charge level is high, drivethe vehicle until the charge level is approxi- mately 25%. If the charge level is low, chargethe battery until the level reaches approxi-mately 25%. 2. If the vehicle is not driven for more than 6
months or the hybrid battery's charge level isnoticeably below the 25% mark, charge thebattery to about 25% to help compensate forthe natural battery discharge that occurs inlong-term storage. Regularly check thecharge level using the gauge in the instru-ment display.
NOTE
Store the vehicle in as cool a location as pos- sible to minimize battery aging during long-term storage. In the summer, park the vehicleindoors or in a shady location, whichever iscooler.
Related information
• Initiating hybrid battery charging (p. 402)
• Hybrid gauge (p. 84)
• Charging the hybrid battery (p. 397)
Page 417 of 674
STARTING AND DRIVING
}}
415
In some situations, such as in cold weather or if the hybrid battery's charge level is too low, thegasoline engine will start instead. The vehicle should not be started with the charg- ing cable connected. However, if the cable can-not be pulled out or if the vehicle incorrectlydetects a cable that is not connected, the vehiclecan be started using an override procedure:
1. Press the brake pedal and turn the start
knob clockwise.
2.
Charge cable Remove before start will
appear in the instrument panel.
3. Turn the start knob clockwise again. 4.
Removed? Turn and hold start knob 7swill appear. Turn the knob clockwise and hold it for 7 seconds to start the vehicle.
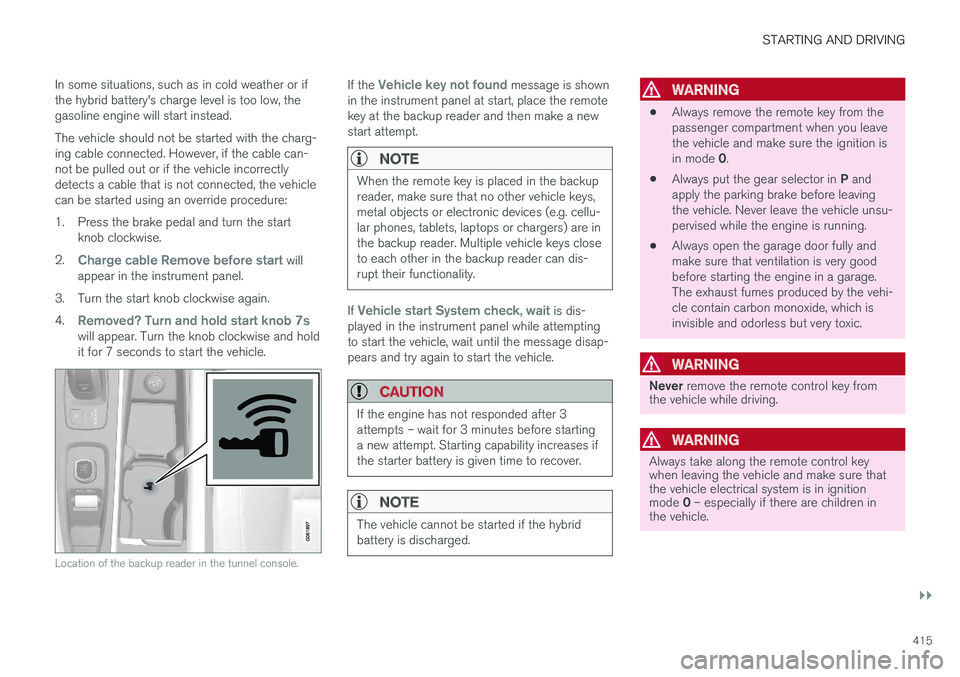
Location of the backup reader in the tunnel console.
If the Vehicle key not found message is shown
in the instrument panel at start, place the remote key at the backup reader and then make a newstart attempt.
NOTE
When the remote key is placed in the backup reader, make sure that no other vehicle keys,metal objects or electronic devices (e.g. cellu-lar phones, tablets, laptops or chargers) are inthe backup reader. Multiple vehicle keys closeto each other in the backup reader can dis-rupt their functionality.
If Vehicle start System check, wait is dis-
played in the instrument panel while attempting to start the vehicle, wait until the message disap-pears and try again to start the vehicle.
CAUTION
If the engine has not responded after 3 attempts – wait for 3 minutes before startinga new attempt. Starting capability increases ifthe starter battery is given time to recover.
NOTE
The vehicle cannot be started if the hybrid battery is discharged.
WARNING
• Always remove the remote key from the passenger compartment when you leavethe vehicle and make sure the ignition is in mode
0.
• Always put the gear selector in
P and
apply the parking brake before leaving the vehicle. Never leave the vehicle unsu-pervised while the engine is running.
• Always open the garage door fully andmake sure that ventilation is very goodbefore starting the engine in a garage.The exhaust fumes produced by the vehi-cle contain carbon monoxide, which isinvisible and odorless but very toxic.
WARNING
Never
remove the remote control key from
the vehicle while driving.
WARNING
Always take along the remote control key when leaving the vehicle and make sure thatthe vehicle electrical system is in ignition mode 0 – especially if there are children in
the vehicle.
Page 609 of 674
MAINTENANCE AND SERVICE
}}
607
Location
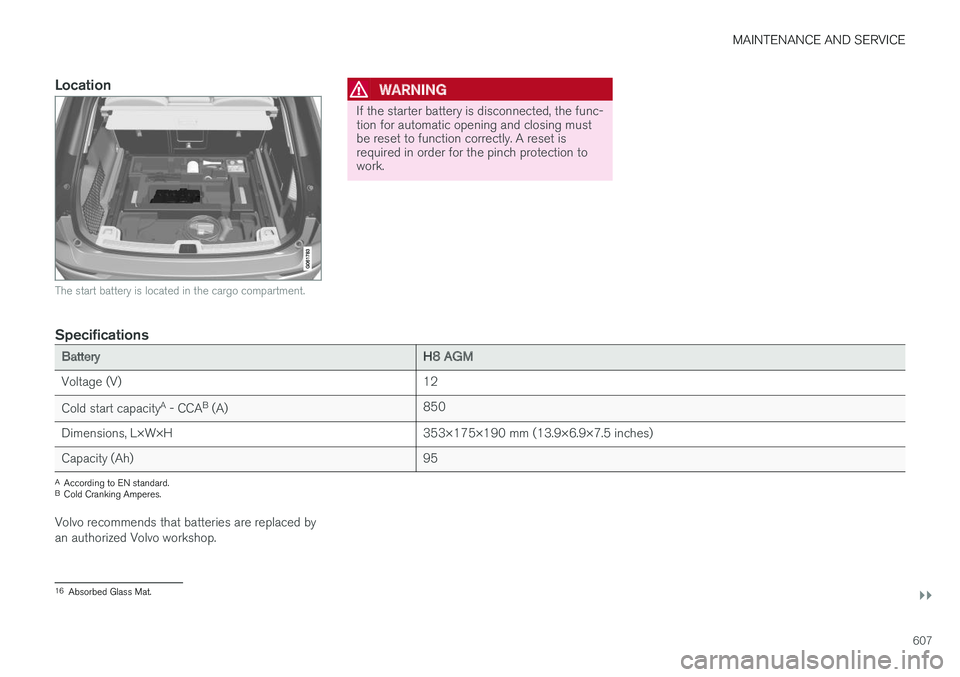
The start battery is located in the cargo compartment.
WARNING
If the starter battery is disconnected, the func- tion for automatic opening and closing mustbe reset to function correctly. A reset isrequired in order for the pinch protection towork.
Specifications
BatteryH8 AGM
Voltage (V) 12
Cold start capacity A
- CCA B
(A) 850
Dimensions, L×W×H 353×175×190 mm (13.9×6.9×7.5 inches)
Capacity (Ah) 95
A
According to EN standard.
B Cold Cranking Amperes.
Volvo recommends that batteries are replaced by an authorized Volvo workshop.
16 Absorbed Glass Mat.