warning VOLVO XC70 2011 Quick Guide
[x] Cancel search | Manufacturer: VOLVO, Model Year: 2011, Model line: XC70, Model: VOLVO XC70 2011Pages: 8, PDF Size: 2.49 MB
Page 1 of 8

WElCOME TO THE glOB al faMIlY O f vO lv O
OW nER s!
Getting to know your new vehicle is an exciting experience.
This Quick Guide provides a brief overview of the most common features and
functions in your Volvo.
However, for the most up-to-date and detailed descriptions and instructions,
as well as important warnings and other information not included in this
folder, please refer to your Owner’s Manual.
An asterisk (*) indicates optional equipment.
For additional information, contact Customer Service:
U.S.A.: 1-800-458-1552 www.volvocars.us
Canada: 1-800-663-8255 www.volvocanada.com
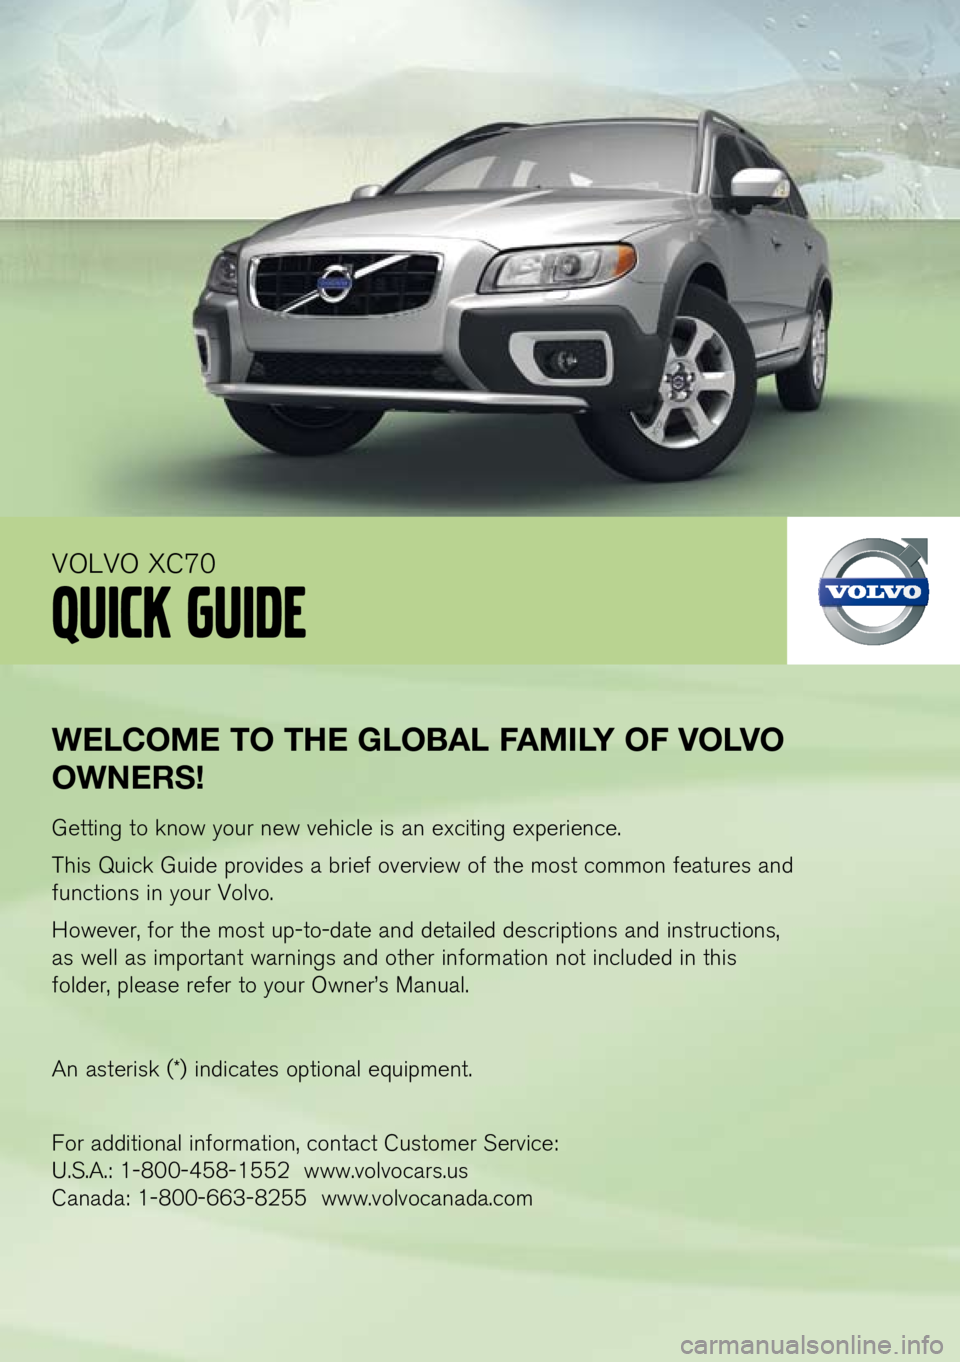
VOLVO XC70
Quick Guide
Page 3 of 8

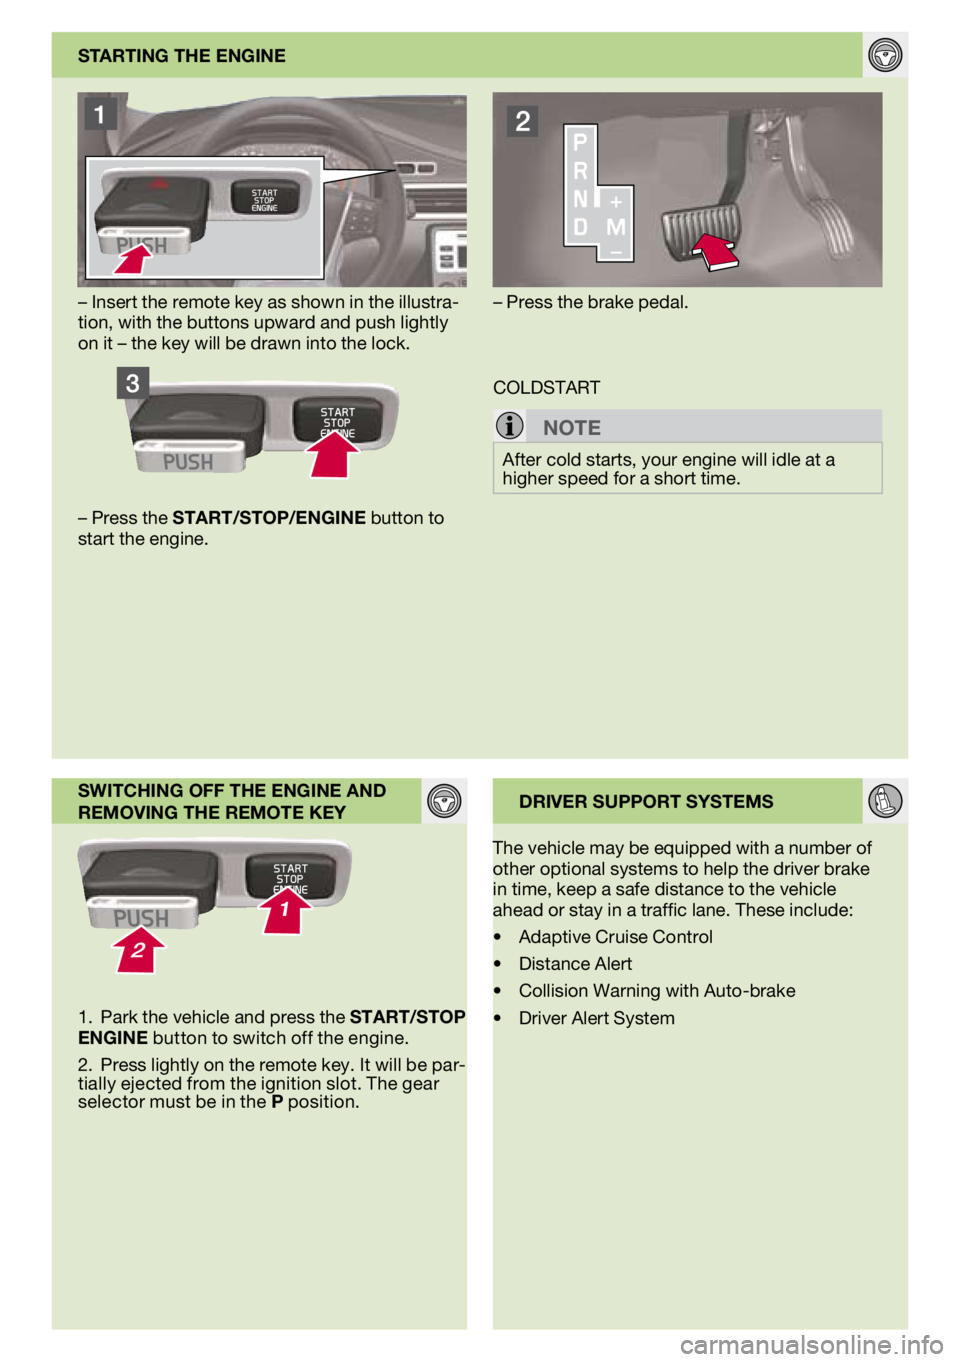
sTaRTIng THE EngInE
– Insert the remote key as shown in the illustra-tion, with the buttons upward and push lightly on it – the key will be drawn into the lock.
COLDSTART
n
OTE
After cold starts, your engine will idle at a higher speed for a short time.
– Press the sTaRT/sTOP/EngInE button to start the engine.
– Press the brake pedal.
sWITCHIng Off THE EngInE and
REMOvIng THE REMOTE KEY
1. Park the vehicle and press the sTaRT/sTOP
EngInE
button to switch off the engine.
2. Press lightly on the remote key.
It will be par-tially ejected from the ignition slot. The gear selector must be in the P position. dRIvER suPPORT sYsTEMs
The vehicle may be equipped with a number of other optional systems to help the driver brake in time, keep a safe distance to the vehicle ahead or stay in a traffic lane. These include:
Adaptive Cruise Control
Distance Alert
Collision Warning with Auto-brake
Driver Alert System
•
•
•
•
Page 8 of 8

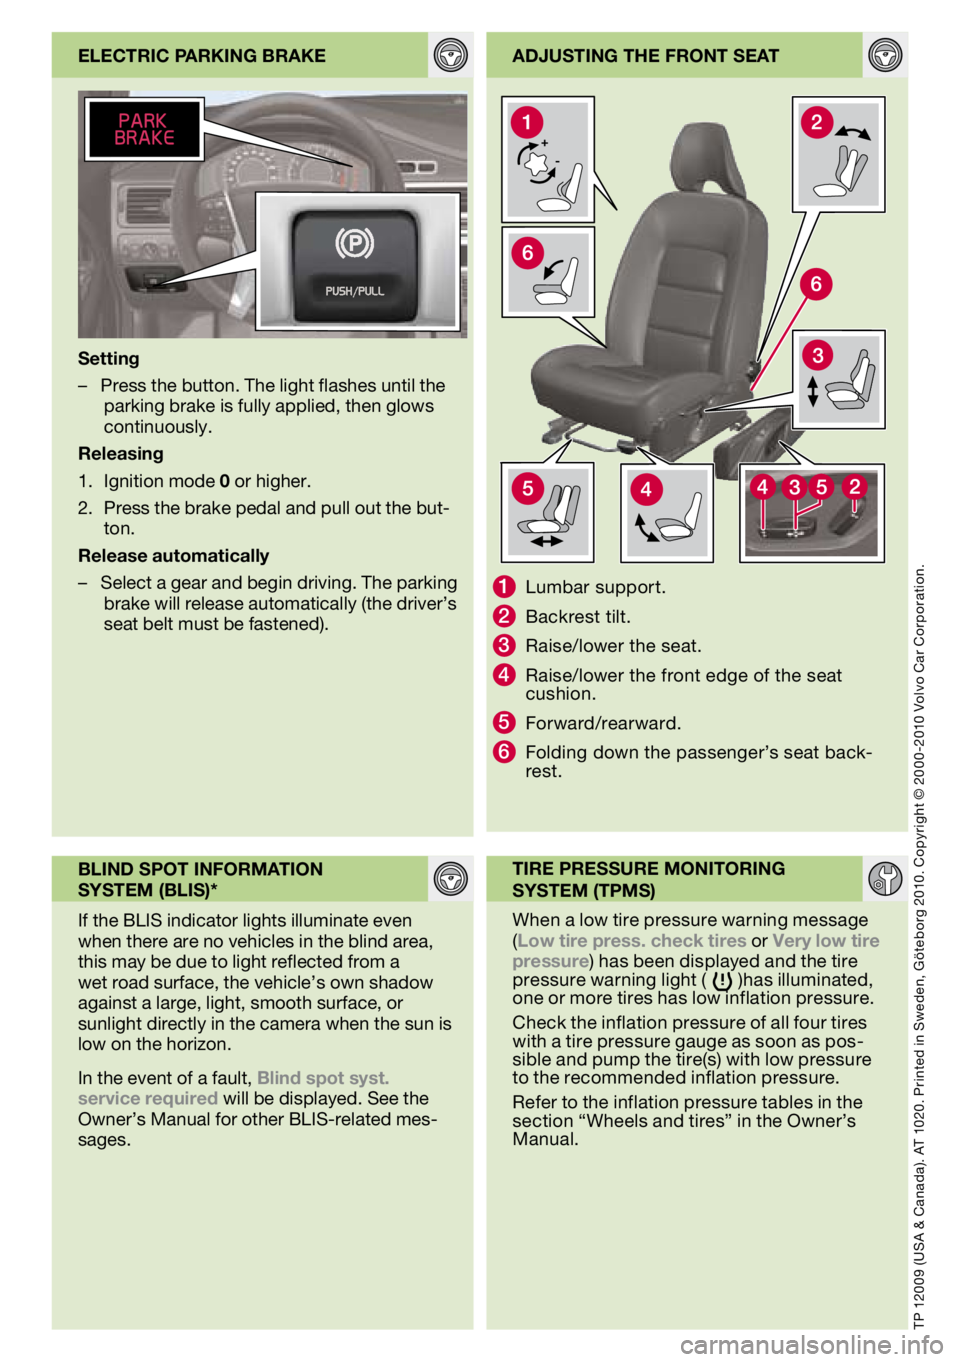
adjusTIng THE fROnT sEaT
1 Lumbar support.
2 Backrest tilt.
3 Raise/lower the seat.
4 Raise/lower the front edge of the seat cushion.
5 Forward/rearward.
6 Folding down the passenger’s seat back-rest.
TP 12009 (
USA & Canada
). AT 1020. Printed in Sweden, Göteborg 2010. Copyright © 2000 -2010 Volvo Car Corporation.
When a low tire pressure warning message (low tire press. check tires or very low tire pressure) has been displayed and the tire pressure warning light ( )has illuminated, one or more tires has low inflation pressure.
Check the inflation pressure of all four tires with a tire pressure gauge as soon as pos-sible and pump the tire(s) with low pressure to the recommended inflation pressure.
Refer to the inflation pressure tables in the section “Wheels and tires” in the Owner’s Manual.
If the BLIS indicator lights illuminate even when there are no vehicles in the blind area, this may be due to light reflected from a wet road surface, the vehicle’s own shadow against a large, light, smooth surface, or sunlight directly in the camera when the sun is low on the horizon.
In the event of a fault, Blind spot syst. service required will be displayed. See the Owner’s Manual for other BLIS-related mes-sages. ElECTRIC PaRKIng BRaKE
setting
–
Press the button. The light flashes until the parking brake is fully applied, then glows continuously.
Releasing
Ignition mode 0 or higher.
Press the brake pedal and pull out the but-ton.
Release automatically
– Select a gear and begin driving. The parking
brake will release automatically (the driver’s seat belt must be fastened).
1.
2.
TIRE PREssuRE MOnITORIng
sYsTEM (TPMs)
BlInd sPOT InfORMa
TIOn
sYsTEM (BlIs)*