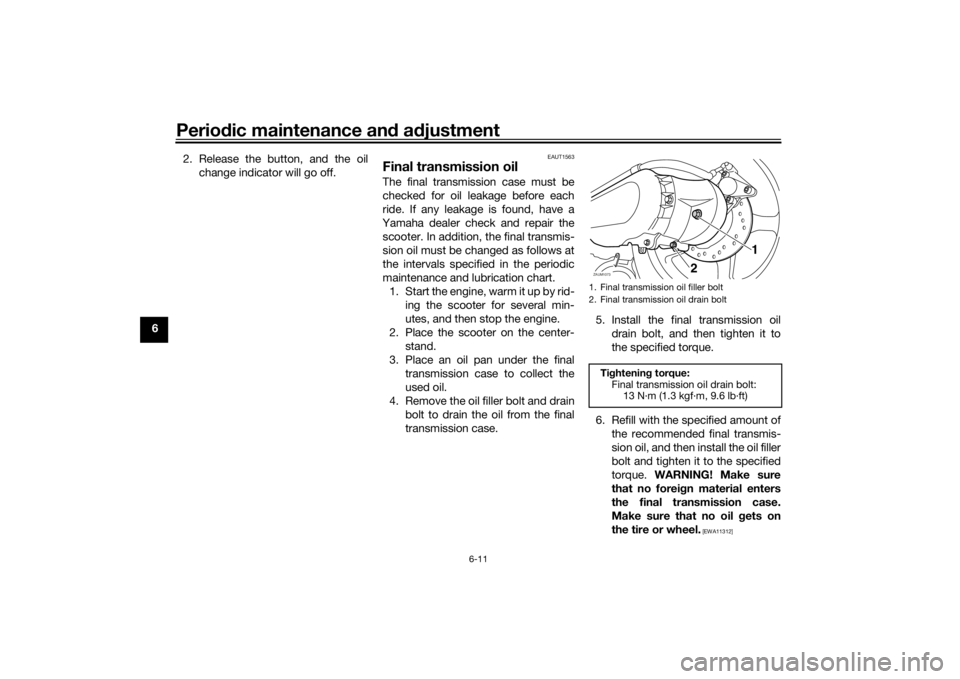
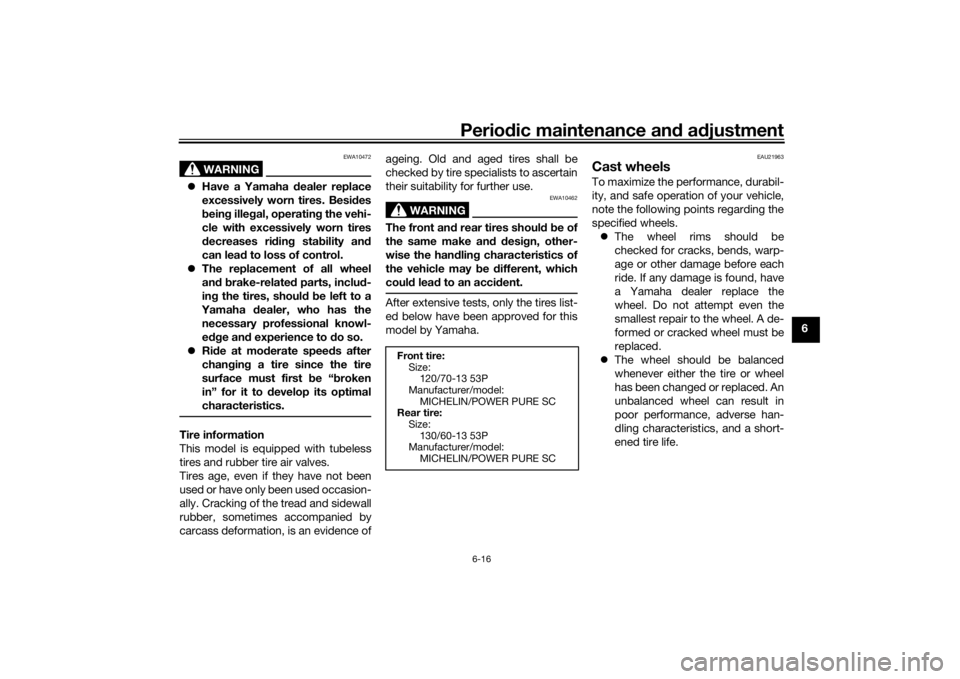
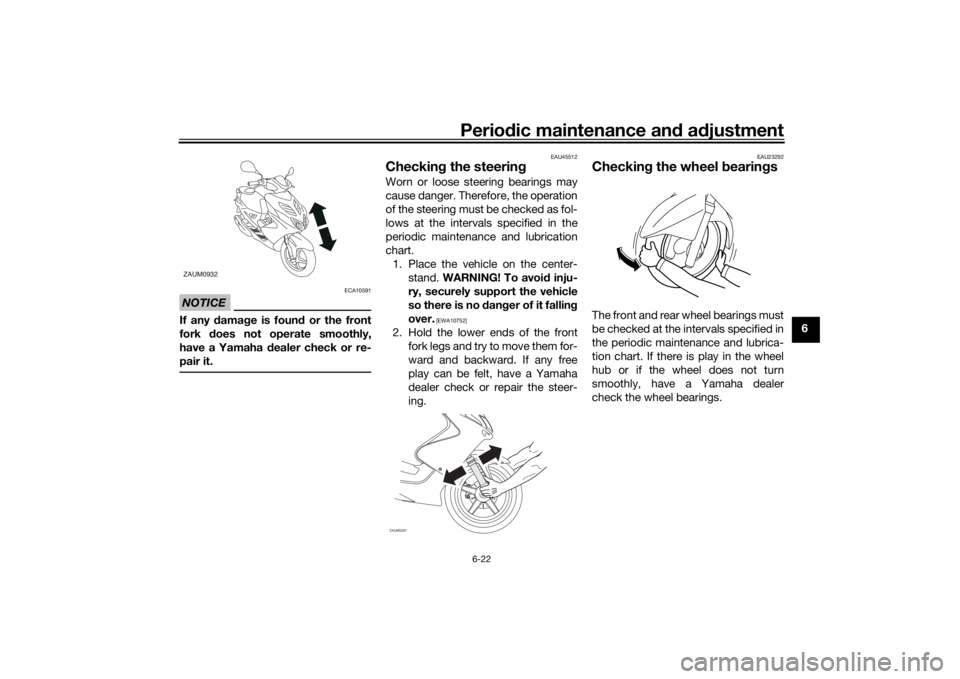
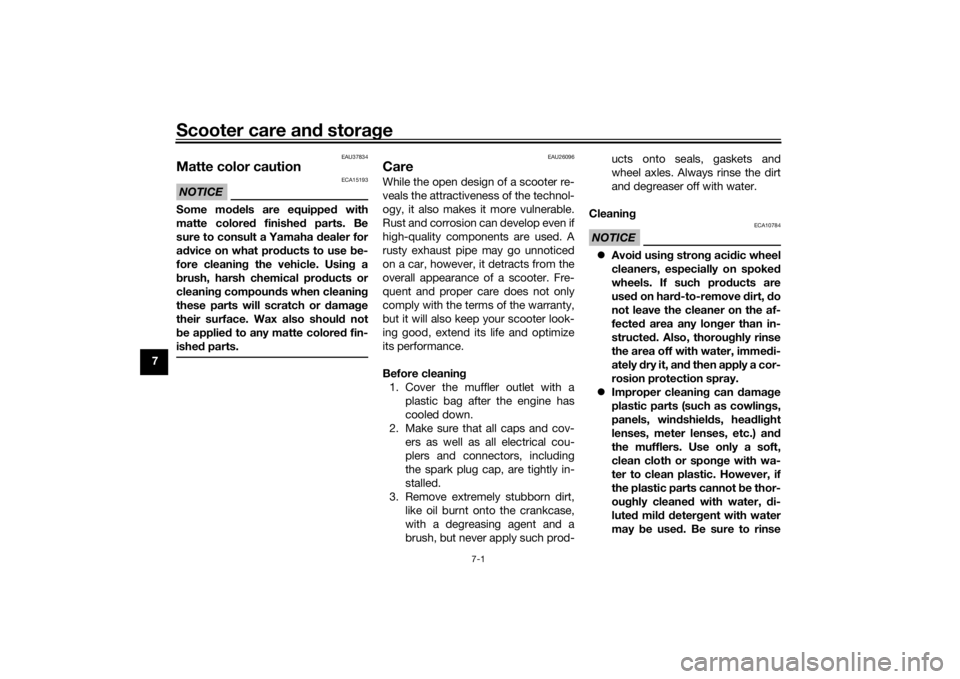
wheel YAMAHA AEROX50 2018 Owners Manual
[x] Cancel search | Manufacturer: YAMAHA, Model Year: 2018, Model line: AEROX50, Model: YAMAHA AEROX50 2018Pages: 78, PDF Size: 4.36 MB
Page 6 of 78

Table of contentsSafety information............................ 1-1
Further safe-riding points ............... 1-5
Description....................................... 2-1
Left view ......................................... 2-1
Right view ....................................... 2-2
Controls and instruments ............... 2-3
Instrument and control functions... 3-1
Main switch/steering lock............... 3-1
Indicator lights and warning
lights............................................ 3-2
Multi-function display ..................... 3-3
Handlebar switches ........................ 3-6
Front brake lever ............................ 3-7
Rear brake lever ............................. 3-7
Fuel tank cap .................................. 3-7
Fuel ................................................. 3-8
Catalytic converter ....................... 3-10
Kickstarter .................................... 3-10
Seats ............................................ 3-11
Storage compartment .................. 3-12
For your safety – pre-operation
checks............................................... 4-1
Operation and important riding
points................................................ 5-1
Starting a cold engine .................... 5-1
Starting off ...................................... 5-2
Acceleration and deceleration ........ 5-2Braking ............................................ 5-3
Tips for reducing fuel
consumption ................................ 5-3
Engine break-in ............................... 5-4
Parking ............................................ 5-4
Periodic maintenance and
adjustment........................................ 6-1
Periodic maintenance chart for the
emission control system .............. 6-2
General maintenance and
lubrication chart ........................... 6-3
Removing and installing the
cowling and panel........................ 6-6
Checking the spark plug ................. 6-7
Engine oil and oil strainer ................ 6-9
Final transmission oil..................... 6-11
Coolant.......................................... 6-12
Replacing the air filter element
and cleaning the check hose..... 6-13
Checking the throttle grip free
play ............................................ 6-14
Valve clearance ............................. 6-14
Tires .............................................. 6-15
Cast wheels................................... 6-16
Checking the front and rear brake
lever free play ............................ 6-17
Checking the front and rear brake
pads ........................................... 6-17
Checking the brake fluid level ....... 6-18
Changing the brake fluid ............... 6-19Checking and lubricating the
cables ........................................ 6-19
Checking and lubricating the
throttle grip and cable ............... 6-20
Lubricating the front and rear
brake levers ............................... 6-20
Checking and lubricating the
centerstand ............................... 6-21
Checking the front fork ................. 6-21
Checking the steering................... 6-22
Checking the wheel bearings ....... 6-22
Battery .......................................... 6-23
Replacing the fuse ........................ 6-24
Replacing the headlight bulb ........ 6-25
Replacing the auxiliary light bulb
(for CHE) .................................... 6-26
Replacing the tail/brake light
bulb ........................................... 6-27
Replacing a turn signal light
bulb ........................................... 6-27
License plate light......................... 6-28
Troubleshooting............................ 6-28
Troubleshooting charts................. 6-29
Scooter care and storage................ 7-1
Matte color caution......................... 7-1
Care ................................................ 7-1
Storage ........................................... 7-4U1GBE1E0.book Page 1 Tuesday, October 17, 2017 11:45 AM
Page 9 of 78

Safety information
1-2
1 Many accidents involve inexperi-
enced operators. In fact, many op-
erators who have been involved in
accidents do not even have a cur-
rent driver’s license.
• Make sure that you are qualified
and that you only lend your
scooter to other qualified opera-
tors.
• Know your skills and limits.
Staying within your limits may
help you to avoid an accident.
• We recommend that you prac-
tice riding your scooter where
there is no traffic until you have
become thoroughly familiar with
the scooter and all of its con-
trols.
Many accidents have been
caused by error of the scooter op-
erator. A typical error made by the
operator is veering wide on a turn
due to excessive speed or under-
cornering (insufficient lean angle
for the speed).
• Always obey the speed limit and
never travel faster than warrant-
ed by road and traffic condi-
tions.• Always signal before turning or
changing lanes. Make sure that
other motorists can see you.
The posture of the operator and
passenger is important for proper
control.
• The operator should keep both
hands on the handlebar and
both feet on the operator foot-
rests during operation to main-
tain control of the scooter.
• The passenger should always
hold onto the operator, the seat
strap or grab bar, if equipped,
with both hands and keep both
feet on the passenger footrests.
Never carry a passenger unless
he or she can firmly place both
feet on the passenger footrests.
Never ride under the influence of
alcohol or other drugs.
This scooter is designed for on-
road use only. It is not suitable for
off-road use.Protective Apparel
The majority of fatalities from scooter
accidents are the result of head inju-
ries. The use of a safety helmet is the
single most critical factor in the pre-
vention or reduction of head injuries.
Always wear an approved helmet.
Wear a face shield or goggles.
Wind in your unprotected eyes
could contribute to an impairment
of vision that could delay seeing a
hazard.
The use of a jacket, substantial
shoes, trousers, gloves, etc., is ef-
fective in preventing or reducing
abrasions or lacerations.
Never wear loose-fitting clothes,
otherwise they could catch on the
control levers or wheels and cause
injury or an accident.
Always wear protective clothing
that covers your legs, ankles, and
feet. The engine or exhaust sys-
tem become very hot during or af-
ter operation and can cause
burns.
A passenger should also observe
the above precautions.
U1GBE1E0.book Page 2 Tuesday, October 17, 2017 11:45 AM
Page 12 of 78

Safety information
1-5
1Aftermarket Tires and Rims
The tires and rims that came with your
scooter were designed to match the
performance capabilities and to pro-
vide the best combination of handling,
braking, and comfort. Other tires, rims,
sizes, and combinations may not be
appropriate. Refer to page 6-15 for tire
specifications and more information on
replacing your tires.
Transporting the Scooter
Be sure to observe following instruc-
tions before transporting the scooter in
another vehicle.
Remove all loose items from the
scooter.
Point the front wheel straight
ahead on the trailer or in the truck
bed, and choke it in a rail to pre-
vent movement.
Secure the scooter with tie-downs
or suitable straps that are at-
tached to solid parts of the scoot-
er, such as the frame or upper
front fork triple clamp (and not, for
example, to rubber-mounted han-
dlebars or turn signals, or parts
that could break). Choose the lo-cation for the straps carefully so
the straps will not rub against
painted surfaces during transport.
The suspension should be com-
pressed somewhat by the tie-
downs, if possible, so that the
scooter will not bounce exces-
sively during transport.
EAU57600
Further safe-riding pointsBe sure to signal clearly when
making turns.
Braking can be extremely difficult
on a wet road. Avoid hard braking,
because the scooter could slide.
Apply the brakes slowly when
stopping on a wet surface.
Slow down as you approach a
corner or turn. Once you have
completed a turn, accelerate
slowly.
Be careful when passing parked
cars. A driver might not see you
and open a door in your path.
Railroad crossings, streetcar rails,
iron plates on road construction
sites, and manhole covers be-
come extremely slippery when
wet. Slow down and cross them
with caution. Keep the scooter up-
right, otherwise it could slide out
from under you.
The brake pads or linings could
get wet when you wash the scoot-
er. After washing the scooter,
check the brakes before riding.
U1GBE1E0.book Page 5 Tuesday, October 17, 2017 11:45 AM
Page 31 of 78

For your safety – pre-operation checks
4-2
4
Rear brake• Check operation.
• If soft or spongy, have Yamaha dealer bleed hydraulic system.
• Check brake pads for wear.
• Replace if necessary.
• Check fluid level in reservoir.
• If necessary, add specified brake fluid to specified level.
• Check hydraulic system for leakage.6-17, 6-17, 6-18
Throttle grip• Make sure that operation is smooth.
• Check throttle grip free play.
• If necessary, have Yamaha dealer adjust throttle grip free play and lubricate ca-
ble and grip housing.6-14, 6-20
Wheels and tires• Check for damage.
• Check tire condition and tread depth.
• Check air pressure.
• Correct if necessary.6-15, 6-16
Brake levers• Make sure that operation is smooth.
• Lubricate lever pivoting points if necessary.6-20
Centerstand• Make sure that operation is smooth.
• Lubricate pivot if necessary.6-21
Chassis fasteners• Make sure that all nuts, bolts and screws are properly tightened.
• Tighten if necessary.—
Instruments, lights, signals
and switches• Check operation.
• Correct if necessary.—
Battery• Check fluid level.
• Fill with distilled water if necessary.6-23 ITEM CHECKS PAGE
U1GBE1E0.book Page 2 Tuesday, October 17, 2017 11:45 AM
Page 38 of 78

Periodic maintenance and adjustment
6-3
6
EAU1771B
General maintenance and lubrication chartNO. ITEM CHECK OR MAINTENANCE JOBODOMETER READING
ANNUAL
CHECK 1000 km
(600 mi)6000 km
(3500 mi)12000 km
(7000 mi)18000 km
(10500 mi)24000 km
(14000 mi)
1*Air filter element• Replace.√√√√√
2 Air filter check hose• Clean.√√√√√
3*Battery• Check electrolyte level and spe-
cific gravity.
• Make sure that the breather hose
is properly routed.√√√√√
4*Front brake• Check operation, fluid level and
vehicle for fluid leakage.√√√√√√
• Replace brake pads. Whenever worn to the limit
5*Rear brake• Check operation, fluid level and
vehicle for fluid leakage.√√√√√√
• Replace brake pads. Whenever worn to the limit
6*Brake hoses• Check for cracks or damage.
• Check for correct routing and
clamping.√√√√√
• Replace. Every 4 years
7*Brake fluid• Change. Every 2 years
8*Wheels• Check runout and for damage.√√√√
9*Tires• Check tread depth and for dam-
age.
• Replace if necessary.
• Check air pressure.
• Correct if necessary.√√√√√
U1GBE1E0.book Page 3 Tuesday, October 17, 2017 11:45 AM
Page 39 of 78

Periodic maintenance and adjustment
6-4
6
10*Wheel bearings• Check bearings for looseness or
damage.√√√√
11*Diagnostic system
check• Perform dynamic inspection us-
ing Yamaha diagnostic tool.
• Check the error codes.√√√√√√
12*Steering bearings• Check bearing play and steering
for roughness.√√√√√
• Lubricate with lithium-soap-
based grease.Every 24000 km (14000 mi)
13*Chassis fasteners• Make sure that all nuts, bolts and
screws are properly tightened.√√√√√
14Front brake lever
pivot shaft• Lubricate with silicone grease.√√√√√
15Rear brake lever
pivot shaft• Lubricate with silicone grease.√√√√√
16 Centerstand• Check operation.
• Lubricate.√√√√√
17*Front fork• Check operation and for oil leak-
age.√√√√
18*Shock absorber as-
sembly• Check operation and shock ab-
sorber for oil leakage.√√√√
19 Engine oil• Change. (See page 3-2.)√2000 km (1200 mi) after the initial 1000 km (600 mi) and every
3000 km (1800 mi) thereafter
• Check oil level and vehicle for oil
leakage.Every 3000 km (1800 mi)√
20*Engine oil strainer• Clean.√Every 6000 km (3500 mi) NO. ITEM CHECK OR MAINTENANCE JOBODOMETER READING
ANNUAL
CHECK 1000 km
(600 mi)6000 km
(3500 mi)12000 km
(7000 mi)18000 km
(10500 mi)24000 km
(14000 mi)
U1GBE1E0.book Page 4 Tuesday, October 17, 2017 11:45 AM
Page 46 of 78

Periodic maintenance and adjustment
6-11
62. Release the button, and the oil
change indicator will go off.
EAUT1563
Final transmission oilThe final transmission case must be
checked for oil leakage before each
ride. If any leakage is found, have a
Yamaha dealer check and repair the
scooter. In addition, the final transmis-
sion oil must be changed as follows at
the intervals specified in the periodic
maintenance and lubrication chart.
1. Start the engine, warm it up by rid-
ing the scooter for several min-
utes, and then stop the engine.
2. Place the scooter on the center-
stand.
3. Place an oil pan under the final
transmission case to collect the
used oil.
4. Remove the oil filler bolt and drain
bolt to drain the oil from the final
transmission case.5. Install the final transmission oil
drain bolt, and then tighten it to
the specified torque.
6. Refill with the specified amount of
the recommended final transmis-
sion oil, and then install the oil filler
bolt and tighten it to the specified
torque. WARNING! Make sure
that no foreign material enters
the final transmission case.
Make sure that no oil gets on
the tire or wheel.
[EWA11312]
1. Final transmission oil filler bolt
2. Final transmission oil drain boltTightening torque:
Final transmission oil drain bolt:
13 N·m (1.3 kgf·m, 9.6 lb·ft)ZAUM1073
2
1
U1GBE1E0.book Page 11 Tuesday, October 17, 2017 11:45 AM
Page 51 of 78

Periodic maintenance and adjustment
6-16
6
WARNING
EWA10472
Have a Yamaha dealer replace
excessively worn tires. Besides
being illegal, operating the vehi-
cle with excessively worn tires
decreases riding stability and
can lead to loss of control.
The replacement of all wheel
and brake-related parts, includ-
ing the tires, should be left to a
Yamaha dealer, who has the
necessary professional knowl-
edge and experience to do so.
Ride at moderate speeds after
changing a tire since the tire
surface must first be “broken
in” for it to develop its optimal
characteristics.Tire information
This model is equipped with tubeless
tires and rubber tire air valves.
Tires age, even if they have not been
used or have only been used occasion-
ally. Cracking of the tread and sidewall
rubber, sometimes accompanied by
carcass deformation, is an evidence ofageing. Old and aged tires shall be
checked by tire specialists to ascertain
their suitability for further use.
WARNING
EWA10462
The front and rear tires should be of
the same make and design, other-
wise the handling characteristics of
the vehicle may be different, which
could lead to an accident.After extensive tests, only the tires list-
ed below have been approved for this
model by Yamaha.
EAU21963
Cast wheelsTo maximize the performance, durabil-
ity, and safe operation of your vehicle,
note the following points regarding the
specified wheels.
The wheel rims should be
checked for cracks, bends, warp-
age or other damage before each
ride. If any damage is found, have
a Yamaha dealer replace the
wheel. Do not attempt even the
smallest repair to the wheel. A de-
formed or cracked wheel must be
replaced.
The wheel should be balanced
whenever either the tire or wheel
has been changed or replaced. An
unbalanced wheel can result in
poor performance, adverse han-
dling characteristics, and a short-
ened tire life.
Front tire:
Size:
120/70-13 53P
Manufacturer/model:
MICHELIN/POWER PURE SC
Rear tire:
Size:
130/60-13 53P
Manufacturer/model:
MICHELIN/POWER PURE SC
U1GBE1E0.book Page 16 Tuesday, October 17, 2017 11:45 AM
Page 57 of 78

Periodic maintenance and adjustment
6-22
6
NOTICE
ECA10591
If any damage is found or the front
fork does not operate smoothly,
have a Yamaha dealer check or re-
pair it.
EAU45512
Checking the steeringWorn or loose steering bearings may
cause danger. Therefore, the operation
of the steering must be checked as fol-
lows at the intervals specified in the
periodic maintenance and lubrication
chart.
1. Place the vehicle on the center-
stand. WARNING! To avoid inju-
ry, securely support the vehicle
so there is no danger of it falling
over.
[EWA10752]
2. Hold the lower ends of the front
fork legs and try to move them for-
ward and backward. If any free
play can be felt, have a Yamaha
dealer check or repair the steer-
ing.
EAU23292
Checking the wheel bearingsThe front and rear wheel bearings must
be checked at the intervals specified in
the periodic maintenance and lubrica-
tion chart. If there is play in the wheel
hub or if the wheel does not turn
smoothly, have a Yamaha dealer
check the wheel bearings.
ZAUM0932
ZAUM0297
U1GBE1E0.book Page 22 Tuesday, October 17, 2017 11:45 AM
Page 66 of 78

Scooter care and storage
7-1
7
EAU37834
Matte color cautionNOTICE
ECA15193
Some models are equipped with
matte colored finished parts. Be
sure to consult a Yamaha dealer for
advice on what products to use be-
fore cleaning the vehicle. Using a
brush, harsh chemical products or
cleaning compounds when cleaning
these parts will scratch or damage
their surface. Wax also should not
be applied to any matte colored fin-
ished parts.
EAU26096
CareWhile the open design of a scooter re-
veals the attractiveness of the technol-
ogy, it also makes it more vulnerable.
Rust and corrosion can develop even if
high-quality components are used. A
rusty exhaust pipe may go unnoticed
on a car, however, it detracts from the
overall appearance of a scooter. Fre-
quent and proper care does not only
comply with the terms of the warranty,
but it will also keep your scooter look-
ing good, extend its life and optimize
its performance.
Before cleaning
1. Cover the muffler outlet with a
plastic bag after the engine has
cooled down.
2. Make sure that all caps and cov-
ers as well as all electrical cou-
plers and connectors, including
the spark plug cap, are tightly in-
stalled.
3. Remove extremely stubborn dirt,
like oil burnt onto the crankcase,
with a degreasing agent and a
brush, but never apply such prod-ucts onto seals, gaskets and
wheel axles. Always rinse the dirt
and degreaser off with water.
Cleaning
NOTICE
ECA10784
Avoid using strong acidic wheel
cleaners, especially on spoked
wheels. If such products are
used on hard-to-remove dirt, do
not leave the cleaner on the af-
fected area any longer than in-
structed. Also, thoroughly rinse
the area off with water, immedi-
ately dry it, and then apply a cor-
rosion protection spray.
Improper cleaning can damage
plastic parts (such as cowlings,
panels, windshields, headlight
lenses, meter lenses, etc.) and
the mufflers. Use only a soft,
clean cloth or sponge with wa-
ter to clean plastic. However, if
the plastic parts cannot be thor-
oughly cleaned with water, di-
luted mild detergent with water
may be used. Be sure to rinse
U1GBE1E0.book Page 1 Tuesday, October 17, 2017 11:45 AM