brake YAMAHA BANSHEE 350 2004 Owner's Manual
[x] Cancel search | Manufacturer: YAMAHA, Model Year: 2004, Model line: BANSHEE 350, Model: YAMAHA BANSHEE 350 2004Pages: 396, PDF Size: 3.55 MB
Page 218 of 396

7-53
If your ATV has stalled or stopped and you
believe you can continue up the hill, restart care-
fully to make sure you do not lift the front wheels
which could cause you to lose control. If you are
unable to continue up the hill, dismount the ATV
on the uphill side. Physically turn the ATV
around and then descend the hill.
If you start to roll backwards, DO NOT use the
rear brake to stop or try to put the ATV in gear.
The ATV could easily tip over backwards.
Instead, apply the front brake gradually, or dis-
mount the ATV immediately on the uphill side.
Page 220 of 396

7-55
w
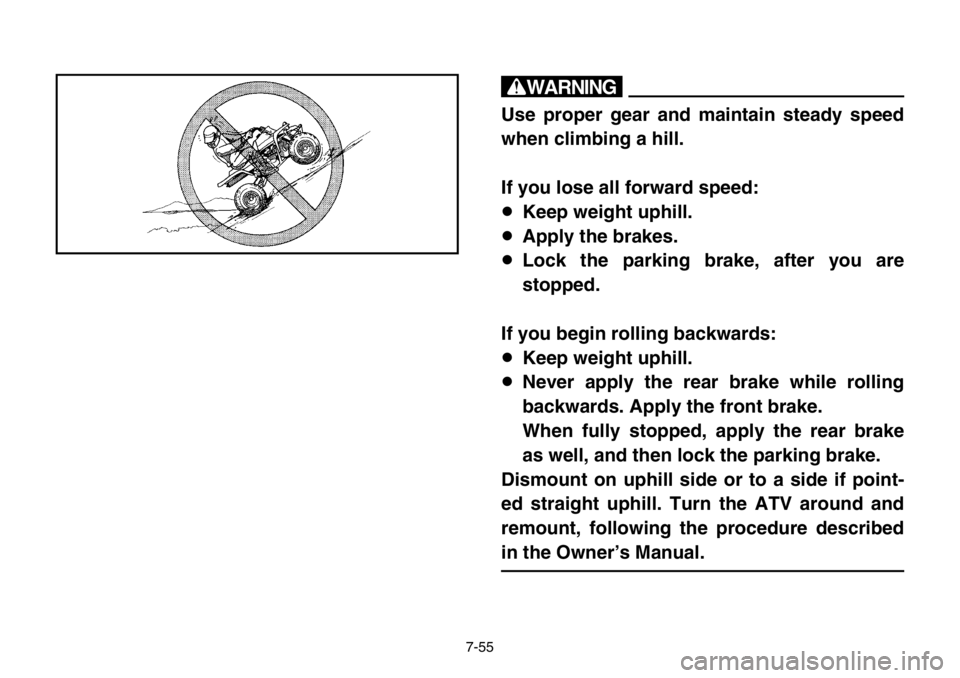
Use proper gear and maintain steady speed
when climbing a hill.
If you lose all forward speed:
8Keep weight uphill.
8Apply the brakes.
8Lock the parking brake, after you are
stopped.
If you begin rolling backwards:
8Keep weight uphill.
8Never apply the rear brake while rolling
backwards. Apply the front brake.
When fully stopped, apply the rear brake
as well, and then lock the parking brake.
Dismount on uphill side or to a side if point-
ed straight uphill. Turn the ATV around and
remount, following the procedure described
in the Owner’s Manual.
Page 230 of 396

7-65
CROSSING THROUGH SHALLOW WATER
The ATV can be used to cross slow moving,
shallow water of up to a maximum of 35 cm in
depth. Before entering the water, choose your
path carefully. Enter where there is no sharp
drop off, and avoid rocks or other obstacles
which may be slippery or upset the ATV. Drive
slowly and carefully.
w
Never operate this ATV in fast flowing water
or in water deeper than that specified in your
Owner’s Manual. Remember that wet brakes
may have reduced stopping ability. Test your
brakes after leaving water. If necessary,
apply them several times to let friction dry
out the linings. If the ATV is operated
through deep or fast flowing water, the tires
may float, causing loss of traction and loss
of control, which could lead to an accident.
Page 232 of 396

7-67
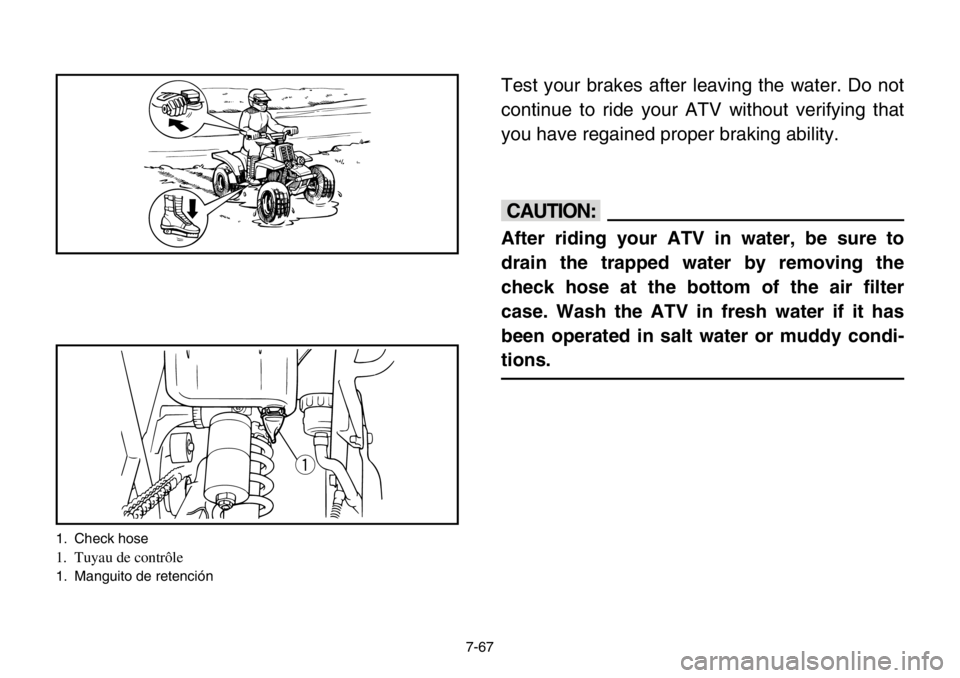
Test your brakes after leaving the water. Do not
continue to ride your ATV without verifying that
you have regained proper braking ability.
cC
After riding your ATV in water, be sure to
drain the trapped water by removing the
check hose at the bottom of the air filter
case. Wash the ATV in fresh water if it has
been operated in salt water or muddy condi-
tions.
q
1. Check hose
1. Tuyau de contrôle
1. Manguito de retención
Page 236 of 396

7-71
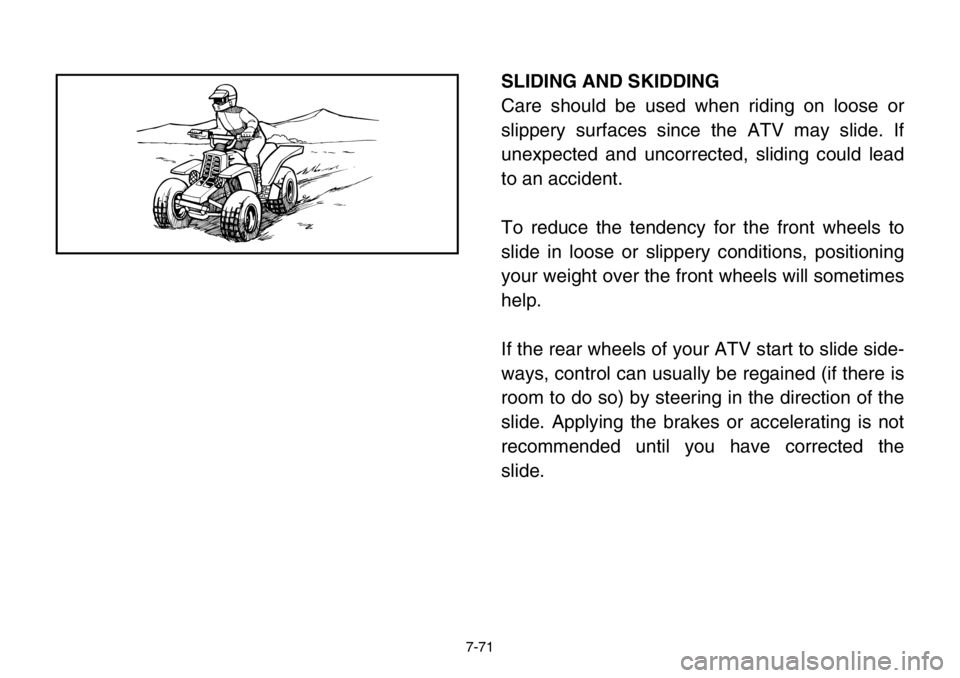
SLIDING AND SKIDDING
Care should be used when riding on loose or
slippery surfaces since the ATV may slide. If
unexpected and uncorrected, sliding could lead
to an accident.
To reduce the tendency for the front wheels to
slide in loose or slippery conditions, positioning
your weight over the front wheels will sometimes
help.
If the rear wheels of your ATV start to slide side-
ways, control can usually be regained (if there is
room to do so) by steering in the direction of the
slide. Applying the brakes or accelerating is not
recommended until you have corrected the
slide.
Page 242 of 396

7-77
8If your ATV starts to slide sideways:
Steer in the direction of the slide if you have
the room.
Applying the brakes or accelerating is not rec-
ommended until you have corrected the slide.
(See pages 7-71–7-73.)
8If your ATV can’t make it up a hill you are try-
ing to climb:
Turn the ATV around if you still have forward
speed. If not, stop, dismount on the uphill side
of the ATV and physically turn the ATV
around. If the ATV starts to slip backwards
DO NOT USE THE REAR BRAKE - the ATV
may tip over on top of you. Dismount the ATV
on the uphill side. (See pages 7-45–7-55.)
Page 244 of 396

7-79
8If your ATV is traversing a sloping surface:
Be sure to ride with your weight positioned
towards the uphill side of the ATV to maintain
proper balance. If the ATV starts to tip, steer
down the hill (if there are no obstacles in your
way) to regain balance. If you discover that
the ATV is going to tip over, dismount on the
uphill side. (See pages 7-61–7-63.)
8If your ATV encounters shallow water:
Ride slowly and carefully through slow mov-
ing water, watching for obstacles. Be sure to
let water drain from the ATV and CHECK
YOUR BRAKES FOR PROPER OPERATION
when you come out of the water. Do not con-
tinue to ride your ATV until you have regained
adequate braking ability. (See pages 7-65–
7-67.)
Page 252 of 396

8-7
EBU00262
PERIODIC MAINTENANCE/LUBRICATION
INITIAL EVERY
ITEM ROUTINE 1 3 6 6 1
month months months months year
Transmission9Replace oil.2222
9Check coolant leakage.
Cooling system9Repair if necessary.22222
9Replace coolant every 24 months.
9Check condition.
Spark plug9Adjust gap and clean.22222
9Replace if necessary.
Air filter element9Clean. Every 20–40 hours.
9Replace if necessary. (More often in wet or dusty areas)
* Carburetor9Check idle speed / starter operation.
2222
9Adjust if necessary.
* Crankcase breather9Check breather hose for cracks or damage.
222
system9Replace if necessary.
9Check for leakage.
* Exhaust system9Retighten if necessary.222
9Replace gasket(s) if necessary.
* Fuel line9Check fuel hose for cracks or damage.
222
9Replace if necessary.
Throttle operation9Inspect and adjust free play if necessary.22222
* Front and rear9Check operation/fluid leakage/see NOTE Page 8-9.
22222
brake operation9Correct if necessary.
* Front and rear9Check pad wear.
222
brake pads9Replace if necessary.
Page 254 of 396

8-9
NOTE:
8Recommended brake fluid: DOT 4
8Brake fluid replacement:
9When disassembling the master cylinder or caliper cylinder, replace the brake fluid. Normally
check the brake fluid level and add the fluid as required.
9On the inner parts of the master cylinder and caliper cylinder, replace the oil seals every two
years.
9Replace the brake hoses every four years, or if cracked or damaged.
Page 318 of 396

8-73
EBU00309
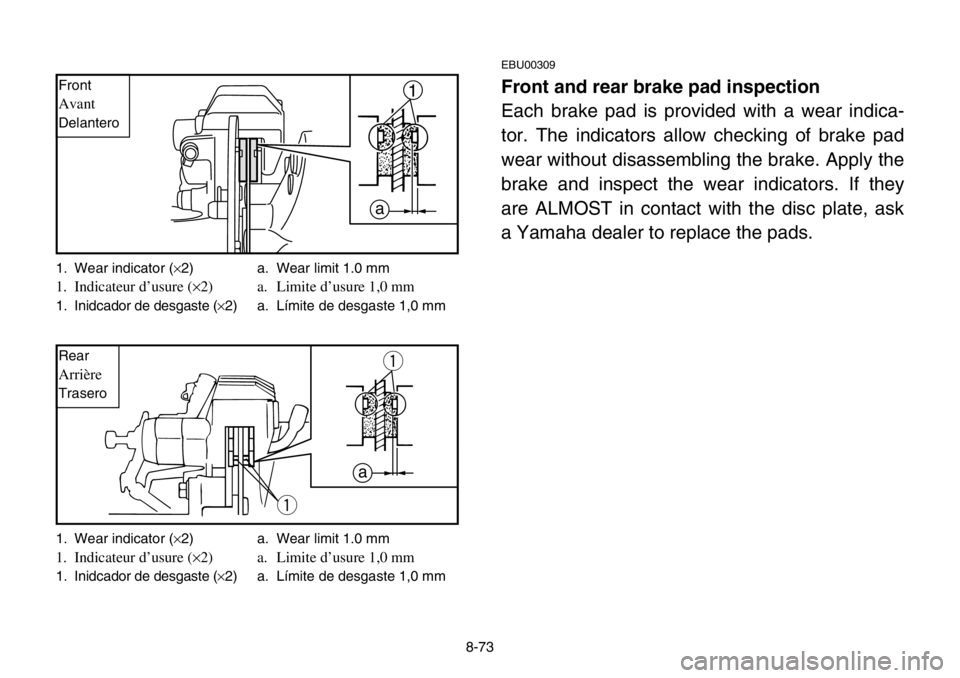
Front and rear brake pad inspection
Each brake pad is provided with a wear indica-
tor. The indicators allow checking of brake pad
wear without disassembling the brake. Apply the
brake and inspect the wear indicators. If they
are ALMOST in contact with the disc plate, ask
a Yamaha dealer to replace the pads.
a1
q
q
a
1. Wear indicator (×2) a. Wear limit 1.0 mm
1. Indicateur d’usure (×2) a. Limite d’usure 1,0 mm
1. Inidcador de desgaste (×2) a. Límite de desgaste 1,0 mm
1. Wear indicator (×2) a. Wear limit 1.0 mm
1. Indicateur d’usure (×2) a. Limite d’usure 1,0 mm
1. Inidcador de desgaste (×2) a. Límite de desgaste 1,0 mm Front
Avant
Delantero
Rear
Arrière
Trasero