remove YAMAHA BRUIN 350 2005 Manuale de Empleo (in Spanish)
[x] Cancel search | Manufacturer: YAMAHA, Model Year: 2005, Model line: BRUIN 350, Model: YAMAHA BRUIN 350 2005Pages: 400, tamaño PDF: 16.64 MB
Page 28 of 400
1-1
EBU00464
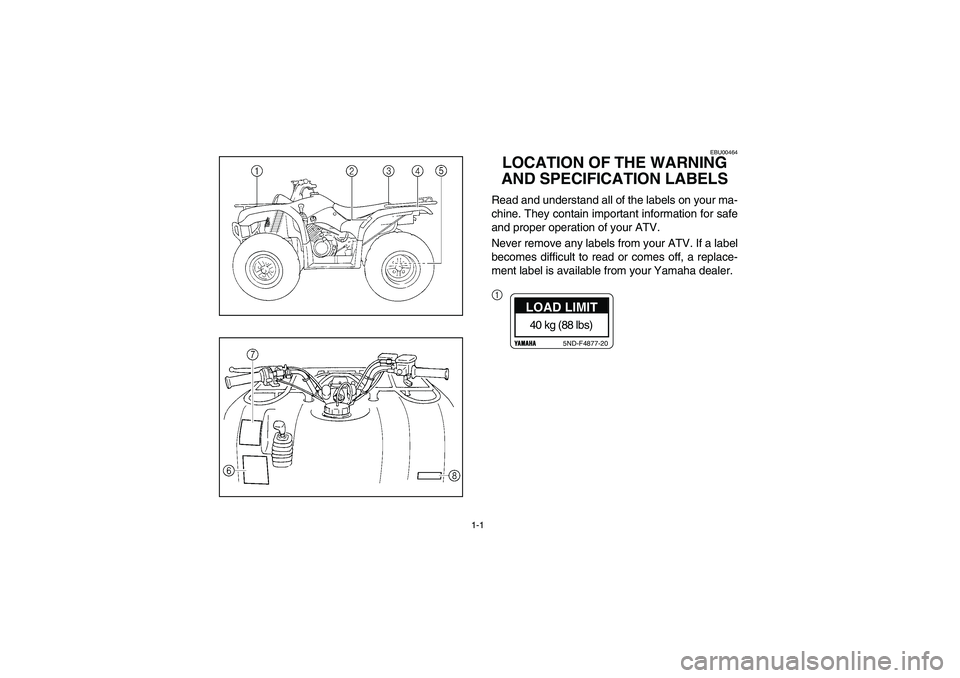
LOCATION OF THE WARNING
AND SPECIFICATION LABELSRead and understand all of the labels on your ma-
chine. They contain important information for safe
and proper operation of your ATV.
Never remove any labels from your ATV. If a label
becomes difficult to read or comes off, a replace-
ment label is available from your Yamaha dealer.
1
40 kg (88 lbs)
5ND-F4877-20
LOAD LIMIT
U5UH61.book Page 1 Tuesday, April 20, 2004 10:10 AM
Page 66 of 400
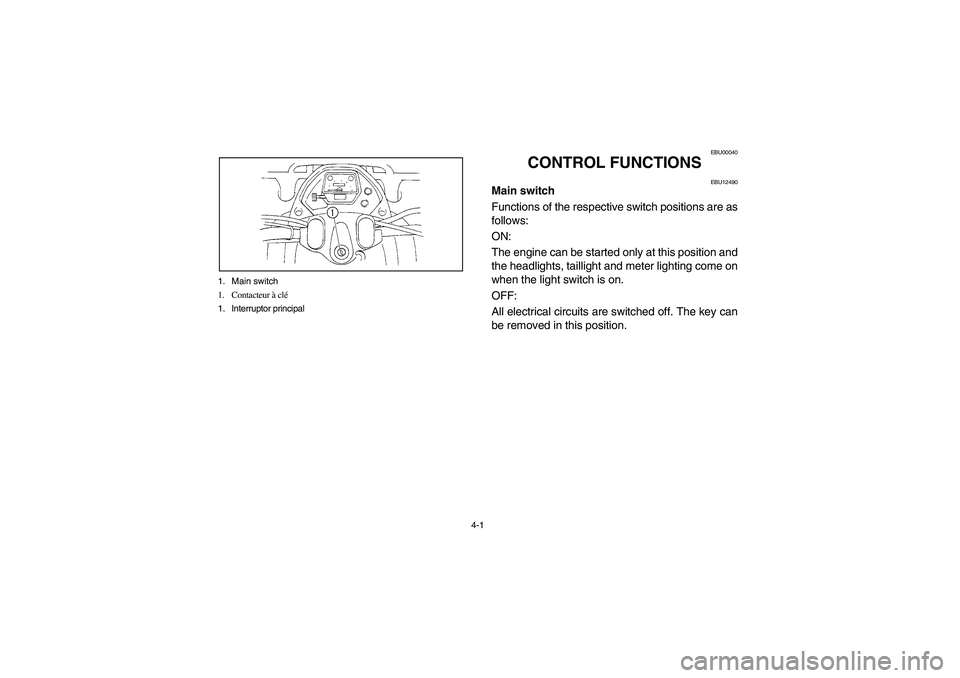
4-1 1. Main switch
1. Contacteur à clé
1. Interruptor principal
EBU00040
CONTROL FUNCTIONS
EBU12490
Main switch
Functions of the respective switch positions are as
follows:
ON:
The engine can be started only at this position and
the headlights, taillight and meter lighting come on
when the light switch is on.
OFF:
All electrical circuits are switched off. The key can
be removed in this position.
U5UH61.book Page 1 Tuesday, April 20, 2004 10:10 AM
Page 78 of 400
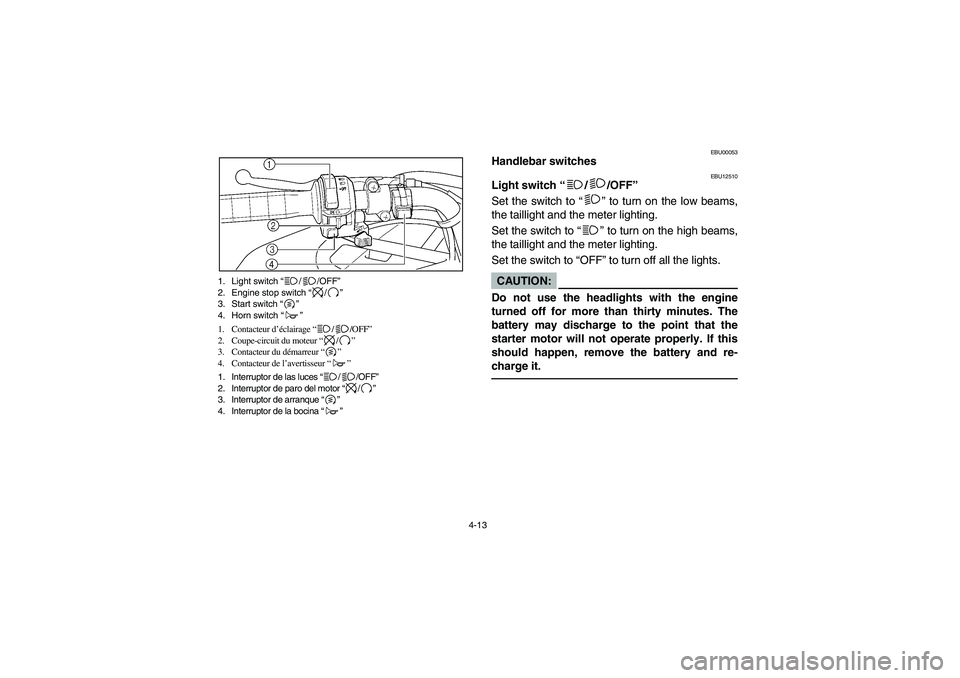
4-13 1. Light switch “//OFF”
2. Engine stop switch “/”
3. Start switch “”
4. Horn switch “”
1. Contacteur d’éclairage “//OFF”
2. Coupe-circuit du moteur “/”
3. Contacteur du démarreur “”
4. Contacteur de l’avertisseur “”
1. Interruptor de las luces “//OFF”
2. Interruptor de paro del motor “/”
3. Interruptor de arranque “”
4. Interruptor de la bocina “”
EBU00053
Handlebar switches
EBU12510
Light switch “/ /OFF”
Set the switch to “” to turn on the low beams,
the taillight and the meter lighting.
Set the switch to “” to turn on the high beams,
the taillight and the meter lighting.
Set the switch to “OFF” to turn off all the lights.CAUTION:_ Do not use the headlights with the engine
turned off for more than thirty minutes. The
battery may discharge to the point that the
starter motor will not operate properly. If this
should happen, remove the battery and re-
charge it. _
U5UH61.book Page 13 Tuesday, April 20, 2004 10:10 AM
Page 96 of 400
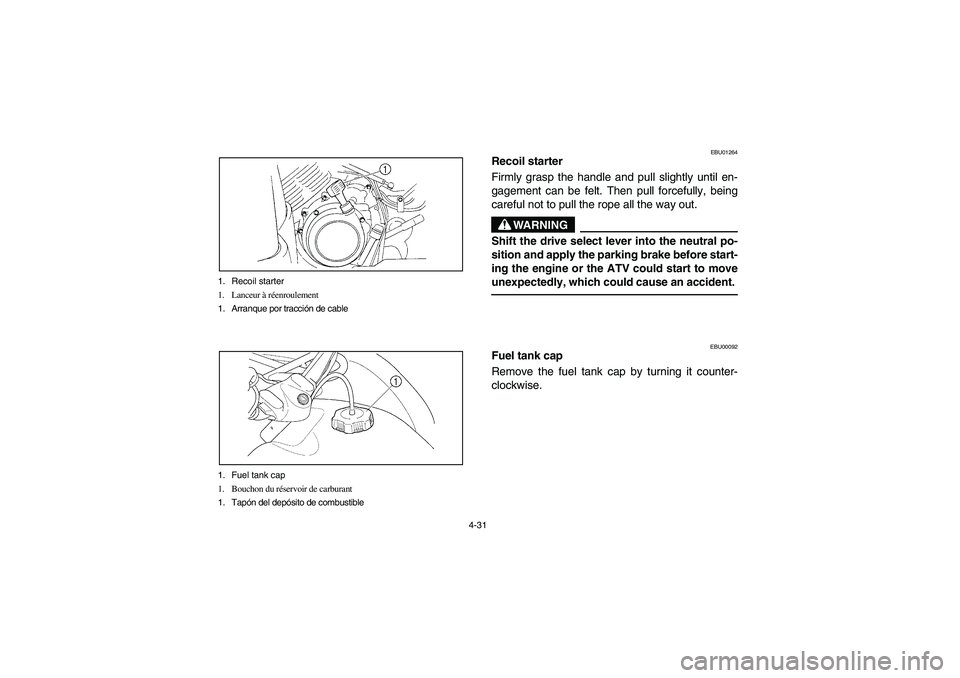
4-31 1. Recoil starter
1. Lanceur à réenroulement
1. Arranque por tracción de cable
1. Fuel tank cap
1. Bouchon du réservoir de carburant
1. Tapón del depósito de combustible
EBU01264
Recoil starter
Firmly grasp the handle and pull slightly until en-
gagement can be felt. Then pull forcefully, being
careful not to pull the rope all the way out.
WARNING
_ Shift the drive select lever into the neutral po-
sition and apply the parking brake before start-
ing the engine or the ATV could start to move
unexpectedly, which could cause an accident. _
EBU00092
Fuel tank cap
Remove the fuel tank cap by turning it counter-
clockwise.
U5UH61.book Page 31 Tuesday, April 20, 2004 10:10 AM
Page 102 of 400
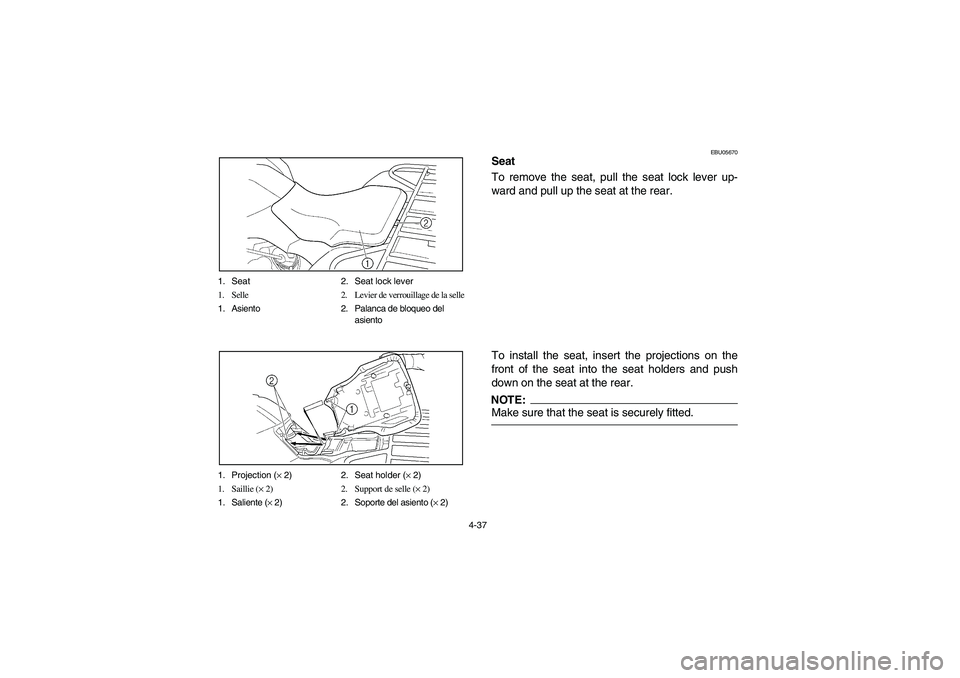
4-37 1. Seat 2. Seat lock lever
1. Selle 2. Levier de verrouillage de la selle
1. Asiento 2. Palanca de bloqueo del
asiento
1. Projection (× 2) 2. Seat holder (× 2)
1. Saillie (× 2) 2. Support de selle (× 2)
1. Saliente (× 2) 2. Soporte del asiento (× 2)
EBU05670
Seat
To remove the seat, pull the seat lock lever up-
ward and pull up the seat at the rear.
To install the seat, insert the projections on the
front of the seat into the seat holders and push
down on the seat at the rear.NOTE:_ Make sure that the seat is securely fitted. _
U5UH61.book Page 37 Tuesday, April 20, 2004 10:10 AM
Page 104 of 400
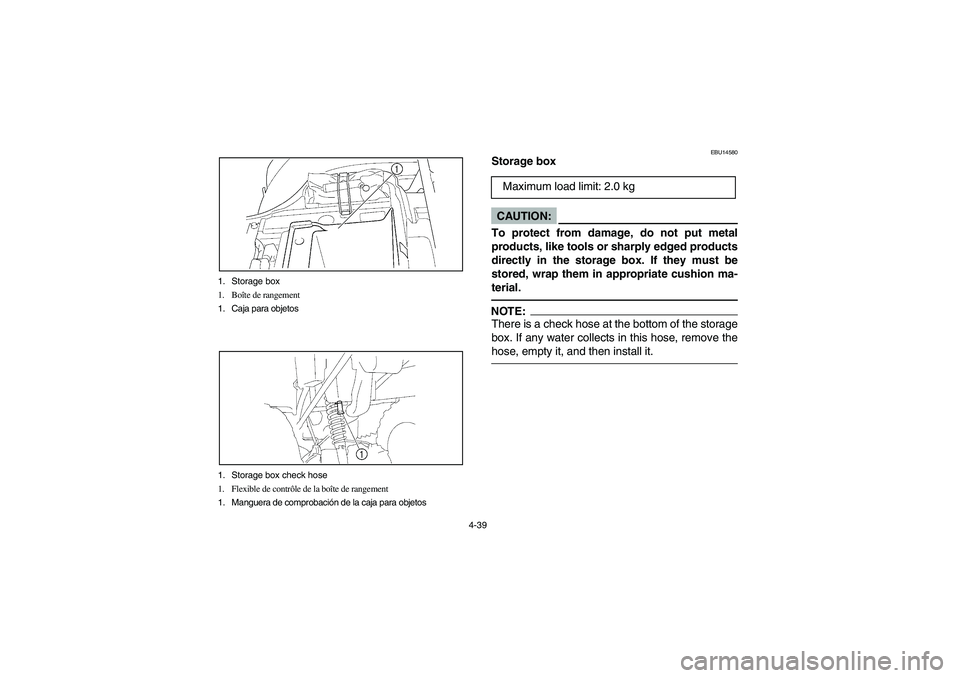
4-39 1. Storage box
1. Boîte de rangement
1. Caja para objetos
1. Storage box check hose
1. Flexible de contrôle de la boîte de rangement
1. Manguera de comprobación de la caja para objetos
EBU14580
Storage boxCAUTION:_ To protect from damage, do not put metal
products, like tools or sharply edged products
directly in the storage box. If they must be
stored, wrap them in appropriate cushion ma-
terial. _NOTE:_ There is a check hose at the bottom of the storage
box. If any water collects in this hose, remove the
hose, empty it, and then install it. _
Maximum load limit: 2.0 kg
U5UH61.book Page 39 Tuesday, April 20, 2004 10:10 AM
Page 190 of 400
7-21
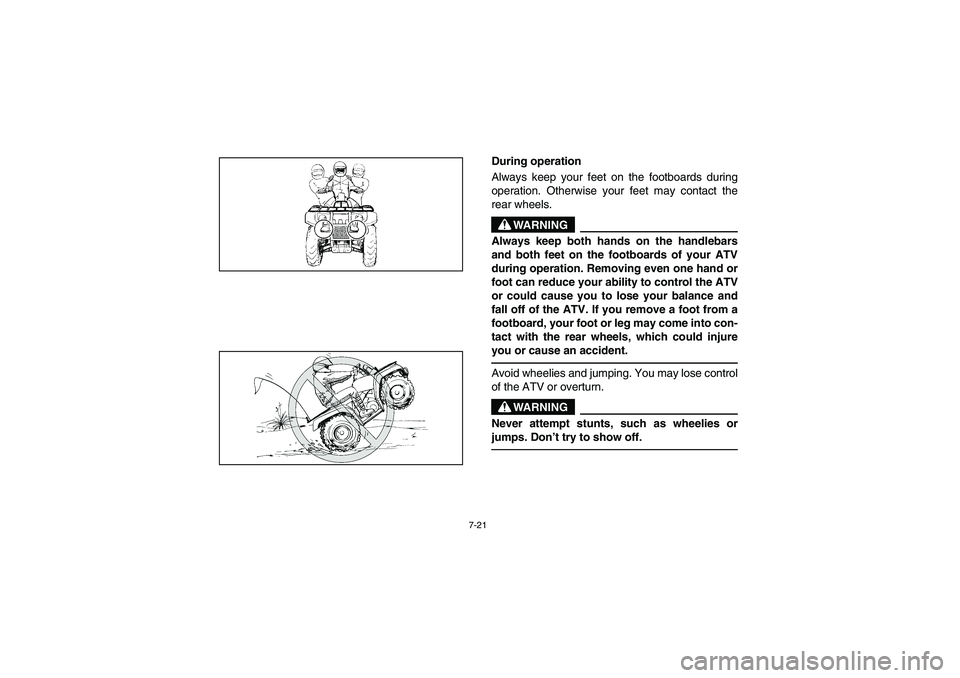
During operation
Always keep your feet on the footboards during
operation. Otherwise your feet may contact the
rear wheels.
WARNING
_ Always keep both hands on the handlebars
and both feet on the footboards of your ATV
during operation. Removing even one hand or
foot can reduce your ability to control the ATV
or could cause you to lose your balance and
fall off of the ATV. If you remove a foot from a
footboard, your foot or leg may come into con-
tact with the rear wheels, which could injure
you or cause an accident. _Avoid wheelies and jumping. You may lose control
of the ATV or overturn.
WARNING
_ Never attempt stunts, such as wheelies or
jumps. Don’t try to show off. _
U5UH61.book Page 21 Tuesday, April 20, 2004 10:10 AM
Page 234 of 400
7-65
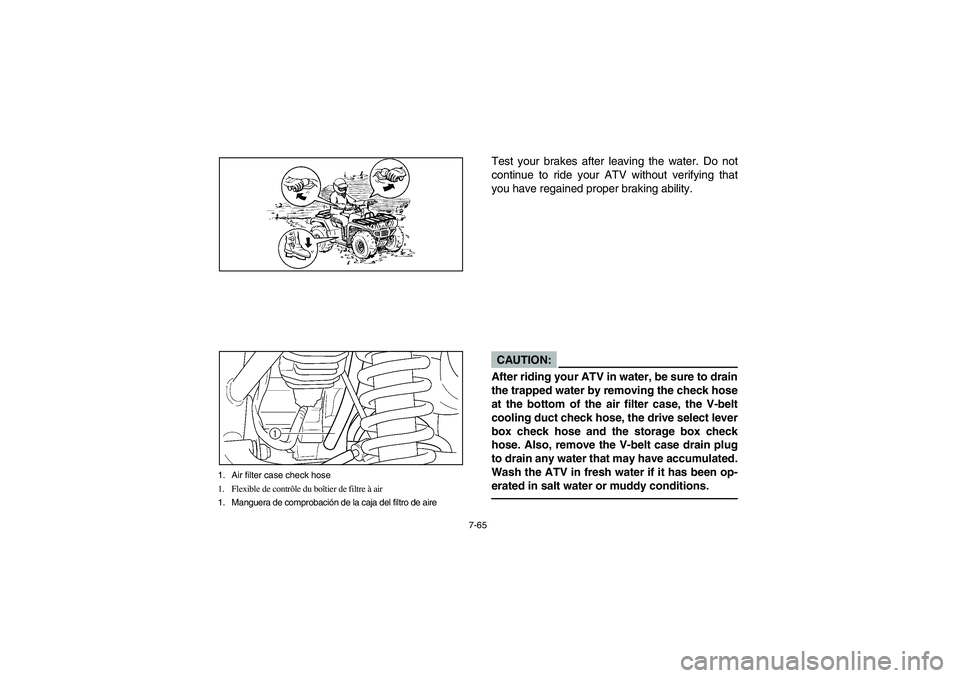
1. Air filter case check hose
1. Flexible de contrôle du boîtier de filtre à air
1. Manguera de comprobación de la caja del filtro de aire
Test your brakes after leaving the water. Do not
continue to ride your ATV without verifying that
you have regained proper braking ability.CAUTION:_ After riding your ATV in water, be sure to drain
the trapped water by removing the check hose
at the bottom of the air filter case, the V-belt
cooling duct check hose, the drive select lever
box check hose and the storage box check
hose. Also, remove the V-belt case drain plug
to drain any water that may have accumulated.
Wash the ATV in fresh water if it has been op-
erated in salt water or muddy conditions. _
U5UH61.book Page 65 Tuesday, April 20, 2004 10:10 AM
Page 266 of 400
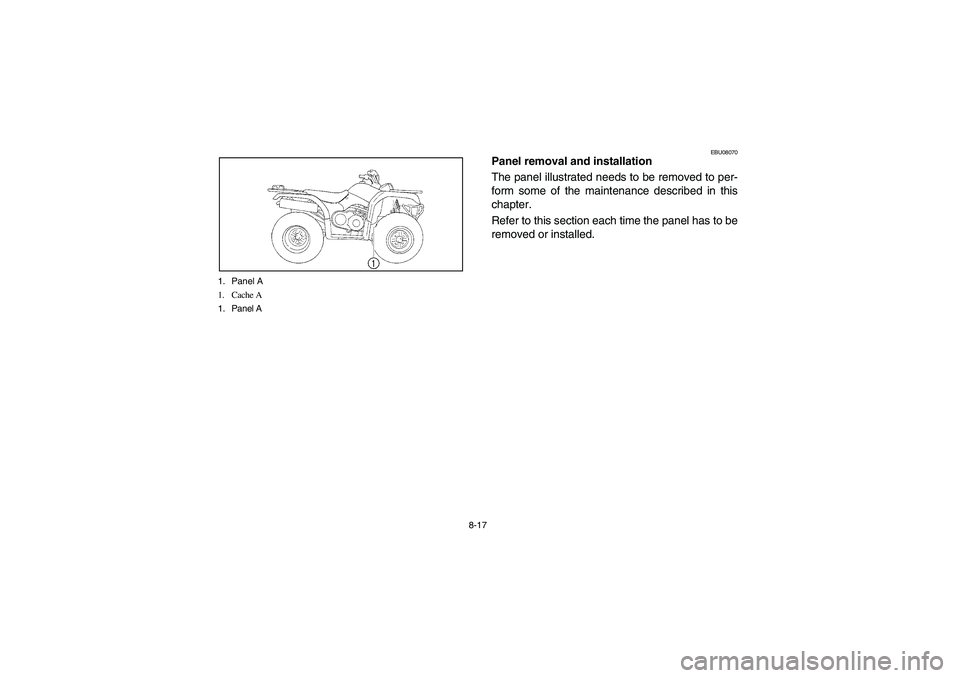
8-17 1. Panel A
1. Cache A
1. Panel A
EBU08070
Panel removal and installation
The panel illustrated needs to be removed to per-
form some of the maintenance described in this
chapter.
Refer to this section each time the panel has to be
removed or installed.
U5UH61.book Page 17 Tuesday, April 20, 2004 10:10 AM
Page 268 of 400
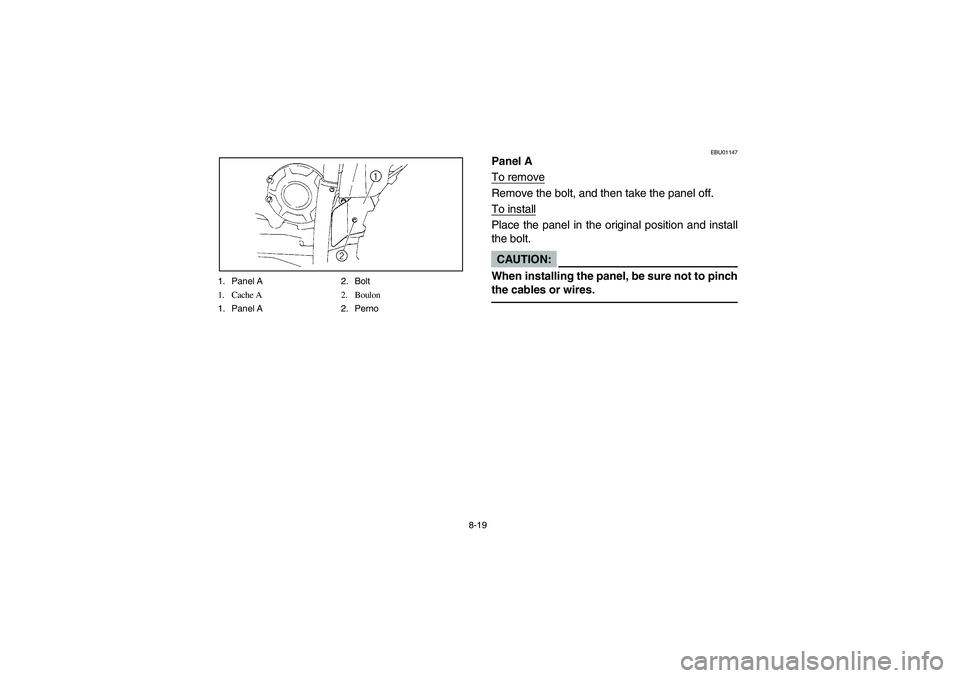
8-19 1. Panel A 2. Bolt
1. Cache A 2. Boulon
1. Panel A 2. Perno
EBU01147
Panel A
To removeRemove the bolt, and then take the panel off.
To installPlace the panel in the original position and install
the bolt.CAUTION:_ When installing the panel, be sure not to pinch
the cables or wires. _
U5UH61.book Page 19 Tuesday, April 20, 2004 10:10 AM