air condition YAMAHA FZS SVHO 2015 Owners Manual
[x] Cancel search | Manufacturer: YAMAHA, Model Year: 2015, Model line: FZS SVHO, Model: YAMAHA FZS SVHO 2015Pages: 106, PDF Size: 4.93 MB
Page 86 of 106

Care and storage
80
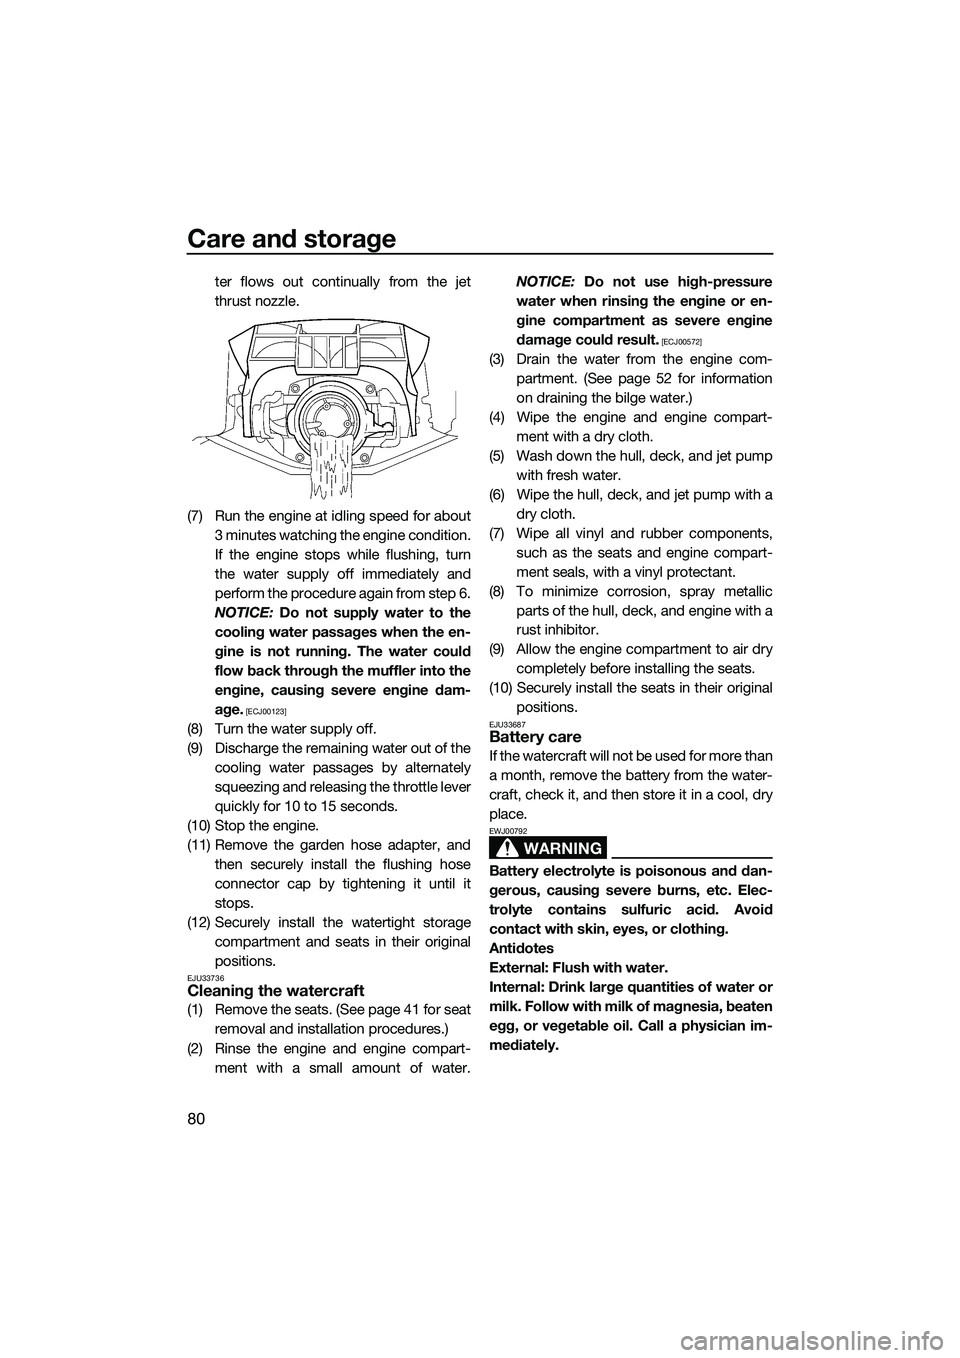
ter flows out continually from the jet
thrust nozzle.
(7) Run the engine at idling speed for about 3 minutes watching the engine condition.
If the engine stops while flushing, turn
the water supply off immediately and
perform the procedure again from step 6.
NOTICE: Do not supply water to the
cooling water passages when the en-
gine is not running. The water could
flow back through the muffler into the
engine, causing severe engine dam-
age.
[ECJ00123]
(8) Turn the water supply off.
(9) Discharge the remaining water out of the cooling water passages by alternately
squeezing and releasing the throttle lever
quickly for 10 to 15 seconds.
(10) Stop the engine.
(11) Remove the garden hose adapter, and then securely install the flushing hose
connector cap by tightening it until it
stops.
(12) Securely install the watertight storage compartment and seats in their original
positions.
EJU33736Cleaning the watercraft
(1) Remove the seats. (See page 41 for seatremoval and installation procedures.)
(2) Rinse the engine and engine compart- ment with a small amount of water. NOTICE:
Do not use high-pressure
water when rinsing the engine or en-
gine compartment as severe engine
damage could result.
[ECJ00572]
(3) Drain the water from the engine com- partment. (See page 52 for information
on draining the bilge water.)
(4) Wipe the engine and engine compart- ment with a dry cloth.
(5) Wash down the hull, deck, and jet pump with fresh water.
(6) Wipe the hull, deck, and jet pump with a dry cloth.
(7) Wipe all vinyl and rubber components, such as the seats and engine compart-
ment seals, with a vinyl protectant.
(8) To minimize corrosion, spray metallic parts of the hull, deck, and engine with a
rust inhibitor.
(9) Allow the engine compartment to air dry completely before installing the seats.
(10) Securely install the seats in their original positions.
EJU33687Battery care
If the watercraft will not be used for more than
a month, remove the battery from the water-
craft, check it, and then store it in a cool, dry
place.
WARNING
EWJ00792
Battery electrolyte is poisonous and dan-
gerous, causing severe burns, etc. Elec-
trolyte contains sulfuric acid. Avoid
contact with skin, eyes, or clothing.
Antidotes
External: Flush with water.
Internal: Drink large quantities of water or
milk. Follow with milk of magnesia, beaten
egg, or vegetable oil. Call a physician im-
mediately.
UF3K71E0.book Page 80 Monday, August 18, 2014 2:54 PM
Page 91 of 106

Maintenance
85
EJU33769
Maintenance
Periodic checks and lubrication will keep
your watercraft in the safest and most effi-
cient condition possible. Therefore, make
sure to carry out the periodic maintenance.
Safety is an obligation of the watercraft own-
er. Proper maintenance must be carried out
to keep the exhaust emission and sound lev-
els within the regulated limits. The most im-
portant points of watercraft inspection and
lubrication are explained on the following
pages.
See a Yamaha dealer for genuine Yamaha re-
placement parts and optional accessories
designed for your watercraft.
Remember, failures that are the result of the
installation of parts or accessories which are
not qualitatively equivalent to genuine
Yamaha parts are not covered by the limited warranty.
Maintenance, replacement, or repair of
the emission control devices and system
may be performed by any marine SI engine
repair establishment or individual. War-
ranty repair, however, must be performed
at an authorized Yamaha marine dealer-
ship.
WARNING
EWJ00312
Be sure to turn off the engine when you
perform maintenance unless otherwise
specified. If you are not familiar with ma-
chine servicing, this work should be done
by a Yamaha dealer or other qualified me-
chanic.
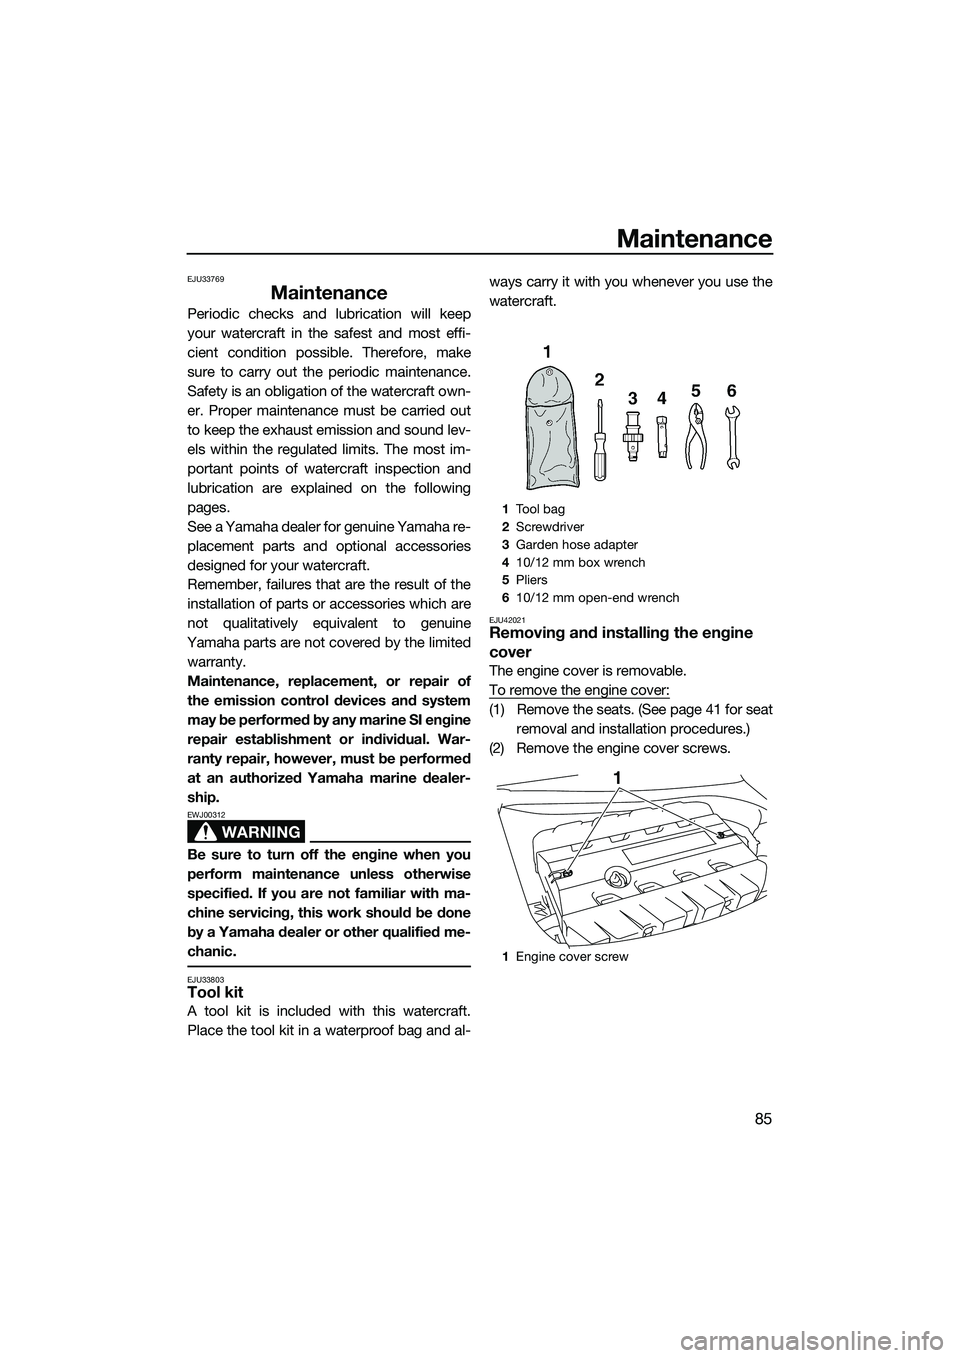
EJU33803Tool kit
A tool kit is included with this watercraft.
Place the tool kit in a waterproof bag and al- ways carry it with you whenever you use the
watercraft.
EJU42021Removing and installing the engine
cover
The engine cover is removable.
To remove the engine cover:
(1) Remove the seats. (See page 41 for seat
removal and installation procedures.)
(2) Remove the engine cover screws.
1 Tool bag
2 Screwdriver
3 Garden hose adapter
4 10/12 mm box wrench
5 Pliers
6 10/12 mm open-end wrench
1 Engine cover screw
1
UF3K71E0.book Page 85 Monday, August 18, 2014 2:54 PM