YAMAHA GRIZZLY 350 2014 Owners Manual
Manufacturer: YAMAHA, Model Year: 2014, Model line: GRIZZLY 350, Model: YAMAHA GRIZZLY 350 2014Pages: 144, PDF Size: 3.34 MB
Page 111 of 144
8-28
8
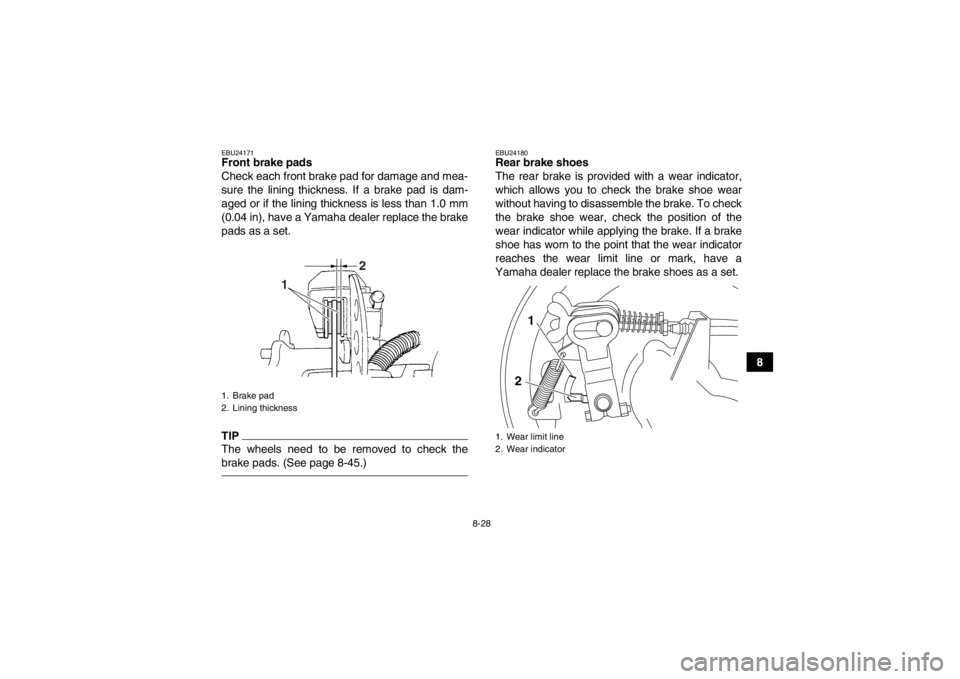
EBU24171Front brake pads
Check each front brake pad for damage and mea-
sure the lining thickness. If a brake pad is dam-
aged or if the lining thickness is less than 1.0 mm
(0.04 in), have a Yamaha dealer replace the brake
pads as a set.TIPThe wheels need to be removed to check the
brake pads. (See page 8-45.)
EBU24180Rear brake shoes
The rear brake is provided with a wear indicator,
which allows you to check the brake shoe wear
without having to disassemble the brake. To check
the brake shoe wear, check the position of the
wear indicator while applying the brake. If a brake
shoe has worn to the point that the wear indicator
reaches the wear limit line or mark, have a
Yamaha dealer replace the brake shoes as a set.
1. Brake pad
2. Lining thickness
2
1
1. Wear limit line
2. Wear indicator
1
2
U1NS62E0.book Page 28 Monday, April 8, 2013 4:59 PM
Page 112 of 144
8-29
8
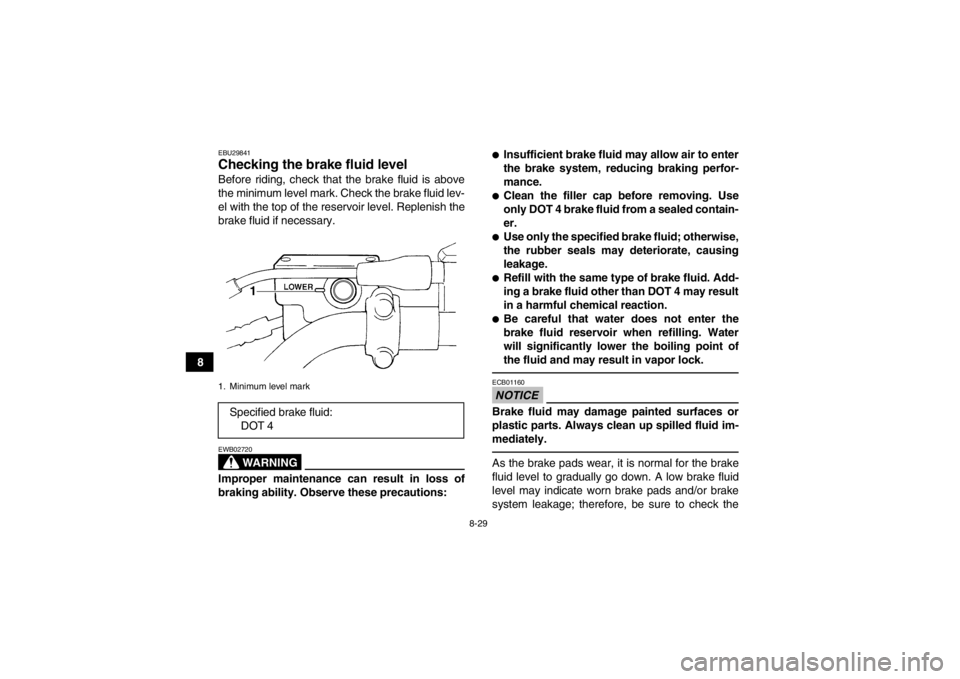
EBU29841Checking the brake fluid level Before riding, check that the brake fluid is above
the minimum level mark. Check the brake fluid lev-
el with the top of the reservoir level. Replenish the
brake fluid if necessary.
WARNING
EWB02720Improper maintenance can result in loss of
braking ability. Observe these precautions:
●Insufficient brake fluid may allow air to enter
the brake system, reducing braking perfor-
mance.●Clean the filler cap before removing. Use
only DOT 4 brake fluid from a sealed contain-
er.●Use only the specified brake fluid; otherwise,
the rubber seals may deteriorate, causing
leakage.●Refill with the same type of brake fluid. Add-
ing a brake fluid other than DOT 4 may result
in a harmful chemical reaction.●Be careful that water does not enter the
brake fluid reservoir when refilling. Water
will significantly lower the boiling point of
the fluid and may result in vapor lock.NOTICEECB01160Brake fluid may damage painted surfaces or
plastic parts. Always clean up spilled fluid im-
mediately.As the brake pads wear, it is normal for the brake
fluid level to gradually go down. A low brake fluid
level may indicate worn brake pads and/or brake
system leakage; therefore, be sure to check the
1. Minimum level markSpecified brake fluid:DOT 4
1
U1NS62E0.book Page 29 Monday, April 8, 2013 4:59 PM
Page 113 of 144
8-30
8
brake pads for wear and the brake system for leak-
age. If the brake fluid level goes down suddenly,
have a Yamaha dealer check the cause before fur-
ther riding.
EBU24282Changing the brake fluid Have a Yamaha dealer change the brake fluid at
the intervals specified in the periodic maintenance
and lubrication chart. In addition, have the oil seals
of the brake master cylinder and calipers as well as
the brake hoses replaced at the intervals listed be-
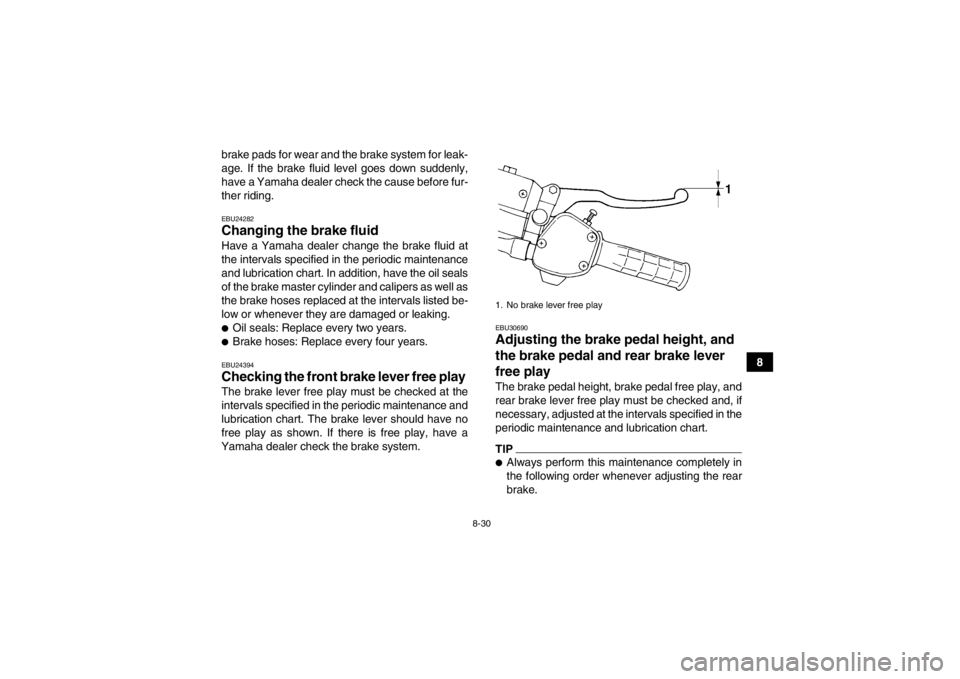
low or whenever they are damaged or leaking.●Oil seals: Replace every two years.●Brake hoses: Replace every four years.EBU24394Checking the front brake lever free play The brake lever free play must be checked at the
intervals specified in the periodic maintenance and
lubrication chart. The brake lever should have no
free play as shown. If there is free play, have a
Yamaha dealer check the brake system.
EBU30690Adjusting the brake pedal height, and
the brake pedal and rear brake lever
free play The brake pedal height, brake pedal free play, and
rear brake lever free play must be checked and, if
necessary, adjusted at the intervals specified in the
periodic maintenance and lubrication chart.TIP●Always perform this maintenance completely in
the following order whenever adjusting the rear
brake.1. No brake lever free play
U1NS62E0.book Page 30 Monday, April 8, 2013 4:59 PM
Page 114 of 144
8-31
8
●Before adjusting the brake pedal and brake lever
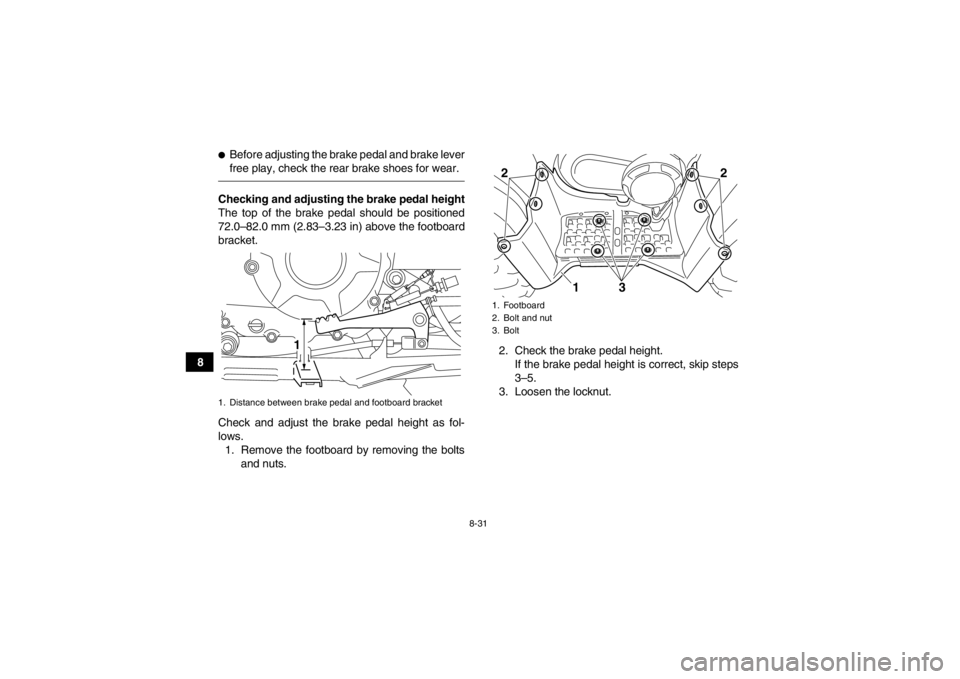
free play, check the rear brake shoes for wear.Checking and adjusting the brake pedal height
The top of the brake pedal should be positioned
72.0–82.0 mm (2.83–3.23 in) above the footboard
bracket.
Check and adjust the brake pedal height as fol-
lows.1. Remove the footboard by removing the bolts and nuts. 2. Check the brake pedal height.
If the brake pedal height is correct, skip steps
3–5.
3. Loosen the locknut.1. Distance between brake pedal and footboard bracket
1
1. Footboard
2. Bolt and nut
3. Bolt22
31
U1NS62E0.book Page 31 Monday, April 8, 2013 4:59 PM
Page 115 of 144
8-32
8
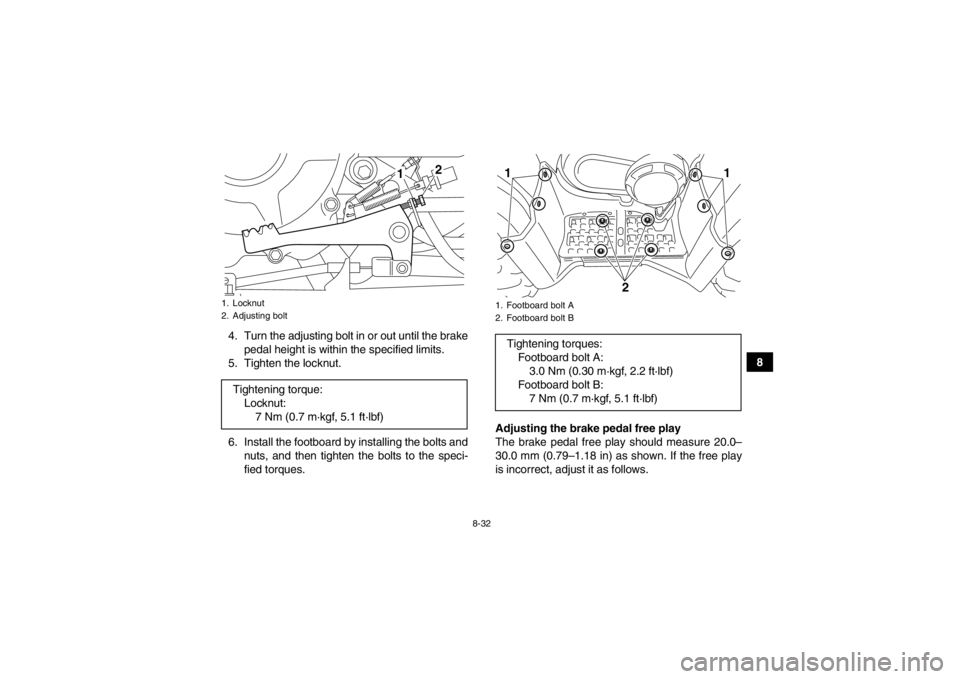
4. Turn the adjusting bolt in or out until the brake
pedal height is within the specified limits.
5. Tighten the locknut.
6. Install the footboard by installing the bolts and nuts, and then tighten the bolts to the speci-
fied torques. Adjusting the brake pedal free play
The brake pedal free play should measure 20.0–
30.0 mm (0.79–1.18 in) as shown. If the free play
is incorrect, adjust it as follows.
1. Locknut
2. Adjusting boltTightening torque:
Locknut:7 Nm (0.7 m·kgf, 5.1 ft·lbf)
1
2
1. Footboard bolt A
2. Footboard bolt BTightening torques: Footboard bolt A:3.0 Nm (0.30 m·kgf, 2.2 ft·lbf)
Footboard bolt B: 7 Nm (0.7 m·kgf, 5.1 ft·lbf)11
2
U1NS62E0.book Page 32 Monday, April 8, 2013 4:59 PM
Page 116 of 144
8-33
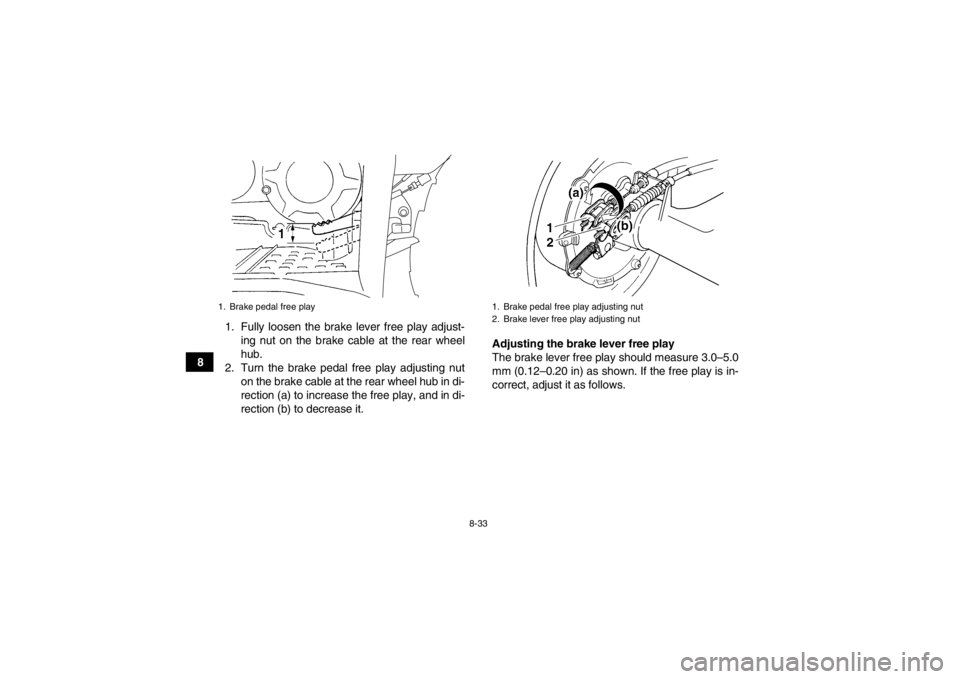
81. Fully loosen the brake lever free play adjust-
ing nut on the brake cable at the rear wheel
hub.
2. Turn the brake pedal free play adjusting nut on the brake cable at the rear wheel hub in di-
rection (a) to increase the free play, and in di-
rection (b) to decrease it. Adjusting the brake lever free play
The brake lever free play should measure 3.0–5.0
mm (0.12–0.20 in) as shown. If the free play is in-
correct, adjust it as follows.
1. Brake pedal free play
1. Brake pedal free play adjusting nut
2. Brake lever free play adjusting nut
U1NS62E0.book Page 33 Monday, April 8, 2013 4:59 PM
Page 117 of 144
8-34
8
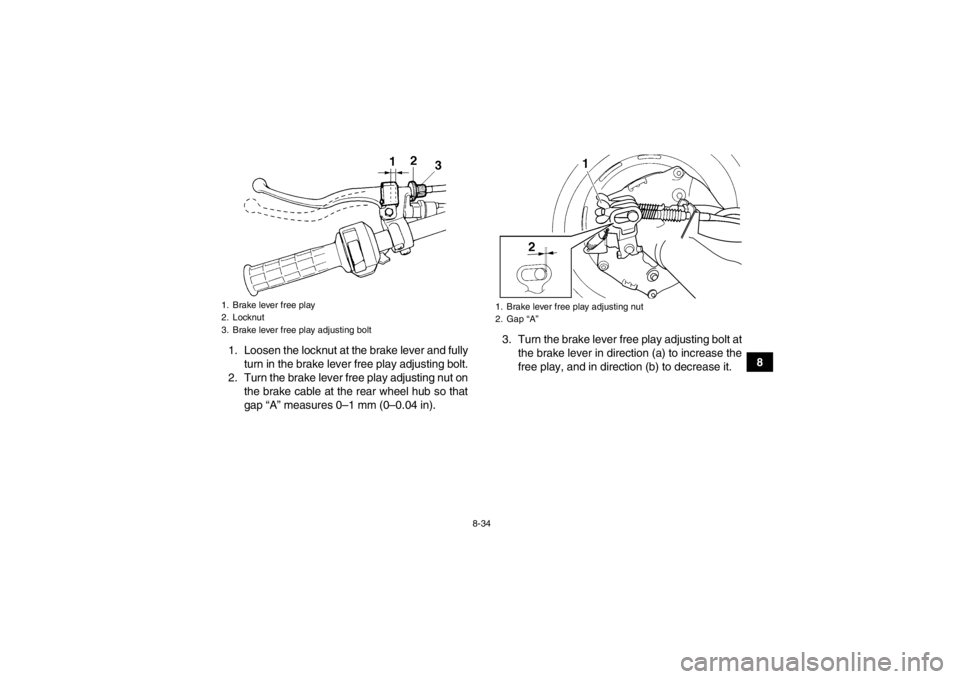
1. Loosen the locknut at the brake lever and fully
turn in the brake lever free play adjusting bolt.
2. Turn the brake lever free play adjusting nut on the brake cable at the rear wheel hub so that
gap “A” measures 0–1 mm (0–0.04 in). 3. Turn the brake lever free play adjusting bolt at
the brake lever in direction (a) to increase the
free play, and in direction (b) to decrease it.
1. Brake lever free play
2. Locknut
3. Brake lever free play adjusting bolt
1. Brake lever free play adjusting nut
2. Gap “A”
U1NS62E0.book Page 34 Monday, April 8, 2013 4:59 PM
Page 118 of 144
8-35
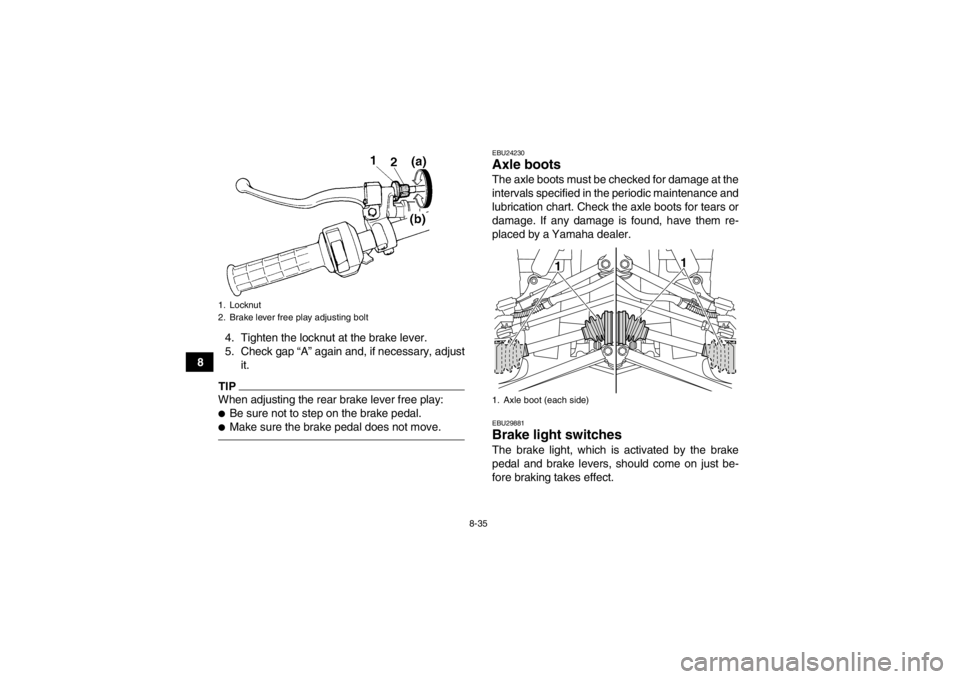
84. Tighten the locknut at the brake lever.
5. Check gap “A” again and, if necessary, adjust
it.
TIPWhen adjusting the rear brake lever free play:●Be sure not to step on the brake pedal.●Make sure the brake pedal does not move.
EBU24230Axle boots The axle boots must be checked for damage at the
intervals specified in the periodic maintenance and
lubrication chart. Check the axle boots for tears or
damage. If any damage is found, have them re-
placed by a Yamaha dealer.EBU29881Brake light switches The brake light, which is activated by the brake
pedal and brake levers, should come on just be-
fore braking takes effect.
1. Locknut
2. Brake lever free play adjusting bolt
1. Axle boot (each side)
1 1
U1NS62E0.book Page 35 Monday, April 8, 2013 4:59 PM
Page 119 of 144
8-36
8
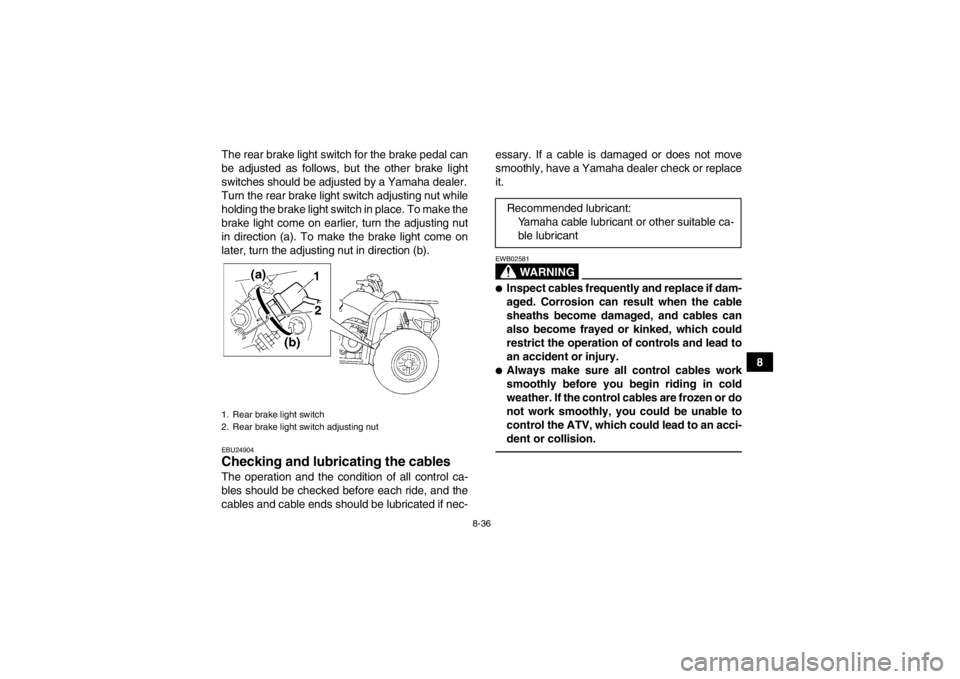
The rear brake light switch for the brake pedal can
be adjusted as follows, but the other brake light
switches should be adjusted by a Yamaha dealer.
Turn the rear brake light switch adjusting nut while
holding the brake light switch in place. To make the
brake light come on earlier, turn the adjusting nut
in direction (a). To make the brake light come on
later, turn the adjusting nut in direction (b).
EBU24904Checking and lubricating the cables The operation and the condition of all control ca-
bles should be checked before each ride, and the
cables and cable ends should be lubricated if nec- essary. If a cable is damaged or does not move
smoothly, have a Yamaha dealer check or replace
it.
WARNING
EWB02581●Inspect cables frequently and replace if dam-
aged. Corrosion can result when the cable
sheaths become damaged, and cables can
also become frayed or kinked, which could
restrict the operation of controls and lead to
an accident or injury.●Always make sure all control cables work
smoothly before you begin riding in cold
weather. If the control cables are frozen or do
not work smoothly, you could be unable to
control the ATV, which could lead to an acci-
dent or collision.
1. Rear brake light switch
2. Rear brake light switch adjusting nut
Recommended lubricant:
Yamaha cable lubricant or other suitable ca-ble lubricant
U1NS62E0.book Page 36 Monday, April 8, 2013 4:59 PM
Page 120 of 144
8-37
8
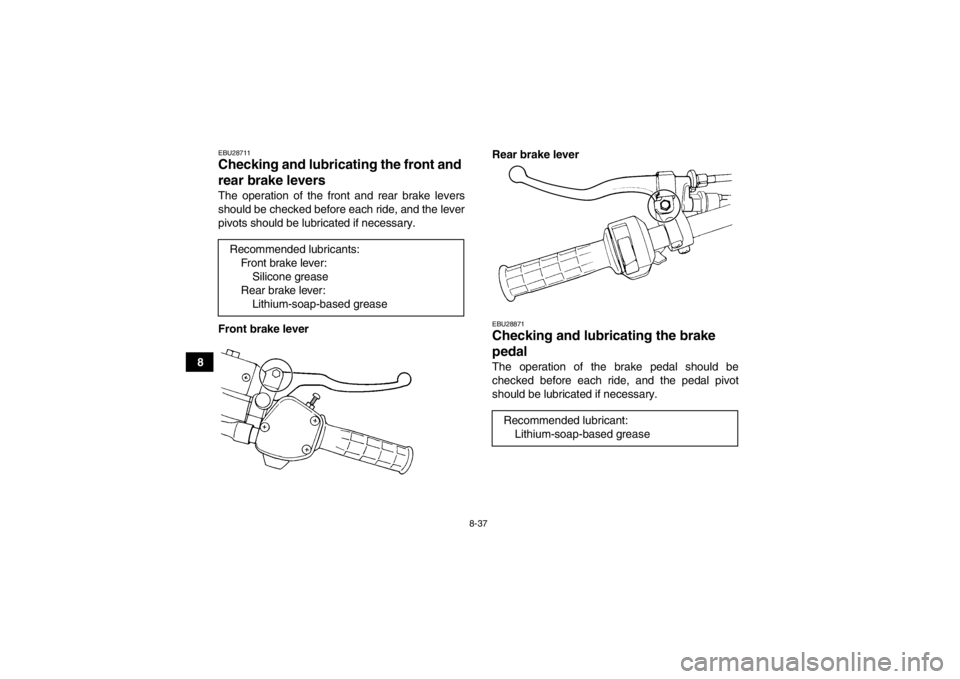
EBU28711Checking and lubricating the front and
rear brake levers The operation of the front and rear brake levers
should be checked before each ride, and the lever
pivots should be lubricated if necessary.
Front brake lever Rear brake lever
EBU28871Checking and lubricating the brake
pedal The operation of the brake pedal should be
checked before each ride, and the pedal pivot
should be lubricated if necessary.
Recommended lubricants:
Front brake lever:Silicone grease
Rear brake lever: Lithium-soap-based greaseRecommended lubricant:Lithium-soap-based grease
U1NS62E0.book Page 37 Monday, April 8, 2013 4:59 PM