YAMAHA RHINO 700 2010 User Guide
RHINO 700 2010
YAMAHA
YAMAHA
https://www.carmanualsonline.info/img/51/51186/w960_51186-0.png
YAMAHA RHINO 700 2010 User Guide
Page 346 of 498
8-51
6. Reinstall the oil filler bolt, and then tighten it to
the specified torque.
7. Check for oil leakage. If oil leakage is found,
check for the cause. Tightening torque:
Rear differential gear oil filler bolt:
23 Nm (2.3 m·kgf, 17 ft·lbf)
EE.book Page 51 Monday, January 19, 2009 5:30 PM
Page 358 of 498
8-63 a. Spark plug gap
a.Écartement des électrodes
a. Distancia entre electrodos de la bujía
Installation
1. Measure the electrode gap with a wire thick-
ness gauge and, if necessary, adjust the gap
to specification.
2. Clean the surface of the spark plug gasket
and its mating surface, and then wipe off any
grime from the spark plug threads.
3. Install the spark plug and tighten it to the
specified torque. If a torque wrench is not
available when you are installing the spark
plug, a good estimate of the correct torque is
one-quarter to one-half turn past finger tight.
Have the spark plug tightened to the speci-
fied torque as soon as possible.
4. Install the spark plug cap.
5. Reinstall the console.Spark plug gap:
0.8–0.9 mm (0.031–0.035 in)
Tightening torque:
Spark plug:
12.5 Nm (1.25 m·kgf, 9.0 ft·lbf)
EE.book Page 63 Monday, January 19, 2009 5:30 PM
Page 374 of 498
8-79 1. V-belt case drain plug
1. Bouchon de vidange du carter de courroie trapézoïdale
1. Tapón de drenaje de la caja de la correa trapezoidal
1
1. Side panel
1. Cache latéral
1. Panel lateral
1
4. Remove the V-belt case drain plug. If water
drains from the V-belt case, have a Yamaha
dealer inspect the vehicle, as the water may
affect other engine parts.
5. Place the side panel in the original position as
shown.
6. Install the bolt, and then tighten it to the spec-
ified torque.
7. Close the door.Tightening torque:
Side panel bolt:
7 Nm (0.7 m·kgf, 5.1 ft·lbf)
EE.book Page 79 Monday, January 19, 2009 5:30 PM
Page 378 of 498
8-83
5. Install the bolts and tighten them to the spec-
ified torque.
Valve clearance
The correct valve clearance changes with use, re-
sulting in improper fuel/air supply or engine noise.
To prevent this, the valve clearance must be ad-
justed regularly. This adjustment however, should
be left to a professional Yamaha service techni-
cian.Tightening torque:
Tailpipe bolt:
8 Nm (0.8 m·kgf, 5.8 ft·lbf)
EE.book Page 83 Monday, January 19, 2009 5:30 PM
Page 398 of 498
8-103
2. Lubricate the knuckle upper and lower pivots
with a grease gun.
3. Install the lower arm protector by installing
the bolts and tightening them to the specified
torque. Recommended lubricant:
Lithium-soap-based grease
Tightening torque:
Lower arm protector bolt:
7 Nm (0.7 m·kgf, 5.1 ft·lbf)
EE.book Page 103 Monday, January 19, 2009 5:30 PM
Page 404 of 498
8-109
EVU00940
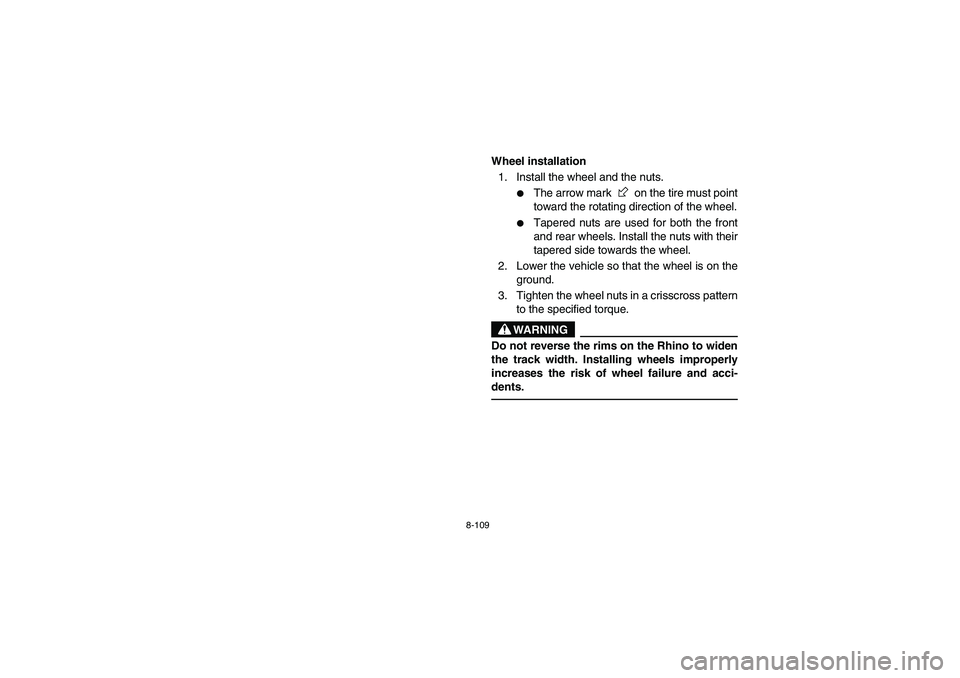
Wheel installation
1. Install the wheel and the nuts.
�
The arrow mark on the tire must point
toward the rotating direction of the wheel.
�
Tapered nuts are used for both the front
and rear wheels. Install the nuts with their
tapered side towards the wheel.
2. Lower the vehicle so that the wheel is on the
ground.
3. Tighten the wheel nuts in a crisscross pattern
to the specified torque.
WARNING
Do not reverse the rims on the Rhino to widen
the track width. Installing wheels improperly
increases the risk of wheel failure and acci-
dents.
EE.book Page 109 Monday, January 19, 2009 5:30 PM
Page 406 of 498
8-111 1. Arrow mark
1. Flèche
1. Flecha
1. Tapered nut
1.Écrou conique
1. Tuerca cónica
Wheel nut torque:
Front: 75 Nm (7.5 m·kgf, 54 ft·lbf)
Rear: 75 Nm (7.5 m·kgf, 54 ft·lbf)
EE.book Page 111 Monday, January 19, 2009 5:30 PM
Page 442 of 498
8-147 1. Panel A
1. Cache A
1. Panel A
1
6. Place the panel in the original position, install
bolt A and bolts B, and then tighten them to
their specified torques.
Tightening torques:
Panel bolt A:
7 Nm (0.7 m·kgf, 5.1 ft·lbf)
Panel bolt B:
4 Nm (0.4 m·kgf, 2.9 ft·lbf)
EE.book Page 147 Monday, January 19, 2009 5:30 PM


Rear: 75 Nm (7.5 m·kgf, 54 ft·lbf)
EE.book Page 11")
