oil YAMAHA TDR 125 2000 Owner's Manual
[x] Cancel search | Manufacturer: YAMAHA, Model Year: 2000, Model line: TDR 125, Model: YAMAHA TDR 125 2000Pages: 104, PDF Size: 4.88 MB
Page 86 of 104
1
2
3
4
5
6
7
8
9
7-1
Care
The exposure of its technology
makes a motorcycle charming but
also vulnerable. Although high-quality
components are used, they are not
all rust-resistant. While a rusty
exhaust pipe may remain unnoticed
on a car, it does look unattractive on
a motorcycle. Frequent and proper
care, however, will keep your motor-
cycle looking good, extend its life and
maintain its performance. Moreover,
the warranty states that the vehicle
must be properly taken care of. For
all these reasons, it is recommended
that you observe the following clean-
ing and storing precautions.Before cleaning
1. Cover up the muffler outlet with a
plastic bag.
2. Make sure that all caps and cov-
ers as well as all electrical cou-
plers and connectors, including
the spark plug cap, are tightly
installed.
3. Remove extremely stubborn dirt,
like oil burnt onto the crankcase,
with a degreasing agent and a
tooth or bottle brush, but never
apply such products onto seals,
gaskets, sprockets, the drive
chain and wheel axles. Always
rinse the dirt and degreaser off
with water.Cleaning
After normal use
Remove dirt with warm water, a neu-
tral detergent and a soft clean
sponge, then rinse with plenty of
clean water. Use a brush for hard-to-
reach parts. Tougher dirt and insects
will come off more easily if the area is
covered with a wet cloth for a few
minutes before cleaning.
ECA00010
cC
8
8
Avoid using strong acidic
wheel cleaners, especially on
spoked wheels. If you do use
such products for hard-to-
remove dirt, do not leave it on
any longer than instructed,
then thoroughly rinse it off
with water, immediately dry
the area and apply a corrosion
protection spray.
EAU01518
MOTORCYCLE CARE AND STORAGE
5AE-9-E3 (ENG) 4/11/0 11:06 AM Page 84
Page 88 of 104
After cleaning
1. Dry the motorcycle with a
chamois or an absorbing cloth.
2. Immediately dry the drive chain
and lubricate it to prevent it from
rusting.
3. Use a chrome polish to shine
chrome, aluminum and stainless-
steel parts, including the exhaust
system. (Even the thermally
induced discoloring of stainless-
steel exhaust systems can be
removed through polishing.)
4. To prevent corrosion, it is recom-
mended to apply a corrosion pro-
tection spray on all (even
chrome- and nickel-plated) metal
surfaces.
5. Use spray oil as a universal
cleaner to remove any remaining
dirt.
6. Touch up minor paint damage
caused by stones, etc.
7. Wax all painted surfaces.
8. Let the motorcycle dry complete-
ly before storing it or covering it.EWA00001
w
Make sure that there is no oil or
wax on the brakes and tires. If
necessary, clean the brake discs
and linings with a regular brake
disc cleaner or acetone, and wash
the tires with warm water and mild
soap. Then, carefully test the
motorcycle for its braking perfor-
mance and cornering behavior.
ECA000013
cC
8
8
Apply spray oil and wax spar-
ingly and wipe off any excess.
8 8
Never apply oil or wax on rub-
ber and plastic parts, but treat
them with a suitable care
product.
8 8
Avoid using abrasive polish-
ing compounds as they wear
away the paint.
NOTE:
Consult a Yamaha dealer for advice
on what products to use.
MOTORCYCLE CARE AND STORAGE
7-3
7
5AE-9-E3 (ENG) 4/11/0 11:06 AM Page 86
Page 89 of 104
1
2
3
4
5
6
7
8
9
7-4
Storage
Short-term
Always store your motorcycle in a
cool, dry place and, if necessary, pro-
tect it against dust with a porous
cover.
ECA00014
cC
8
8
Storing the motorcycle in a
poorly ventilated room or cov-
ering it with a tarp while it is
still wet will allow water and
humidity to seep in and cause
rust.
8 8
To prevent corrosion, avoid
damp cellars, stables (because
of the presence of ammonia)
and areas where strong chemi-
cals are stored.
Long-term
Before storing your motorcycle for
several months:
1. Follow all the instructions in the
“Care” section of this chapter.
2. Drain the carburetor float cham-
ber by loosening the drain bolt;
this will prevent fuel deposits
from building up. Pour the
drained fuel into the fuel tank.
3. Only for motorcycles equipped
with a fuel cock which has an
“OFF” position: Turn the fuel
cock to “OFF”.
4. Fill up the fuel tank and add fuel
stabilizer (if available) to prevent
the fuel tank from rusting and the
fuel from deteriorating.
5. Perform the following steps to
protect the cylinder, piston rings,
etc. from corrosion.a. Remove the spark plug cap and
spark plug.
b. Pour a teaspoonful of engine oil
into the spark plug bore.
c. Install the spark plug cap onto
the spark plug and place the
spark plug on the cylinder head
so that the electrodes are
grounded. (This will limit spark-
ing during the next step.)
d. Turn the engine over several
times with the starter. (This will
coat the cylinder wall with oil.)
e. Remove the spark plug cap from
the spark plug, install the spark
plug and then the spark plug
cap.
EWA00003
w
When turning the engine over, be
sure to ground the spark plug elec-
trodes to prevent damage or injury
from sparking.
MOTORCYCLE CARE AND STORAGE
7
5AE-9-E3 (ENG) 4/11/0 11:06 AM Page 87
Page 92 of 104

SPECIFICATIONS
1
2
3
4
5
6
7
8
9
Specifications
Model TDR125
Dimensions
Overall length 2,120 mm
(F, GB, IRL, B, P, GR, E)
2,185 mm (S, SF, D, CH, A)
Overall width 840 mm
Overall height 1,295 mm
Seat height 850 mm
Wheel base 1,405 mm
Ground clearance 270 mm
Minimum turning radius 2,200 mm
Basic weight (with oil and full
fuel tank)135 kg
136 kg (CH, A)
Engine
Engine type Liquid cooled 2-stroke,
gasoline
Cylinder arrangement Forward inclined single
cylinder
Displacement 125 cm
3
Bore ´Stroke 56.0 ´50.7 mm
Compression ratio 6.6:1
Starting system Electric starter
Lubrication system Separate lubrication
(Yamaha Autolube)Engine oil (2-cycle)
Type Yamaha oil 2T or equivalent
2-stroke engine oil
Capacity
Total amount 1.2 L
Transmission oil
Type SAE 10W30 SE motor oil
Capacity
Periodic oil change 0.75 L
Total amount 0.8 L
Radiator capacity
(Including all routes) 1.05 L
Air filterWet type element
Fuel
Type Regular unleaded gasoline
Fuel tank capacity 11 L
Reserve amount 2.2 L
Carburetor
Type/quantity TM28SS/1
Manufacturer MIKUNI
EAU01038
SPECIFICATIONS
8-1
5AE-9-E3 (ENG) 4/11/0 11:06 AM Page 90
Page 94 of 104

SPECIFICATIONS
1
2
3
4
5
6
7
8
9
Wheels
Front
Type Cast wheel
Size 18 ´MT2.15
Rear
Type Cast wheel
Size 17 ´MT2.50
Brakes
Front
Type Single disc brake
Operation Right hand operation
Fluid DOT 3 or DOT 4
Rear
Type Single disc brake
Operation Right foot operation
Fluid DOT 4
Suspension
Front
Type Telescopic fork
Rear
Type Swingarm (Monocross)Shock absorber
Front
Type Coil spring/oil damper
Rear
Type Coil-gas spring/oil damper
Wheel travel
Front 180 mm
Rear 180 mm
Electrical
Ignition system C.D.I.
Charging system
Type C.D.I. magneto
Standard output 14 V, 12A @5,000 r/min
Battery
Type YTX5L-BS
Voltage, capacity 12 V, 4 AH
Headlight bulb typeHalogen bulb
Bulb voltage, wattage ´quantity
Headlight 12 V, 60/55W ´2
12 V, 35/35W ´2 (GB, IRL only)
8-3
5AE-9-E3 (ENG) 4/11/0 11:06 AM Page 92
Page 95 of 104

SPECIFICATIONS
1
2
3
4
5
6
7
8
9
8-4 Stop/tail light 12 V, 21/5W ´2
Front flasher light 12 V, 21W ´2
Rear flasher light 12 V, 21W ´2
Auxiliary light 12 V, 4W ´2
12 V, 3.4W ´2 (GB, IRL only)
Meter light 12 V, 3.4W ´3
Neutral indicator light 12 V, 3.4W ´1
High beam indicator light 12 V, 3.4W ´1
Oil level indicator light 12 V, 3.4W ´1
Turn indicator light 12 V, 3.4W ´1
Fuse
Main 20A
5AE-9-E3 (ENG) 4/11/0 11:06 AM Page 93
Page 100 of 104
INDEX
Engine stop switch ..................................3-7
Engine temperature gauge ......................3-5
F
Front brake lever .....................................3-8
Front brake lever free play
adjustment ..........................................6-20
Front fork inspection ..............................6-28
Front wheel installation..........................6-34
Front wheel removal ..............................6-33
Fuel .......................................................3-10
Fuel cock ...............................................3-12
Fuel tank cap ...........................................3-9
Fuse replacement..................................6-30
H
Handlebar switches .................................3-5
Dimmer switch ......................................3-5
Engine stop switch ................................3-7
Headlight beam variation ......................3-6
Horn switch ...........................................3-5
Lights switch .........................................3-5
Start switch ...........................................3-7
Turn signal switch .................................3-5
Headlight beam variation.........................3-6
Headlight bulb replacement...................6-31
Helmet holder ........................................3-14
High beam indicator light .........................3-2
Horn switch..............................................3-5
How to use the conversion table .............8-5
I
Identification number records ..................9-1
Idle speed adjustment ...........................6-15
Indicator lights .........................................3-2
High beam indicator light ......................3-2Neutral indicator light ............................3-2
Oil level indicator light ...........................3-2
Turn indicator light ................................3-2
Inspecting the brake fluid level ..............6-22
K
Key identification number ........................9-1
L
Lights switch ............................................3-5
Left view ..................................................2-1
M
Main switch/Steering lock ........................3-1
Model lavel ..............................................9-2
N
Neutral indicator light...............................3-2
Note on handling of the Yamaha
Energy Induction System (Y.E.I.S.) ....3-15
O
Oil level indicator circuit check ................3-3
Oil level indicator light .............................3-2
P
Panel A ....................................................6-7
Parking ....................................................5-6
Periodic maintenance and
lubrication .............................................6-3
Pre-operation check list ...........................4-1
R
Rear brake pedal .....................................3-9
Rear brake pedal height adjustment .....6-20
Rear shock absorber adjustment ..........3-14
Rear suspension lubrication ..................6-27
Rear wheel installation ..........................6-35
Rear wheel removal ..............................6-34A
Air filter ..................................................6-13
Autolube pump adjustment....................6-26
B
Battery ...................................................6-29
Brake and clutch lever lubrication .........6-27
Brake and shift pedal lubrication ...........6-26
Brake fluid replacement.........................6-23
Brake light switch adjustment ................6-21
C
Cable inspection and lubrication ...........6-25
Carburetor adjustment...........................6-15
Care.........................................................7-1
Catalyzer
(for Switzerland and Austria) ..............3-11
Checking the front and rear brake
pads ....................................................6-21
Clutch lever .............................................3-8
Clutch lever free play adjustment ..........6-19
Controls/Instruments ...............................2-3
Cooling system ......................................6-11
Cowling A, B ............................................6-7
Cowling and panel removal and
installation .............................................6-6
D
Description ..............................................2-1
Dimmer switch .........................................3-5
Drive chain lubrication ...........................6-25
Drive chain slack adjustment.................6-24
Drive chain slack check .........................6-23
E
Engine break-in .......................................5-5
5AE-9-E3 (ENG) 4/11/0 11:06 AM Page 98
Page 101 of 104
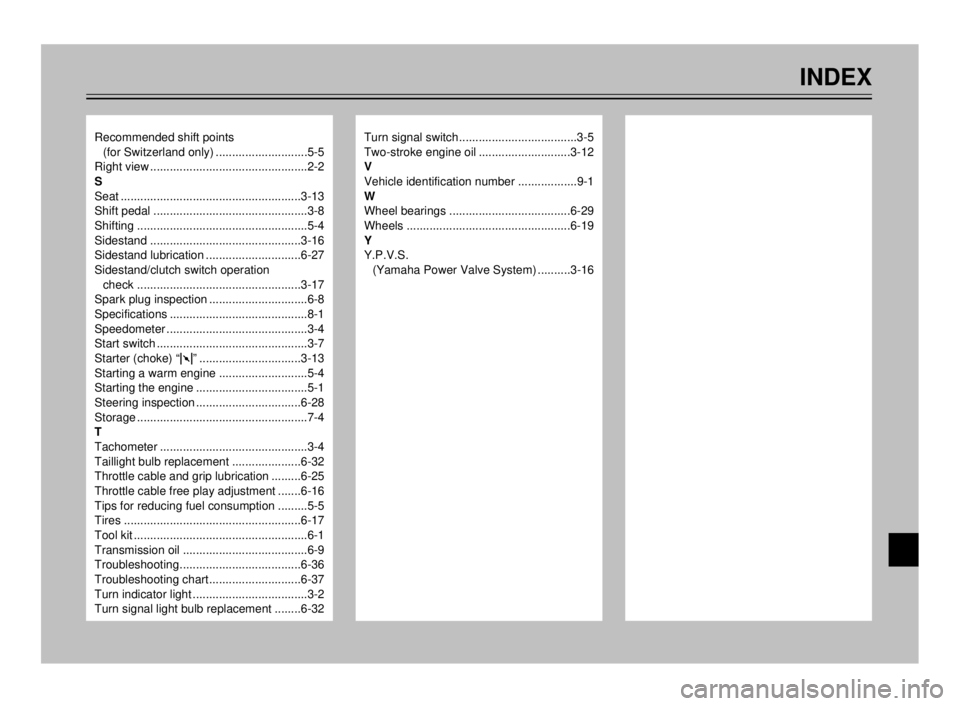
INDEX
Recommended shift points
(for Switzerland only) ............................5-5
Right view ................................................2-2
S
Seat .......................................................3-13
Shift pedal ...............................................3-8
Shifting ....................................................5-4
Sidestand ..............................................3-16
Sidestand lubrication .............................6-27
Sidestand/clutch switch operation
check ..................................................3-17
Spark plug inspection ..............................6-8
Specifications ..........................................8-1
Speedometer ...........................................3-4
Start switch ..............................................3-7
Starter (choke) “1” ...............................3-13
Starting a warm engine ...........................5-4
Starting the engine ..................................5-1
Steering inspection ................................6-28
Storage ....................................................7-4
T
Tachometer .............................................3-4
Taillight bulb replacement .....................6-32
Throttle cable and grip lubrication .........6-25
Throttle cable free play adjustment .......6-16
Tips for reducing fuel consumption .........5-5
Tires ......................................................6-17
Tool kit .....................................................6-1
Transmission oil ......................................6-9
Troubleshooting.....................................6-36
Troubleshooting chart............................6-37
Turn indicator light ...................................3-2
Turn signal light bulb replacement ........6-32Turn signal switch....................................3-5
Two-stroke engine oil ............................3-12
V
Vehicle identification number ..................9-1
W
Wheel bearings .....................................6-29
Wheels ..................................................6-19
Y
Y.P.V.S.
(Yamaha Power Valve System) ..........3-16
5AE-9-E3 (ENG) 4/11/0 11:06 AM Page 99