fuse YAMAHA WHY 50 2003 Owners Manual
[x] Cancel search | Manufacturer: YAMAHA, Model Year: 2003, Model line: WHY 50, Model: YAMAHA WHY 50 2003Pages: 80, PDF Size: 1.18 MB
Page 15 of 80

2
DESCRIPTION
Right view
8910
11
12
13
14
8. Rear carrier (page 3-9)
9. Passenger seat —
10. Throttle grip (page 6-9, 6-15)
11. Front brake lever (page 3-5, 6-12, 6-15)12. Luggage hook (page 3-9)
13. Battery / fuse (page 6-18 — 6-19)
14. Fuel and oil tank cap (page 3-5)
2-2
Page 37 of 80

EAU00462
PERIODIC MAINTENANCE AND MINOR REPAIR
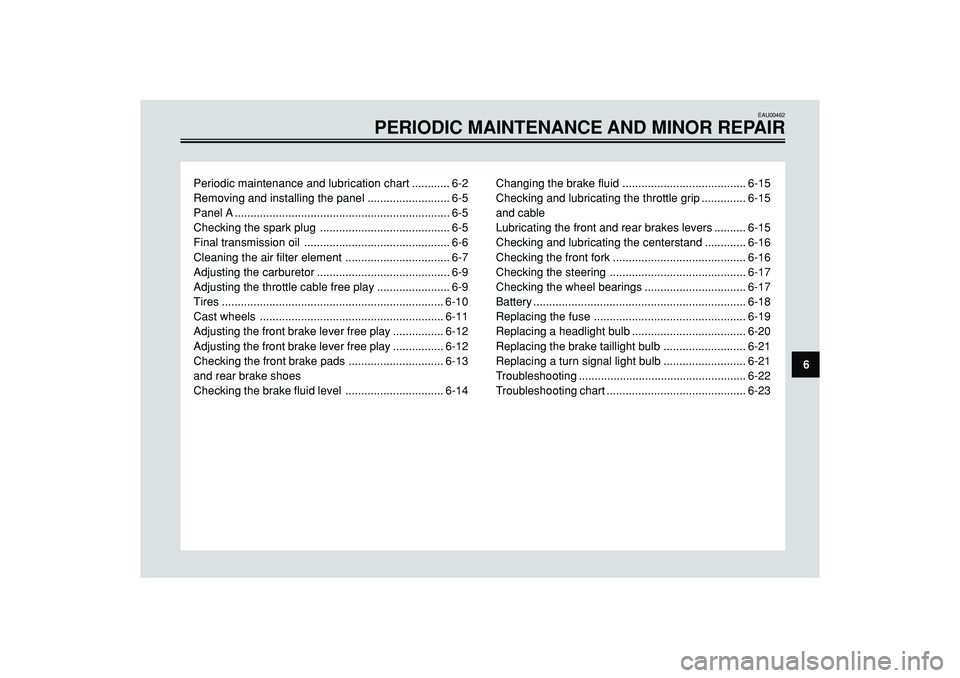
Periodic maintenance and lubrication chart ............ 6-2
Removing and installing the panel .......................... 6-5
Panel A .................................................................... 6-5
Checking the spark plug ......................................... 6-5
Final transmission oil .............................................. 6-6
Cleaning the air filter element ................................. 6-7
Adjusting the carburetor .......................................... 6-9
Adjusting the throttle cable free play ....................... 6-9
Tires ...................................................................... 6-10
Cast wheels .......................................................... 6-11
Adjusting the front brake lever free play ................ 6-12
Adjusting the front brake lever free play ................ 6-12
Checking the front brake pads .............................. 6-13
and rear brake shoes
Checking the brake fluid level ............................... 6-14
6 Changing the brake fluid ....................................... 6-15
Checking and lubricating the throttle grip .............. 6-15
and cable
Lubricating the front and rear brakes levers .......... 6-15
Checking and lubricating the centerstand ............. 6-16
Checking the front fork .......................................... 6-16
Checking the steering ........................................... 6-17
Checking the wheel bearings ................................ 6-17
Battery ................................................................... 6-18
Replacing the fuse ................................................ 6-19
Replacing a headlight bulb .................................... 6-20
Replacing the brake taillight bulb .......................... 6-21
Replacing a turn signal light bulb .......................... 6-21
Troubleshooting ..................................................... 6-22
Troubleshooting chart ............................................ 6-23
Page 56 of 80

PERIODIC MAINTENANCE AND MINOR REPAIR
6
EAU00809
Replacing the fuse
The fuse holder is located beside the
battery compartment behind panel A.
(See page 6-5 for panel removal and
installation procedures.)
If the fuse is blown, replace it as follows.
1. Turn the key to "
" and turn off
all electrical circuits.
2. Remove the blown fuse, and then
install a new fuse of the specified
amperage.
Specified fuse:
7.5 A
1
ZAUM0380
1. Fuse
6-19
•KEEP THIS AND ALL BATTE-
RIES OUT OF THE REACH OF
CHILDREN.
EC000100
Use only distilled water, as tap water
contains minerals that are harmful
to the battery.
5. Check and, if necessary, tighten
the battery lead connections and
correct the breather hose routing.
To store the battery
1. If the scooter will not be used for
more than one month, remove the
battery, fully charge it, and then
place it in a cool, dry place.
2. If the battery will be stored for
more than two months, check the
specific gravity of the electrolyte
at least once a month and fully
charge the battery whenever
necessary.
3. Fully charge the battery before
installation.
4. After installation, make sure that
the battery leads are properly
connected to the battery terminals
and that the breather hose is
properly routed, in good condition,
and not obstructed.
EC000099
If the breather hose is positioned in
such a way that the frame is exposed
to electrolyte or gas expelled from
the battery, the frame could suffer
structural and external damages.
Page 57 of 80

PERIODIC MAINTENANCE AND MINOR REPAIR
6
EW000119
Headlight bulbs get very hot.
Therefore, keep flammable products
away from a lit headlight bulb, and
do not touch the bulb until it has
cooled down.
4. Place a new bulb into position,
and then secure it with the bulb
holder.
5. Connect the lead connectors, and
then install the headlight unit by
installing the screws.
6. Have a Yamaha dealer adjust the
headlight beam if necessary.
6-20
EAU00846
Replacing the headlight bulb
If the headlight bulb burns out, replace
it as follows.
1. Remove the headlight unit by
removing the screws.
2. Disconnect the headlight lead
connectors.
3. Remove the headlight bulb holder
by pushing it inward and turning it
counterclockwise, and then
remove the defective bulb.
1
ZAUM0381
1. Headlight bulb holder
EC000103
Do not use a fuse of a higher amperage
rating than recommended to avoid
causing extensive damage to the
electrical system and possibly a fire.
3. Turn the key to "
" and turn on
the electrical circuits to check if the
devices operate.
4. If the fuse immediately blows
again, have a Yamaha dealer
check the electrical system.
Page 70 of 80

SPECIFICATIONS
8
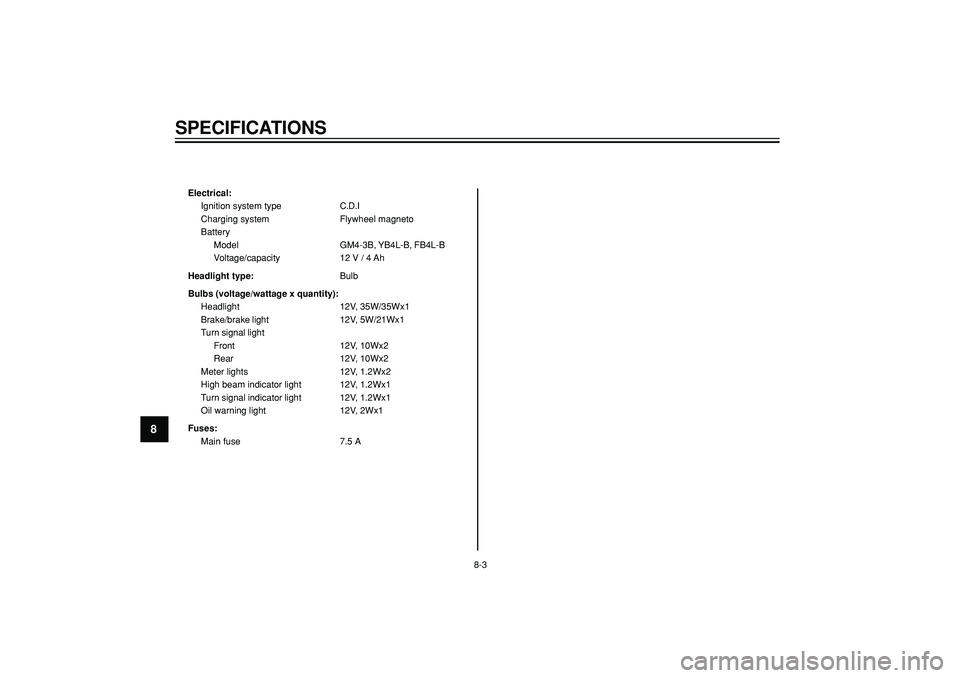
Electrical:
Ignition system typeC.D.I
Charging system Flywheel magneto
Battery
Model GM4-3B, YB4L-B, FB4L-B
Voltage/capacity 12 V / 4 Ah
Headlight type:Bulb
Bulbs (voltage/wattage x quantity):
Headlight 12V, 35W/35Wx1
Brake/brake light 12V, 5W/21Wx1
Turn signal light
Front 12V, 10Wx2
Rear 12V, 10Wx2
Meter lights 12V, 1.2Wx2
High beam indicator light 12V, 1.2Wx1
Turn signal indicator light 12V, 1.2Wx1
Oil warning light 12V, 2Wx1
Fuses:
Main fuse 7.5 A
8-3