YAMAHA WOLVERINE 2018 Workshop Manual
WOLVERINE 2018
YAMAHA
YAMAHA
https://www.carmanualsonline.info/img/51/52233/w960_52233-0.png
YAMAHA WOLVERINE 2018 Workshop Manual
Trending: trailer, tow, belt, run flat, fuel type, compression ratio, engine overheat
Page 51 of 188
4-13
4
Press the accelerator pedal to increase en-
gine speed and thus vehicle speed. Release
the accelator pedal and spring tension will re-
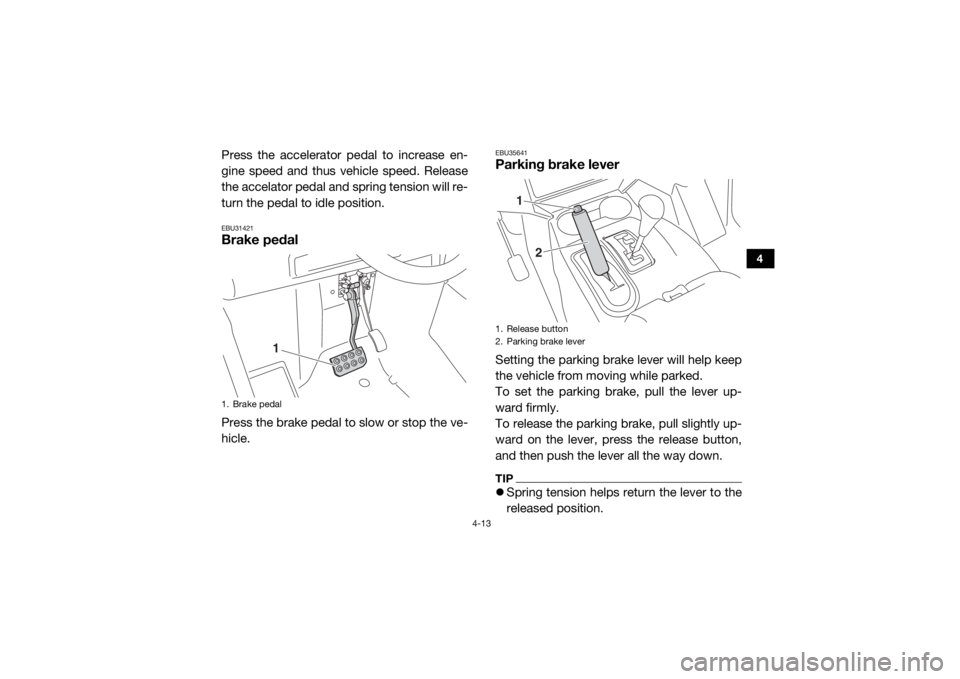
turn the pedal to idle position. EBU31421Brake pedalPress the brake pedal to slow or stop the ve-
hicle.
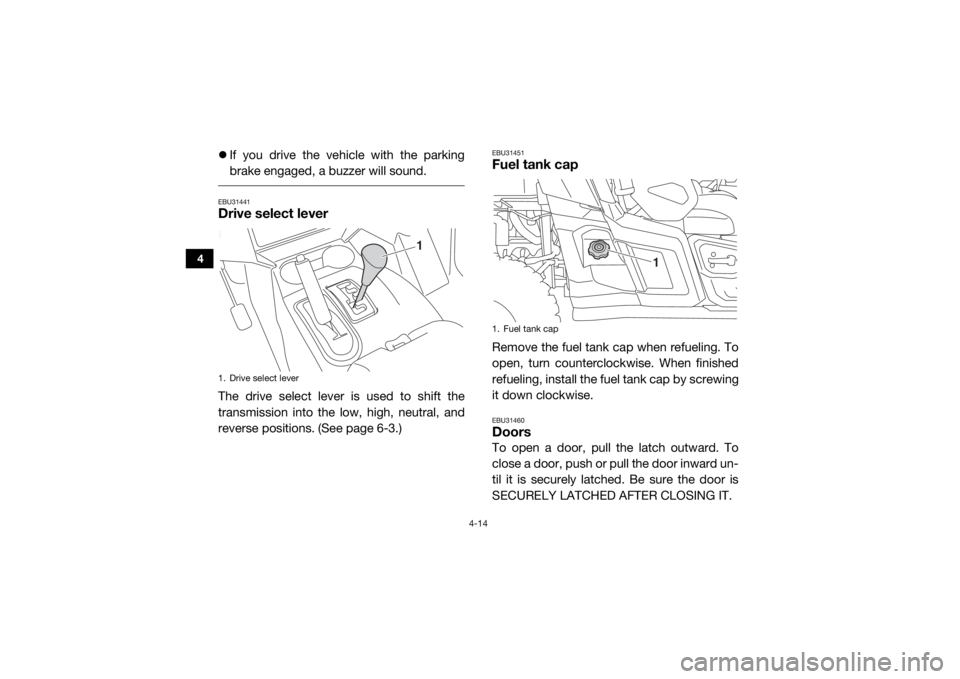
EBU35641Parking brake leverSetting the parking brake lever will help keep
the vehicle from moving while parked.
To set the parking brake, pull the lever up-
ward firmly.
To release the parking brake, pull slightly up-
ward on the lever, press the release button,
and then push the lever all the way down.TIPSpring tension helps return the lever to the
released position.
1. Brake pedal
1
1. Release button
2. Parking brake lever
2
1
UB3D7AE0.book Page 13 Tuesday, November 7, 2017 9:38 AM
Page 52 of 188
4-14
4
If you drive the vehicle with the parking
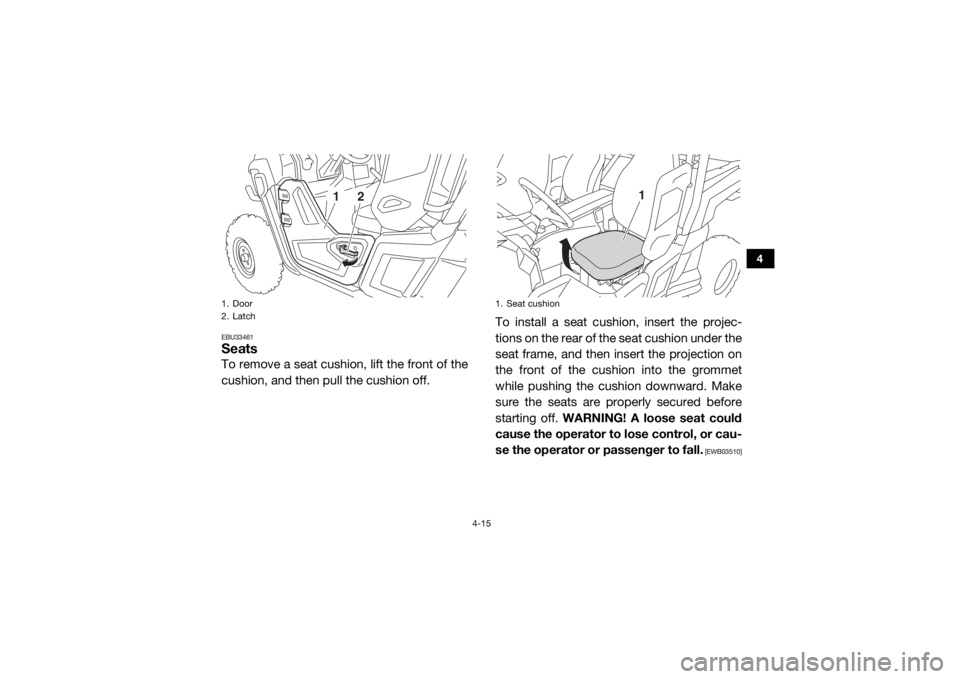
brake engaged, a buzzer will sound. EBU31441Drive select leverThe drive select lever is used to shift the
transmission into the low, high, neutral, and
reverse positions. (See page 6-3.)
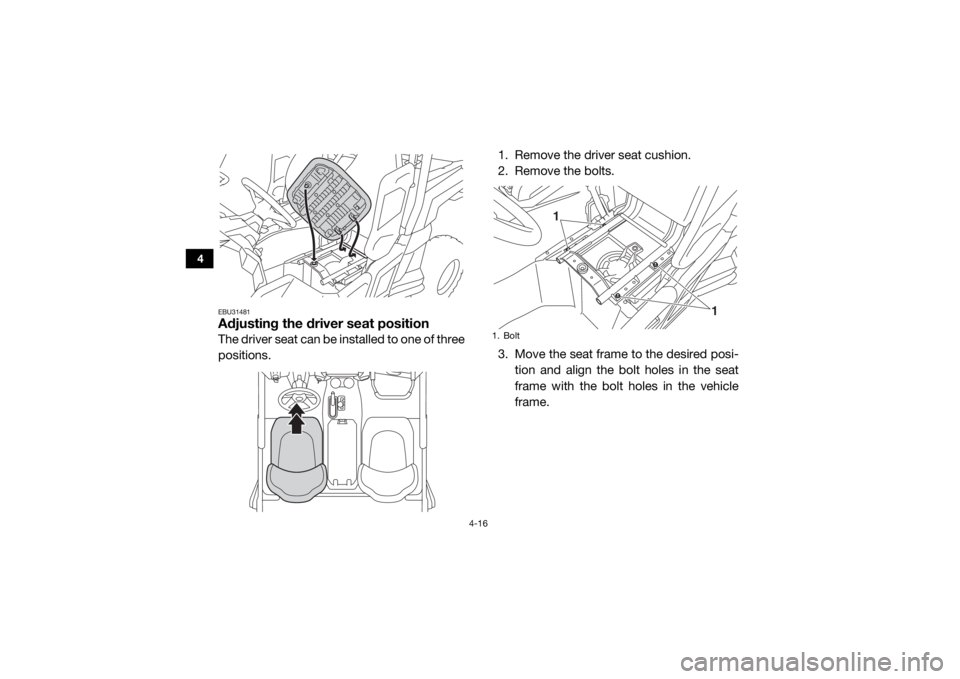
EBU31451Fuel tank capRemove the fuel tank cap when refueling. To
open, turn counterclockwise. When finished
refueling, install the fuel tank cap by screwing
it down clockwise.EBU31460DoorsTo open a door, pull the latch outward. To
close a door, push or pull the door inward un-
til it is securely latched. Be sure the door is
SECURELY LATCHED AFTER CLOSING IT.
1. Drive select lever
1
1. Fuel tank cap
1
UB3D7AE0.book Page 14 Tuesday, November 7, 2017 9:38 AM
Page 53 of 188
4-15
4
EBU33461SeatsTo remove a seat cushion, lift the front of the
cushion, and then pull the cushion off. To install a seat cush
ion, insert the projec-
tions on the rear of the seat cushion under the
seat frame, and then insert the projection on
the front of the cushion into the grommet
while pushing the cushion downward. Make
sure the seats are properly secured before
starting off. WARNING! A loose seat could
cause the operator to lose control, or cau-
se the operator or passenger to fall.
[EWB03510]
1. Door
2. Latch
2
1
1. Seat cushion
1
UB3D7AE0.book Page 15 Tuesday, November 7, 2017 9:38 AM
Page 54 of 188
4-16
4
EBU31481Adjusting the driver seat positionThe driver seat can be installed to one of three
positions.1. Remove the driver seat cushion.
2. Remove the bolts.
3. Move the seat frame to the desired posi-
tion and align the bolt holes in the seat
frame with the bolt holes in the vehicle
frame.
1. Bolt
1
1
UB3D7AE0.book Page 16 Tuesday, November 7, 2017 9:38 AM
Page 55 of 188
4-17
4
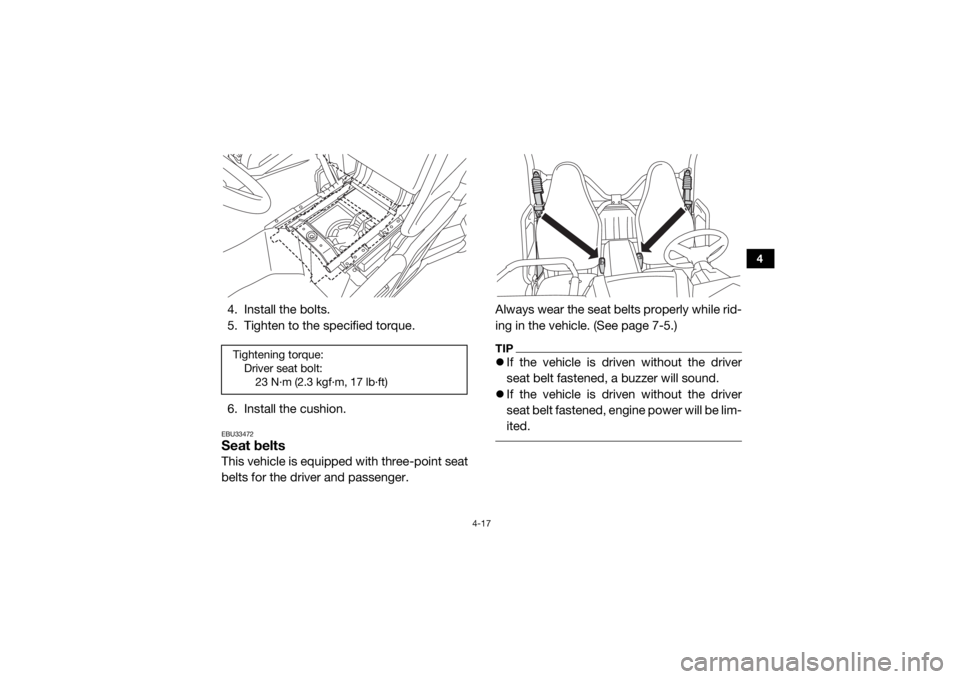
4. Install the bolts.
5. Tighten to the specified torque.
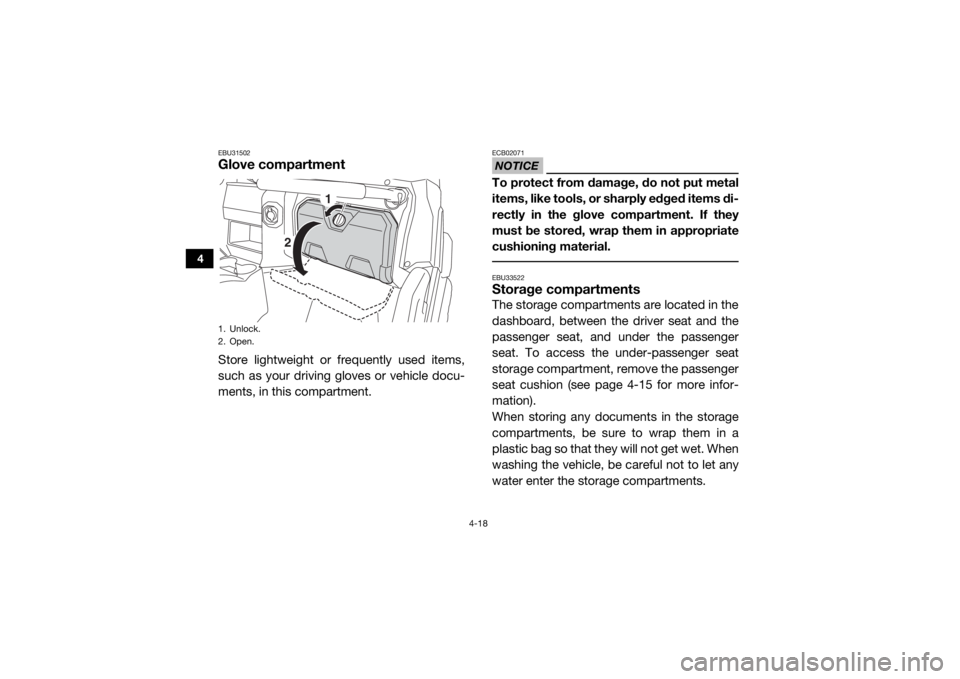
6. Install the cushion.EBU33472Seat beltsThis vehicle is equipped with three-point seat
belts for the driver and passenger.Always wear the seat belts properly while rid-
ing in the vehicle. (See page 7-5.)
TIP
If the vehicle is driven without the driver
seat belt fastened, a buzzer will sound.
If the vehicle is driven without the driver
seat belt fastened, engine power will be lim-
ited.
Tightening torque:
Driver seat bolt:23 N·m (2.3 kgf·m, 17 lb·ft)
UB3D7AE0.book Page 17 Tuesday, November 7, 2017 9:38 AM
Page 56 of 188
4-18
4
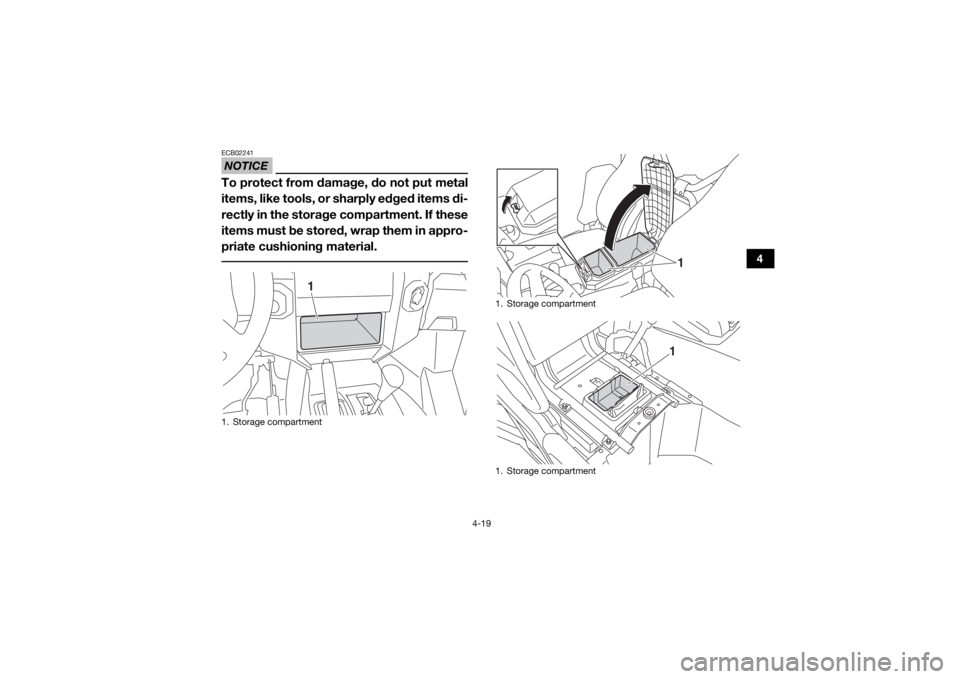
EBU31502Glove compartmentStore lightweight or frequently used items,
such as your driving gloves or vehicle docu-
ments, in this compartment.
NOTICEECB02071To protect from damage, do not put metal
items, like tools, or sharply edged items di-
rectly in the glove compartment. If they
must be stored, wrap them in appropriate
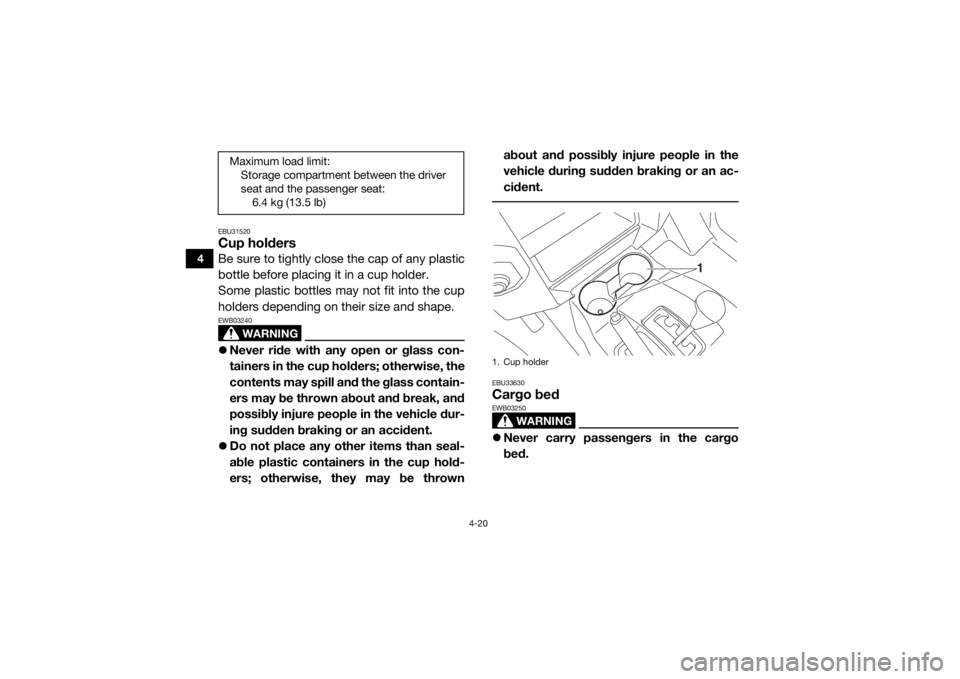
cushioning material. EBU33522Storage compartmentsThe storage compartments are located in the
dashboard, between the driver seat and the
passenger seat, and under the passenger
seat. To access the under-passenger seat
storage compartment, remove the passenger
seat cushion (see page 4-15 for more infor-
mation).
When storing any documents in the storage
compartments, be sure to wrap them in a
plastic bag so that they will not get wet. When
washing the vehicle, be careful not to let any
water enter the storage compartments.
1. Unlock.
2. Open.
1
2
UB3D7AE0.book Page 18 Tuesday, November 7, 2017 9:38 AM
Page 57 of 188
4-19
4
NOTICEECB02241To protect from damage, do not put metal
items, like tools, or sharply edged items di-
rectly in the storage compartment. If these
items must be stored, wrap them in appro-
priate cushioning material. 1. Storage compartment
1
1. Storage compartment
1. Storage compartment
11
UB3D7AE0.book Page 19 Tuesday, November 7, 2017 9:38 AM
Page 58 of 188
4-20
4
EBU31520Cup holdersBe sure to tightly close the cap of any plastic
bottle before placing it in a cup holder.
Some plastic bottles may not fit into the cup
holders depending on their size and shape.
WARNING
EWB03240Never ride with any open or glass con-
tainers in the cup holders; otherwise, the
contents may spill and the glass contain-
ers may be thrown about and break, and
possibly injure people in the vehicle dur-
ing sudden braking or an accident.
Do not place any other items than seal-
able plastic containers in the cup hold-
ers; otherwise, they may be thrown about and possibly injure people in the
vehicle during sudden braking or an ac-
cident.
EBU33630Cargo bed
WARNING
EWB03250
Never carry passengers in the cargo
bed.
Maximum load limit:
Storage compartment between the driver
seat and the passenger seat:6.4 kg (13.5 lb)
1. Cup holder
1
UB3D7AE0.book Page 20 Tuesday, November 7, 2017 9:38 AM
Page 59 of 188
4-21
4
Do not exceed the specified maximum
load limits. Heavier cargo could cause
loss of control because of improper
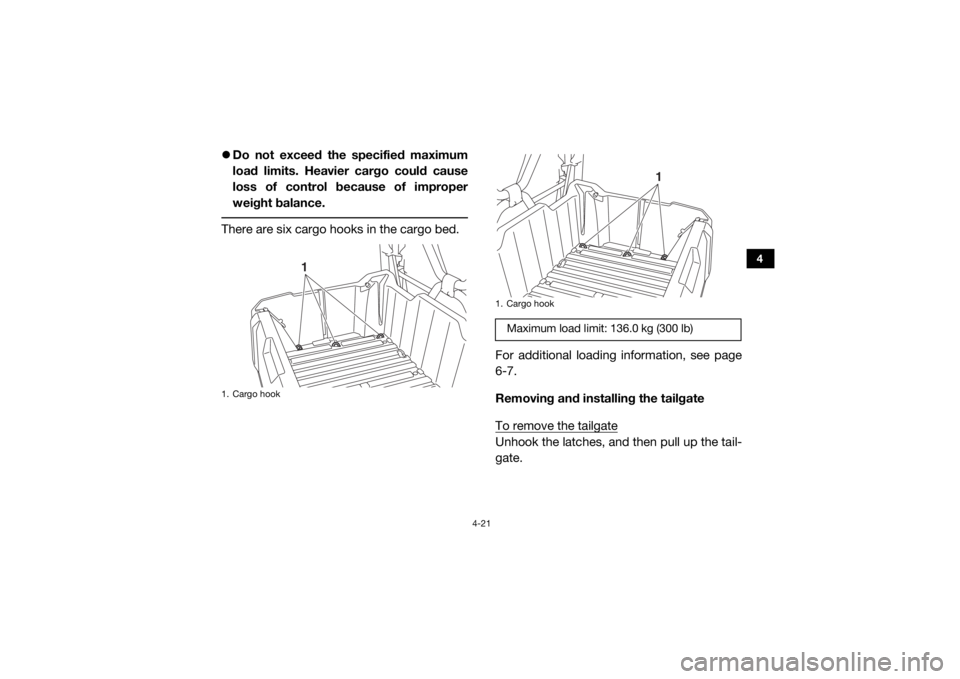
weight balance. There are six cargo hooks in the cargo bed.
For additional loading information, see page
6-7.
Removing and installing the tailgate
To remove the tailgate
Unhook the latches, and then pull up the tail-
gate.
1. Cargo hook
1
1. Cargo hookMaximum load limit: 136.0 kg (300 lb)
1
UB3D7AE0.book Page 21 Tuesday, November 7, 2017 9:38 AM
Page 60 of 188
4-22
4
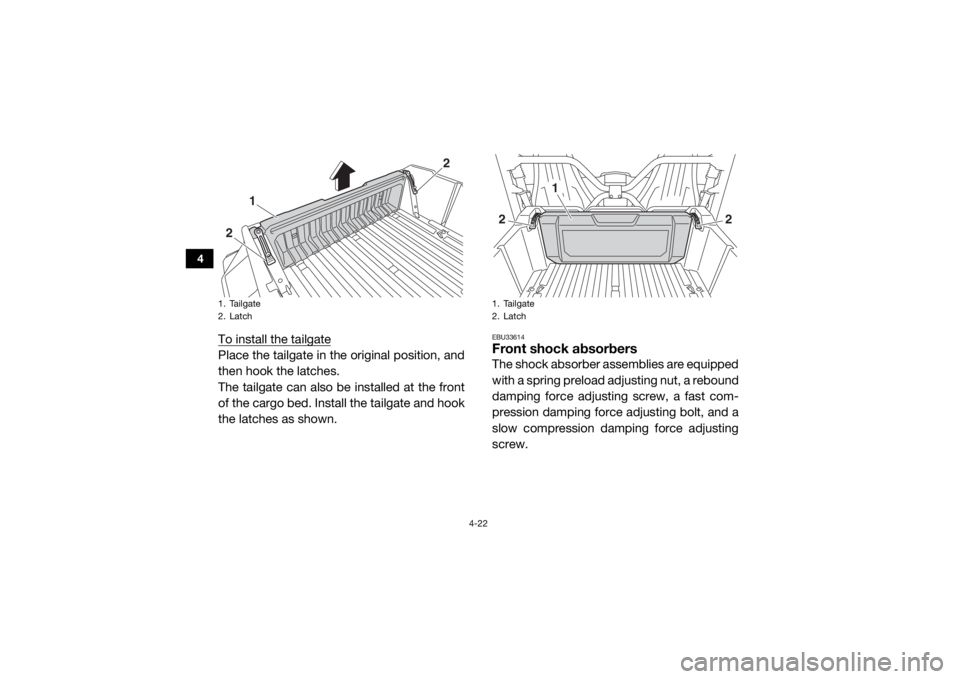
To install the tailgatePlace the tailgate in the original position, and
then hook the latches.
The tailgate can also be installed at the front
of the cargo bed. Install the tailgate and hook
the latches as shown.
EBU33614Front shock absorbersThe shock absorber assemblies are equipped
with a spring preload adjusting nut, a rebound
damping force adjusting screw, a fast com-
pression damping force adjusting bolt, and a
slow compression damping force adjusting
screw.
1. Tailgate
2. Latch2
2
1
1. Tailgate
2. Latch2
2
1
UB3D7AE0.book Page 22 Tuesday, November 7, 2017 9:38 AM
Trending: coolant temperature, oil pressure, air condition, fuses, eps, ignition, differential
