headlight bulb YAMAHA WR 250F 2007 Notices Demploi (in French)
[x] Cancel search | Manufacturer: YAMAHA, Model Year: 2007, Model line: WR 250F, Model: YAMAHA WR 250F 2007Pages: 912, PDF Size: 23.95 MB
Page 96 of 912

GENERAL SPECIFICATIONS
2 - 3
SPEC
Brake:
Front brake type Single disc brake
Operation Right hand operation
Rear brake type Single disc brake
Operation Right foot operation
Suspension:
Front suspension Telescopic fork
Rear suspension Swingarm (link type monocross suspension)
Shock absorber:
Front shock absorber Coil spring/oil damper
Rear shock absorber Coil spring/gas, oil damper
Wheel travel:
Front wheel travel 300 mm (11.8 in)
Rear wheel travel 310 mm (12.2 in)
Electrical:
Ignition system CDI
Generator system AC magneto
Battery type YTX5L-BS
Battery voltage/capacity 12 V/4 AH
Specific gravity 1.320
Headlight type: Quartz bulb (halogen)
Bulb wattage × quantity:
Headlight 12 V 35/36.5 W × 1
Taillight 12 V 1.6/0.3 W × 1
Page 356 of 912

3 - 145
INSP
ADJ
REPLACING THE HEADLIGHT
BULBS
1. Remove:
Headlight
Refer to “SEAT, FUEL TANK
AND SIDE COVERS”.
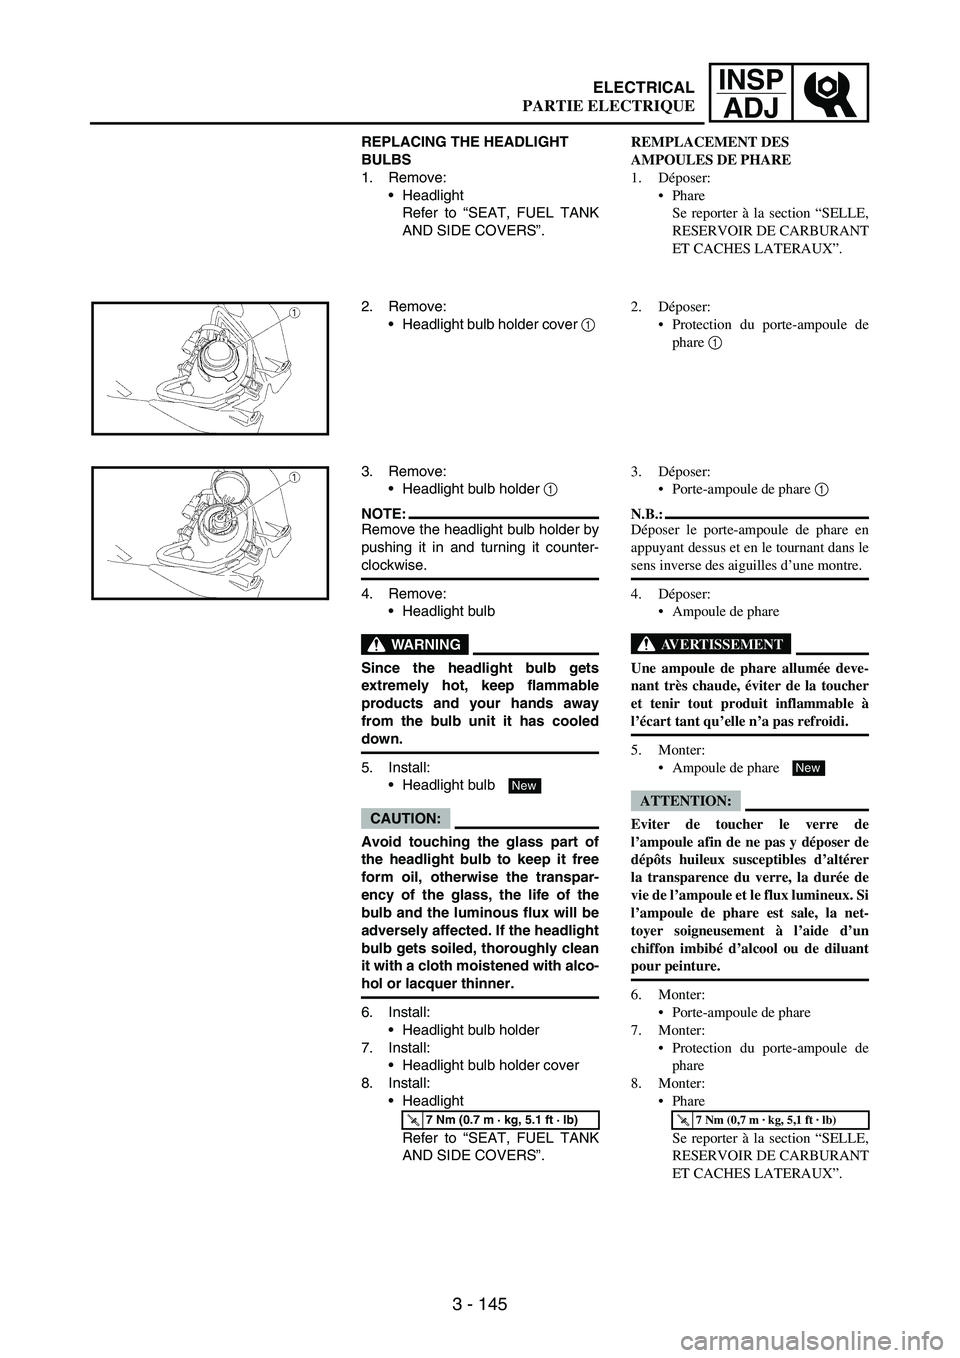
2. Remove:
Headlight bulb holder cover
1
3. Remove:
Headlight bulb holder
1
NOTE:Remove the headlight bulb holder by
pushing it in and turning it counter-
clockwise.
4. Remove:
Headlight bulb
WARNING
Since the headlight bulb gets
extremely hot, keep flammable
products and your hands away
from the bulb unit it has cooled
down.
5. Install:
Headlight bulb
CAUTION:
Avoid touching the glass part of
the headlight bulb to keep it free
form oil, otherwise the transpar-
ency of the glass, the life of the
bulb and the luminous flux will be
adversely affected. If the headlight
bulb gets soiled, thoroughly clean
it with a cloth moistened with alco-
hol or lacquer thinner.
6. Install:
Headlight bulb holder
7. Install:
Headlight bulb holder cover
8. Install:
Headlight
Refer to “SEAT, FUEL TANK
AND SIDE COVERS”.
T R..7 Nm (0.7 m · kg, 5.1 ft · lb)
New
REMPLACEMENT DES
AMPOULES DE PHARE
1. Déposer:
Phare
Se reporter à la section “SELLE,
RESERVOIR DE CARBURANT
ET CACHES LATERAUX”.
2. Déposer:
Protection du porte-ampoule de
phare 1
3. Déposer:
Porte-ampoule de phare 1
N.B.:
Déposer le porte-ampoule de phare en
appuyant dessus et en le tournant dans le
sens inverse des aiguilles d’une montre.
4. Déposer:
Ampoule de phare
AVERTISSEMENT
Une ampoule de phare allumée deve-
nant très chaude, éviter de la toucher
et tenir tout produit inflammable à
l’écart tant qu’elle n’a pas refroidi.
5. Monter:
Ampoule de phare
ATTENTION:
Eviter de toucher le verre de
l’ampoule afin de ne pas y déposer de
dépôts huileux susceptibles d’altérer
la transparence du verre, la durée de
vie de l’ampoule et le flux lumineux. Si
l’ampoule de phare est sale, la net-
toyer soigneusement à l’aide d’un
chiffon imbibé d’alcool ou de diluant
pour peinture.
6. Monter:
Porte-ampoule de phare
7. Monter:
Protection du porte-ampoule de
phare
8. Monter:
Phare
Se reporter à la section “SELLE,
RESERVOIR DE CARBURANT
ET CACHES LATERAUX”.
T R..7 Nm (0,7 m · kg, 5,1 ft · lb)
New
ELECTRICAL
PARTIE ELECTRIQUE