ignition YAMAHA XJ6-S 2012 Owners Manual
[x] Cancel search | Manufacturer: YAMAHA, Model Year: 2012, Model line: XJ6-S, Model: YAMAHA XJ6-S 2012Pages: 102, PDF Size: 2.68 MB
Page 6 of 102

TABLE OF CONTENTSSAFETY INFORMATION ..................1-1
DESCRIPTION ..................................2-1
Left view ..........................................2-1
Right view ........................................2-2
Controls and instruments.................2-3
INSTRUMENT AND CONTROL
FUNCTIONS .......................................3-1
Immobilizer system .........................3-1
Main switch/steering lock ................3-2
Indicator lights and warning lights ..............................3-4
Multi-function meter unit .................3-8
Anti-theft alarm (optional) .............3-11
Handlebar switches ......................3-12
Clutch lever ...................................3-13
Shift pedal .....................................3-14
Brake lever ...................................3-14
Brake pedal ..................................3-14
ABS ..............................................3-15
Fuel tank cap ................................3-16
Fuel ...............................................3-16
Fuel tank breather hose and
overflow hose ............................3-17
Catalytic converter ........................3-18
Seat ..............................................3-18
Rear view mirrors .........................3-19
Sidecases .....................................3-20
Adjusting the shock absorber
assembly ...................................3-21 Carrier .......................................... 3-22
Sidestand ..................................... 3-22
Ignition circuit cut-off system ........ 3-23
FOR YOUR SAFETY –
PRE-OPERATION CHECKS ............. 4-1
OPERATION AND IMPORTANT
RIDING POINTS ................................. 5-1
Starting the engine ......................... 5-1
Shifting ........................................... 5-2
Tips for reducing fuel consumption ............................... 5-3
Engine break-in .............................. 5-3
Parking ........................................... 5-4
PERIODIC MAINTENANCE AND
ADJUSTMENT ................................... 6-1
Owner’s tool kit ............................... 6-2
Periodic maintenance chart for the emission control system ....... 6-3
General maintenance and lubrication chart .......................... 6-4
Removing and installing cowlings and panels .................................. 6-8
Checking the spark plugs ............. 6-10
Engine oil and oil filter cartridge ... 6-11
Coolant ......................................... 6-14
Replacing the air filter element ..... 6-18
Adjusting the engine idling
speed ........................................ 6-19 Checking the throttle grip free
play ........................................... 6-20
Valve clearance ........................... 6-20
Tires ............................................. 6-20
Cast wheels ................................. 6-23
Adjusting the clutch lever free play ........................................... 6-23
Checking the brake lever free
play ........................................... 6-24
Brake light switches ..................... 6-25
Checking the front and rear brake pads .......................................... 6-25
Checking the brake fluid level ...... 6-26
Changing the brake fluid .............. 6-27
Drive chain slack .......................... 6-27
Cleaning and lubricating the drive chain ......................................... 6-29
Checking and lubricating the cables ................................. 6-29
Checking and lubricating
the throttle grip and cable ......... 6-30
Checking and lubricating the brake and shift pedals ........ 6-30
Checking and lubricating the brake and clutch levers ...... 6-31
Checking and lubricating the
centerstand and sidestand ....... 6-31
Lubricating the swingarm pivots ........................................ 6-32
Checking the front fork ................. 6-32
Checking the steering .................. 6-33U1PWEAE0.book Page 1 Tuesda y, February 7, 2012 4:21 PM
Page 17 of 102
INSTRUMENT AND CONTROL FUNCTIONS
3-2
3
●
Keep other immobilizer system
keys away from the main switch
as they may cause signal inter-
ference.
EAU10472
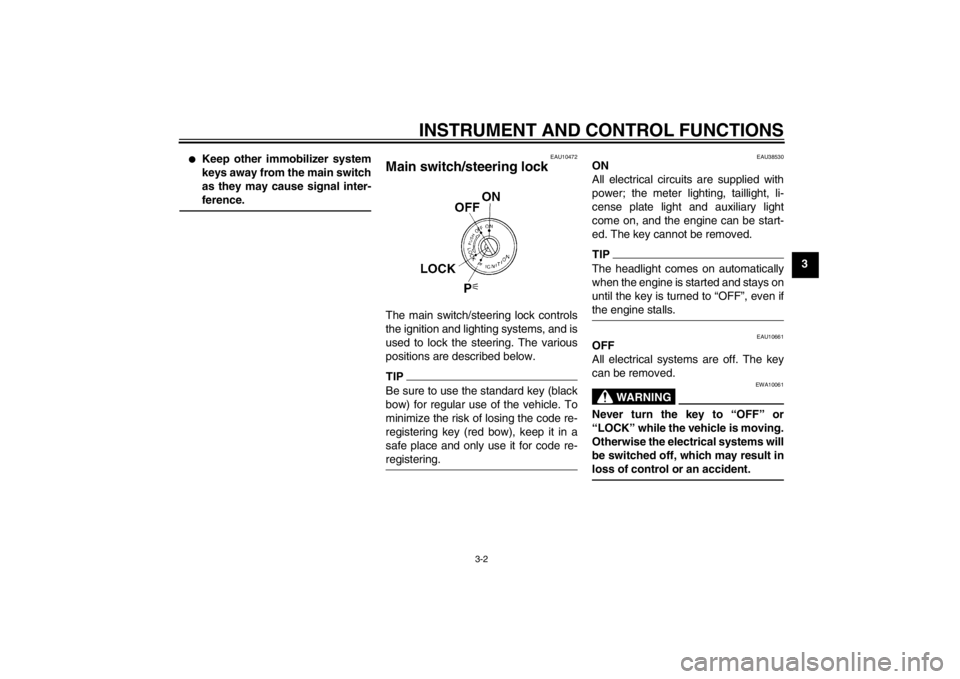
Main switch/steering lock The main switch/steering lock controls
the ignition and lighting systems, and is
used to lock the steering. The various
positions are described below.TIPBe sure to use the standard key (black
bow) for regular use of the vehicle. To
minimize the risk of losing the code re-
registering key (red bow), keep it in a
safe place and only use it for code re-
registering.
EAU38530
ON
All electrical circuits are supplied with
power; the meter lighting, taillight, li-
cense plate light and auxiliary light
come on, and the engine can be start-
ed. The key cannot be removed.TIPThe headlight comes on automatically
when the engine is started and stays on
until the key is turned to “OFF”, even if
the engine stalls.
EAU10661
OFF
All electrical systems are off. The key
can be removed.
WARNING
EWA10061
Never turn the key to “OFF” or
“LOCK” while the vehicle is moving.
Otherwise the electrical systems will
be switched off, which may result in
loss of control or an accident.
U1PWEAE0.book Page 2 Tuesday, February 7, 2012 4:21 PM
Page 31 of 102
INSTRUMENT AND CONTROL FUNCTIONS
3-16
3
EAU13074
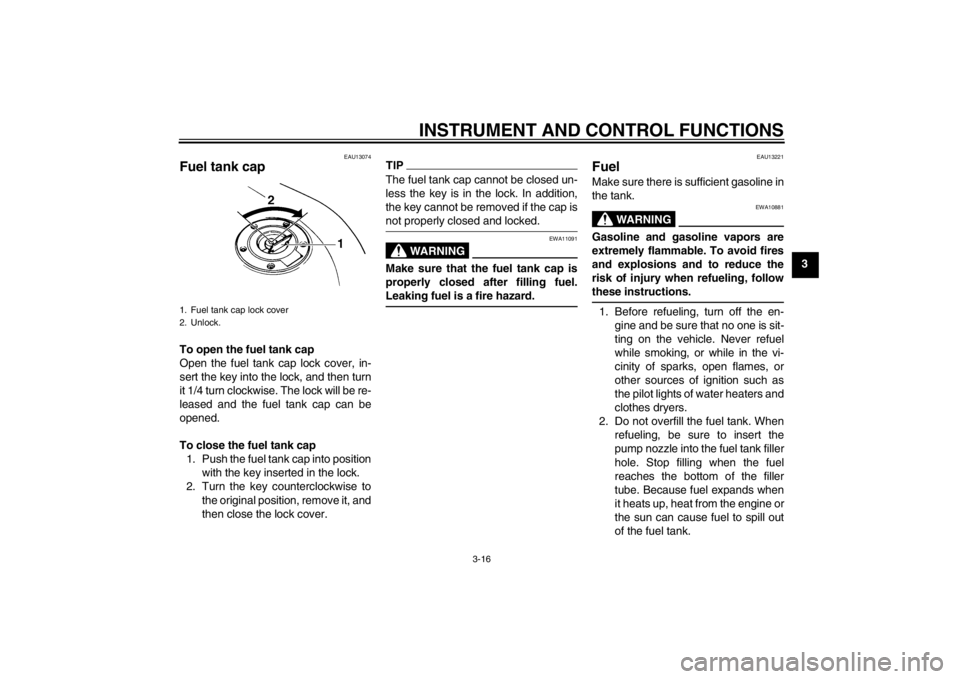
Fuel tank cap To open the fuel tank cap
Open the fuel tank cap lock cover, in-
sert the key into the lock, and then turn
it 1/4 turn clockwise. The lock will be re-
leased and the fuel tank cap can be
opened.
To close the fuel tank cap1. Push the fuel tank cap into position with the key inserted in the lock.
2. Turn the key counterclockwise to the original position, remove it, and
then close the lock cover.
TIPThe fuel tank cap cannot be closed un-
less the key is in the lock. In addition,
the key cannot be removed if the cap is
not properly closed and locked.
WARNING
EWA11091
Make sure that the fuel tank cap is
properly closed after filling fuel.
Leaking fuel is a fire hazard.
EAU13221
Fuel Make sure there is sufficient gasoline in
the tank.
WARNING
EWA10881
Gasoline and gasoline vapors are
extremely flammable. To avoid fires
and explosions and to reduce the
risk of injury when refueling, follow
these instructions.1. Before refueling, turn off the en-gine and be sure that no one is sit-
ting on the vehicle. Never refuel
while smoking, or while in the vi-
cinity of sparks, open flames, or
other sources of ignition such as
the pilot lights of water heaters and
clothes dryers.
2. Do not overfill the fuel tank. When refueling, be sure to insert the
pump nozzle into the fuel tank filler
hole. Stop filling when the fuel
reaches the bottom of the filler
tube. Because fuel expands when
it heats up, heat from the engine or
the sun can cause fuel to spill out
of the fuel tank.
1. Fuel tank cap lock cover
2. Unlock.
U1PWEAE0.book Page 16 Tuesday, February 7, 2012 4:21 PM
Page 37 of 102
INSTRUMENT AND CONTROL FUNCTIONS
3-22
3
EAU15112
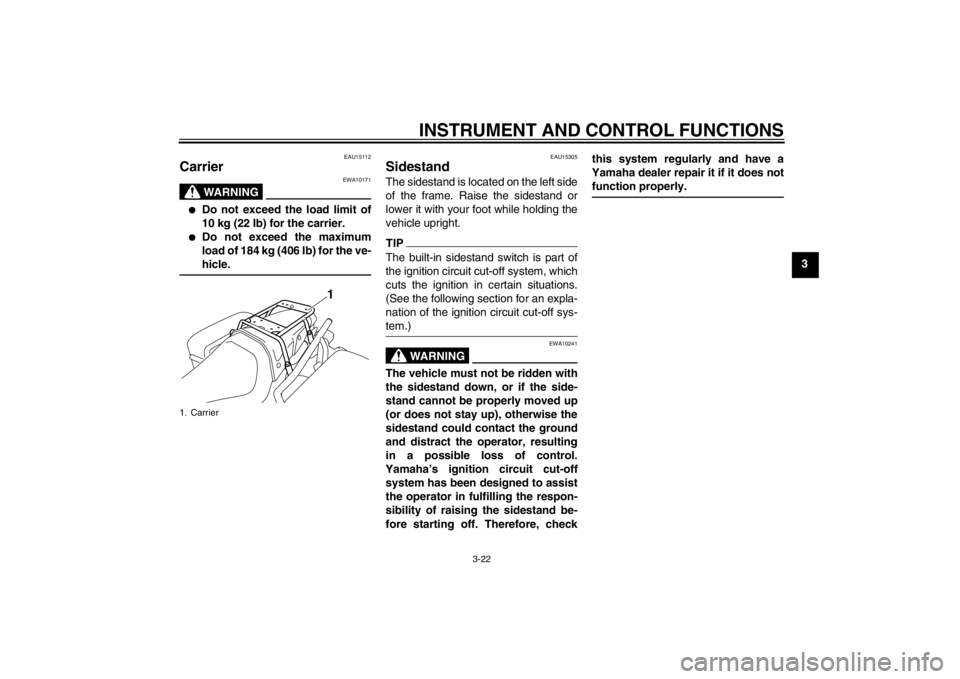
Carrier
WARNING
EWA10171
●
Do not exceed the load limit of
10 kg (22 lb) for the carrier.
●
Do not exceed the maximum
load of 184 kg (406 lb) for the ve-
hicle.
EAU15305
Sidestand The sidestand is located on the left side
of the frame. Raise the sidestand or
lower it with your foot while holding the
vehicle upright.TIPThe built-in sidestand switch is part of
the ignition circuit cut-off system, which
cuts the ignition in certain situations.
(See the following section for an expla-
nation of the ignition circuit cut-off sys-
tem.)
WARNING
EWA10241
The vehicle must not be ridden with
the sidestand down, or if the side-
stand cannot be properly moved up
(or does not stay up), otherwise the
sidestand could contact the ground
and distract the operator, resulting
in a possible loss of control.
Yamaha’s ignition circuit cut-off
system has been designed to assist
the operator in fulfilling the respon-
sibility of raising the sidestand be-
fore starting off. Therefore, checkthis system regularly and have a
Yamaha dealer repair it if it does not
function properly.
1. Carrier
1
U1PWEAE0.book Page 22 Tuesday, February 7, 2012 4:21 PM
Page 38 of 102

INSTRUMENT AND CONTROL FUNCTIONS
3-23
3
EAU44902
Ignition circuit cut-off system The ignition circuit cut-off system (com-
prising the sidestand switch, clutch
switch and neutral switch) has the fol-
lowing functions.●
It prevents starting when the trans-
mission is in gear and the side-
stand is up, but the clutch lever is
not pulled.
●
It prevents starting when the trans-
mission is in gear and the clutch le-
ver is pulled, but the sidestand is
still down.
●
It cuts the running engine when the
transmission is in gear and the
sidestand is moved down.
Periodically check the operation of the
ignition circuit cut-off system according
to the following procedure.
U1PWEAE0.book Page 23 Tuesday, February 7, 2012 4:21 PM
Page 42 of 102

FOR YOUR SAFETY – PRE-OPERATION CHECKS
4-3
4
Chassis fasteners Make sure that all nuts, bolts and screws are properly tightened.
Tighten if necessary. —
Instruments, lights, signals
and switches Check operation.
Correct if necessary.
—
Sidestand switch Check operation of ignition circuit cut-off system.
If system is not working correctly, have Yamaha dealer check vehicle. 3-22
ITEM CHECKS PAGE
U1PWEAE0.book Page 3 Tuesda
y, February 7, 2012 4:21 PM
Page 43 of 102

OPERATION AND IMPORTANT RIDING POINTS
5-1
5
EAU15951
Read the Owner’s Manual carefully to
become familiar with all controls. If
there is a control or function you do not
understand, ask your Yamaha dealer.
WARNING
EWA10271
Failure to familiarize yourself with
the controls can lead to loss of con-
trol, which could cause an accident
or injury.
EAU47150
TIPThis model is equipped with:●
a lean angle sensor to stop the en-
gine in case of a turnover. In this
case, the multi-function meter unit
indicates error code 30, but this is
not a malfunction. Turn the key to
“OFF” and then to “ON” to clear the
error code. Failing to do so will pre-
vent the engine from starting even
though the engine will crank when
pushing the start switch.
●
an engine auto-stop system. The
engine stops automatically if left
idling for 20 minutes. In this case,
the multi-function meter unit indi-
cates error code 70, but this is not
a malfunction. Push the start
switch to clear the error code and
to restart the engine.
EAU43125
Starting the engine In order for the ignition circuit cut-off
system to enable starting, one of the
following conditions must be met.●
The transmission is in the neutral
position.
●
The transmission is in gear with
the clutch lever pulled and the
sidestand up.
See page 3-23 for more informa-
tion.
1. Turn the key to “ON” and make sure that the engine stop switch is
set to “ ”.
The following warning lights and
indicator light should come on for a
few seconds, then go off.●
Oil level warning light
●
Coolant temperature warning
light
●
Engine trouble warning light
●
ABS warning light
●
Immobilizer system indicator
light
U1PWEAE0.book Page 1 Tuesda y, February 7, 2012 4:21 PM
Page 81 of 102
![YAMAHA XJ6-S 2012 Owners Manual PERIODIC MAINTENANCE AND ADJUSTMENT
6-35
6
is turned to “OFF”, then con-
nect the positive lead before
connecting the negative lead.
[ECA16840]
4. After installation, make sure that
the battery le YAMAHA XJ6-S 2012 Owners Manual PERIODIC MAINTENANCE AND ADJUSTMENT
6-35
6
is turned to “OFF”, then con-
nect the positive lead before
connecting the negative lead.
[ECA16840]
4. After installation, make sure that
the battery le](/img/51/52609/w960_52609-80.png)
PERIODIC MAINTENANCE AND ADJUSTMENT
6-35
6
is turned to “OFF”, then con-
nect the positive lead before
connecting the negative lead.
[ECA16840]
4. After installation, make sure that
the battery leads are properly con-
nected to the battery terminals.NOTICE
ECA16530
Always keep the battery charged.
Storing a discharged battery can
cause permanent battery damage.
EAU52200
Replacing the fuses The main fuse and the fuse boxes are
located under the seat. (See page
3-18.)TIPTo access the main fuse, remove the
starter relay cover as shown.
The siren fuse and the patrol light fuse
are located behind the front cowling.
1. Starter relay cover
2. Main fuse
3. Spare main fuse
4. Fuse box
2
4
3
1
1. Taillight fuse
2. ABS control unit fuse
3. Police system fuse
4. ABS solenoid fuse
5. ABS motor fuse
6. Spare fuse
7. Headlight fuse
8. Ignition fuse
9. Signaling system fuse
10.Backup fuse (for clock and immobilizer sys-
tem)
11.Fuel injection system fuse
12.Radiator fan fuse
1
6 67
8
9
10
11
12
24
35
U1PWEAE0.book Page 35 Tuesday, February 7, 2012 4:21 PM
Page 82 of 102
PERIODIC MAINTENANCE AND ADJUSTMENT
6-36
6If a fuse is blown, replace it as follows.
1. Turn the key to “OFF” and turn off the electrical circuit in question.
2. Remove the blown fuse, and then install a new fuse of the specified
amperage. WARNING! Do not
use a fuse of a higher amperage
rating than recommended to
avoid causing extensive dam-
age to the electrical system and
possibly a fire.
[EWA15131]
3. Turn the key to “ON” and turn on the electrical circuit in question to
check if the device operates. 4. If the fuse immediately blows
again, have a Yamaha dealer
check the electrical system.
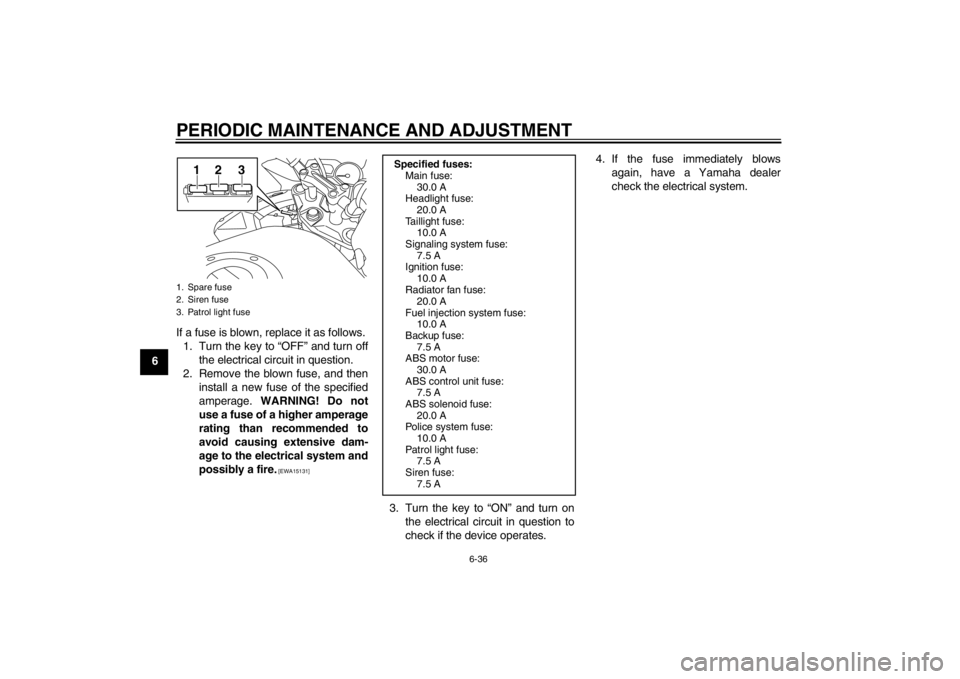
1. Spare fuse
2. Siren fuse
3. Patrol light fuse
12 3
Specified fuses:Main fuse:
30.0 A
Headlight fuse:
20.0 A
Taillight fuse: 10.0 A
Signaling system fuse: 7.5 A
Ignition fuse:
10.0 A
Radiator fan fuse: 20.0 A
Fuel injection system fuse: 10.0 A
Backup fuse:
7.5 A
ABS motor fuse: 30.0 A
ABS control unit fuse: 7.5 A
ABS solenoid fuse:
20.0 A
Police system fuse: 10.0 A
Patrol light fuse: 7.5 A
Siren fuse:
7.5 A
U1PWEAE0.book Page 36 Tuesday, February 7, 2012 4:21 PM
Page 86 of 102
PERIODIC MAINTENANCE AND ADJUSTMENT
6-40
6
EAU39020
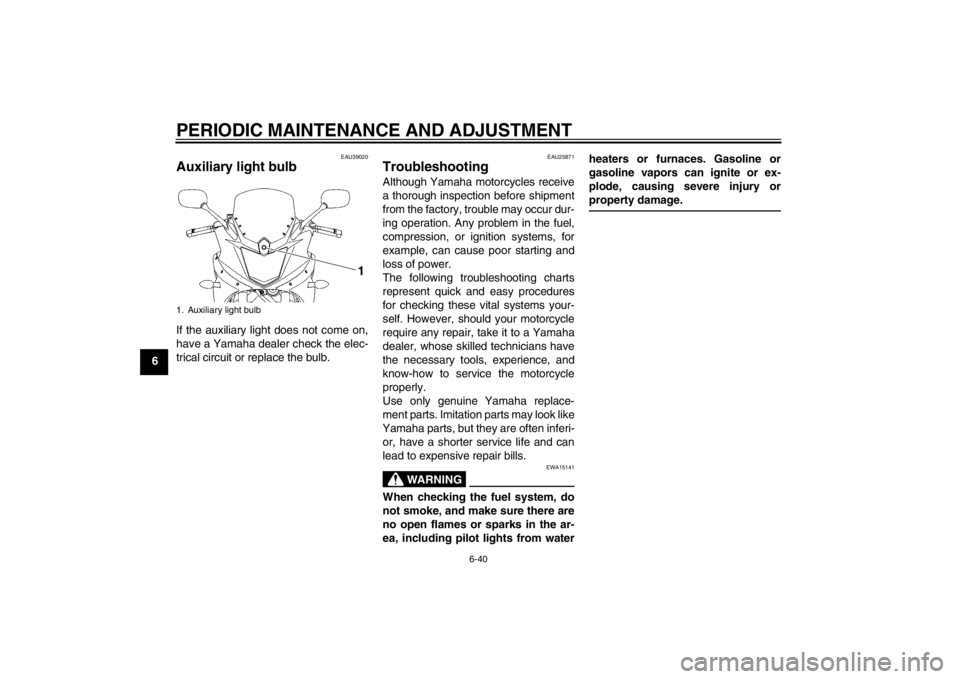
Auxiliary light bulb If the auxiliary light does not come on,
have a Yamaha dealer check the elec-
trical circuit or replace the bulb.
EAU25871
Troubleshooting Although Yamaha motorcycles receive
a thorough inspection before shipment
from the factory, trouble may occur dur-
ing operation. Any problem in the fuel,
compression, or ignition systems, for
example, can cause poor starting and
loss of power.
The following troubleshooting charts
represent quick and easy procedures
for checking these vital systems your-
self. However, should your motorcycle
require any repair, take it to a Yamaha
dealer, whose skilled technicians have
the necessary tools, experience, and
know-how to service the motorcycle
properly.
Use only genuine Yamaha replace-
ment parts. Imitation parts may look like
Yamaha parts, but they are often inferi- or, have a shorter service life and can
lead to expensive repair bills.
WARNING
EWA15141
When checking the fuel system, do
not smoke, and make sure there are
no open flames or sparks in the ar-
ea, including pilot lights from water heaters or furnaces. Gasoline or
gasoline vapors can ignite or ex-
plode, causing severe injury or
property damage.
1. Auxiliary light bulb
1
U1PWEAE0.book Page 40 Tuesday, February 7, 2012 4:21 PM