drain bolt YAMAHA XV1600A 2000 Owners Manual
[x] Cancel search | Manufacturer: YAMAHA, Model Year: 2000, Model line: XV1600A, Model: YAMAHA XV1600A 2000Pages: 95, PDF Size: 19.02 MB
Page 52 of 95

PERIODIC MAINTENANCE AND MINOR REPAIR
6-8
6
NOTE:@ l
Be sure the motorcycle is posi-
tioned straight up when checking
the oil level. A slight tilt toward the
side can result in false readings.
l
When adding oil, be careful not to
overfill the engine; the oil level ris-
es faster starting from the half lev-
el portion on the dipstick.
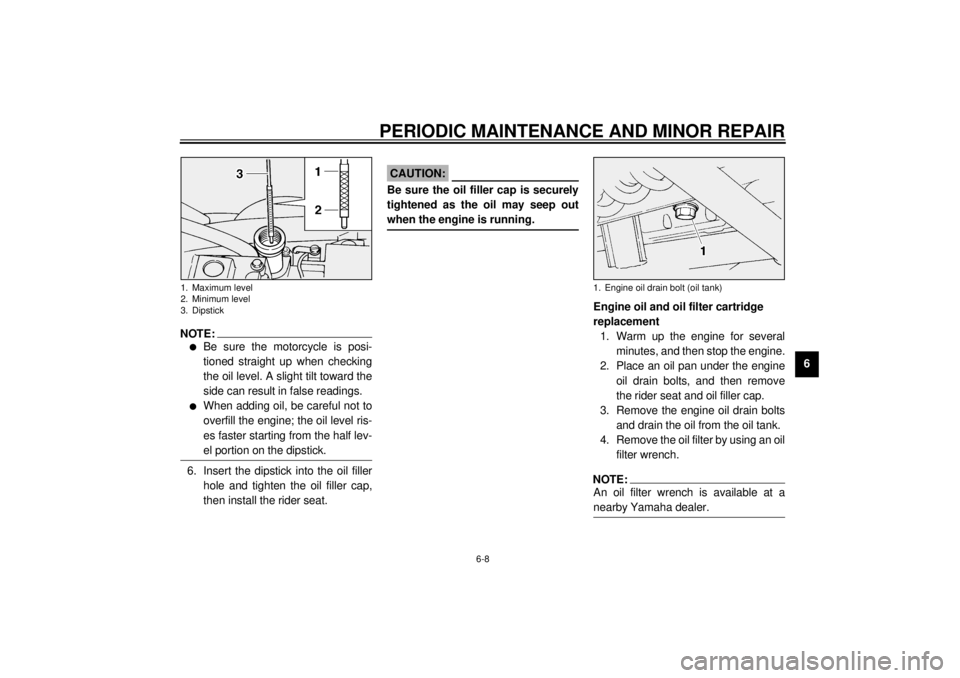
@6. Insert the dipstick into the oil filler
hole and tighten the oil filler cap,
then install the rider seat.
ECA00027
CAUTION:@ Be sure the oil filler cap is securely
tightened as the oil may seep out
when the engine is running. @
Engine oil and oil filter cartridge
replacement
1. Warm up the engine for several
minutes, and then stop the engine.
2. Place an oil pan under the engine
oil drain bolts, and then remove
the rider seat and oil filler cap.
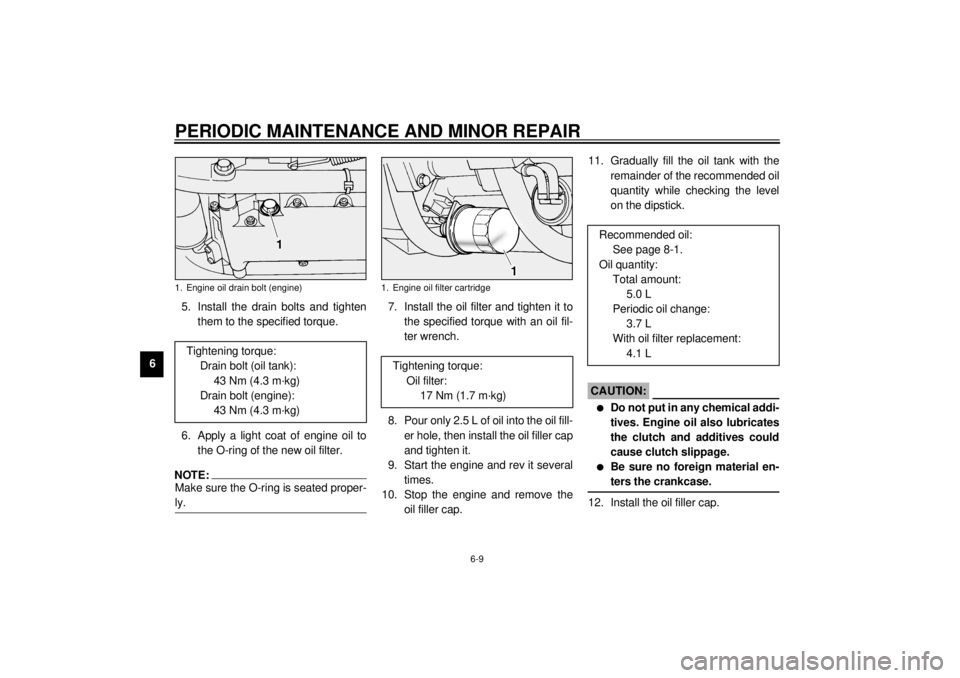
3. Remove the engine oil drain bolts
and drain the oil from the oil tank.
4. Remove the oil filter by using an oil
filter wrench.NOTE:@ An oil filter wrench is available at a
nearby Yamaha dealer. @
1. Maximum level
2. Minimum level
3. Dipstick
1. Engine oil drain bolt (oil tank)
E_5ja_Periodic.fm Page 8 Saturday, October 16, 1999 10:12 AM
Page 53 of 95

PERIODIC MAINTENANCE AND MINOR REPAIR
6-9
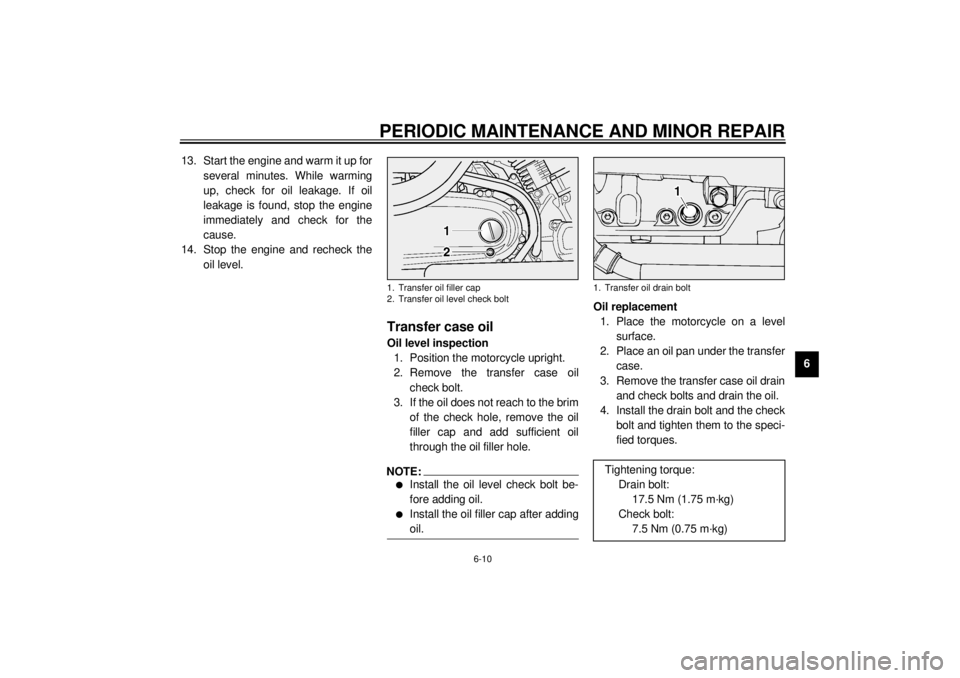
65. Install the drain bolts and tighten
them to the specified torque.
6. Apply a light coat of engine oil to
the O-ring of the new oil filter.
NOTE:@ Make sure the O-ring is seated proper-
ly. @
7. Install the oil filter and tighten it to
the specified torque with an oil fil-
ter wrench.
8. Pour only 2.5 L of oil into the oil fill-
er hole, then install the oil filler cap
and tighten it.
9. Start the engine and rev it several
times.
10. Stop the engine and remove the
oil filler cap.11. Gradually fill the oil tank with the
remainder of the recommended oil
quantity while checking the level
on the dipstick.
EC000066
CAUTION:@ l
Do not put in any chemical addi-
tives. Engine oil also lubricates
the clutch and additives could
cause clutch slippage.
l
Be sure no foreign material en-
ters the crankcase.
@12. Install the oil filler cap.
1. Engine oil drain bolt (engine)Tightening torque:
Drain bolt (oil tank):
43 Nm (4.3 m·kg)
Drain bolt (engine):
43 Nm (4.3 m·kg)
1. Engine oil filter cartridge
Tightening torque:
Oil filter:
17 Nm (1.7 m·kg)
Recommended oil:
See page 8-1.
Oil quantity:
Total amount:
5.0 L
Periodic oil change:
3.7 L
With oil filter replacement:
4.1 L
E_5ja_Periodic.fm Page 9 Saturday, October 16, 1999 10:12 AM
Page 54 of 95

PERIODIC MAINTENANCE AND MINOR REPAIR
6-10
6 13. Start the engine and warm it up for
several minutes. While warming
up, check for oil leakage. If oil
leakage is found, stop the engine
immediately and check for the
cause.
14. Stop the engine and recheck the
oil level.
EAU01828
Transfer case oilOil level inspection
1. Position the motorcycle upright.
2. Remove the transfer case oil
check bolt.
3. If the oil does not reach to the brim
of the check hole, remove the oil
filler cap and add sufficient oil
through the oil filler hole.NOTE:@ l
Install the oil level check bolt be-
fore adding oil.
l
Install the oil filler cap after adding
oil.
@
Oil replacement
1. Place the motorcycle on a level
surface.
2. Place an oil pan under the transfer
case.
3. Remove the transfer case oil drain
and check bolts and drain the oil.
4. Install the drain bolt and the check
bolt and tighten them to the speci-
fied torques.
1. Transfer oil filler cap
2. Transfer oil level check bolt
1. Transfer oil drain boltTightening torque:
Drain bolt:
17.5 Nm (1.75 m·kg)
Check bolt:
7.5 Nm (0.75 m·kg)
E_5ja_Periodic.fm Page 10 Saturday, October 16, 1999 10:12 AM
Page 82 of 95

MOTORCYCLE CARE AND STORAGE
7-4
7
ECA00033
CAUTION:@ l
Apply spray oil and wax spar-
ingly and wipe off any excess.
l
Never apply oil or wax on the
drive belt.
l
Never apply oil or wax on rub-
ber and plastic parts, but treat
them with a suitable care prod-
uct.
l
Avoid using abrasive polishing
compounds as they wear away
the paint.
@NOTE:@ Consult a Yamaha dealer for advice on
what products to use. @
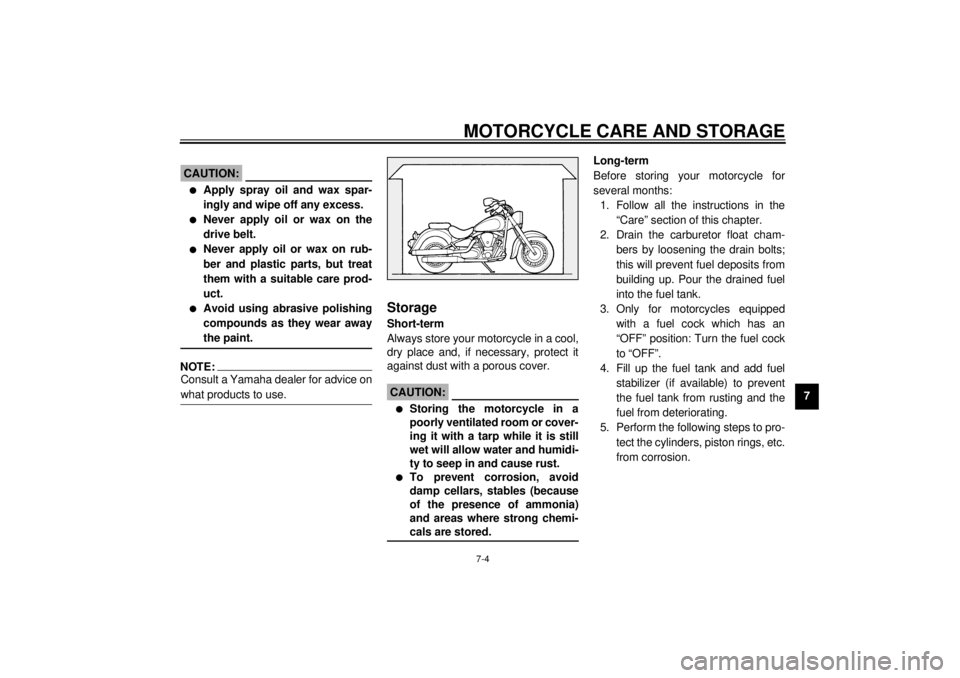
StorageShort-term
Always store your motorcycle in a cool,
dry place and, if necessary, protect it
against dust with a porous cover.
ECA00014
CAUTION:@ l
Storing the motorcycle in a
poorly ventilated room or cover-
ing it with a tarp while it is still
wet will allow water and humidi-
ty to seep in and cause rust.
l
To prevent corrosion, avoid
damp cellars, stables (because
of the presence of ammonia)
and areas where strong chemi-
cals are stored.
@
Long-term
Before storing your motorcycle for
several months:
1. Follow all the instructions in the
“Care” section of this chapter.
2. Drain the carburetor float cham-
bers by loosening the drain bolts;
this will prevent fuel deposits from
building up. Pour the drained fuel
into the fuel tank.
3. Only for motorcycles equipped
with a fuel cock which has an
“OFF” position: Turn the fuel cock
to “OFF”.
4. Fill up the fuel tank and add fuel
stabilizer (if available) to prevent
the fuel tank from rusting and the
fuel from deteriorating.
5. Perform the following steps to pro-
tect the cylinders, piston rings, etc.
from corrosion.
E_5ja_Cleaning.fm Page 4 Monday, October 18, 1999 5:04 PM