set clock YAMAHA XVS1300CU 2015 Owners Manual
[x] Cancel search | Manufacturer: YAMAHA, Model Year: 2015, Model line: XVS1300CU, Model: YAMAHA XVS1300CU 2015Pages: 88, PDF Size: 2.02 MB
Page 19 of 88

INSTRUMENT AND CONTROL FUNCTIONS
3-4
3
EAU50693
Multi-function meter unit
WARNING
EWA12423
Be sure to stop the vehicle before
makin g any settin g chan ges to the
multi-function meter unit. Chan gin g
settin gs while ri din g can distract the
operator an d increase the risk of an
acci dent.The multi-function meter unit is
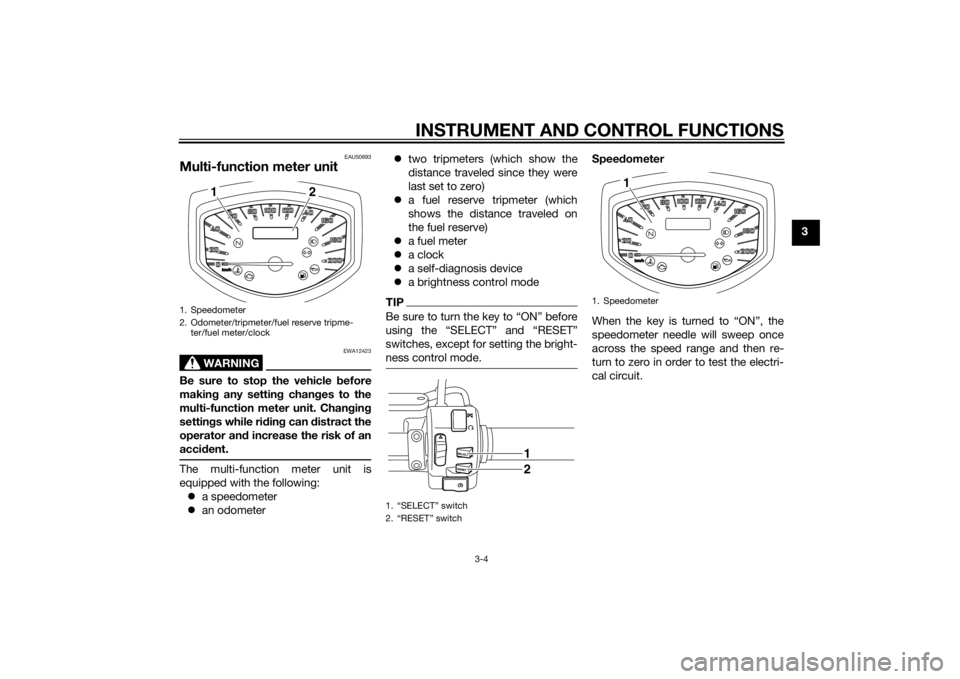
equipped with the following:
a speedometer
an odometer
two tripmeters (which show the
distance traveled since they were
last set to zero)
a fuel reserve tripmeter (which
shows the distance traveled on
the fuel reserve)
a fuel meter
a clock
a self-diagnosis device
a brightness control mode
TIPBe sure to turn the key to “ON” before
using the “SELECT” and “RESET”
switches, except for setting the bright-
ness control mode.
Speed ometer
When the key is turned to “ON”, the
speedometer needle will sweep once
across the speed range and then re-
turn to zero in order to test the electri-
cal circuit.
1. Speedometer
2. Odometer/tripmeter/fuel reserve tripme- ter/fuel meter/clock
2
1
1. “SELECT” switch
2. “RESET” switch
1
2
1. Speedometer
1
U2SSE1E0.book Page 4 Tuesday, October 28, 2014 11:08 AM
Page 20 of 88

INSTRUMENT AND CONTROL FUNCTIONS
3-5
3O
dometer, tripmeters, fuel reserve
tripmeter, fuel meter an d clock
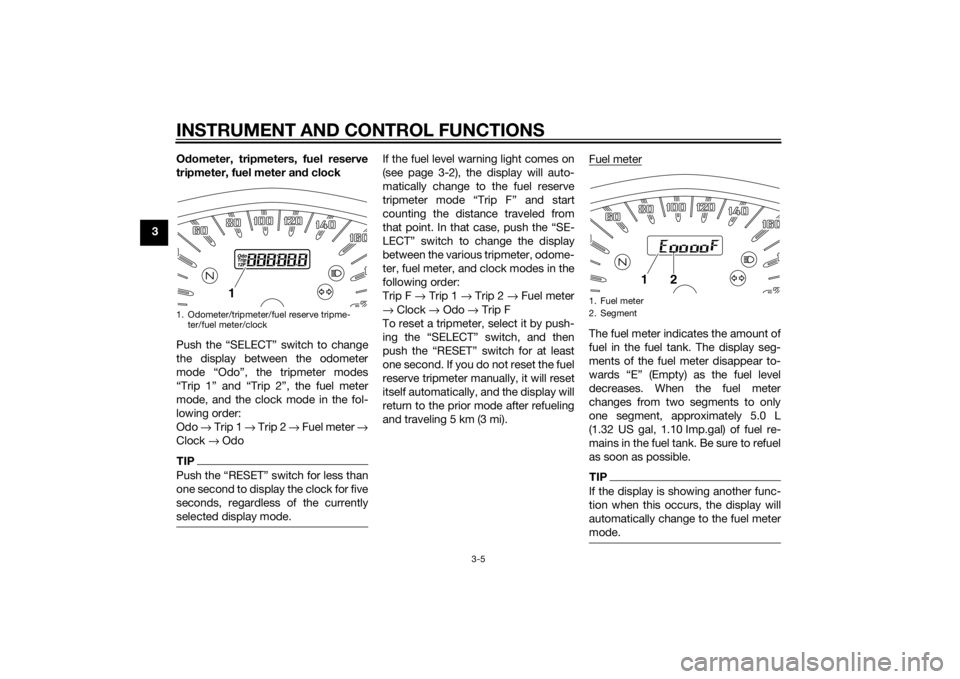
Push the “SELECT” switch to change
the display between the odometer
mode “Odo”, the tripmeter modes
“Trip 1” and “Trip 2”, the fuel meter
mode, and the clock mode in the fol-
lowing order:
Odo → Trip 1 → Trip 2 → Fuel meter →
Clock → Odo
TIPPush the “RESET” switch for less than
one second to display the clock for five
seconds, regardless of the currently
selected display mode.
If the fuel level warning light comes on
(see page 3-2), the display will auto-
matically change to the fuel reserve
tripmeter mode “Trip F” and start
counting the distance traveled from
that point. In that case, push the “SE-
LECT” switch to change the display
between the various tripmeter, odome-
ter, fuel meter, and clock modes in the
following order:
Trip F → Trip 1 → Trip 2 → Fuel meter
→ Clock → Odo → Trip F
To reset a tripmeter, select it by push-
ing the “SELECT” switch, and then
push the “RESET” switch for at least
one second. If you do not reset the fuel
reserve tripmeter manually, it will reset
itself automatically, and the display will
return to the prior mode after refueling
and traveling 5 km (3 mi). Fuel meter
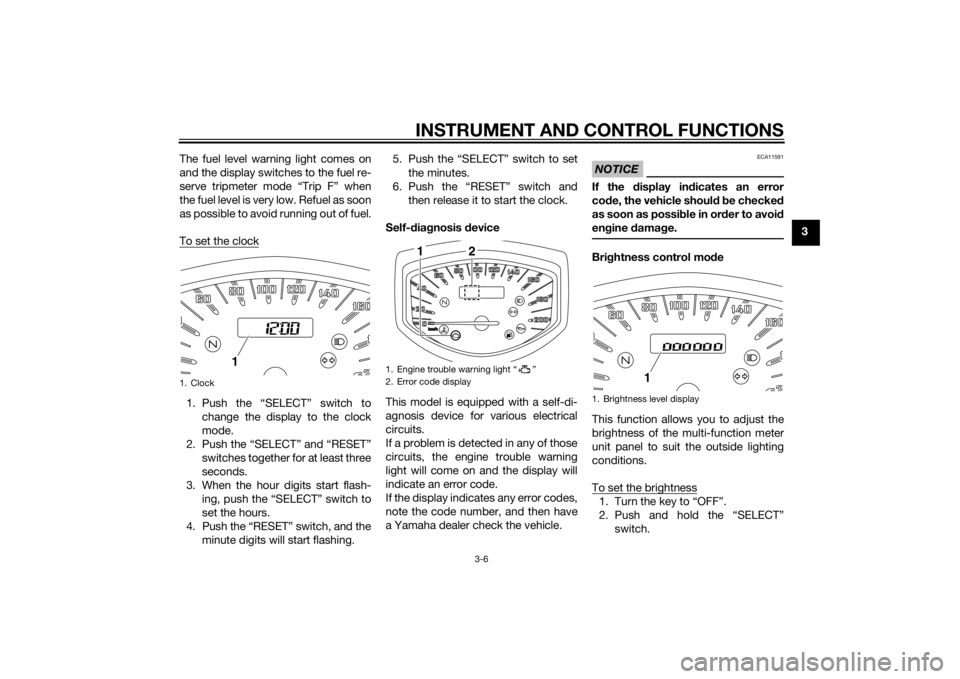
The fuel meter indicates the amount of
fuel in the fuel tank. The display seg-
ments of the fuel meter disappear to-
wards “E” (Empty) as the fuel level
decreases. When the fuel meter
changes from two segments to only
one segment, approximately 5.0 L
(1.32 US gal, 1.10 Imp.gal) of fuel re-
mains in the fuel tank. Be sure to refuel
as soon as possible.TIPIf the display is showing another func-
tion when this occurs, the display will
automatically change to the fuel meter
mode.
1. Odometer/tripmeter/fuel reserve tripme-
ter/fuel meter/clock
1
1. Fuel meter
2. Segment
1
2
U2SSE1E0.book Page 5 Tuesday, October 28, 2014 11:08 AM
Page 21 of 88

INSTRUMENT AND CONTROL FUNCTIONS
3-6
3
The fuel level warning light comes on
and the display switches to the fuel re-
serve tripmeter mode “Trip F” when
the fuel level is very low. Refuel as soon
as possible to avoid running out of fuel.
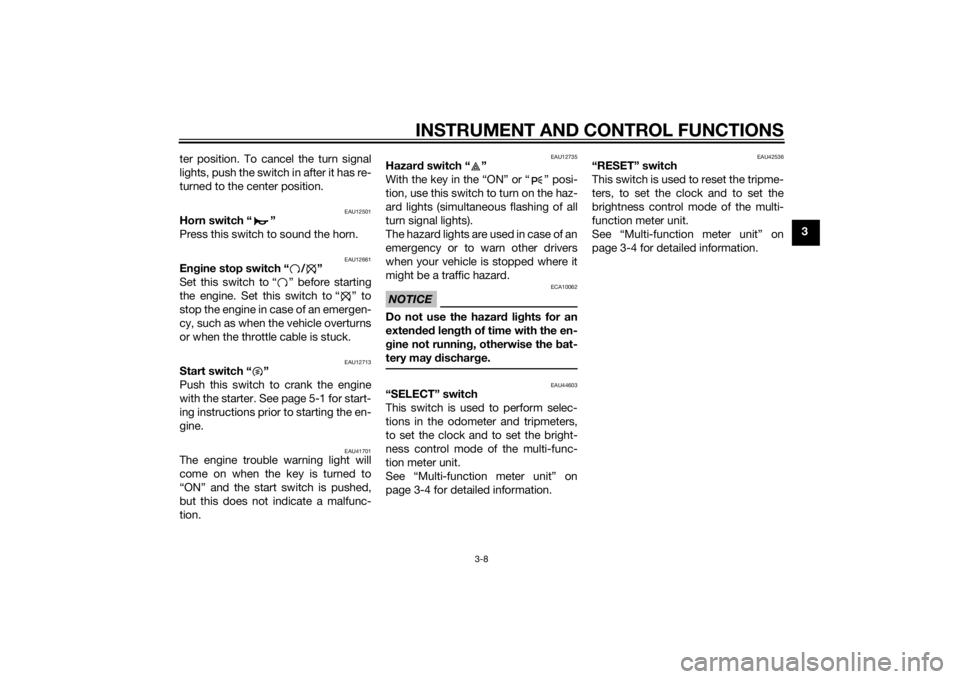
To set the clock
1. Push the “SELECT” switch to
change the display to the clock
mode.
2. Push the “SELECT” and “RESET” switches together for at least three
seconds.
3. When the hour digits start flash- ing, push the “SELECT” switch to
set the hours.
4. Push the “RESET” switch, and the minute digits will start flashing. 5. Push the “SELECT” switch to set
the minutes.
6. Push the “RESET” switch and then release it to start the clock.
Self-d iagnosis device
This model is equipped with a self-di-
agnosis device for various electrical
circuits.
If a problem is detected in any of those
circuits, the engine trouble warning
light will come on and the display will
indicate an error code.
If the display indicates any error codes,
note the code number, and then have
a Yamaha dealer check the vehicle.
NOTICE
ECA11591
If the display in dicates an error
co de, the vehicle shoul d b e checked
as soon as possi ble in or der to avoi d
en gine damag e.Brightness control mo de
This function allows you to adjust the
brightness of the multi-function meter
unit panel to suit the outside lighting
conditions.
To set the brightness1. Turn the key to “OFF”.
2. Push and hold the “SELECT” switch.
1. Clock
1
1. Engine trouble warning light “ ”
2. Error code display
1
2
1. Brightness level display
1
U2SSE1E0.book Page 6 Tuesday, October 28, 2014 11:08 AM
Page 23 of 88

INSTRUMENT AND CONTROL FUNCTIONS
3-8
3
ter position. To cancel the turn signal
lights, push the switch in after it has re-
turned to the center position.
EAU12501
Horn switch “ ”
Press this switch to sound the horn.
EAU12661
En
gine stop switch “ / ”
Set this switch to “ ” before starting
the engine. Set this switch to “ ” to
stop the engine in case of an emergen-
cy, such as when the vehicle overturns
or when the throttle cable is stuck.
EAU12713
Start switch “ ”
Push this switch to crank the engine
with the starter. See page 5-1 for start-
ing instructions prior to starting the en-
gine.
EAU41701
The engine trouble warning light will
come on when the key is turned to
“ON” and the start switch is pushed,
but this does not indicate a malfunc-
tion.
EAU12735
Hazar d switch “ ”
With the key in the “ON” or “ ” posi-
tion, use this switch to turn on the haz-
ard lights (simultaneous flashing of all
turn signal lights).
The hazard lights are used in case of an
emergency or to warn other drivers
when your vehicle is stopped where it
might be a traffic hazard.NOTICE
ECA10062
Do not use the hazar d lig hts for an
exten ded len gth of time with the en-
g ine not runnin g, otherwise the bat-
tery may d ischarge.
EAU44603
“SELECT” switch
This switch is used to perform selec-
tions in the odometer and tripmeters,
to set the clock and to set the bright-
ness control mode of the multi-func-
tion meter unit.
See “Multi-function meter unit” on
page 3-4 for detailed information.
EAU42536
“RESET” switch
This switch is used to reset the tripme-
ters, to set the clock and to set the
brightness control mode of the multi-
function meter unit.
See “Multi-function meter unit” on
page 3-4 for detailed information.
U2SSE1E0.book Page 8 Tuesday, October 28, 2014 11:08 AM