display YAMAHA XVS1300CU 2016 Owners Manual
[x] Cancel search | Manufacturer: YAMAHA, Model Year: 2016, Model line: XVS1300CU, Model: YAMAHA XVS1300CU 2016Pages: 88, PDF Size: 2.02 MB
Page 19 of 88

Instrument and control functions
3-4
3
TIP For radiator-fan-equipped vehi-
cles, the radiator fan(s) automati-
cally switch on or off according to
the coolant temperature in the ra-
diator.
If the engine overheats, see page
6-35 for further instructions.
EAU42775
Engine trou ble warnin g li ght “ ”
This warning light comes on if a prob-
lem is detected in the electrical circuit
monitoring the engine. If this occurs,
have a Yamaha dealer check the self-
diagnosis system. (See page 3-7 for an
explanation of the self-diagnosis de-
vice.)
The electrical circuit of the warning
light can be checked by turning the key
to “ON”. The warning light should
come on for a few seconds, and then
go off.
If the warning light does not come on
initially when the key is turned to “ON”,
or if the warning light remains on, have
a Yamaha dealer check the electrical
circuit.
EAU50696
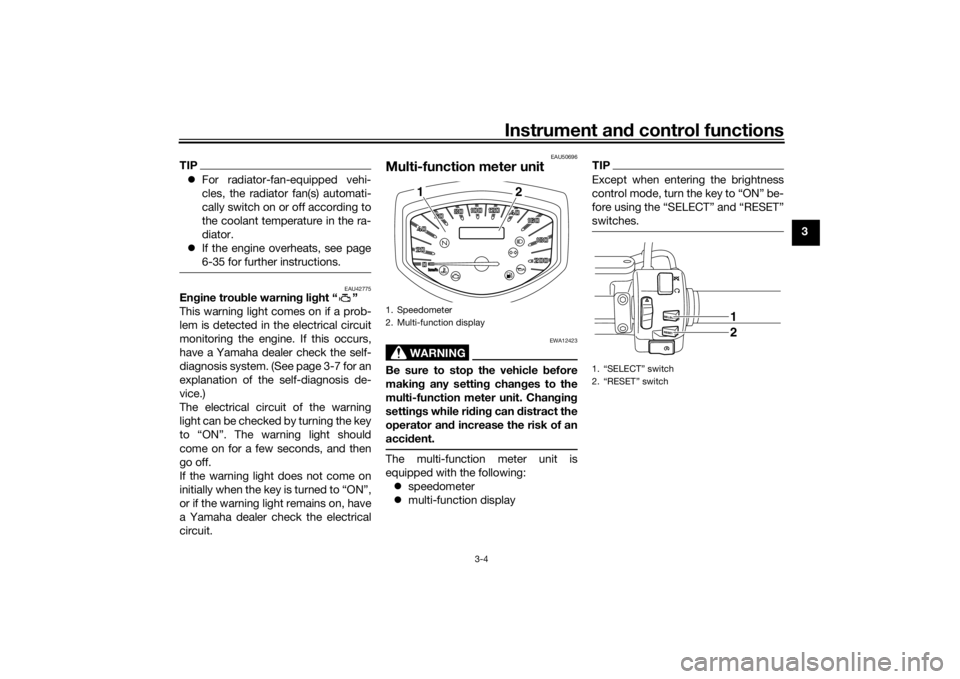
Multi-function meter unit
WARNING
EWA12423
Be sure to stop the vehicle before
makin g any settin g chan ges to the
multi-function meter unit. Chan gin g
settin gs while ri din g can distract the
operator an d increase the risk of an
acci dent.The multi-function meter unit is
equipped with the following:
speedometer
multi-function display
TIPExcept when entering the brightness
control mode, turn the key to “ON” be-
fore using the “SELECT” and “RESET”
switches.
1. Speedometer
2. Multi-function display
2
1
1. “SELECT” switch
2. “RESET” switch
1
2
U2SSE2E0.book Page 4 Monday, July 20, 2015 2:28 PM
Page 20 of 88

Instrument and control functions
3-5
3 Speed
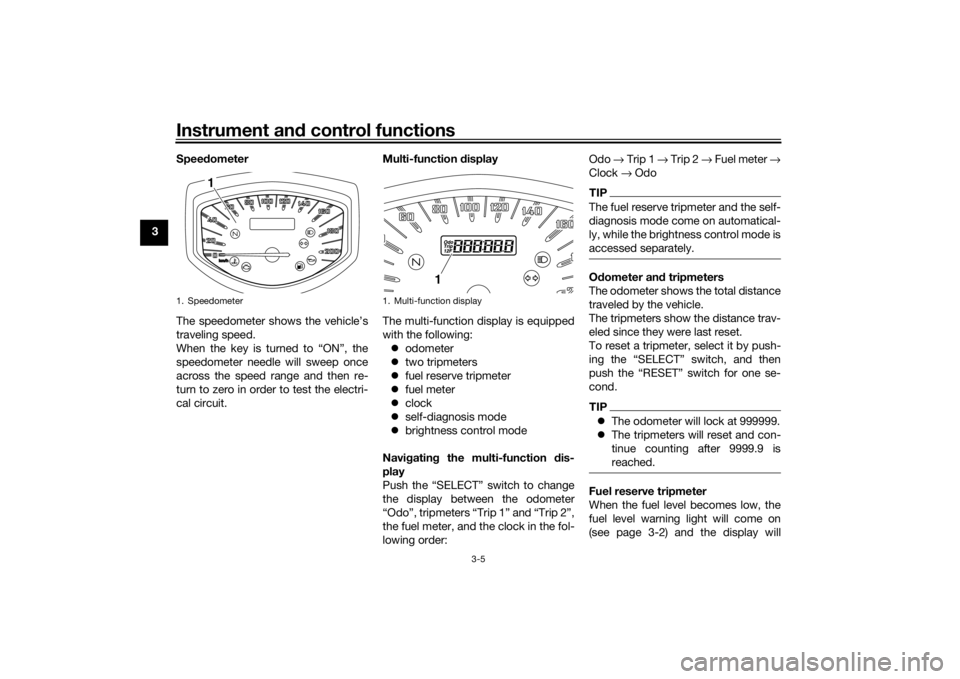
ometer
The speedometer shows the vehicle’s
traveling speed.
When the key is turned to “ON”, the
speedometer needle will sweep once
across the speed range and then re-
turn to zero in order to test the electri-
cal circuit. Multi-function
display
The multi-function display is equipped
with the following: odometer
two tripmeters
fuel reserve tripmeter
fuel meter
clock
self-diagnosis mode
brightness control mode
Navi gatin g the multi-function d is-
play
Push the “SELECT” switch to change
the display between the odometer
“Odo”, tripmeters “Trip 1” and “Trip 2”,
the fuel meter, and the clock in the fol-
lowing order: Odo
→ Trip 1 → Trip 2 → Fuel meter →
Clock → Odo
TIPThe fuel reserve tripmeter and the self-
diagnosis mode come on automatical-
ly, while the brightness control mode is
accessed separately.Odometer an d tripmeters
The odometer shows the total distance
traveled by the vehicle.
The tripmeters show the distance trav-
eled since they were last reset.
To reset a tripmeter, select it by push-
ing the “SELECT” switch, and then
push the “RESET” switch for one se-
cond.TIP The odometer will lock at 999999.
The tripmeters will reset and con-
tinue counting after 9999.9 is
reached.Fuel reserve tripmeter
When the fuel level becomes low, the
fuel level warning light will come on
(see page 3-2) and the display will
1. Speedometer
1
1. Multi-function display
1
U2SSE2E0.book Page 5 Monday, July 20, 2015 2:28 PM
Page 21 of 88

Instrument and control functions
3-6
3
change to the fuel reserve tripmeter
“Trip F” and start counting the distance
traveled from that point. In this case,
push the “SELECT” switch to change
the display in the following order:
Trip F
→ Trip 1 → Trip 2 → Fuel meter
→ Clock → Odo → Trip F
TIPYou can manually reset the fuel reserve
tripmeter, or after refueling and travel-
ing 5 km (3 mi), it will reset automatical-
ly and disappear from the display.Fuel meter The fuel meter indicates the amount of
fuel in the fuel tank. The display seg-
ments of the fuel meter disappear from
“F” (full) towards “E” (empty) as the fuel
level decreases.
When the fuel meter changes from two
segments to only one segment, ap-
proximately 4.1 L (1.08 US gal,
0.90 Imp.gal) of fuel remains in the fuel
tank. Be sure to refuel as soon as pos-
sible.
Clock
The clock uses a 12-hour time system. To set the clock
1. Push the “SELECT” switch to
change the display to the clock
mode.
2. Push the “SELECT” and “RESET” switches together for three sec-
onds. The hour digits will start
flashing.
3. Push the “SELECT” switch to set the hours.
4. Push the “RESET” switch, and the minute digits will start flashing.
5. Push the “SELECT” switch to set the minutes.
6. Push the “RESET” switch and then release it to start the clock.
1. Fuel meter
2. Segment
1
2
1. Clock
1
U2SSE2E0.book Page 6 Monday, July 20, 2015 2:28 PM
Page 22 of 88

Instrument and control functions
3-7
3 Self-d
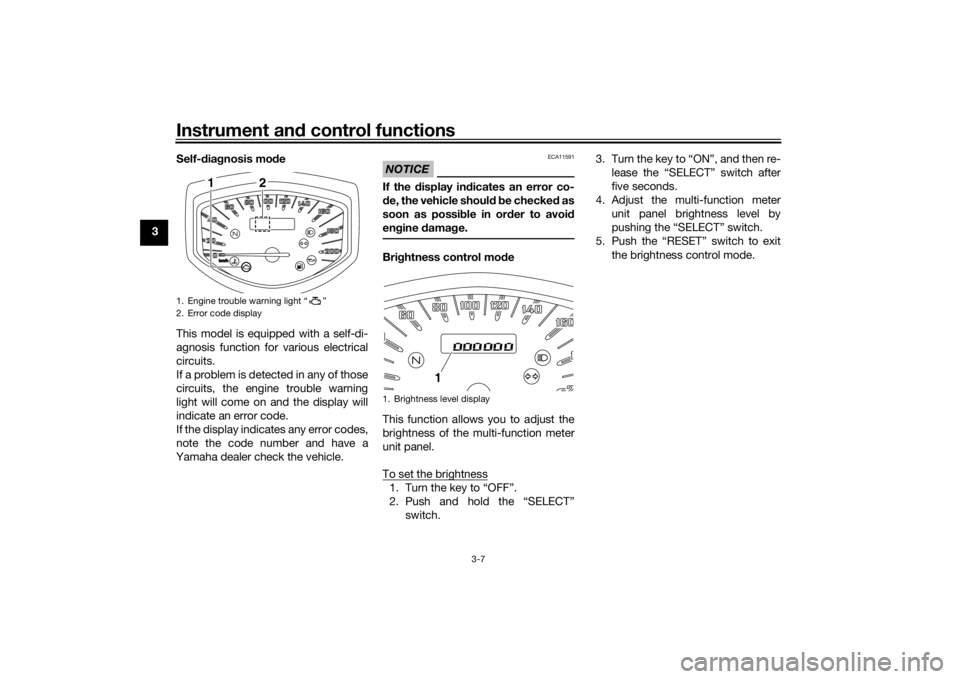
iagnosis mo de
This model is equipped with a self-di-
agnosis function for various electrical
circuits.
If a problem is detected in any of those
circuits, the engine trouble warning
light will come on and the display will
indicate an error code.
If the display indicates any error codes,
note the code number and have a
Yamaha dealer check the vehicle.
NOTICE
ECA11591
If the display in dicates an error co-
d e, the vehicle shoul d b e checked as
soon as possi ble in or der to avoi d
en gine damag e.Brightness control mo de
This function allows you to adjust the
brightness of the multi-function meter
unit panel.
To set the brightness1. Turn the key to “OFF”.
2. Push and hold the “SELECT” switch. 3. Turn the key to “ON”, and then re-
lease the “SELECT” switch after
five seconds.
4. Adjust the multi-function meter unit panel brightness level by
pushing the “SELECT” switch.
5. Push the “RESET” switch to exit the brightness control mode.
1. Engine trouble warning light “ ”
2. Error code display
1
2
1. Brightness level display
1
U2SSE2E0.book Page 7 Monday, July 20, 2015 2:28 PM
Page 37 of 88

Operation and important ri din g points
5-1
5
EAU15952
Read the Owner’s Manual carefully to
become familiar with all controls. If
there is a control or function you do not
understand, ask your Yamaha dealer.
WARNING
EWA10272
Failure to familiarize yourself with
the controls can lead to loss of con-
trol, which coul d cause an acci dent
or injury.
EAU48712
TIPThis model is equipped with: a lean angle sensor to stop the en-
gine in case of a turnover. In this
case, the display will indicate error
code 30, but this is not a malfunc-
tion. Turn the key to “OFF” and
then to “ON” to clear the error co-
de. Failing to do so will prevent the
engine from starting even though
the engine will crank when push-
ing the start switch.
an engine auto-stop system. The
engine stops automatically if left
idling for 20 minutes. If the engine
stops, simply push the start
switch to restart the engine.
EAU59690
Startin g the en gineIn order for the ignition circuit cut-off
system to enable starting, one of the
following conditions must be met:
The transmission is in the neutral
position.
The transmission is in gear with
the clutch lever pulled and the
sidestand up.
See page 3-17 for more informa-
tion.
1. Turn the key to “ON” and make sure that the engine stop switch is
set to “ ”.
The following warning lights
should come on for a few sec-
onds, then go off. Oil level warning light
Fuel level warning light
Coolant temperature warning
light
Engine trouble warning light
U2SSE2E0.book Page 1 Monday, July 20, 2015 2:28 PM