clock YAMAHA YBR125 2006 Owners Manual
[x] Cancel search | Manufacturer: YAMAHA, Model Year: 2006, Model line: YBR125, Model: YAMAHA YBR125 2006Pages: 84, PDF Size: 4.92 MB
Page 19 of 84
INSTRUMENT AND CONTROL FUNCTIONS
3-5
3
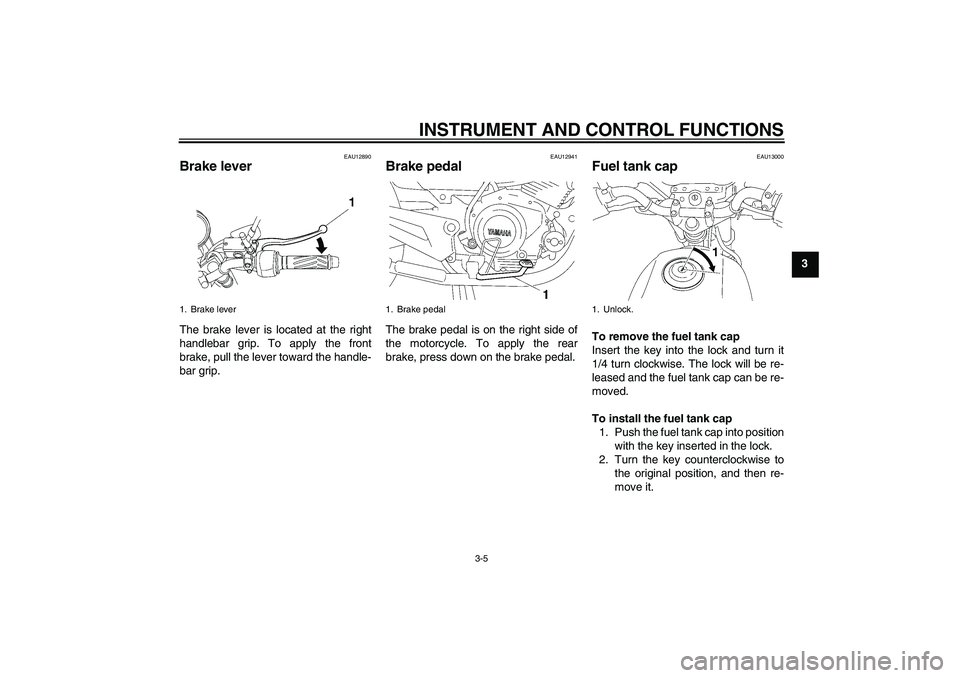
EAU12890
Brake lever The brake lever is located at the right
handlebar grip. To apply the front
brake, pull the lever toward the handle-
bar grip.
EAU12941
Brake pedal The brake pedal is on the right side of
the motorcycle. To apply the rear
brake, press down on the brake pedal.
EAU13000
Fuel tank cap To remove the fuel tank cap
Insert the key into the lock and turn it
1/4 turn clockwise. The lock will be re-
leased and the fuel tank cap can be re-
moved.
To install the fuel tank cap
1. Push the fuel tank cap into position
with the key inserted in the lock.
2. Turn the key counterclockwise to
the original position, and then re-
move it.
1. Brake lever
1. Brake pedal
1. Unlock.
U3D9E0E0.book Page 5 Saturday, December 25, 2004 11:35 AM
Page 39 of 84
PERIODIC MAINTENANCE AND MINOR REPAIR
6-7
6 2. Install the screw.
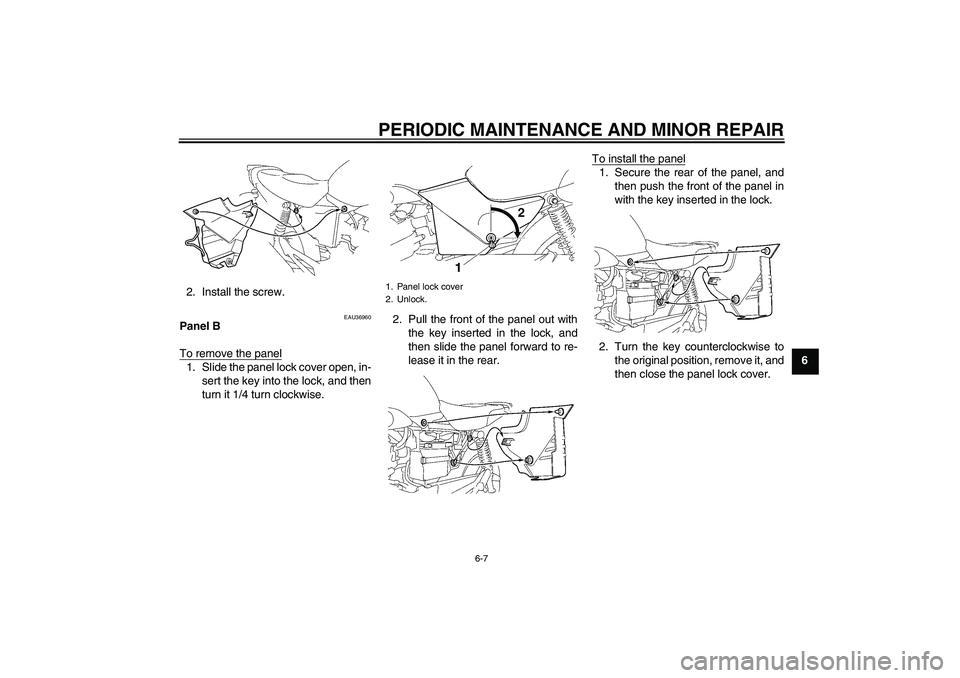
EAU36960
Panel B
To remove the panel1. Slide the panel lock cover open, in-
sert the key into the lock, and then
turn it 1/4 turn clockwise.2. Pull the front of the panel out with
the key inserted in the lock, and
then slide the panel forward to re-
lease it in the rear.To install the panel
1. Secure the rear of the panel, and
then push the front of the panel in
with the key inserted in the lock.
2. Turn the key counterclockwise to
the original position, remove it, and
then close the panel lock cover.
1. Panel lock cover
2. Unlock.
U3D9E0E0.book Page 7 Saturday, December 25, 2004 11:35 AM
Page 63 of 84
PERIODIC MAINTENANCE AND MINOR REPAIR
6-31
6
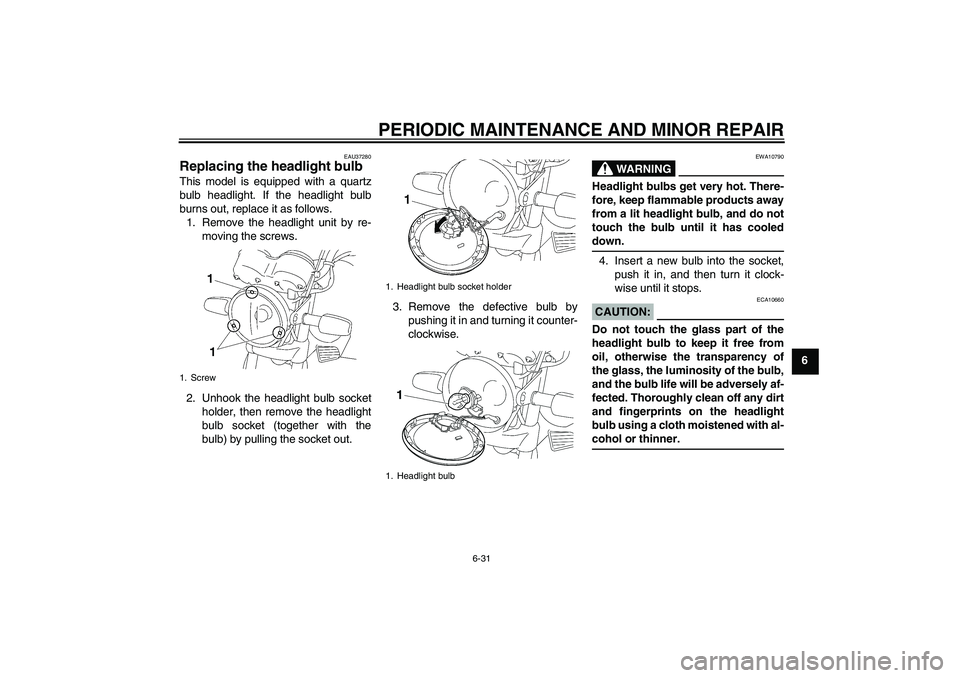
EAU37280
Replacing the headlight bulb This model is equipped with a quartz
bulb headlight. If the headlight bulb
burns out, replace it as follows.
1. Remove the headlight unit by re-
moving the screws.
2. Unhook the headlight bulb socket
holder, then remove the headlight
bulb socket (together with the
bulb) by pulling the socket out.3. Remove the defective bulb by
pushing it in and turning it counter-
clockwise.
WARNING
EWA10790
Headlight bulbs get very hot. There-
fore, keep flammable products away
from a lit headlight bulb, and do not
touch the bulb until it has cooleddown.
4. Insert a new bulb into the socket,
push it in, and then turn it clock-
wise until it stops.CAUTION:
ECA10660
Do not touch the glass part of the
headlight bulb to keep it free from
oil, otherwise the transparency of
the glass, the luminosity of the bulb,
and the bulb life will be adversely af-
fected. Thoroughly clean off any dirt
and fingerprints on the headlight
bulb using a cloth moistened with al-cohol or thinner.
1. Screw
1. Headlight bulb socket holder
1. Headlight bulb
U3D9E0E0.book Page 31 Saturday, December 25, 2004 11:35 AM
Page 64 of 84
PERIODIC MAINTENANCE AND MINOR REPAIR
6-32
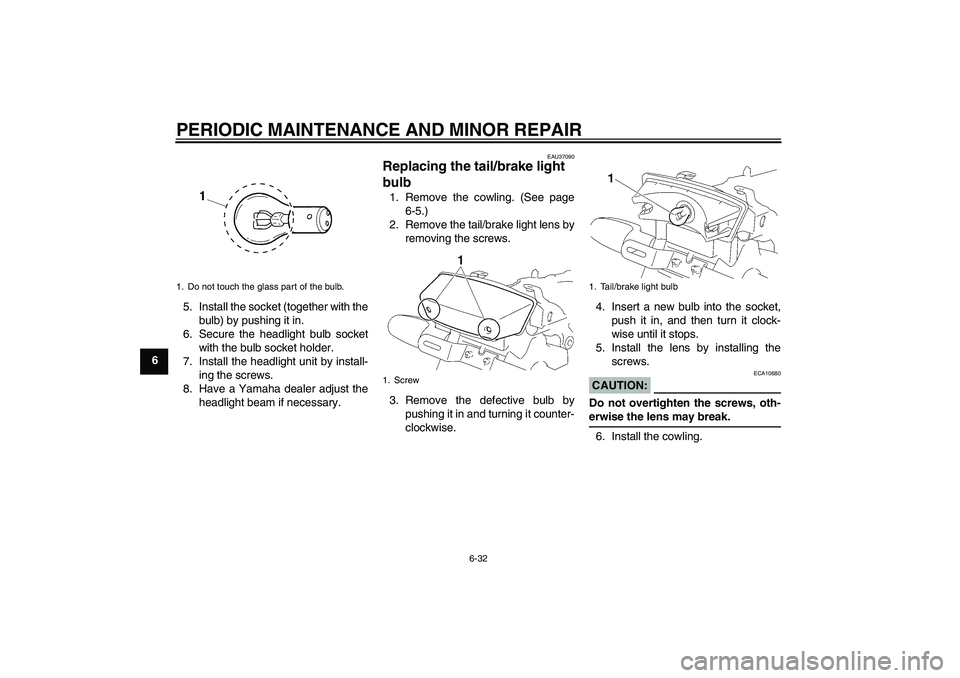
65. Install the socket (together with the
bulb) by pushing it in.
6. Secure the headlight bulb socket
with the bulb socket holder.
7. Install the headlight unit by install-
ing the screws.
8. Have a Yamaha dealer adjust the
headlight beam if necessary.
EAU37090
Replacing the tail/brake light
bulb 1. Remove the cowling. (See page
6-5.)
2. Remove the tail/brake light lens by
removing the screws.
3. Remove the defective bulb by
pushing it in and turning it counter-
clockwise.4. Insert a new bulb into the socket,
push it in, and then turn it clock-
wise until it stops.
5. Install the lens by installing the
screws.
CAUTION:
ECA10680
Do not overtighten the screws, oth-erwise the lens may break.
6. Install the cowling.
1. Do not touch the glass part of the bulb.
1. Screw
1. Tail/brake light bulb
U3D9E0E0.book Page 32 Saturday, December 25, 2004 11:35 AM
Page 65 of 84
PERIODIC MAINTENANCE AND MINOR REPAIR
6-33
6
EAU24202
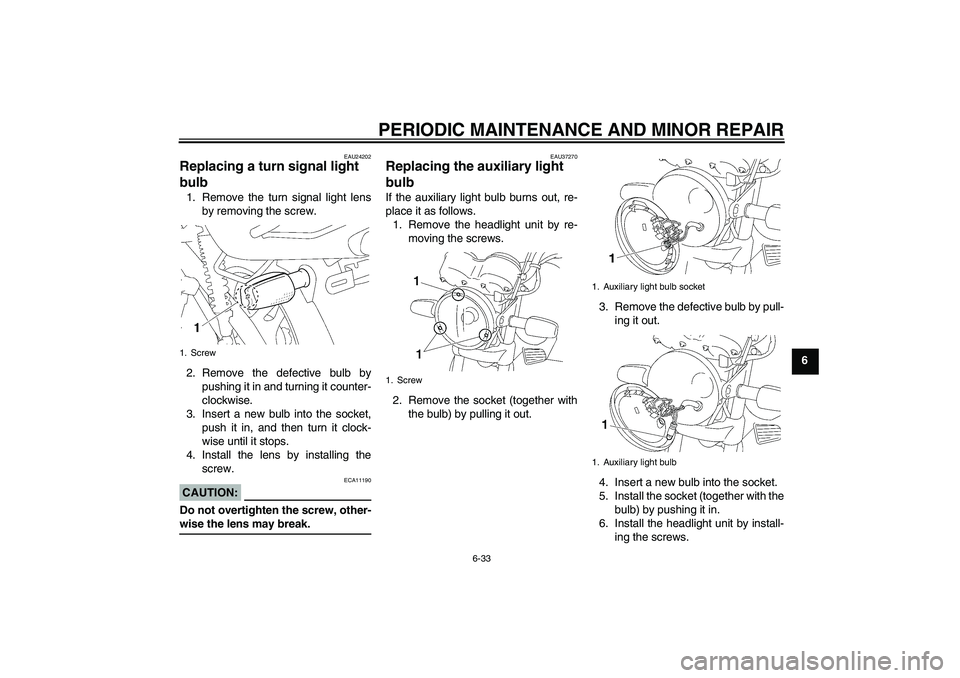
Replacing a turn signal light
bulb 1. Remove the turn signal light lens
by removing the screw.
2. Remove the defective bulb by
pushing it in and turning it counter-
clockwise.
3. Insert a new bulb into the socket,
push it in, and then turn it clock-
wise until it stops.
4. Install the lens by installing the
screw.CAUTION:
ECA11190
Do not overtighten the screw, other-wise the lens may break.
EAU37270
Replacing the auxiliary light
bulb If the auxiliary light bulb burns out, re-
place it as follows.
1. Remove the headlight unit by re-
moving the screws.
2. Remove the socket (together with
the bulb) by pulling it out.3. Remove the defective bulb by pull-
ing it out.
4. Insert a new bulb into the socket.
5. Install the socket (together with the
bulb) by pushing it in.
6. Install the headlight unit by install-
ing the screws.
1. Screw
1. Screw
1. Auxiliary light bulb socket
1. Auxiliary light bulb
U3D9E0E0.book Page 33 Saturday, December 25, 2004 11:35 AM