brakes YAMAHA YD110 2005 Owners Manual
[x] Cancel search | Manufacturer: YAMAHA, Model Year: 2005, Model line: YD110, Model: YAMAHA YD110 2005Pages: 156, PDF Size: 1.49 MB
Page 13 of 156
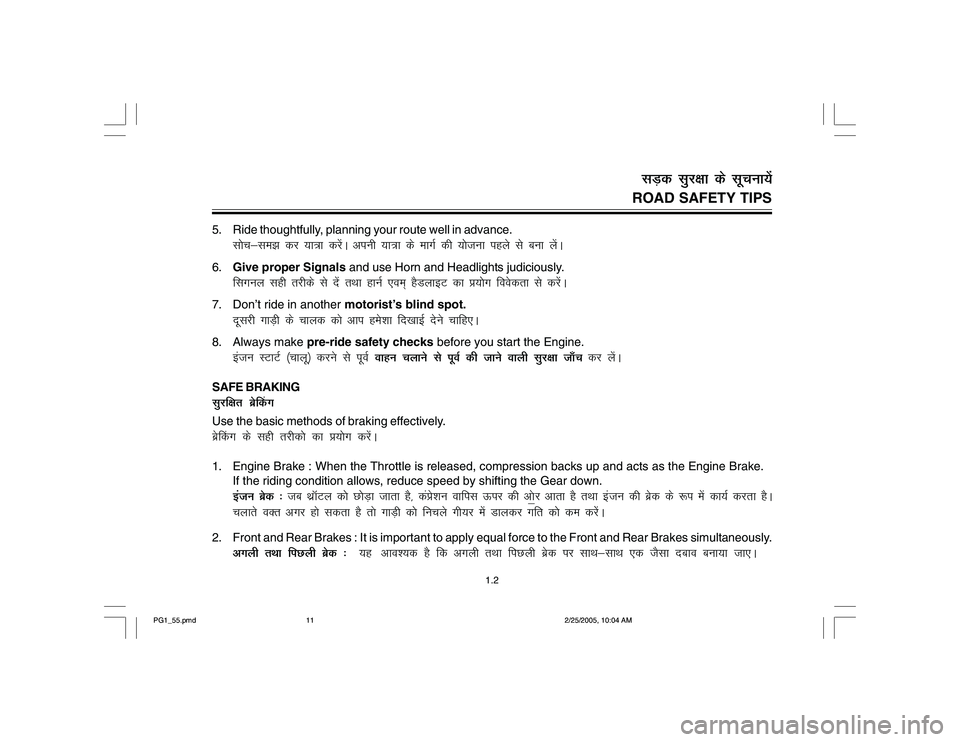
5. Ride thoughtfully, planning your route well in advance.
l¨p&le> dj ;k=kk djsaA viuh ;k=kk ds ekxZ dh ;¨tuk igys ls cuk ysaA
6.Give proper Signals and use Horn and Headlights judiciously.
flxuy lgh rjhds ls nsa rFkk gkuZ ,oe~ gSMykbV dk ç;¨x foosdrk ls djsaA
7. Don’t ride in another motorist’s blind spot.
nwljh xkM+h ds pkyd dks vki ges'kk fn[kkbZ nsus pkfg,A
8. Always make pre-ride safety checks before you start the Engine.
batu LVkVZ ¼pkyw½ djus ls iwoZ okgu pykus ls iwoZ dh tkus okyh lqj{kk tk¡p dj ysaA
SAFE BRAKINGlqjf{kr czs¯dxUse the basic methods of braking effectively.czs¯dx ds lgh rjhd¨ dk ç;¨x djsaA1. Engine Brake : When the Throttle is released, compression backs up and acts as the Engine Brake.
If the riding condition allows, reduce speed by shifting the Gear down.
batu czsd % tc FkzkWVy d¨ N¨M+k tkrk gS] daçs'ku okfil Åij dh vksÎj vkrk gS rFkk batu dh czsd ds :i esa dk;Z djrk gSA
pykrs oDr vxj gks ldrk gS rks xkM+h d¨ fupys xh;j esa Mkydj xfr d¨ de djssaA
2. Front and Rear Brakes : It is important to apply equal force to the Front and Rear Brakes simultaneously.
vxyh rFkk fiNyh czsd % ;g vko';d gS fd vxyh rFkk fiNyh czsd ij lkFk&lkFk ,d tSlk ncko cuk;k tk,A
ROAD SAFETY TIPSlM+d lqj{kk ds lwpuk;sa
1.2
PG1_55.pmd2/25/2005, 10:04 AM 11
Page 14 of 156
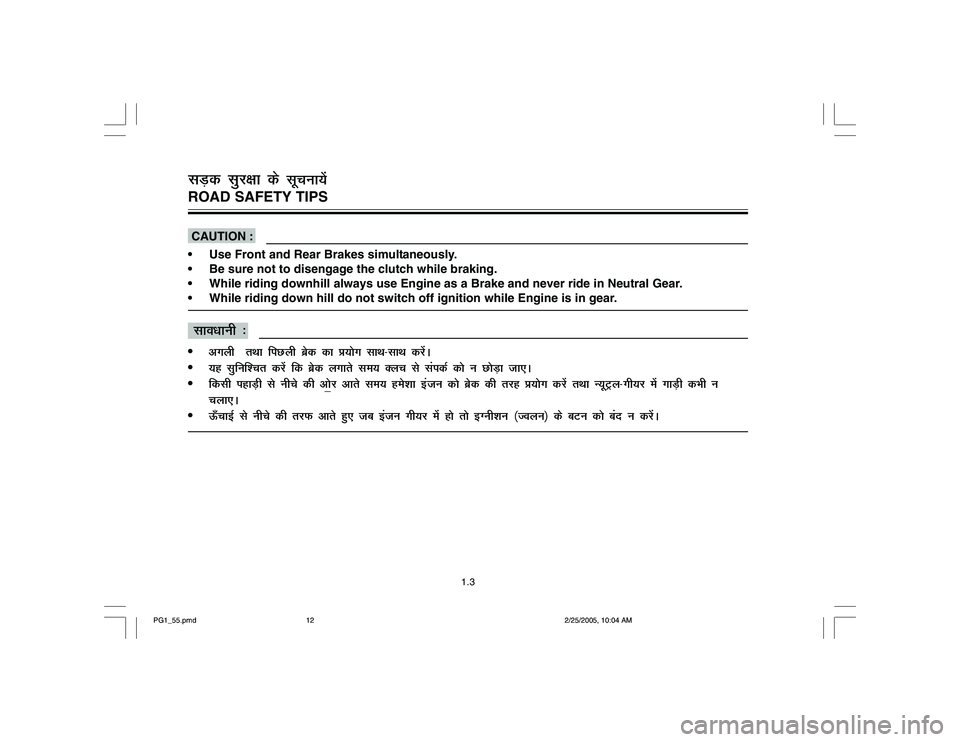
CAUTION :
Use Front and Rear Brakes simultaneously.
Be sure not to disengage the clutch while braking.
While riding downhill always use Engine as a Brake and never ride in Neutral Gear.
While riding down hill do not switch off ignition while Engine is in gear. lko/kkuh %vxyh rFkk fiNyh czsd dk ç;¨x lkFk&lkFk djsaA
;g lqfuf'pr djsa fd czsd yxkrs le; Dyp ls laidZ d¨ u N¨M+k tk,A
fdlh igkM+h ls uhps dh vksÎj vkrs le; ges'kk batu d¨ czsd dh rjg ç;¨x djsa rFkk U;wVªy&xh;j esa xkM+h dHkh u
pyk,A
Å¡pkbZ ls uhps dh rjQ vkrs gq, tc batu xh;j esa g¨ r¨ bXuh'ku ¼Toyu½ ds cVu d¨ can u djsaAROAD SAFETY TIPSlM+d lqj{kk ds
lwpuk;sa
1.3
PG1_55.pmd2/25/2005, 10:04 AM 12
Page 23 of 156
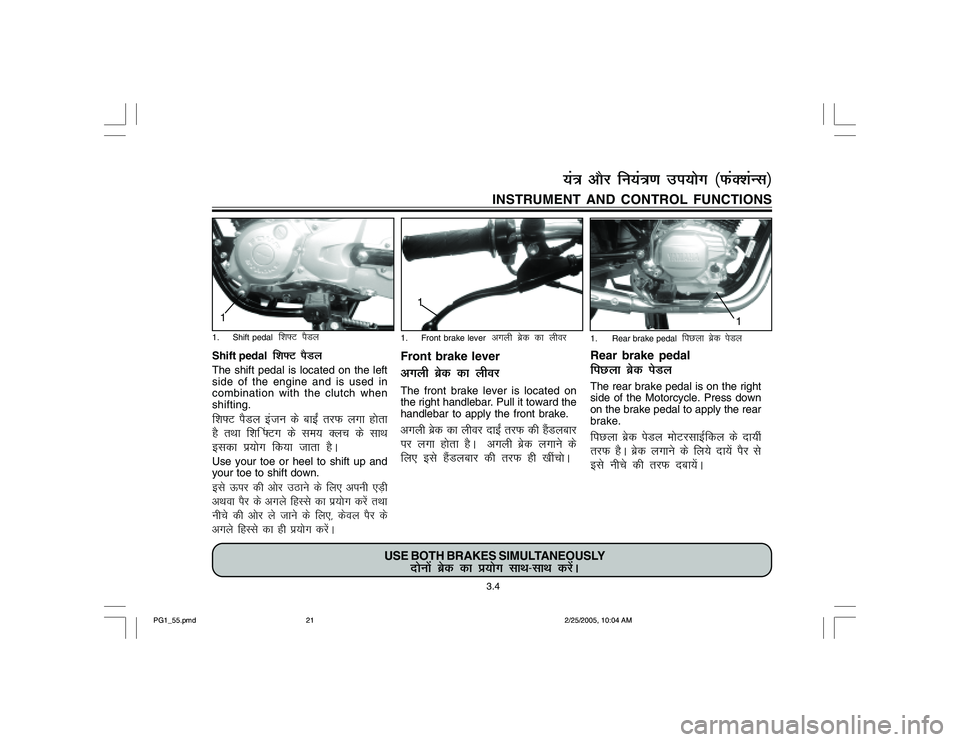
Shift pedal
f'k¶V iSMy
The shift pedal is located on the left
side of the engine and is used in
combination with the clutch when
shifting.f'k¶V iSMy batu ds ckb± rjQ yxk gksrk
gS rFkk f'k¯ ¶Vx ds le; Dyp ds lkFk
bldk iz;ksx fd;k tkrk gSAUse your toe or heel to shift up and
your toe to shift down.bls Åij dh vksj mBkus ds fy, viuh ,M+h
vFkok iSj ds vxys fgLls dk iz;ksx djsa rFkk
uhps dh vksj ys tkus ds fy,] dsoy iSj ds
vxys fgLls dk gh iz;ksx djsaA
Rear brake pedalfiNyk czsd isMyThe rear brake pedal is on the right
side of the Motorcycle. Press down
on the brake pedal to apply the rear
brake.fiNyk cszd isMy eksVjlkbZfdy ds nk;ha
rjQ gSA czsd yxkus ds fy;s nk;sa iSj ls
bls uhps dh rjQ nck;saA INSTRUMENT AND CONTROL FUNCTIONS
Front brake levervxyh czsd dk yhojThe front brake lever is located on
the right handlebar. Pull it toward the
handlebar to apply the front brake.vxyh czsd dk yhoj nkb± rjQ dh gSaMyckj
ij yxk gksrk gSA vxyh czsd yxkus ds
fy, bls gSaMyckj dh rjQ gh [khapksA
USE BOTH BRAKES SIMULTANEOUSLY
nksuksa cszd dk iz;ksx lkFk&lkFk djsaA
3.4
;a=k vkSj fu;a=k.k mi;ksx ¼QaD'kaUl½
11
11. Shift pedal
f'k¶V iSMy
1. Front brake lever
vxyh czsd dk yhoj
1. Rear brake pedal
fiNyk czsd isMy
PG1_55.pmd2/25/2005, 10:04 AM 21
Page 87 of 156
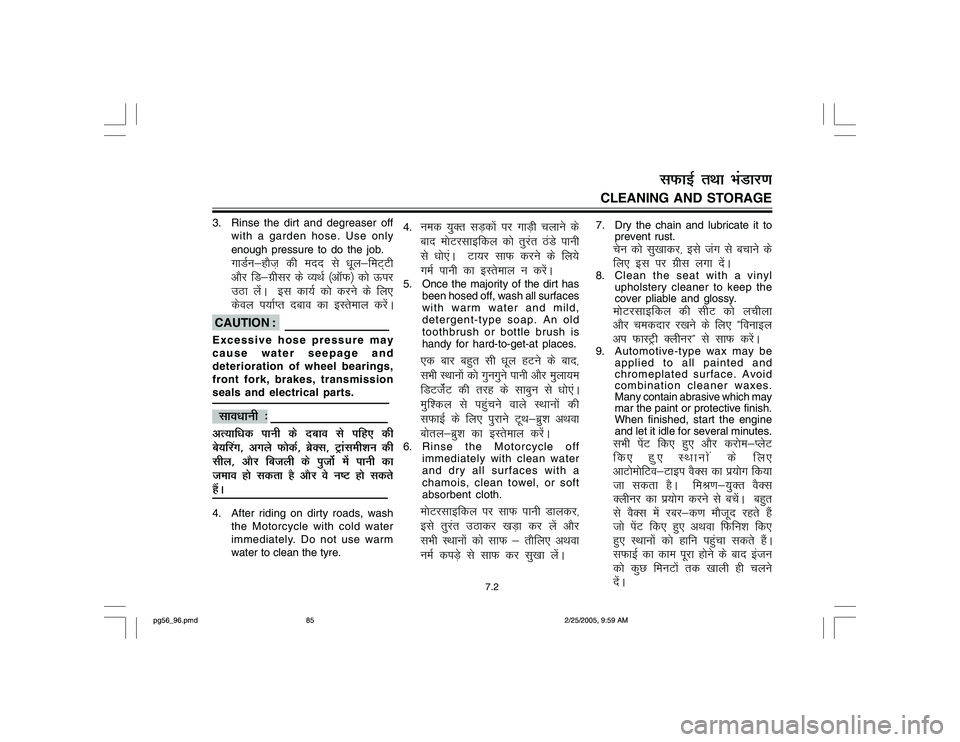
3. Rinse the dirt and degreaser off
with a garden hose. Use only
enough pressure to do the job.
xkMZu&gkSt+ dh enn ls /kwy&feV~Vh
vkSj fM&xzhlj ds O;FkZ ¼vkWQ½ dks Åij
mBk ysaaA bl dk;Z dks djus ds fy,
dsoy i;kZIr ncko dk bLrseky djsaA
CAUTION :Excessive hose pressure may
cause water seepage and
deterioration of wheel bearings,
front fork, brakes, transmission
seals and electrical parts. lko/kkuh %vR;kf/kd ikuh ds ncko ls ifg, dh
cs;¯jx] vxys QksdZ] czsDl] Vªkaleh'ku dh
lhy] vkSj fctyh ds iqtksZa esa ikuh dk
teko gks ldrk gS vkSj os u"V gks ldrs
gSaA4. After riding on dirty roads, wash
the Motorcycle with cold water
immediately. Do not use warm
water to clean the tyre.4.
ued ;qDr lM+dksa ij xkM+h pykus ds
ckn eksVjlkbfdy dks rqjar BaMs ikuh
ls /kks,aA Vk;j lkQ djus ds fy;s
xeZ ikuh dk bLrseky u djsaA
5. Once the majority of the dirt has
been hosed off, wash all surfaces
with warm water and mild,
detergent-type soap. An old
toothbrush or bottle brush is
handy for hard-to-get-at places.
,d ckj cgqr lh /kwy gVus ds ckn]
lHkh LFkkuksa dks xquxqus ikuh vkSj eqyk;e
fMVtsZaV dh rjg ds lkcqu ls /kks,aA
eqf'dy ls igqapus okys LFkkuksa dh
lQkbZ ds fy, iqjkus VwFk&czq'k vFkok
cksry&czq'k dk bLrseky djsaA
6. Rinse the Motorcycle off
immediately with clean water
and dry all surfaces with a
chamois, clean towel, or soft
absorbent cloth.
eksVjlkbfdy ij lkQ ikuh Mkydj]
bls rqjar mBkdj [kM+k dj ysa vkSj
lHkh LFkkuksa dks lkQ & rkSfy, vFkok
ueZ diM+s ls lkQ dj lq[kk ysaaA
7. Dry the chain and lubricate it to
prevent rust.
psu dks lq[kkdj] bls tax ls cpkus ds
fy, bl ij xzhl yxk nsaA
8. Clean the seat with a vinyl
upholstery cleaner to keep the
cover pliable and glossy.
eksVjlkbfdy dh lhV dks yphyk
vkSj pednkj j[kus ds fy, ßfoukby
vi QkLVªh DyhujÞ ls lkQ djsaA
9. Automotive-type wax may be
applied to all painted and
chromeplated surface. Avoid
combination cleaner waxes.
Many contain abrasive which may
mar the paint or protective finish.
When finished, start the engine
and let it idle for several minutes.
lHkh isaV fd, gq, vkSj djkse&IysV
fd, gq, LFkkuksa ds fy,
vkVkseksfVo&Vkbi oSDl dk iz;ksx fd;k
tk ldrk gSA feJ.k&;qDr oSDl
Dyhuj dk iz;ksx djus ls cpsaaA cgqr
ls oSDl esa jcj&d.k ekStwn jgrs gSa
tks isaV fd, gq, vFkok fQfu'k fd,
gq, LFkkuksa dks gkfu igqapk ldrs gSaA
lQkbZ dk dke iwjk gksus ds ckn batu
dks dqN feuVksa rd [kkyh gh pyus
nsaaA
7.2
CLEANING AND STORAGE
lQkbZ rFkk HkaMkj.k
pg56_96.pmd2/25/2005, 9:59 AM 85
Page 99 of 156
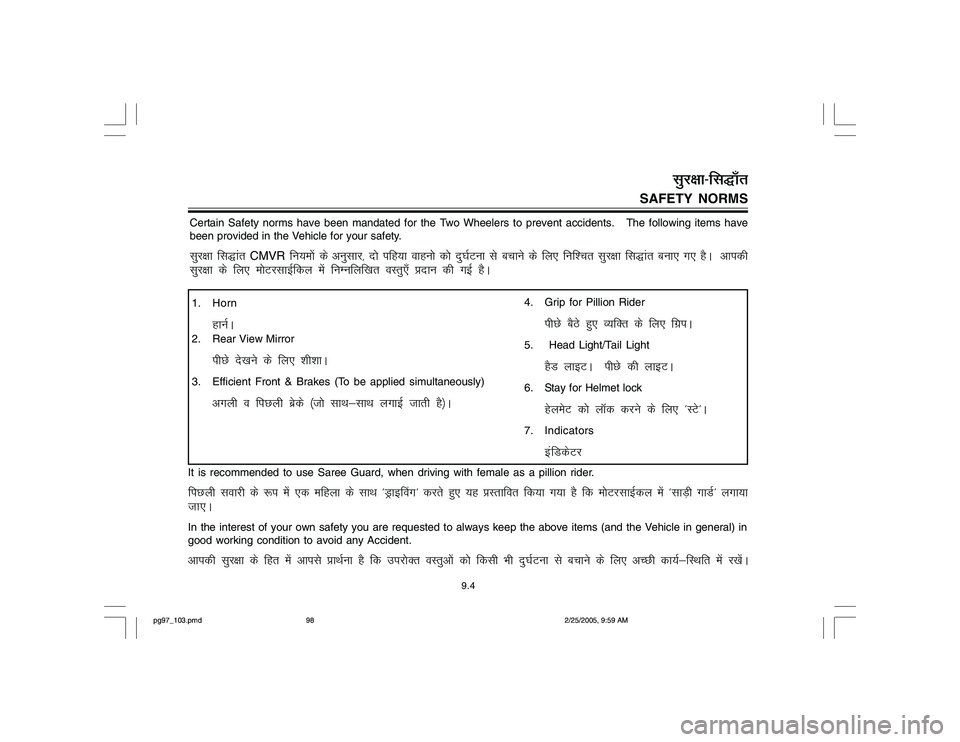
SAFETY NORMS
9.4
lqj{kk&flðk¡r
Certain Safety norms have been mandated for the Two Wheelers to prevent accidents. The following items have
been provided in the Vehicle for your safety.lqj{kk flðkar
CMVR
fu;e¨a ds vuqlkj] n¨ ifg;k okgu¨ d¨ nq?kZVuk ls cpkus ds fy, fuf'pr lqj{kk flðkar cuk, x, gSA vkidh
lqj{kk ds fy, e¨VjlkbZfdy esa fuEufyf[kr oLrq,¡ çnku dh xbZ gSA
It is recommended to use Saree Guard, when driving with female as a pillion rider.fiNyh lokjh ds :i esa ,d efgyk ds lkFk *Mªkb¯ox^ djrs gq, ;g çLrkfor fd;k x;k gS fd e¨VjlkbZdy esa *lkM+h xkMZ^ yxk;k
tk,AIn the interest of your own safety you are requested to always keep the above items (and the Vehicle in general) in
good working condition to avoid any Accident.vkidh lqj{kk ds fgr esa vkils çkFkZuk gS fd mij¨Dr oLrqv¨a d¨ fdlh Hkh nq?kZVuk ls cpkus ds fy, vPNh dk;Z&fLFkfr esa j[ksaA1. Horn
gkuZA
2. Rear View Mirror
ihNs ns[kus ds fy, 'kh'kkA
3. Efficient Front & Brakes (To be applied simultaneously)
vxyh o fiNyh czsds ¼t¨ lkFk&lkFk yxkbZ tkrh gS½A
4. Grip for Pillion Rider
ihNs cSBs gq, O;fDr ds fy, fxziA
5. Head Light/Tail Light
gSM ykbVA ihNs dh ykbVA
6. Stay for Helmet lock
gsyesV d¨ ykWd djus ds fy, *LVs^A
7. Indicators
bafMdsVj
pg97_103.pmd2/25/2005, 9:59 AM 98
Page 101 of 156
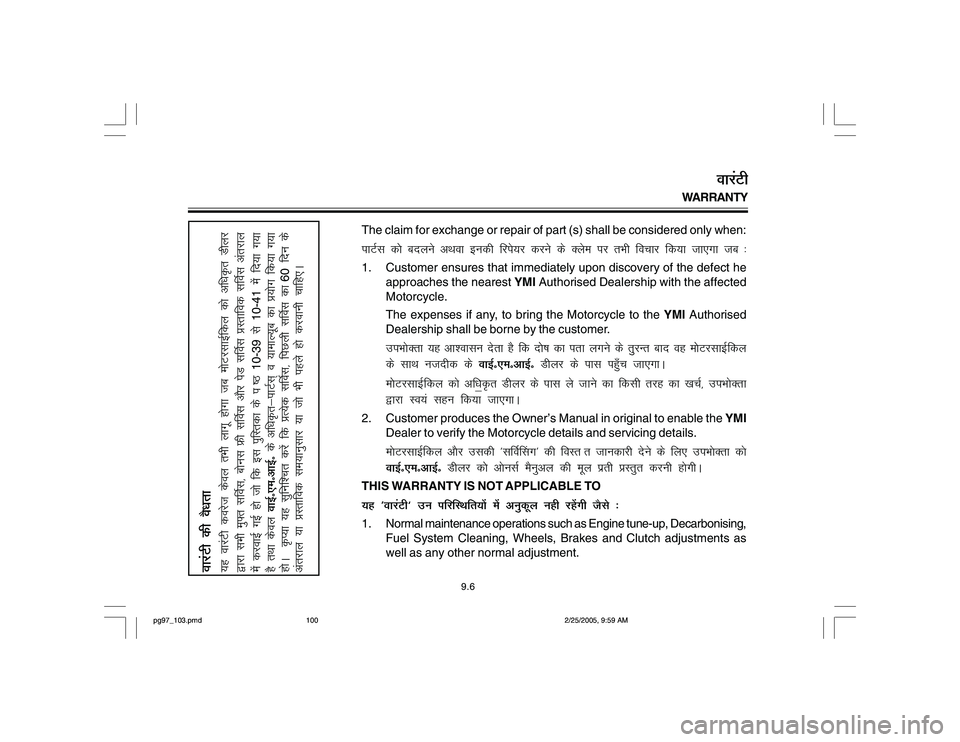
WARRANTY
9.6
okjaVh
The claim for exchange or repair of part (s) shall be considered only when:ikVZl d¨ cnyus vFkok budh fjis;j djus ds Dyse ij rHkh fopkj fd;k tk,xk tc %1. Customer ensures that immediately upon discovery of the defect he
approaches the nearest YMI Authorised Dealership with the affected
Motorcycle.
The expenses if any, to bring the Motorcycle to the YMI Authorised
Dealership shall be borne by the customer.
miHkksDrk ;g vk'oklu nsrk gS fd n¨"k dk irk yxus ds rqqjUr ckn og e¨VjlkbZfdy
ds lkFk utnhd ds okbZñ,eñvkbZñ Mhyj ds ikl igq¡p tk,xkA
e¨VjlkbZfdy dks vf/kÎÑr Mhyj ds ikl ys tkus dk fdlh rjg dk [kpZ] miHkksDrk
}kjk Lo;a lgu fd;k tk,xkA
2. Customer produces the Owner’s Manual in original to enable the YMI
Dealer to verify the Motorcycle details and servicing details.
eksVjlkbZfdy v©j mldh *l£o¯lx^ dh foLr r tkudkjh nsus ds fy, miHkksDrk dks
okbZñ,eñvkbZñ Mhyj d¨ vksulZ eSuqvy dh ewy izrh çLrqr djuh gksxhA
THIS WARRANTY IS NOT APPLICABLE TO;g *okjaVh^ mu ifjfLFkfr;ksa esa vuqdwy ugh jgsaxh tSls %1. Normal maintenance operations such as Engine tune-up, Decarbonising,
Fuel System Cleaning, Wheels, Brakes and Clutch adjustments as
well as any other normal adjustment.
;g okjaVh dojst dsoy rHkh ykxw gksxk tc eksVjlkbZfdy dks vf/kÑr Mhyj
}kjk lHkh eq¶r l£ol] cksul Ýh l£ol v©j isM l£ol çLrkfod l£ol varjky
esa djokbZ xbZ gks tks fd bl iqfLrdk ds i "B
10-39 ls 10-41 esa fn;k x;k
gS rFkk dsoy okbZñ,eñvkbZñ ds vf/kÑr&ikVZl~ o ;kekY;wc dk ç;ksx fd;k x;k
gksA ÑI;k ;g lqfuf'pr djsa fd çR;sd l£ol] fiNyh l£ol dk
60 fnu ds
varjky ;k çLrkfod le;kuqlkj ;k tks Hkh igys gks djokuh pkfg,A
okjaVh dh oS/krk
pg97_103.pmd2/25/2005, 9:59 AM 100
Page 106 of 156
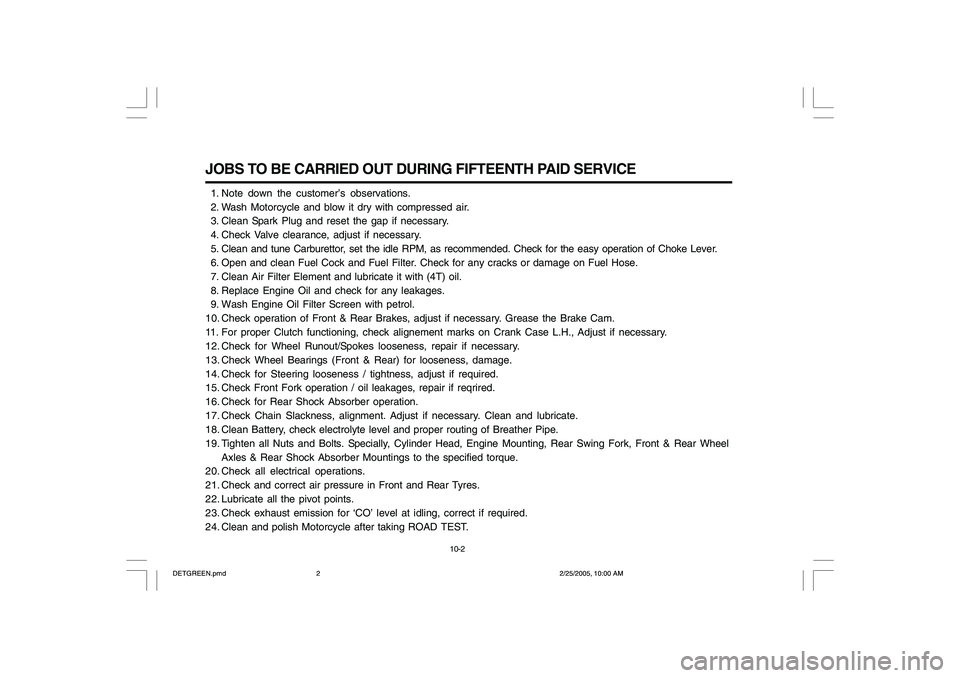
JOBS TO BE CARRIED OUT DURING FIFTEENTH PAID SERVICE 1. Note down the customer’s observations.
2. Wash Motorcycle and blow it dry with compressed air.
3. Clean Spark Plug and reset the gap if necessary.
4. Check Valve clearance, adjust if necessary.
5. Clean and tune Carburettor, set the idle RPM, as recommended. Check for the easy operation of Choke Lever.
6. Open and clean Fuel Cock and Fuel Filter. Check for any cracks or damage on Fuel Hose.
7. Clean Air Filter Element and lubricate it with (4T) oil.
8. Replace Engine Oil and check for any leakages.
9. Wash Engine Oil Filter Screen with petrol.
10. Check operation of Front & Rear Brakes, adjust if necessary. Grease the Brake Cam.
11. For proper Clutch functioning, check alignement marks on Crank Case L.H., Adjust if necessary.
12. Check for Wheel Runout/Spokes looseness, repair if necessary.
13. Check Wheel Bearings (Front & Rear) for looseness, damage.
14. Check for Steering looseness / tightness, adjust if required.
15. Check Front Fork operation / oil leakages, repair if reqrired.
16. Check for Rear Shock Absorber operation.
17. Check Chain Slackness, alignment. Adjust if necessary. Clean and lubricate.
18. Clean Battery, check electrolyte level and proper routing of Breather Pipe.
19. Tighten all Nuts and Bolts. Specially, Cylinder Head, Engine Mounting, Rear Swing Fork, Front & Rear Wheel
Axles & Rear Shock Absorber Mountings to the specified torque.
20. Check all electrical operations.
21. Check and correct air pressure in Front and Rear Tyres.
22. Lubricate all the pivot points.
23. Check exhaust emission for ‘CO’ level at idling, correct if required.
24. Clean and polish Motorcycle after taking ROAD TEST.
10-2
DETGREEN.pmd2/25/2005, 10:00 AM 2
Page 108 of 156
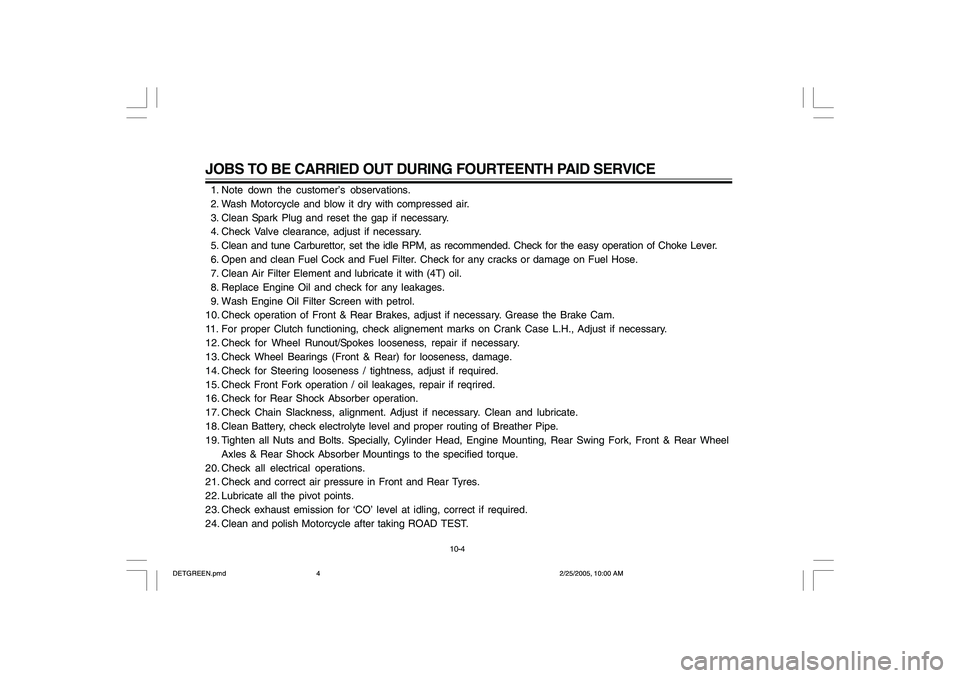
JOBS TO BE CARRIED OUT DURING FOURTEENTH PAID SERVICE 1. Note down the customer’s observations.
2. Wash Motorcycle and blow it dry with compressed air.
3. Clean Spark Plug and reset the gap if necessary.
4. Check Valve clearance, adjust if necessary.
5. Clean and tune Carburettor, set the idle RPM, as recommended. Check for the easy operation of Choke Lever.
6. Open and clean Fuel Cock and Fuel Filter. Check for any cracks or damage on Fuel Hose.
7. Clean Air Filter Element and lubricate it with (4T) oil.
8. Replace Engine Oil and check for any leakages.
9. Wash Engine Oil Filter Screen with petrol.
10. Check operation of Front & Rear Brakes, adjust if necessary. Grease the Brake Cam.
11. For proper Clutch functioning, check alignement marks on Crank Case L.H., Adjust if necessary.
12. Check for Wheel Runout/Spokes looseness, repair if necessary.
13. Check Wheel Bearings (Front & Rear) for looseness, damage.
14. Check for Steering looseness / tightness, adjust if required.
15. Check Front Fork operation / oil leakages, repair if reqrired.
16. Check for Rear Shock Absorber operation.
17. Check Chain Slackness, alignment. Adjust if necessary. Clean and lubricate.
18. Clean Battery, check electrolyte level and proper routing of Breather Pipe.
19. Tighten all Nuts and Bolts. Specially, Cylinder Head, Engine Mounting, Rear Swing Fork, Front & Rear Wheel
Axles & Rear Shock Absorber Mountings to the specified torque.
20. Check all electrical operations.
21. Check and correct air pressure in Front and Rear Tyres.
22. Lubricate all the pivot points.
23. Check exhaust emission for ‘CO’ level at idling, correct if required.
24. Clean and polish Motorcycle after taking ROAD TEST.
10-4
DETGREEN.pmd2/25/2005, 10:00 AM 4
Page 110 of 156
JOBS TO BE CARRIED OUT DURING THIRTEENTH PAID SERVICE 1. Note down the customer’s observations.
2. Wash Motorcycle and blow it dry with compressed air.
3. Clean Spark Plug and reset the gap if necessary.
4. Check Valve clearance, adjust if necessary.
5. Clean and tune Carburettor, set the idle RPM, as recommended. Check for the easy operation of Choke Lever.
6. Open and clean Fuel Cock and Fuel Filter. Check for any cracks or damage on Fuel Hose.
7. Clean Air Filter Element and lubricate it with (4T) oil.
8. Replace Engine Oil and check for any leakages.
9. Wash Engine Oil Filter Screen with petrol.
10. Check operation of Front & Rear Brakes, adjust if necessary. Grease the Brake Cam.
11. For proper Clutch functioning, check alignement marks on Crank Case L.H., Adjust if necessary.
12. Check for Wheel Runout/Spokes looseness, repair if necessary.
13. Check Wheel Bearings (Front & Rear) for looseness, damage.
14. Check for Steering looseness / tightness, adjust if required.
15. Check Front Fork operation / oil leakages, repair if reqrired.
16. Check for Rear Shock Absorber operation.
17. Check Chain Slackness, alignment. Adjust if necessary. Clean and lubricate.
18. Clean Battery, check electrolyte level and proper routing of Breather Pipe.
19. Tighten all Nuts and Bolts. Specially, Cylinder Head, Engine Mounting, Rear Swing Fork, Front & Rear Wheel
Axles & Rear Shock Absorber Mountings to the specified torque.
20. Check all electrical operations.
21. Check and correct air pressure in Front and Rear Tyres.
22. Lubricate all the pivot points.
23. Check exhaust emission for ‘CO’ level at idling, correct if required.
24. Clean and polish Motorcycle after taking ROAD TEST.
10-6
DETGREEN.pmd2/25/2005, 10:00 AM 6
Page 112 of 156
JOBS TO BE CARRIED OUT DURING TWELVETH PAID SERVICE 1. Note down the customer’s observations.
2. Wash Motorcycle and blow it dry with compressed air.
3. Clean Spark Plug and reset the gap if necessary.
4. Check Valve clearance, adjust if necessary.
5. Clean and tune Carburettor, set the idle RPM, as recommended. Check for the easy operation of Choke Lever.
6. Open and clean Fuel Cock and Fuel Filter. Check for any cracks or damage on Fuel Hose.
7. Clean Air Filter Element and lubricate it with (4T) oil.
8. Replace Engine Oil and check for any leakages.
9. Wash Engine Oil Filter Screen with petrol.
10. Check operation of Front & Rear Brakes, adjust if necessary. Grease the Brake Cam.
11. For proper Clutch functioning, check alignement marks on Crank Case L.H., Adjust if necessary.
12. Check for Wheel Runout/Spokes looseness, repair if necessary.
13. Check Wheel Bearings (Front & Rear) for looseness, damage.
14. Check for Steering looseness / tightness, adjust if required.
15. Check Front Fork operation / oil leakages, repair if reqrired.
16. Check for Rear Shock Absorber operation.
17. Check Chain Slackness, alignment. Adjust if necessary. Clean and lubricate.
18. Clean Battery, check electrolyte level and proper routing of Breather Pipe.
19. Tighten all Nuts and Bolts. Specially, Cylinder Head, Engine Mounting, Rear Swing Fork, Front & Rear Wheel
Axles & Rear Shock Absorber Mountings to the specified torque.
20. Check all electrical operations.
21. Check and correct air pressure in Front and Rear Tyres.
22. Lubricate all the pivot points.
23. Check exhaust emission for ‘CO’ level at idling, correct if required.
24. Clean and polish Motorcycle after taking ROAD TEST.
10-8
DETGREEN.pmd2/25/2005, 10:00 AM 8