heater YAMAHA YFZ450 2013 Owners Manual
[x] Cancel search | Manufacturer: YAMAHA, Model Year: 2013, Model line: YFZ450, Model: YAMAHA YFZ450 2013Pages: 154, PDF Size: 3.77 MB
Page 36 of 154

4-9
4of sparks, open flames, or other sources of ig-
nition such as the pilot lights of water heaters
and clothes dryers.
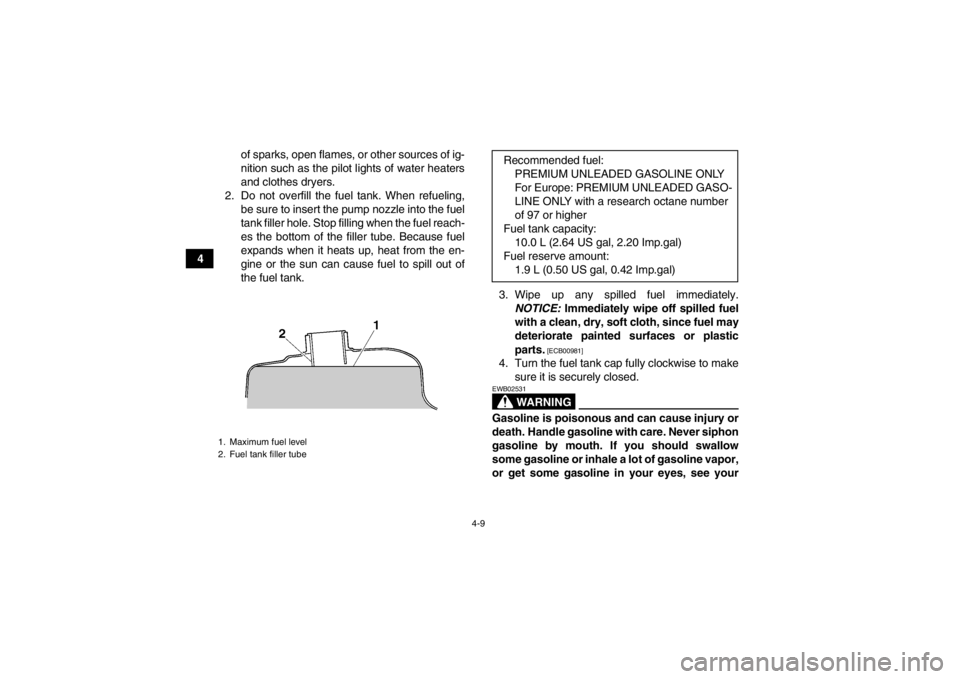
2. Do not overfill the fuel tank. When refueling, be sure to insert the pump nozzle into the fuel
tank filler hole. Stop filling when the fuel reach-
es the bottom of the filler tube. Because fuel
expands when it heats up, heat from the en-
gine or the sun can cause fuel to spill out of
the fuel tank.
3. Wipe up any spilled fuel immediately.NOTICE: Immediately wipe off spilled fuel
with a clean, dry, soft cloth, since fuel may
deteriorate painted surfaces or plastic
parts.
[ECB00981]
4. Turn the fuel tank cap fully clockwise to make sure it is securely closed.
WARNING
EWB02531Gasoline is poisonous and can cause injury or
death. Handle gasoline with care. Never siphon
gasoline by mouth. If you should swallow
some gasoline or inhale a lot of gasoline vapor,
or get some gasoline in your eyes, see your
1. Maximum fuel level
2. Fuel tank filler tube
Recommended fuel:PREMIUM UNLEADED GASOLINE ONLY
For Europe: PREMIUM UNLEADED GASO-
LINE ONLY with a research octane number
of 97 or higher
Fuel tank capacity: 10.0 L (2.64 US gal, 2.20 Imp.gal)
Fuel reserve amount: 1.9 L (0.50 US gal, 0.42 Imp.gal)
U1PD61E0.book Page 9 Tuesday, February 14, 2012 10:06 AM
Page 93 of 154

8-11
8
To remove the spark plug
1. Remove the seat. (See page 4-12.)
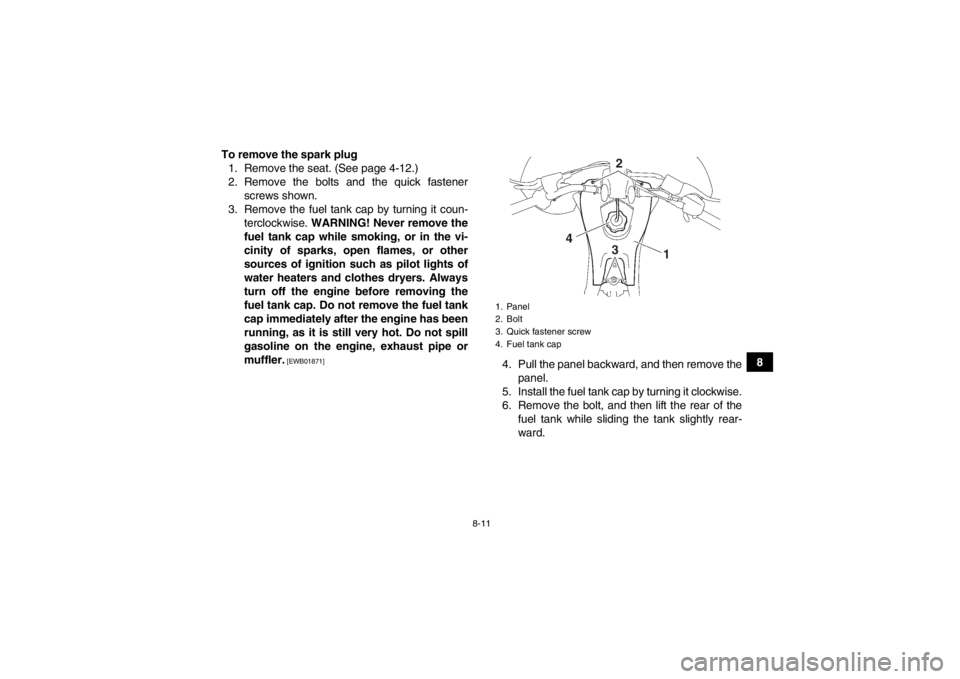
2. Remove the bolts and the quick fastener screws shown.
3. Remove the fuel tank cap by turning it coun- terclockwise. WARNING! Never remove the
fuel tank cap while smoking, or in the vi-
cinity of sparks, open flames, or other
sources of ignition such as pilot lights of
water heaters and clothes dryers. Always
turn off the engine before removing the
fuel tank cap. Do not remove the fuel tank
cap immediately after the engine has been
running, as it is still very hot. Do not spill
gasoline on the engine, exhaust pipe or
muffler.
[EWB01871]
4. Pull the panel backward, and then remove the panel.
5. Install the fuel tank cap by turning it clockwise.
6. Remove the bolt, and then lift the rear of the fuel tank while sliding the tank slightly rear-
ward.1. Panel
2. Bolt
3. Quick fastener screw
4. Fuel tank cap
2
4 3 1
U1PD61E0.book Page 11 Tuesday, February 14, 2012 10:06 AM
Page 138 of 154

8-56
8Front
3. Lower the ATV to the ground.
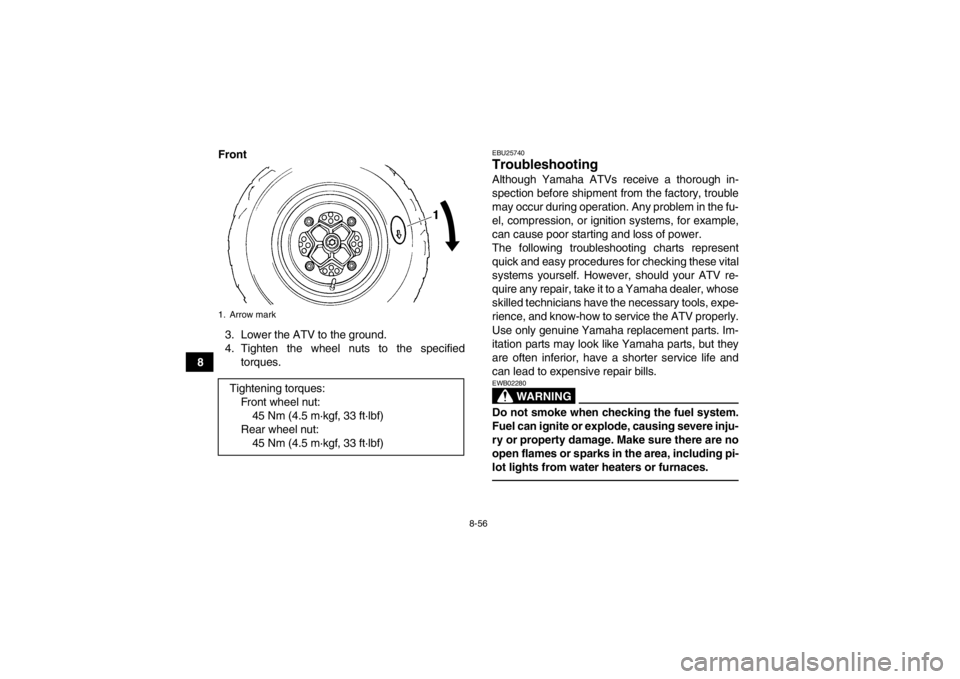
4. Tighten the wheel nuts to the specified torques.
EBU25740Troubleshooting Although Yamaha ATVs receive a thorough in-
spection before shipment from the factory, trouble
may occur during operation. Any problem in the fu-
el, compression, or ignition systems, for example,
can cause poor starting and loss of power.
The following troubleshooting charts represent
quick and easy procedures for checking these vital
systems yourself. However, should your ATV re-
quire any repair, take it to a Yamaha dealer, whose
skilled technicians have the necessary tools, expe-
rience, and know-how to service the ATV properly.
Use only genuine Yamaha replacement parts. Im-
itation parts may look like Yamaha parts, but they
are often inferior, have a shorter service life and
can lead to expensive repair bills.
WARNING
EWB02280Do not smoke when checking the fuel system.
Fuel can ignite or explode, causing severe inju-
ry or property damage. Make sure there are no
open flames or sparks in the area, including pi-
lot lights from water heaters or furnaces.
1. Arrow markTightening torques:Front wheel nut:45 Nm (4.5 m·kgf, 33 ft·lbf)
Rear wheel nut: 45 Nm (4.5 m·kgf, 33 ft·lbf)
U1PD61E0.book Page 56 Tuesday, February 14, 2012 10:06 AM