brake YAMAHA YFZ50 2021 Owner's Guide
[x] Cancel search | Manufacturer: YAMAHA, Model Year: 2021, Model line: YFZ50, Model: YAMAHA YFZ50 2021Pages: 126, PDF Size: 4.89 MB
Page 104 of 126
9-27
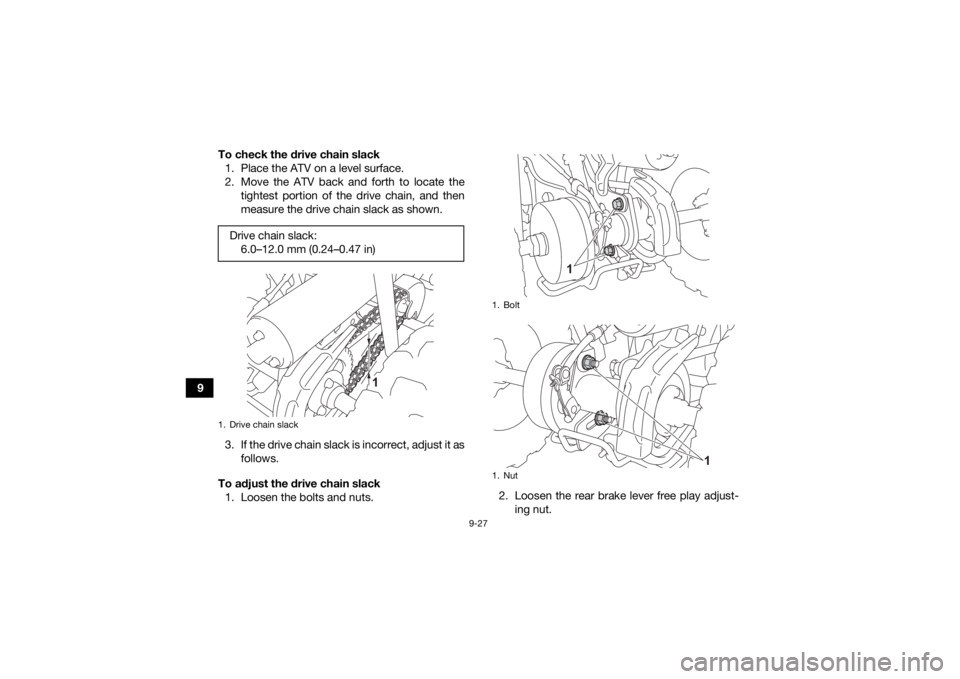
9To check the drive chain slack
1. Place the ATV on a level surface.
2. Move the ATV back and forth to locate the tightest portion of the drive chain, and then
measure the drive chain slack as shown.
3. If the drive chain slack is incorrect, adjust it as follows.
To adjust the drive chain slack 1. Loosen the bolts and nuts. 2. Loosen the rear brake lever free play adjust-
ing nut.
Drive chain slack:
6.0–12.0 mm (0.24–0.47 in)
1. Drive chain slack
1
1. Bolt
1. Nut
1
1
UBW464E0.book Page 27 Thursday, January 23, 2020 2:42 PM
Page 105 of 126
9-28
9
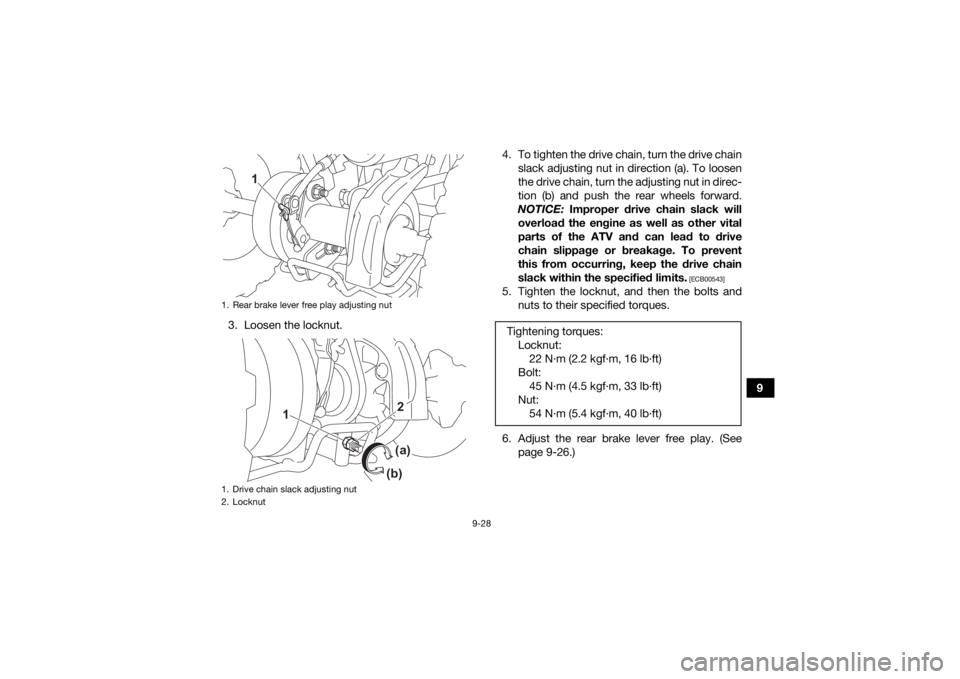
3. Loosen the locknut. 4. To tighten the drive chain, turn the drive chain
slack adjusting nut in direction (a). To loosen
the drive chain, turn the adjusting nut in direc-
tion (b) and push the rear wheels forward.
NOTICE: Improper drive chain slack will
overload the engine as well as other vital
parts of the ATV and can lead to drive
chain slippage or breakage. To prevent
this from occurring, keep the drive chain
slack within the specified limits.
[ECB00543]
5. Tighten the locknut, and then the bolts and nuts to their specified torques.
6. Adjust the rear brake lever free play. (See page 9-26.)
1. Rear brake lever free play adjusting nut
1. Drive chain slack adjusting nut
2. Locknut
1
1
2(a)(b)
Tightening torquesWLocknut:22 N
Page 107 of 126
9-30
9
do not work smoothly, you could be unable
to control the ATV, which could lead to an
accident or collision.
EBU28703Checking and lubricating the front and
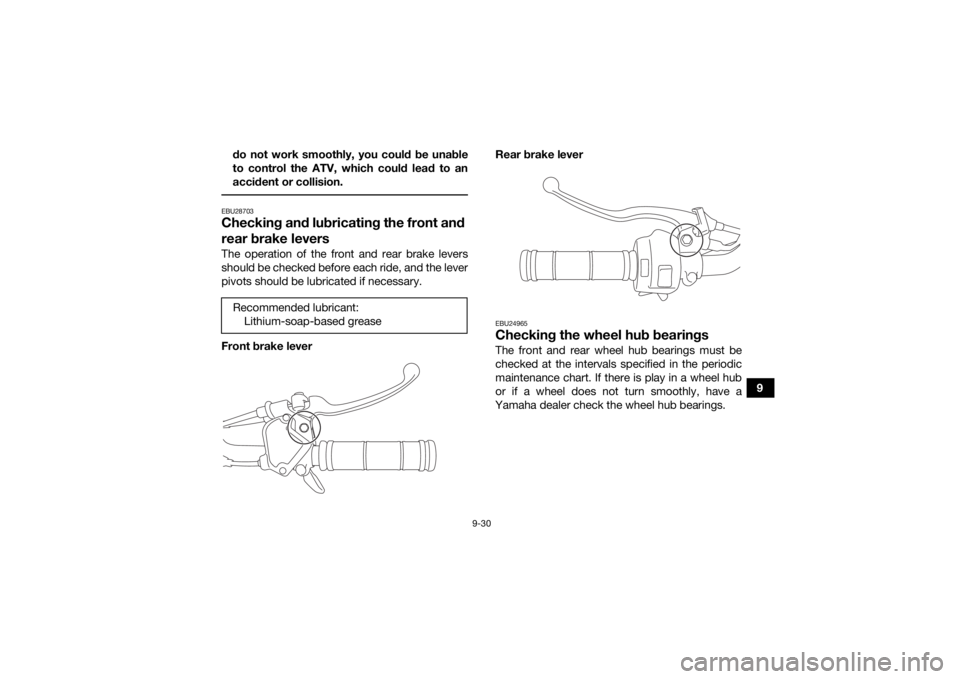
rear brake leversThe operation of the front and rear brake levers
should be checked before each ride, and the lever
pivots should be lubricated if necessary.
Front brake lever
Rear brake lever
EBU24965Checking the wheel hub bearingsThe front and rear wheel hub bearings must be
checked at the intervals specified in the periodic
maintenance chart. If there is play in a wheel hub
or if a wheel does not turn smoothly, have a
Yamaha dealer check the wheel hub bearings.
Recommended lubricant:
Lithium-soap-based grease
UBW464E0.book Page 30 Thursday, January 23, 2020 2:42 PM
Page 116 of 126
10-1
10
EBU25861
CLEANING AND STORAGE
EBU25903CleaningFrequent, thorough cleaning of your ATV will not
only enhance its appearance but will improve its
general performance and extend the useful life of
many components.1. Before cleaning the ATV: a. Block off the end of the exhaust pipe toprevent water entry. A plastic bag and
strong rubber band may be used.
b. Make sure the spark plug and all filler caps are properly installed.
2. If the engine case is excessively greasy, apply degreaser with a paint brush. Do not apply
degreaser to the chain, sprockets or wheel
axles.
3. Rinse the dirt and degreaser off with a garden hose. Use only enough pressure to do the
job. WARNING! Wet brakes may have re-
duced stopping ability, increasing the
chance of an accident. Test the brakes af-
ter washing. Apply the brakes several
times at slow speeds to let friction dry out
the linings.
[EWB02312]
NOTICE: Excessive wa- ter pressure may cause water seepage
and deterioration of wheel bearings,
brakes, transmission seals and electrical
devices. Many expensive repair bills have
resulted from improper high-pressure de-
tergent applications such as those avail-
able in coin-operated car washers.
[ECB00712]
4. Once most of the dirt has been hosed off,
wash all surfaces with warm water and mild,
detergent-type soap. An old toothbrush or
bottle brush is handy for hard-to-reach pla-
ces.
5. Rinse the ATV off immediately with clean wa- ter and dry all surfaces with a chamois, clean
towel or soft absorbing cloth.
6. Dry the chain and lubricate it to prevent it from rusting.
7. Clean the seat with a vinyl upholstery cleaner to keep the cover pliable and glossy.
8. Automotive type wax may be applied to all painted and chrome plated surfaces. Avoid
combination cleaner-waxes. Many contain
UBW464E0.book Page 1 Thursday, January 23, 2020 2:42 PM
Page 121 of 126
11-3
11
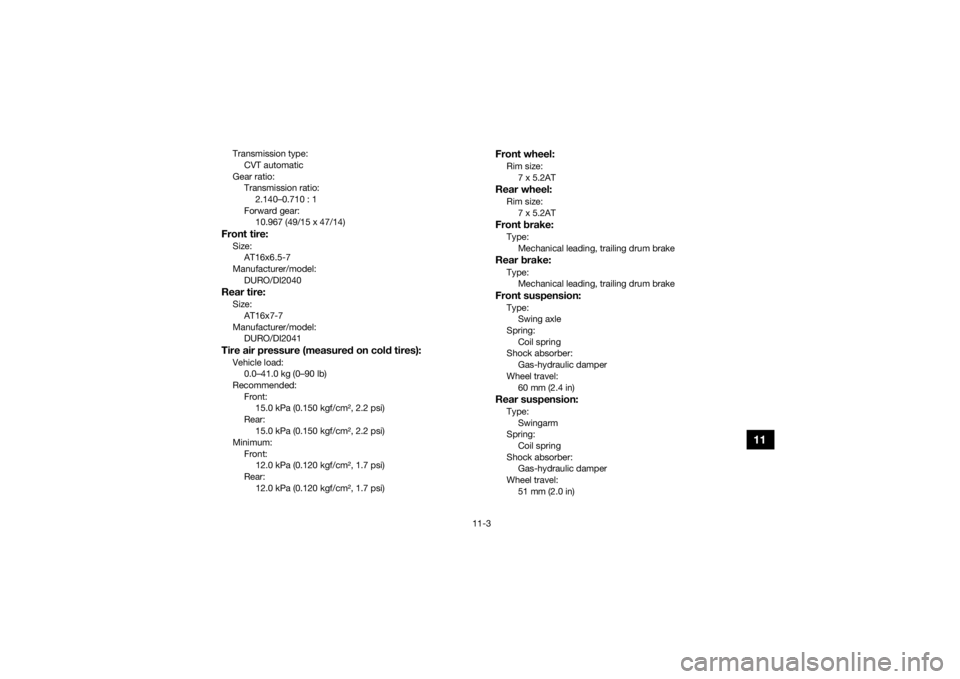
Transmission type:CVT automatic
Gear ratio: Transmission ratio:2.140–0.710 : 1
Forward gear: 10.967 (49/15 x 47/14)Front tire:Size:AT16x6.5-7
Manufacturer/model: DURO/DI2040Rear tire:Size:AT16x7-7
Manufacturer/model: DURO/DI2041Tire air pressure (measured on cold tires):Vehicle load:0.0–41.0 kg (0–90 lb)
Recommended: Front:15.0 kPa (0.150 kgf/cm², 2.2 psi)
Rear: 15.0 kPa (0.150 kgf/cm², 2.2 psi)
Minimum:
Front:12.0 kPa (0.120 kgf/cm², 1.7 psi)
Rear:
12.0 kPa (0.120 kgf/cm², 1.7 psi)
Front wheel:Rim size:7 x 5.2ATRear wheel:Rim size:7 x 5.2ATFront brake:Type:
Mechanical leading, trailing drum brakeRear brake:Type:Mechanical leading, trailing drum brakeFront suspension:Type:Swing axle
Spring: Coil spring
Shock absorber:
Gas-hydraulic damper
Wheel travel: 60 mm (2.4 in)Rear suspension:Type:
Swingarm
Spring: Coil spring
Shock absorber: Gas-hydraulic damper
Wheel travel:
51 mm (2.0 in)
UBW464E0.book Page 3 Thursday, January 23, 2020 2:42 PM
Page 123 of 126
12-1
12
INDEX
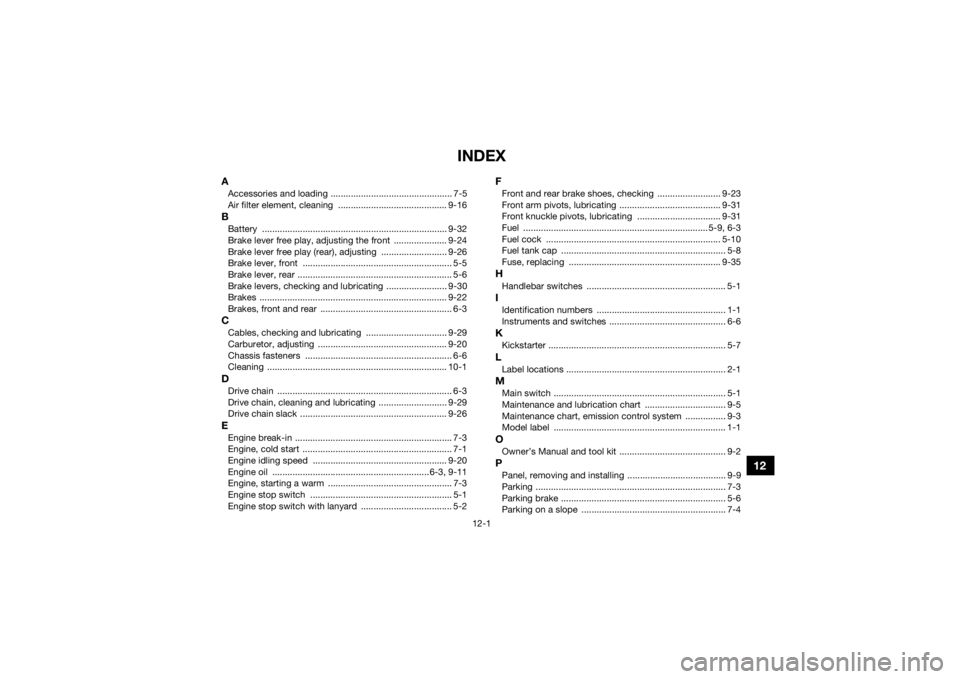
AAccessories and loading ................................................ 7-5
Air filter element, cleaning ........................................... 9-16BBattery ......................................................................... 9-32
Brake lever free play, adjusting the front ..................... 9-24
Brake lever free play (rear), adjusting .......................... 9-26
Brake lever, front ........................................................... 5-5
Brake lever, rear ............................................................. 5-6
Brake levers, checking and lubricating ........................ 9-30
Brakes .......................................................................... 9-22
Brakes, front and rear .................................................... 6-3CCables, checking and lubricating ................................ 9-29
Carburetor, adjusting ................................................... 9-20
Chassis fasteners .......................................................... 6-6
Cleaning ....................................................................... 10-1DDrive chain ..................................................................... 6-3
Drive chain, cleaning and lubricating ........................... 9-29
Drive chain slack .......................................................... 9-26EEngine break-in .............................................................. 7-3
Engine, cold start ........................................................... 7-1
Engine idling speed ..................................................... 9-20
Engine oil ..............................................................6-3, 9-11
Engine, starting a warm ................................................. 7-3
Engine stop switch ........................................................ 5-1
Engine stop switch with lanyard .................................... 5-2
FFront and rear brake shoes, checking ......................... 9-23
Front arm pivots, lubricating ........................................ 9-31
Front knuckle pivots, lubricating ................................. 9-31
Fuel ......................................................................... 5-9, 6-3
Fuel cock ..................................................................... 5-10
Fuel tank cap ................................................................. 5-8
Fuse, replacing ............................................................ 9-35HHandlebar switches ....................................................... 5-1IIdentification numbers ................................................... 1-1
Instruments and switches .............................................. 6-6KKickstarter ...................................................................... 5-7LLabel locations ............................................................... 2-1MMain switch .................................................................... 5-1
Maintenance and lubrication chart ................................ 9-5
Maintenance chart, emission control system ................ 9-3
Model label .................................................................... 1-1OOwner’s Manual and tool kit .......................................... 9-2PPanel, removing and installing ....................................... 9-9
Parking ........................................................................... 7-3
Parking brake ................................................................. 5-6
Parking on a slope ......................................................... 7-4
UBW464E0.book Page 1 Thursday, January 23, 2020 2:42 PM