engine oil YAMAHA YXZ1000R 2021 User Guide
[x] Cancel search | Manufacturer: YAMAHA, Model Year: 2021, Model line: YXZ1000R, Model: YAMAHA YXZ1000R 2021Pages: 200, PDF Size: 4.96 MB
Page 138 of 200

9-21
9
13. Install and tighten the engine oil tank fillercap and the cylinder head cap.
14. Start the engine, warm it up for several minutes, and then turn it off.
15. Remove the engine oil tank filler cap, and then add sufficient oil of the recommend-
ed type to raise it to the maximum level
mark on the dipstick.
TIPBe sure to wipe off spilled oil on any parts af-
ter the engine and exhaust system have
cooled down. 16. Install and tighten the engine oil tank fillercap.
17. Start the engine and let it idle for several minutes. During this time, check for oil
leakage. If any oil leaks are found, stop
the engine and check for the cause.
18. Stop the engine, wait at least ten minutes, and then check the oil level one last time.
19. Install the engine oil tank cover by install- ing the bolts.
20. Install the panel.
To change the engine oil and oil filter
1. Park the vehicle on a level surface.
2. Loosen the left and right side panels by removing the bolt as shown.
1. Engine oil tank filler cap
2. O-ring
3. Cylinder head cap
3
2
1
2
UB5J7CE0.book Page 21 Thursday, November 26, 2020 1:37 PM
Page 140 of 200

9-23
9
5. Follow steps 2–9 of the “To change theengine oil” section for the oil draining pro-
cedure.
6. Remove the oil filter cartridge with an oil filter wrench. Make sure the O-ring is re-
moved together with the oil filter car-
tridge. If the O-ring remains attached to
the crankcase, oil leakage may occur.
TIPAn oil filter wrench is available from a Yamaha
dealer. 7. Apply a light coat of clean engine oil to
the O-ring of the new oil filter cartridge.TIPMake sure that the O-ring is properly seated.
1. Center bottom panel
2. Bolt
2
2
2
2
2
1
1. Oil filter cartridge
2. Oil filter wrench
2
1
UB5J7CE0.book Page 23 Thursday, November 26, 2020 1:37 PM
Page 141 of 200

9-24
9
8. Install the new oil filter cartridge, and thentighten to the specified torque. 9. Follow steps 10–20 of the “To change the
engine oil” section for the oil filling proce-
dure.
10. Slide the front portion of the center bot- tom panel into place as shown, and then
hook the left and right sides of the center
bottom panel into place.1. O-ringTightening torque:Oil filter cartridge:17 N·m (1.7 kgf·m, 13 lb·ft)
1
1. Torque wrench
1
UB5J7CE0.book Page 24 Thursday, November 26, 2020 1:37 PM
Page 144 of 200

9-27
9
EBU38630Why YamalubeYAMALUBE oil is a Genuine YAMAHA Partborn of the engineers’ passion and belief that
engine oil is an important liquid engine com-
ponent. We form teams of specialists in the
fields of mechanical engineering, chemistry,
electronics and track testing, and have them
develop the engine together with the oil it will use. Yamalube oils take full advantage of the
base oil’s qualities and blend in the ideal ba-
lance of additives to make sure the final oil
clears our performance standards. Thus,
Yamalube mineral, semisynthetic and syn-
thetic oils have their own distinct characters
and value. Yamaha’s experience gained over
many years of research and development into
oil since the 1960’s helps make Yamalube the
best choice for your Yamaha engine.
EBU35108Transmission oilCheck the oil level and change the transmis-
sion oil at the intervals specified in the period-
ic maintenance chart.
1. Bolt BTightening torque: Bolt B:7 N·m (0.7 kgf·m, 5.2 lb·ft)
1
1
UB5J7CE0.book Page 27 Thursday, November 26, 2020 1:37 PM
Page 147 of 200

9-30
9
6. Check the O-ring for damage, and re-place it if necessary.
7. Refill the transmission with the specified amount of the recommended oil.
8. Install the transmission oil filler cap.
9. Start the engine and let it idle while checking for oil leakage.
10. Stop the engine and check the oil level one last time.EBU36055Final gear oilCheck the oil level and change the final gear
oil at the intervals specified in the periodic
maintenance chart.
NOTICEECB03590When checking or changing the final gear
oil, make sure that no foreign material en-
ters the final gear case. If necessary, clean
the final gear oil filler bolt and surrounding
area. Checking the final gear oil level1. Park the vehicle on a level surface.
2. Remove the final gear oil filler bolt and its
gasket, and then check the oil level in the
final gear case. The oil level should be at
the brim of the filler hole.
Tightening torque:Transmission oil drain bolt:20 N·m (2.0 kgf·m, 15 lb·ft)
Recommended oil:YA M A L U B E
SAE 80W-90 API GL-5 Hypoid gear oil
Oil quantity: 0.47 L (0.50 US qt, 0.41 Imp.qt)
UB5J7CE0.book Page 30 Thursday, November 26, 2020 1:37 PM
Page 156 of 200

9-39
9
EBU38320Air filter maintenanceThis model is equipped with two air filter ele-
ments, a primary foam-type air filter and a
secondary paper-type air filter.
The primary air filter is easily accessed and
should be cleaned and oiled every 300–600
km (200–400 mi).
The secondary air filter is more difficult to ac-
cess, cannot be cleaned, and should be re-
placed by a Yamaha dealer every 2000–5000
km (1200–3000 mi).
TIPService the air filters more frequently when
operating in wet or dusty environments. Whenever air filter maintenance is performed:
check the air inlet for obstructions and the
air filter case for dirt and foreign matter.
check the air filter case check hoses for dirt
or water and clean as necessary.
check the air filter cas e joints and the rub-
ber joints to and from the throttle body for
proper fit and sealing.
tighten all fittings securely to avoid the pos-
sibility of unfiltered air entering the engine.NOTICEECB02270Never operate the engine with the air filter
element removed. Doing so would allow
unfiltered air to enter, causing rapid en-
gine wear and possible engine damage.
1. Primary air filter
2. Secondary air filter
1
2
UB5J7CE0.book Page 39 Thursday, November 26, 2020 1:37 PM
Page 188 of 200

10-2
10
7. Automotive-type wax may be applied toall painted and chrome-plated surfaces.
Avoid combination cleaner-waxes. Many
contain abrasives which may scratch the
paint or protective finish. When finished,
start the engine and let it idle for several
minutes.EBU32741StorageLong term storage (60 days or more) of your
vehicle will require some preventive proce-
dures to guard against deterioration. Make
any necessary repairs before storing the vehi-
cle.
After thoroughly cleaning the vehicle, prepare
for storage as follows:
1. Fill the fuel tank with fresh fuel and add the specified amount of Fuel Med Rx or
another high-quality fuel stabilizer prod-
uct. Follow the instructions on the prod- uct label. Operate the vehicle for at least
5 minutes to distribute treated fuel
through the fuel system.
2. Remove the spark plugs and pour one ta- blespoon of fresh engine oil into each cyl-
inder and then re-install the spark plugs.
Remove the spark plug wires and ground
them. Operate the electric starter to turn
the engine over several times and coat
the cylinder walls with oil.
3. Lubricate all control cables.
4. Put the frame on stands or blocks to raise all wheels off the ground.
5. Tie a plastic bag over the exhaust pipe outlet to prevent moisture from entering.
Specified amount:1 oz of stabilizer to each gallon of fuel (or
7.5 ml of stabilizer to each liter of fuel)
UB5J7CE0.book Page 2 Thursday, November 26, 2020 1:37 PM
Page 191 of 200

11-2
11
Compression ratio:11.3 : 1
Starting system: Electric starter
Lubrication system:
Dry sumpEngine oil:Recommended brand:
SAE viscosity grades:5W-30, 10W-30, 10W-40, 15W-40, 20W-40, 20W-50 Recommended engine oil grade:
API service SG type or higher, JASO standard MA
Quantity: Oil change:2.50 L (2.64 US qt, 2.20 Imp.qt)
With oil filter removal: 2.70 L (2.85 US qt, 2.38 Imp.qt)
Transmission oil:Type:SAE 5W-30, 10W-30, 10W-40, 15W-40, 20W-40 or 20W-
50
Recommended transmission oil grade: API service SE, SF, SG type or higher, JASO standard
MA
Quantity: 1.50 L (1.59 US qt, 1.32 Imp.qt)0 10 30 50 70 90 110 130 ˚F
–20 –10 0 10 20 30 40 50 ˚CSAE 5W-30
SAE 10W-30
SAE 10W-40
SAE 15W-40
SAE 20W-40SAE 20W-50
UB5J7CE0.book Page 2 Thursday, November 26, 2020 1:37 PM
Page 194 of 200
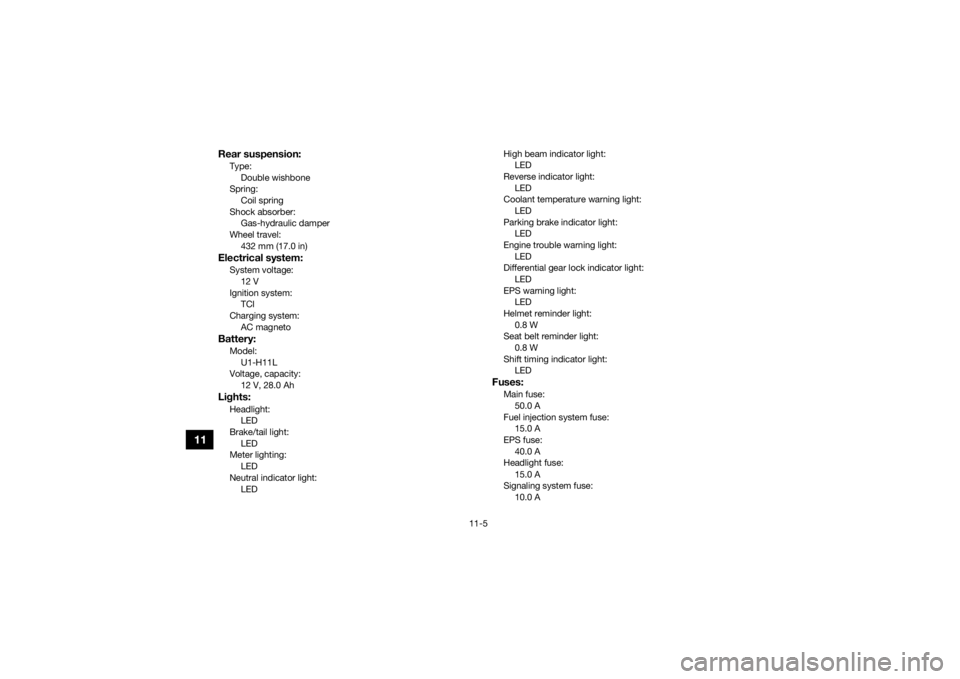
11-5
11
Rear suspension:Type:Double wishbone
Spring:
Coil spring
Shock absorber: Gas-hydraulic damper
Wheel travel: 432 mm (17.0 in)Electrical system:System voltage:12 V
Ignition system: TCI
Charging system:
AC magnetoBattery:Model:U1-H11L
Voltage, capacity:
12 V, 28.0 AhLights:Headlight:LED
Brake/tail light:
LED
Meter lighting: LED
Neutral indicator light: LED High beam indicator light:
LED
Reverse indicator light: LED
Coolant temperature warning light:
LED
Parking brake indicator light: LED
Engine trouble warning light: LED
Differential gear lock indicator light:
LED
EPS warning light: LED
Helmet reminder light: 0.8 W
Seat belt reminder light:
0.8 W
Shift timing indicator light: LED
Fuses:Main fuse:
50.0 A
Fuel injection system fuse: 15.0 A
EPS fuse: 40.0 A
Headlight fuse:
15.0 A
Signaling system fuse: 10.0 A
UB5J7CE0.book Page 5 Thursday, November 26, 2020 1:37 PM
Page 197 of 200

13-1
13
INDEX
AAccelerator pedal ......................................................... 5-18
Accelerator pedal, checking ........................................ 9-50
Accelerator pedal, Pre-operation check ........................ 6-7
Air filter ......................................................................... 9-39
Air filter case hoses, cleaning ...................................... 9-43
Auxiliary DC jack .......................................................... 5-43
Axle boots .................................................................... 9-36BBasic guide for safe use ................................................ 8-1
Battery, Periodic maintenance .................................... 9-58
Brake and clutch fluid levels, checking ....................... 9-47
Brake fluid, replacing ................................................... 9-49
Brake light switch, adjusting ........................................ 9-52
Brake pedal .................................................................. 5-19
Brake pedal, checking ................................................. 9-49
Brakes, Periodic maintenance ..................................... 9-45
Brakes, Pre-operation check ......................................... 6-3
Brake/tail light .............................................................. 9-66CCable, inspecting and lubrication ................................ 9-52
Cargo bed .................................................................... 5-27
Cleaning ....................................................................... 10-1
Clutch pedal ................................................................. 5-18
Clutch pedal, checking ................................................ 9-49
Clutch, Pre-operation check .......................................... 6-3
Control cables, Pre-operation check ............................. 6-8
Coolant, Periodic maintenance ................................... 9-34
Coolant, Pre-operation check ........................................ 6-6Coolant temperature warning light ................................ 5-4
Cup holders ................................................................. 5-26
DData recording, vehicle ................................................ 12-1
Differential gear lock indicator light ............................... 5-3
Differential gear oil, Periodic maintenance .................. 9-32
Differential gear, Pre-operation check ........................... 6-6
Doors ........................................................................... 5-21
Drive mode, selecting .................................................... 7-7
Driver seat position ...................................................... 5-23
Drive shaft universal joint, lubrication .......................... 9-55
Drivetrain icon ................................................................ 5-3EEngine break-in .............................................................. 7-1
Engine oil and oil filter, Periodic maintenance ............. 9-16
Engine oil, Pre-operation check .................................... 6-6
Engine trouble warning light .......................................... 5-5
EPS warning light .......................................................... 5-5FFinal gear oil, Periodic maintenance ............................ 9-30
Final gear, Pre-operation check .................................... 6-6
Fittings and fasteners, Pre-operation check ................. 6-8
Flag pole bracket ......................................................... 5-28
Four–wheel drive knob (On–Command 4WD) ............. 5-17
Front and rear brake pads, checking .......................... 9-46
Fuel, Pre-operation check ............................................. 6-4
Fuel tank cap ............................................................... 5-21
Fuse, replacing ............................................................ 9-63GGlove compartment ..................................................... 5-25
UB5J7CE0.book Page 1 Thursday, November 26, 2020 1:37 PM