key YAMAHA YXZ1000R SS 2017 Owners Manual
[x] Cancel search | Manufacturer: YAMAHA, Model Year: 2017, Model line: YXZ1000R SS, Model: YAMAHA YXZ1000R SS 2017Pages: 208, PDF Size: 4.79 MB
Page 4 of 208
EBU31080
IMPORTANT MANUAL INFORMATION
EBU31070FAILURE TO FOLLOW THE WARNINGS CONTAINED IN THIS MANUAL CAN RESULT IN SERI-
OUS INJURY OR DEATH.
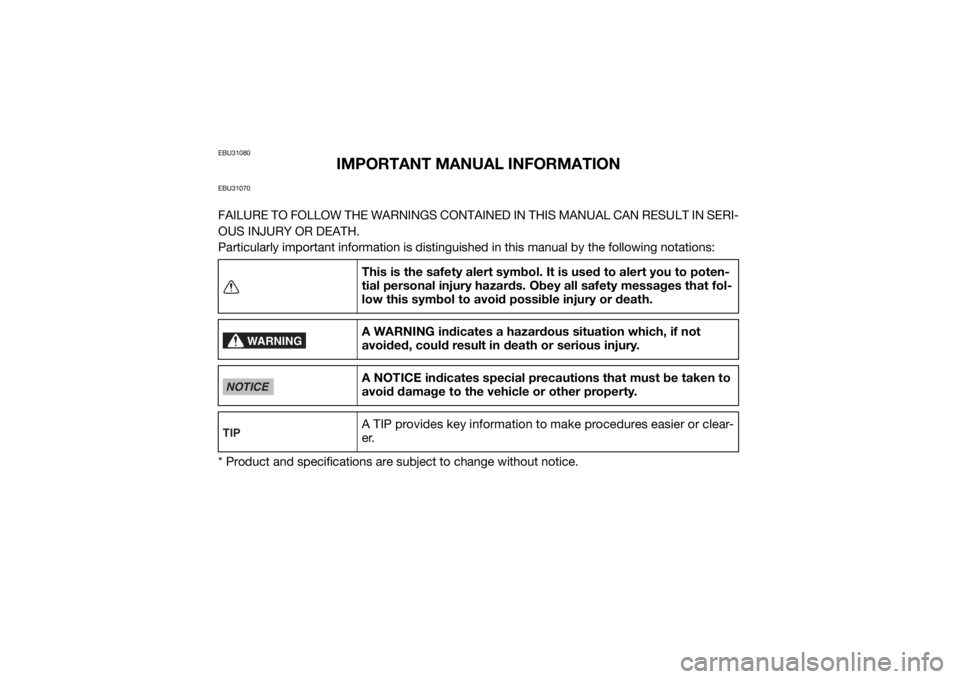
Particularly important information is distinguished in this manual by the following notations:
* Product and specifications are subject to change without notice.This is the safety alert symbol. It is used to alert you to poten-
tial personal injury hazards. Obey all safety messages that fol-
low this symbol to avoid possible injury or death.
A WARNING indicates a hazardous situation which, if not
avoided, could result in death or serious injury.
A NOTICE indicates special precautions that must be taken to
avoid damage to the vehicle or other property.
A TIP provides key information to make procedures easier or clear-
er.
WARNING
NOTICETIPU2HC7ME0.book Page 1 Tuesday, April 19, 2016 10:33 AM
Page 39 of 208
4-1
4
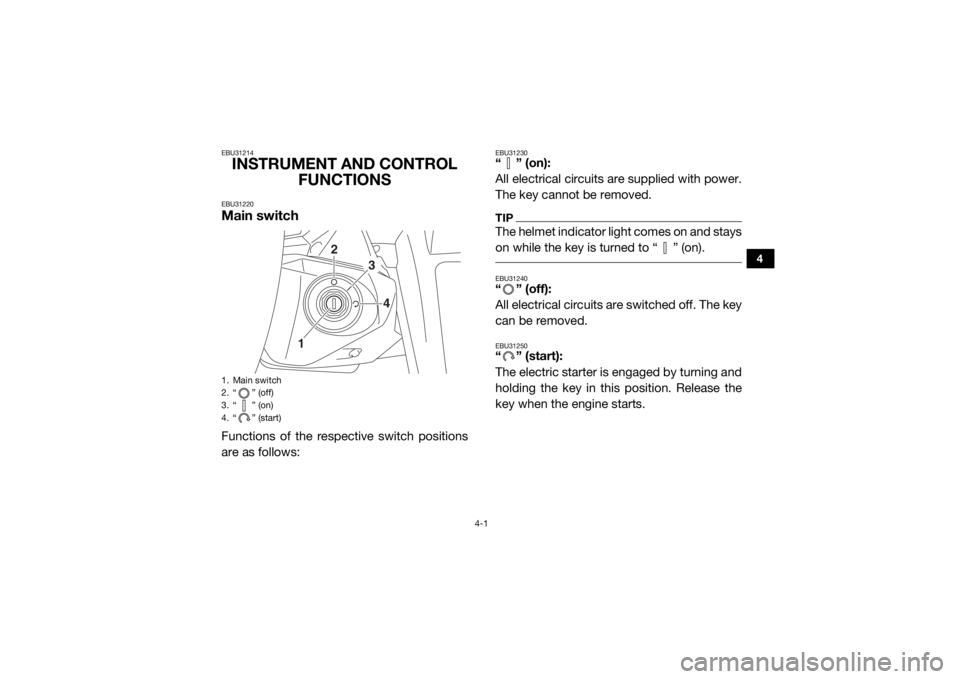
EBU31214INSTRUMENT AND CONTROL FUNCTIONSEBU31220Main switchFunctions of the respective switch positions
are as follows:
EBU31230“” (on):
All electrical circuits are supplied with power.
The key cannot be removed.TIPThe helmet indicator light comes on and stays
on while the key is turned to “ ” (on). EBU31240“ ” (off):
All electrical circuits are switched off. The key
can be removed.EBU31250“” (start):
The electric starter is engaged by turning and
holding the key in this position. Release the
key when the engine starts.
1. Main switch
2. “ ” (off)
3. “ ” (on)
4. “ ” (start)
1
2
3
4
U2HC7ME0.book Page 1 Tuesday, April 19, 2016 10:33 AM
Page 42 of 208

4-4
4
EBU34931Shift timing indicator light
This indicator light can be set to come on and
go off at the desired engine speeds and is
u s ed t o i n fo rm t h e dr iv er wh e n it i s ti m e t o u p -
shift.
The electrical circuit of the indicator light can
be checked by turning the key to “ ” (on). If
the indicator light does not come on initially
when the key is turned to “ ” (on), or if the
indicator light remains on, have a Yamaha
dealer check the electrical circuit.TIPSee page 4-13 for a detailed explanation of
this indicator light and how to set it. EBU35282Coolant temperature warning light “ ”
This warning light comes on when the coolant
temperature, and therefore the engine, is out-
side its normal operating temperature range.The warning light comes on in blue to inform
the driver that the vehicle should be warmed
up. After the engine is started, warm it up until
the warning light goes off.
The vehicle can be operated normally when
the warning light is off.
The warning light comes on in red when the
engine is overheating. If the red light comes
on, stop the vehicle as soon as it is safe to do
so and allow the engine to idle for about 10
minutes. If the warning light does not go off,
stop the engine and allow it to cool. (See page
8-67.)
TIPThe coolant temperature warning light can be
checked by turning the key to “ ” (on). The
warning light should come on in purple briefly
(which confirms that both the blue and red in-
dicators are okay) and then go off. If the warn-
ing light does not come on at all, comes on in
red or blue, or if the warning light remains on,
have a Yamaha dealer check the vehicle.
U2HC7ME0.book Page 4 Tuesday, April 19, 2016 10:33 AM
Page 43 of 208
4-5
4
NOTICEECB02040The engine may overheat if the vehicle is
overloaded. If this happens, reduce the
load to specification.
After restarting, make sure that the
warning light is out. Continuous use
while this warning light is on may cause
damage to the engine. EBU31341Engine trouble warning light “ ”
This warning light comes on or flashes if a
problem is detected in the electrical circuit
monitoring the engine. When this occurs, the
display will indicate an error code (see page
4-16). Have a Yamaha dealer check the self-
diagnosis system.
The electrical circuit of the warning light can
be checked by turning the key to “ ” (on). If
the warning light does not come on initially when the key is turned to “ ” (on), or if the
warning light remains on, have a Yamaha
dealer check the vehicle.
EBU33041Electric Power Steering warning light
“EPS”
This warning light comes on when the key is
turned to “ ” (on), and then goes off once
the engine is started. If the warning light re-
mains on or comes on after the engine is
started, the EPS system may not be working
correctly. When this occurs, have a Yamaha
dealer check the EPS system.
The electrical circuit of the warning light can
be checked by turning the key to “ ” (on). If
the warning light does not come on, have a
Yamaha dealer check the electrical circuit.
U2HC7ME0.book Page 5 Tuesday, April 19, 2016 10:33 AM
Page 44 of 208

4-6
4
TIPIf the steering load is too heavy (e.g., exces-
sive steering use at slow speed or when op-
erating in deep mud, sand, or snow), the
power assist is reduced to protect the EPS
motor from overheating. EBU31360Helmet indicator light “ ”
The indicator light comes on and stays on
while the key is turned to “ ” (on) to remind
the occupants to always wear a helmet. If the
indicator light does not come on when the key
is turned to “ ” (on), have a Yamaha dealer
check the electrical circuit.EBU31370Seat belt indicator light “ ”
The indicator light comes on when the key is
turned to “ ” (on) to remind the occupants
to fasten their seat belt. The indicator light
stays on until the driver seat belt is properly
latched. If the indicator light does not come
on when the key is turned to “ ” (on), or ifthe indicator light remains on after the driver
seat belt is properly latched, have a Yamaha
dealer check the electrical circuit.U2HC7ME0.book Page 6 Tuesday, April 19, 2016 10:33 AM
Page 46 of 208

4-8
4
Speedometer
The speedometer shows the vehicle’s travel-
ing speed. The speedometer can be set to
“MPH” or “km/h”. This also changes the
odometer and tripmeter units between miles
and kilometers. To change the display be-
tween “MPH” and “km/h”, turn the key to“ ” (off), then hold the “SELECT” button
pushed and turn the key to “ ” (on). Tachometer
The tachometer shows the engine speed in
crankshaft revolutions per minute (r/min).
When the vehicle is first powered on, the ta-
chometer needle will sweep once across the
r/min range and then return to zero r/min in
order to test the electrical circuit.
NOTICEECB02920Do not operate the engine in the tachome-
ter red zone.
1. Speedometer
1
1. Tachometer
2. Tachometer red zone
1
2
U2HC7ME0.book Page 8 Tuesday, April 19, 2016 10:33 AM
Page 50 of 208
4-12
4
below 0 °C (32 °F), “LO” will be displayed.
When the coolant temperature is between
122 °C (252 °F) and 128 °C (263 °F), the cool-
ant temperature display will flash. In this case,
stop the vehicle in a safe place and let it idle
for 10 minutes. If the message “HI” flashes,
stop the engine and let it cool. (See page
8-67.)TIPThe coolant temperature display can be set
to “°C” or “°F”. To switch the temperature
units, turn the key to “ ” (off), then hold
the “RESET” button pushed and turn the
key to “ ” (on).
The coolant temperature varies with chang-
es in the weather and engine load.
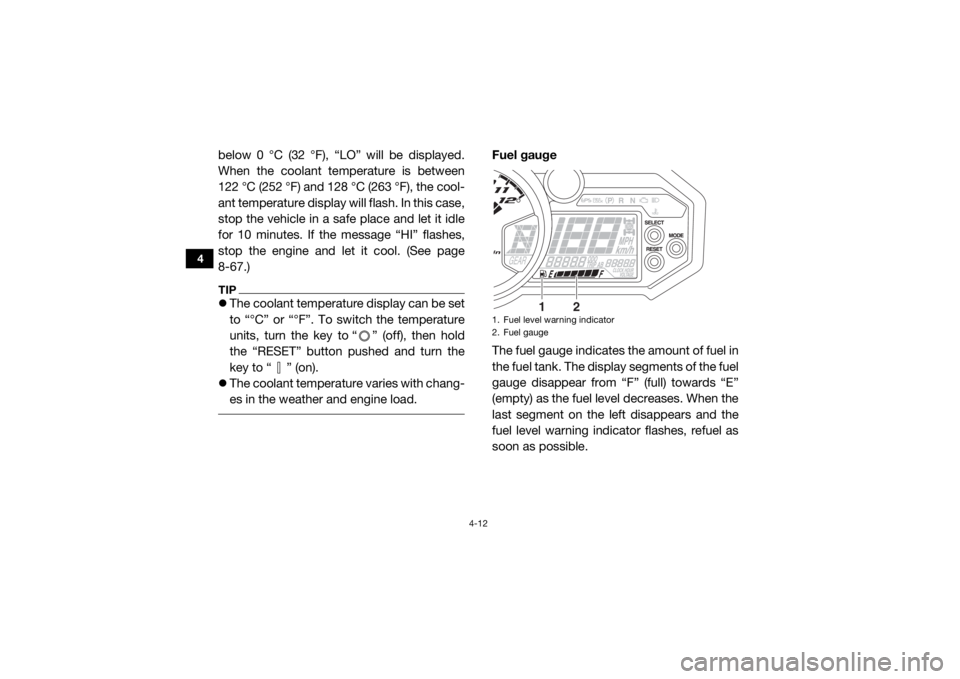
Fuel gauge
The fuel gauge indicates the amount of fuel in
the fuel tank. The display segments of the fuel
gauge disappear from “F” (full) towards “E”
(empty) as the fuel level decreases. When the
last segment on the left disappears and the
fuel level warning indicator flashes, refuel as
soon as possible.1. Fuel level warning indicator
2. Fuel gauge
1
2
U2HC7ME0.book Page 12 Tuesday, April 19, 2016 10:33 AM
Page 52 of 208

4-14
4
Activation point: this function allows you to
select the engine speed at which the indi-
cator light is activated.
Deactivation point: this function allows you
to select the engine speed at which the in-
dicator light is deactivated.
To adjust the shift timing indicator light1. Turn the key to “ ” (off).
2. Push and hold the “MODE” button.
3. Turn the key to “ ” (on), and then re- lease the “MODE” button after five sec-
onds. After all segments of the display
disappear and the shift timing indicator
light comes on, the shift timing indicator
light can be adjusted.
To set the flashing pattern1. Push the “RESET” button to select one of the following flashing pattern settings:
On: the indicator light stays on when
activated. (The indicator light will con-
firm this setting by staying on.)
Flash: the indicator light flashes when
activated. (The indicator light will con-
firm this setting by flashing four times
per second.)
Off: the indicator light is deactivated; in
other words, it does not come on or
flash. (The indicator light will confirm
this setting by flashing once every two
seconds.)
2. Push the “MODE” button to confirm the selected flashing pattern. The control
mode changes to the activation point set-
ting mode. The shift timing indicator light
remains on and the tachometer shows
the current setting r/min for the activation
point.
To set the shift activation point
TIP The shift timing indicator light activation
point can be set between 7000 r/min and
12000 r/min. The activation point can be set
in increments of 500 r/min.
U2HC7ME0.book Page 14 Tuesday, April 19, 2016 10:33 AM
Page 97 of 208

6-2
6
10–20 hours:
Avoid prolonged operation above 6300 r/min.
After break-in:
The vehicle may now be operated normally.EBU35342Starting the engine1. Turn the key to “ ” (on).NOTICEECB02291The coolant temperature warning light and
engine trouble warning light should come
on, then go off.
The EPS warning light should come on,
then go off when the engine is started.
To avoid possible damage, do not operate
the vehicle if a warning light does not work
as described above. 2. Press the brake pedal.
3. Shift the transmission into neutral.
When the transmission is in the neutral
position, the transmission gear display
shows “N” and the neutral indicator
light should come on.
The engine can be started in any gear if
the clutch pedal is applied. However, it
is recommended to shift into neutral
before starting the engine.
4. With your foot off the accelerator pedal, start the engine by turning the key to “ ”
(start).
If the engine fails to start, release the key, and
then try starting it again. Wait a few seconds
before the next attempt. Each attempt should
be as short as possible, to preserve battery
energy. NOTICE: Do not crank the engine
more than 5 seconds on each attempt, or
starter damage could occur. Wait at least
5 seconds between each operation of the
electric starter to let it cool.
[ECB02140]
Do not turn the key to the “ ” (start) position
with the engine running; otherwise, damage
to the electric starter may result.
U2HC7ME0.book Page 2 Tuesday, April 19, 2016 10:33 AM
Page 106 of 208
7-2
7
As the owner/operator, it is your responsibility
to protect yourself and your passenger from
accidents, including rollovers. The YXZ1000R
has many features, including a protective
structure and seat belts, to help protect occu-
pants, but the best way to avoid injuries is to
avoid accidents. There is a risk of injury or
death in any accident, even with these safety
features.
Driver requirements
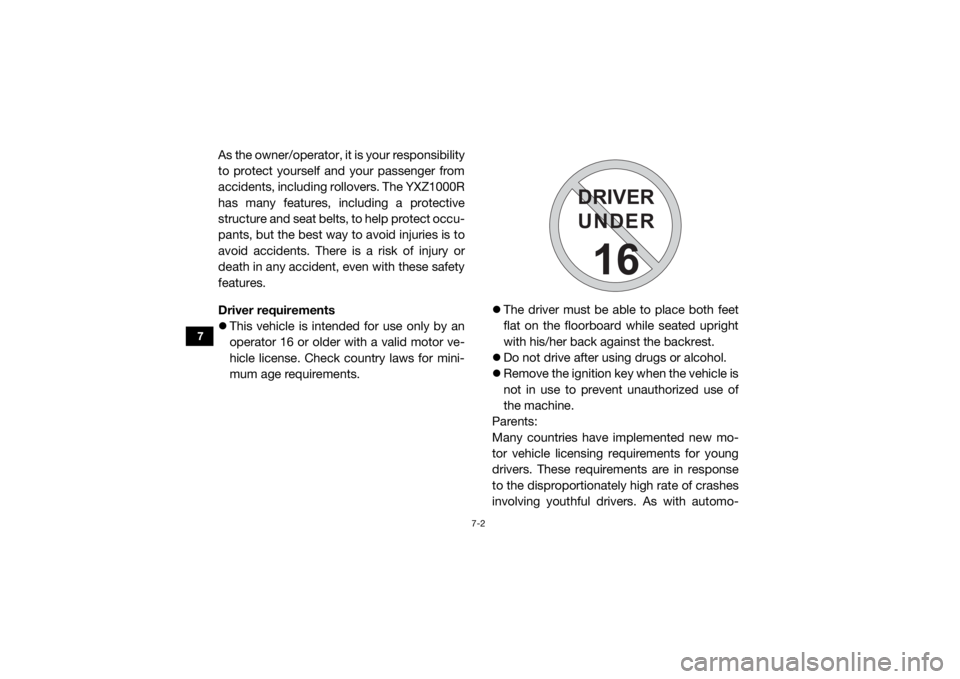
This vehicle is intended for use only by an
operator 16 or older with a valid motor ve-
hicle license. Check country laws for mini-
mum age requirements.
The driver must be able to place both feet
flat on the floorboard while seated upright
with his/her back against the backrest.
Do not drive after using drugs or alcohol.
Remove the ignition key when the vehicle is
not in use to prevent unauthorized use of
the machine.
Parents:
Many countries have implemented new mo-
tor vehicle licensing requirements for young
drivers. These requirements are in response
to the disproportionately high rate of crashes
involving youthful drivers. As with automo-
DRIVER
UNDER
16
U2HC7ME0.book Page 2 Tuesday, April 19, 2016 10:33 AM