Shift pedal YAMAHA YZF-R7 2022 Owners Manual
[x] Cancel search | Manufacturer: YAMAHA, Model Year: 2022, Model line: YZF-R7, Model: YAMAHA YZF-R7 2022Pages: 100, PDF Size: 3.78 MB
Page 6 of 100

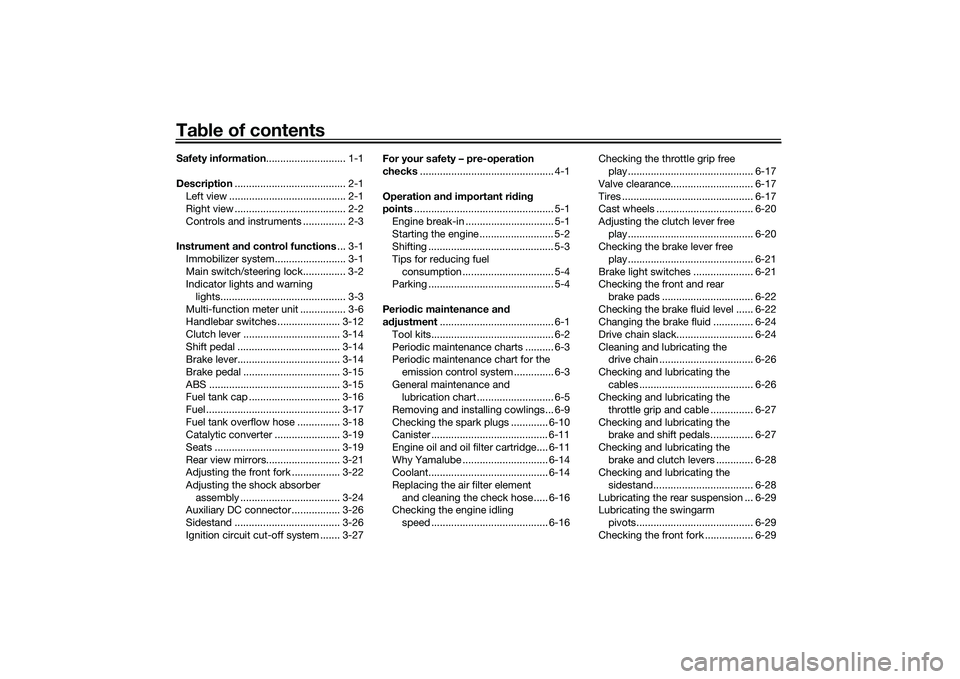
Table of contentsSafety information ............................ 1-1
Description ....................................... 2-1
Left view ......................................... 2-1
Right view ....................................... 2-2
Controls and instruments ............... 2-3
Instrument an d control functions ... 3-1
Immobilizer system......................... 3-1
Main switch/steering lock............... 3-2
Indicator lights and warning lights............................................ 3-3
Multi-function meter unit ................ 3-6
Handlebar switches ...................... 3-12
Clutch lever .................................. 3-14
Shift pedal .................................... 3-14
Brake lever.................................... 3-14
Brake pedal .................................. 3-15
ABS .............................................. 3-15
Fuel tank cap ................................ 3-16
Fuel ............................................... 3-17
Fuel tank overflow hose ............... 3-18
Catalytic converter ....................... 3-19
Seats ............................................ 3-19
Rear view mirrors.......................... 3-21
Adjusting the front fork ................. 3-22
Adjusting the shock absorber assembly ................................... 3-24
Auxiliary DC connector ................. 3-26
Sidestand ..................................... 3-26
Ignition circuit cut-off system ....... 3-27 For your safety – pre-operation
checks
............................................... 4-1
Operation an d important ri din g
points ................................................. 5-1
Engine break-in ............................... 5-1
Starting the engine .......................... 5-2
Shifting ............................................ 5-3
Tips for reducing fuel consumption ................................ 5-4
Parking ............................................ 5-4
Perio dic maintenance an d
a d justment ........................................ 6-1
Tool kits........................................... 6-2
Periodic maintenance charts .......... 6-3
Periodic maintenance chart for the emission control system .............. 6-3
General maintenance and lubrication chart ........................... 6-5
Removing and installing cowlings... 6-9
Checking the spark plugs ............. 6-10
Canister ......................................... 6-11
Engine oil and oil filter cartridge.... 6-11
Why Yamalube .............................. 6-14
Coolant.......................................... 6-14
Replacing the air filter element and cleaning the check hose..... 6-16
Checking the engine idling
speed ......................................... 6-16 Checking the throttle grip free
play ............................................ 6-17
Valve clearance............................. 6-17
Tires .............................................. 6-17
Cast wheels .................................. 6-20
Adjusting the clutch lever free play ............................................ 6-20
Checking the brake lever free
play ............................................ 6-21
Brake light switches ..................... 6-21
Checking the front and rear brake pads ................................ 6-22
Checking the brake fluid level ...... 6-22
Changing the brake fluid .............. 6-24
Drive chain slack........................... 6-24
Cleaning and lubricating the drive chain ................................. 6-26
Checking and lubricating the cables ........................................ 6-26
Checking and lubricating the
throttle grip and cable ............... 6-27
Checking and lubricating the brake and shift pedals............... 6-27
Checking and lubricating the brake and clutch levers ............. 6-28
Checking and lubricating the
sidestand................................... 6-28
Lubricating the rear suspension ... 6-29
Lubricating the swingarm pivots......................................... 6-29
Checking the front fork ................. 6-29UBEBE0E0.book Page 1 Monday, July 5, 2021 2:26 PM
Page 13 of 100

Description
2-1
2
EAU10411
Left view
1
45678910
23
11
1. Battery (page 6-31)
2. Fuses (page 6-32)
3. Seat lock (page 3-19)
4. Rebound damping force adjuster (page 3-24)
5. Shift pedal (page 3-14)
6. Spring preload adjuster (page 3-24)
7. Engine oil filler cap (page 6-11)
8. Engine oil level check window (page 6-11)9. Engine oil drain bolt (page 6-11)
10.Engine oil filter cartridge (page 6-11)
11.Coolant reservoir (page 6-14)
UBEBE0E0.book Page 1 Monday, July 5, 2021 2:26 PM
Page 29 of 100

Instrument and control functions
3-14
3
EAU12823
Clutch leverTo disengage the drivetrain from the
engine, such as when shifting gears,
pull the clutch lever toward to the han-
dlebar. Release the lever to engage the
clutch and transmit power to the rear
wheel.TIPThe lever should be pulled rapidly and
released slowly for smooth shifting.
(See page 5-3.)
EAU12876
Shift pedalThe shift pedal is located on the left
side of the motorcycle. To shift the
transmission to a higher gear, move
the shift pedal up. To shift the trans-
mission to a lower gear, move the shift
pedal down. (See page 5-3.)
EAU93080
Brake leverThe brake lever is located on the right
side of the handlebar. To apply the
front brake, pull the lever toward the
throttle grip.
The brake lever is equipped with a
brake lever position adjusting knob. To
adjust the distance between the brake
lever and the throttle grip, turn the ad-
justing knob while holding the lever
pushed away from the throttle grip.
Turn the adjusting knob in direction (a)
to increase the distance. Turn the ad-
justing knob in direction (b) to decrease
the distance.
1. Clutch lever
1 1 1
1. Shift pedal
1 1 1
1. Brake lever
2. Distance
3. Brake lever position adjusting knob
1 1 12 2
3 3
(a) (a) (a)
(b) (b) (b)
UBEBE0E0.book Page 14 Monday, July 5, 2021 2:26 PM
Page 45 of 100

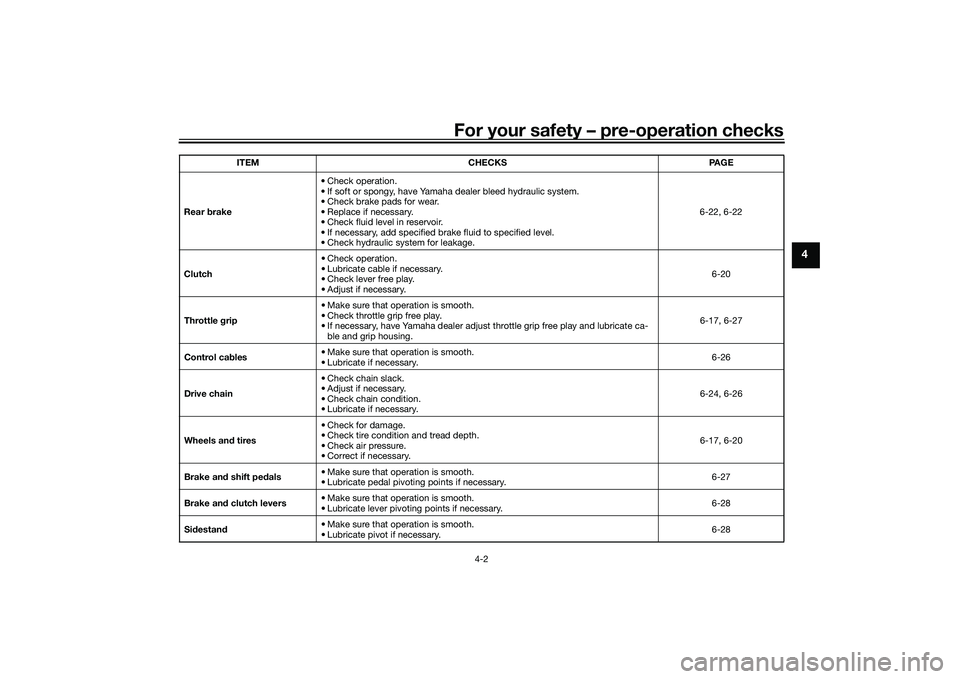
For your safety – pre-operation checks
4-2
4
Rear brake• Check operation.
• If soft or spongy, have Yamaha dealer bleed hydraulic system.
• Check brake pads for wear.
• Replace if necessary.
• Check fluid level in reservoir.
• If necessary, add specified brake fluid to specified level.
• Check hydraulic system for leakage. 6-22, 6-22
Clutch • Check operation.
• Lubricate cable if necessary.
• Check lever free play.
• Adjust if necessary.
6-20
Throttle grip • Make sure that operation is smooth.
• Check throttle grip free play.
• If necessary, have Yamaha dealer adjust throttle grip free play and lubricate ca-
ble and grip housing. 6-17, 6-27
Control cables • Make sure that operation is smooth.
• Lubricate if necessary. 6-26
Drive chain • Check chain slack.
• Adjust if necessary.
• Check chain condition.
• Lubricate if necessary.
6-24, 6-26
Wheels and tires • Check for damage.
• Check tire condition and tread depth.
• Check air pressure.
• Correct if necessary.
6-17, 6-20
Brake and shift pedals • Make sure that operation is smooth.
• Lubricate pedal pivoting points if necessary. 6-27
Brake and clutch levers • Make sure that operation is smooth.
• Lubricate lever pivoting points if necessary.
6-28
Sidestand • Make sure that operation is smooth.
• Lubricate pivot if necessary.
6-28
ITEM CHECKS PAGE
UBEBE0E0.book Page 2 Monday, July 5, 2021 2:26 PM
Page 49 of 100

Operation and important riding points
5-3
5
EAU16675
ShiftingShifting gears lets you control the
amount of engine power available for
starting off, accelerating, climbing hills,
etc.
The gear positions are shown in the il-
lustration.TIPTo shift the transmission into the neu-
tral position ( ), press the shift pedal
down repeatedly until it reaches the
end of its travel, and then slightly raise
it.
NOTICE
ECA10262
When shifting, press the shift
pedal firmly until you feel the
gear shift is complete.
Even with the transmission in
the neutral position, do not
coast for long periods of time
with the engine off, nor tow the
motorcycle for long distances.
The transmission is properly lu-
bricated only when the engine is
running. Inadequate lubrication
may damage the transmission.
Always use the clutch while
changing gears to avoid dam-
aging the engine, transmission,
and drive train, which are not
designed to withstand the
shock of forced shifting.
EAU85370
To start out and accelerate
1. Pull the clutch lever to disengage the clutch.
2. Shift the transmission into first gear. The neutral indicator light
should go out. 3. Open the throttle gradually, and at
the same time, release the clutch
lever slowly.
4. After starting out, close the throt- tle, and at the same time, quickly
pull the clutch lever in.
5. Shift the transmission into second gear. (Make sure not to shift the
transmission into the neutral posi-
tion.)
6. Open the throttle part way and gradually release the clutch lever.
7. Follow the same procedure when shifting to the next higher gear.
EAU85380
To decelerate1. Release the throttle and apply both the front and the rear brakes
smoothly to slow the motorcycle.
2. As the vehicle decelerates, shift to a lower gear.
3. When the engine is about to stall or runs roughly, pull the clutch le-
ver in, use the brakes to slow the
motorcycle, and continue to
downshift as necessary.
1. Gear positions
2. Shift pedal
1 1 1
2
1
N 2 3
4
5
6
UBEBE0E0.book Page 3 Monday, July 5, 2021 2:26 PM
Page 56 of 100

Periodic maintenance and adjustment
6-6
6
11*Wheel bearings • Check bearing for looseness or
damage. √√√√
12 *Swingarm pivot
bearings • Check operation and for exces-
sive play. √√√√
• Lubricate with lithium-soap- based grease. Every 50000 km (30000 mi)
13 Drive chain • Check chain slack, alignment and
condition.
• Adjust and lubricate chain with a special O-ring chain lubricant
thoroughly. Every 1000 km (600 mi) and after washing the motorcycle, riding in the rain or
riding in wet areas
14 *Steering bearings • Check bearing assemblies for
looseness. √√
√
• Moderately repack with lithium- soap-based grease. √√
15 *Chassis fasteners • Make sure that all nuts, bolts and
screws are properly tightened. √√√√√
16 Brake lever pivot
shaft
• Lubricate with silicone grease.
√√√√√
17 Brake pedal pivot
shaft • Lubricate with lithium-soap-
based grease. √√√√√
18 Clutch lever pivot
shaft • Lubricate with lithium-soap-
based grease. √√√√√
19 Shift pedal pivot
shaft • Lubricate with lithium-soap-
based grease. √√√√√
NO. ITEM CHECK OR MAINTENANCE JOB
ODOMETER READING
ANNUAL
CHECK
1000 km
(600 mi) 10000 km
(6000 mi) 20000 km
(12000 mi) 30000 km
(18000 mi) 40000 km
(24000 mi)UBEBE0E0.book Page 6 Monday, July 5, 2021 2:26 PM
Page 77 of 100

Periodic maintenance and adjustment
6-27
6
EAU23115
Checking and lubricating the
throttle grip and cableThe operation of the throttle grip
should be checked before each ride. In
addition, the cable should be lubricat-
ed by a Yamaha dealer at the intervals
specified in the periodic maintenance
chart.
The throttle cable is equipped with a
rubber cover. Make sure that the cover
is securely installed. Even though the
cover is installed correctly, it does not
completely protect the cable from wa-
ter entry. Therefore, use care not to
pour water directly onto the cover or
cable when washing the vehicle. If the
cable or cover becomes dirty, wipe
clean with a moist cloth.
EAU44276
Checking and lubricating the
brake and shift pedalsThe operation of the brake and shift
pedals should be checked before each
ride, and the pedal pivots should be lu-
bricated if necessary.
Brake pedal
Shift pedal
Recommended lubricant:Lithium-soap-based grease
UBEBE0E0.book Page 27 Monday, July 5, 2021 2:26 PM
Page 97 of 100

10-1
10
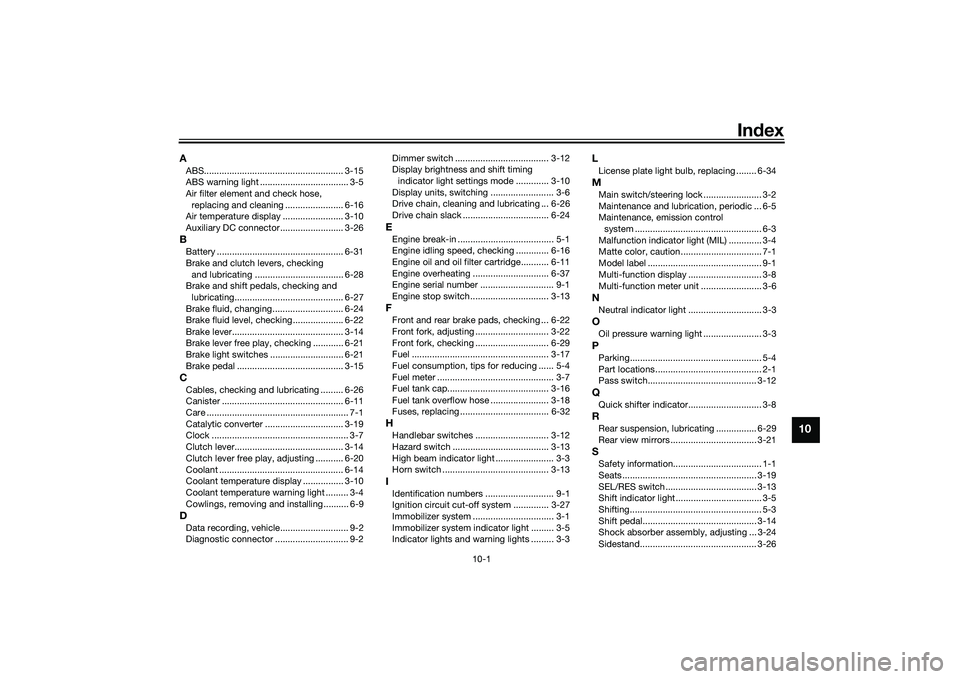
Index
AABS....................................................... 3-15
ABS warning light ................................... 3-5
Air filter element and check hose, replacing and cleaning ....................... 6-16
Air temperature display ........................ 3-10
Auxiliary DC connector ......................... 3-26BBattery .................................................. 6-31
Brake and clutch levers, checking and lubricating ................................... 6-28
Brake and shift pedals, checking and
lubricating........................................... 6-27
Brake fluid, changing............................ 6-24
Brake fluid level, checking.................... 6-22
Brake lever............................................ 3-14
Brake lever free play, checking ............ 6-21
Brake light switches ............................. 6-21
Brake pedal .......................................... 3-15CCables, checking and lubricating ......... 6-26
Canister ................................................ 6-11
Care ........................................................ 7-1
Catalytic converter ............................... 3-19
Clock ...................................................... 3-7
Clutch lever........................................... 3-14
Clutch lever free play, adjusting ........... 6-20
Coolant ................................................. 6-14
Coolant temperature display ................ 3-10
Coolant temperature warning light ......... 3-4
Cowlings, removing and installing.......... 6-9DData recording, vehicle........................... 9-2
Diagnostic connector ............................. 9-2 Dimmer switch ..................................... 3-12
Display brightness and shift timing
indicator light settings mode ............. 3-10
Display units, switching ......................... 3-6
Drive chain, cleaning and lubricating ... 6-26
Drive chain slack .................................. 6-24
EEngine break-in ...................................... 5-1
Engine idling speed, checking ............. 6-16
Engine oil and oil filter cartridge........... 6-11
Engine overheating .............................. 6-37
Engine serial number ............................. 9-1
Engine stop switch............................... 3-13FFront and rear brake pads, checking ... 6-22
Front fork, adjusting ............................. 3-22
Front fork, checking ............................. 6-29
Fuel ...................................................... 3-17
Fuel consumption, tips for reducing ...... 5-4
Fuel meter .............................................. 3-7
Fuel tank cap........................................ 3-16
Fuel tank overflow hose ....................... 3-18
Fuses, replacing ................................... 6-32HHandlebar switches ............................. 3-12
Hazard switch ...................................... 3-13
High beam indicator light ....................... 3-3
Horn switch .......................................... 3-13IIdentification numbers ........................... 9-1
Ignition circuit cut-off system .............. 3-27
Immobilizer system ................................ 3-1
Immobilizer system indicator light ......... 3-5
Indicator lights and warning lights ......... 3-3
LLicense plate light bulb, replacing ........ 6-34MMain switch/steering lock ....................... 3-2
Maintenance and lubrication, periodic ... 6-5
Maintenance, emission control
system .................................................. 6-3
Malfunction indicator light (MIL) ............. 3-4
Matte color, caution................................ 7-1
Model label ............................................. 9-1
Multi-function display ............................. 3-8
Multi-function meter unit ........................ 3-6NNeutral indicator light ............................. 3-3OOil pressure warning light ....................... 3-3PParking.................................................... 5-4
Part locations.......................................... 2-1
Pass switch........................................... 3-12QQuick shifter indicator............................. 3-8RRear suspension, lubricating ................ 6-29
Rear view mirrors .................................. 3-21SSafety information................................... 1-1
Seats ..................................................... 3-19
SEL/RES switch .................................... 3-13
Shift indicator light .................................. 3-5
Shifting.................................................... 5-3
Shift pedal............................................. 3-14
Shock absorber assembly, adjusting ... 3-24
Sidestand.............................................. 3-26
UBEBE0E0.book Page 1 Monday, July 5, 2021 2:26 PM