Torque Spec YAMAHA YZF-R7 2022 Owners Manual
[x] Cancel search | Manufacturer: YAMAHA, Model Year: 2022, Model line: YZF-R7, Model: YAMAHA YZF-R7 2022Pages: 100, PDF Size: 3.78 MB
Page 60 of 100

Periodic maintenance and adjustment
6-10
6
EAU19653
Checking the spark plugsThe spark plugs are important engine
components, which should be
checked periodically, preferably by a
Yamaha dealer. Since heat and depos- its will cause any spark plug to slowly
erode, they should be removed and
checked in accordance with the peri-
odic maintenance and lubrication
chart. In addition, the condition of the
spark plugs can reveal the condition of
the engine.
The porcelain insulator around the
center electrode of each spark plug
should be a medium-to-light tan (the
ideal color when the vehicle is ridden
normally), and all spark plugs installed
in the engine should have the same
color. If any spark plug shows a dis-
tinctly different color, the engine could
be operating improperly. Do not at-
tempt to diagnose such problems
yourself. Instead, have a Yamaha deal-
er check the vehicle.
If a spark plug shows signs of elec-
trode erosion and excessive carbon or
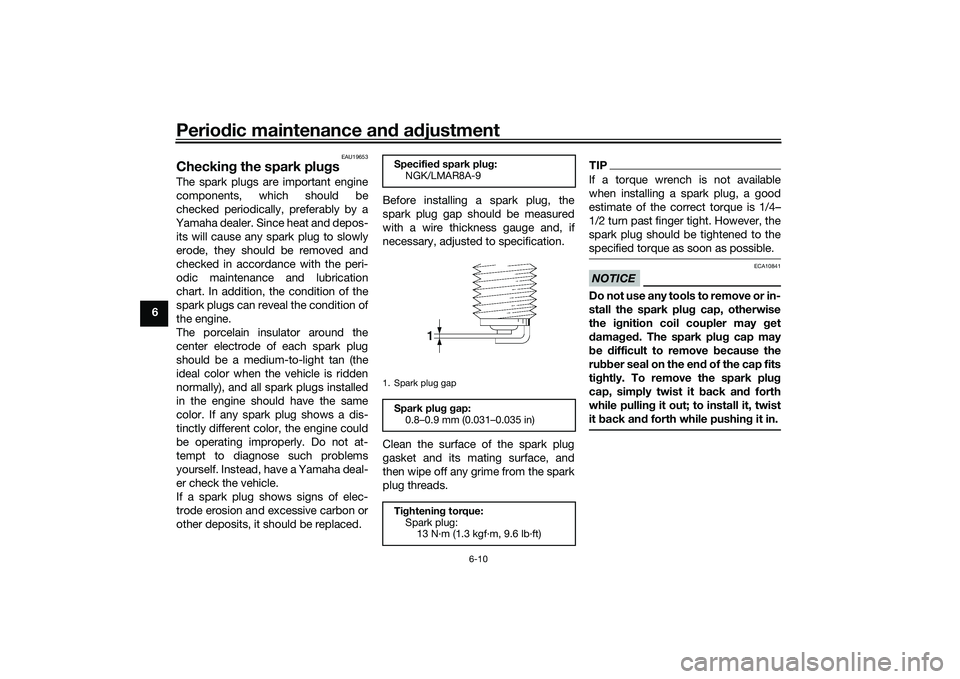
other deposits, it should be replaced. Before installing a spark plug, the
spark plug gap should be measured
with a wire thickness gauge and, if
necessary, adjusted to specification.
Clean the surface of the spark plug
gasket and its mating surface, and
then wipe off any grime from the spark
plug threads.
TIPIf a torque wrench is not available
when installing a spark plug, a good
estimate of the correct torque is 1/4–
1/2 turn past finger tight. However, the
spark plug should be tightened to the
specified torque as soon as possible.NOTICE
ECA10841
Do not use any tools to remove or in-
stall the spark plug cap, otherwise
the ignition coil coupler may get
damaged. The spark plug cap may
be difficult to remove because the
rubber seal on the end of the cap fits
tightly. To remove the spark plug
cap, simply twist it back and forth
while pulling it out; to install it, twist
it back and forth while pushing it in.
Specified spark plug:
NGK/LMAR8A-91. Spark plug gapSpark plug gap:0.8–0.9 mm (0.031–0.035 in)
Tightening torque: Spark plug:13 N·m (1.3 kgf·m, 9.6 lb·ft)
UBEBE0E0.book Page 10 Monday, July 5, 2021 2:26 PM
Page 62 of 100

Periodic maintenance and adjustment
6-12
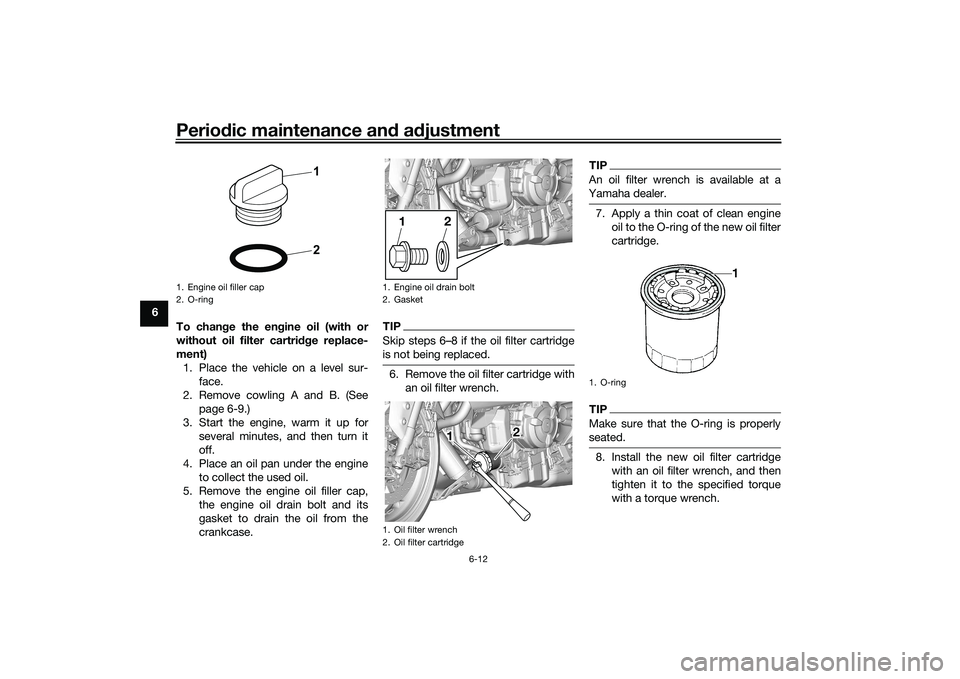
6To change the engine oil (with or
without oil filter cartridge replace-
ment)1. Place the vehicle on a level sur- face.
2. Remove cowling A and B. (See page 6-9.)
3. Start the engine, warm it up for several minutes, and then turn it
off.
4. Place an oil pan under the engine to collect the used oil.
5. Remove the engine oil filler cap, the engine oil drain bolt and its
gasket to drain the oil from the
crankcase.
TIPSkip steps 6–8 if the oil filter cartridge
is not being replaced.6. Remove the oil filter cartridge withan oil filter wrench.
TIPAn oil filter wrench is available at a
Yamaha dealer.7. Apply a thin coat of clean engine oil to the O-ring of the new oil filter
cartridge.TIPMake sure that the O-ring is properly
seated.8. Install the new oil filter cartridgewith an oil filter wrench, and then
tighten it to the specified torque
with a torque wrench.
1. Engine oil filler cap
2. O-ring
21
1. Engine oil drain bolt
2. Gasket
1. Oil filter wrench
2. Oil filter cartridge
2
1
1 1 1 2 2
1. O-ring
UBEBE0E0.book Page 12 Monday, July 5, 2021 2:26 PM
Page 63 of 100

Periodic maintenance and adjustment
6-13
6
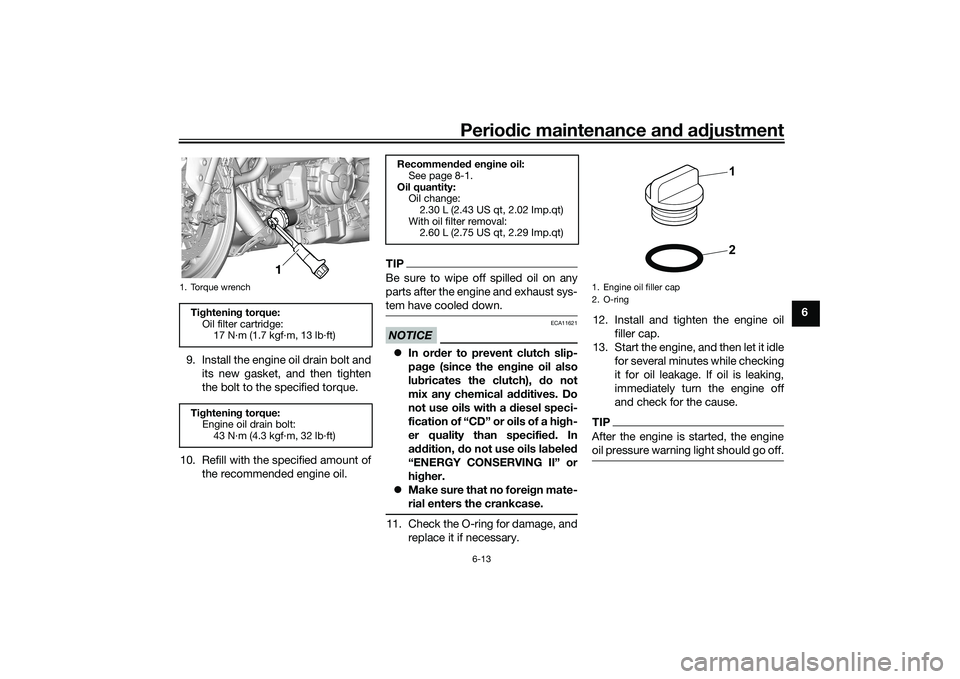
9. Install the engine oil drain bolt and its new gasket, and then tighten
the bolt to the specified torque.
10. Refill with the specified amount of the recommended engine oil.
TIPBe sure to wipe off spilled oil on any
parts after the engine and exhaust sys-
tem have cooled down.NOTICE
ECA11621
In order to prevent clutch slip-
page (since the engine oil also
lubricates the clutch), do not
mix any chemical additives. Do
not use oils with a diesel speci-
fication of “CD” or oils of a high-
er quality than specified. In
addition, do not use oils labeled
“ENERGY CONSERVING II” or
higher.
Make sure that no foreign mate-
rial enters the crankcase.11. Check the O-ring for damage, and
replace it if necessary. 12. Install and tighten the engine oil
filler cap.
13. Start the engine, and then let it idle for several minutes while checking
it for oil leakage. If oil is leaking,
immediately turn the engine off
and check for the cause.
TIPAfter the engine is started, the engine
oil pressure warning light should go off.
1. Torque wrenchTightening torque:Oil filter cartridge:17 N·m (1.7 kgf·m, 13 lb·ft)
Tightening torque: Engine oil drain bolt:
43 N·m (4.3 kgf·m, 32 lb·ft)
1 1 1
Recommended engine oil: See page 8-1.
Oil quantity: Oil change:
2.30 L (2.43 US qt, 2.02 Imp.qt)
With oil filter removal: 2.60 L (2.75 US qt, 2.29 Imp.qt)
1. Engine oil filler cap
2. O-ring
21
UBEBE0E0.book Page 13 Monday, July 5, 2021 2:26 PM
Page 75 of 100

Periodic maintenance and adjustment
6-25
6
EAU59921
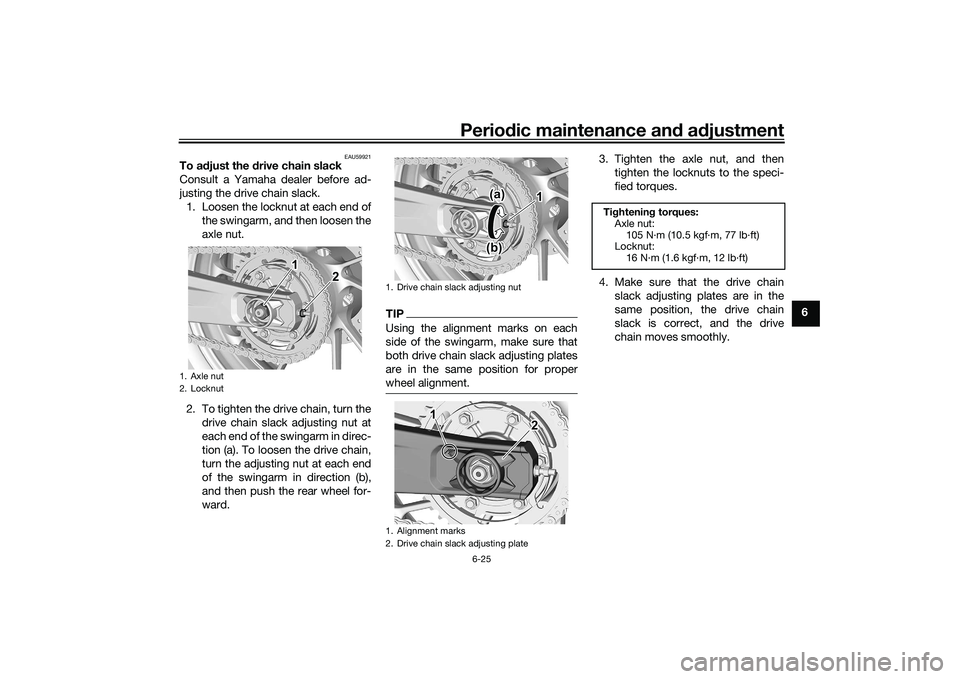
To adjust the drive chain slack
Consult a Yamaha dealer before ad-
justing the drive chain slack.1. Loosen the locknut at each end of the swingarm, and then loosen the
axle nut.
2. To tighten the drive chain, turn the drive chain slack adjusting nut at
each end of the swingarm in direc-
tion (a). To loosen the drive chain,
turn the adjusting nut at each end
of the swingarm in direction (b),
and then push the rear wheel for-
ward.
TIPUsing the alignment marks on each
side of the swingarm, make sure that
both drive chain slack adjusting plates
are in the same position for proper
wheel alignment.
3. Tighten the axle nut, and thentighten the locknuts to the speci-
fied torques.
4. Make sure that the drive chain slack adjusting plates are in the
same position, the drive chain
slack is correct, and the drive
chain moves smoothly.
1. Axle nut
2. Locknut
1 1 1 2 2
1. Drive chain slack adjusting nut
1. Alignment marks
2. Drive chain slack adjusting plate
1 1 1
(a) (a) (a)
(b) (b) (b)
1 1 1 2 2
Tightening torques:
Axle nut: 105 N·m (10.5 kgf·m, 77 lb·ft)
Locknut:
16 N·m (1.6 kgf·m, 12 lb·ft)
UBEBE0E0.book Page 25 Monday, July 5, 2021 2:26 PM