stop start Abarth 124 Spider 2020 Owner handbook (in English)
[x] Cancel search | Manufacturer: ABARTH, Model Year: 2020, Model line: 124 Spider, Model: Abarth 124 Spider 2020Pages: 224, PDF Size: 3.9 MB
Page 124 of 224

mode is cancelled (released) depending
on the rate of acceleration or if the
accelerator is fully depressed, use of
the manual shift mode is recommended
if you need to drive the vehicle in a
particular gear for long periods.
DRIVING TIPS
147) 148)
Passing
For extra power when passing another
vehicle or climbing steep grades,
depress the accelerator fully. The
transmission will shift to a lower gear,
depending on vehicle speed.
Climbing steep grades from a stop
To climb a steep grade from a stopped
position depress the brake pedal, shift
to D or M1, depending on the load
weight and grade steepness, release
the brake pedal while gradually
accelerating.
Descending steep grades
When descending a steep grade, shift
to lower gears, depending on load
weight and grade steepness.
Descend slowly, using the brakes only
occasionally to prevent them from
overheating.
WARNING
143)Always set the selector lever to P and
set the parking brake. Only setting the
selector lever to the P position without
using the parking brake to hold the vehicle
is dangerous. If P fails to hold, the vehicle
could move and cause an accident.
144)If the engine is running faster than
idle, do not shift from N or P into a driving
gear. It's dangerous to shift from N or P
into a driving gear when the engine is
running faster than idle. If this is done, the
vehicle could move suddenly, causing an
accident or serious injury.
145)Do not shift into N when driving the
vehicle. Shifting into N while driving is
dangerous. Engine braking cannot be
applied when decelerating which could
lead to an accident or serious injury.
146)Keep your hands on the steering
wheel rim when using fingers on the
steering shift switches. Putting your hands
inside the rim of the steering wheel when
using the steering shift switches is
dangerous. If the driver's air bag were to
deploy in a collision, your hands could be
impacted causing injury.
147)Do not use engine braking on slippery
road surfaces or at high speeds. Shifting
down while driving on wet, snowy, or
frozen roads, or while driving at high
speeds causes sudden engine braking,
which is dangerous. The sudden change in
tire speed could cause the tires to skid.
This could lead to loss of vehicle control
and an accident.148)Do not let the vehicle move in a
direction opposite to the direction selected
by the selector lever. Do not let the vehicle
move backward with the selector lever in a
forward position, or do not let the vehicle
move forward with the selector lever in the
reverse position. Otherwise, the engine
may stop, causing the loss of the power
brake and power steering functions, and
make it difficult to control the vehicle which
could result in an accident.
122
STARTING AND OPERATING
Page 134 of 224

Fuels - identification of vehicle
compatibility Symbol for consumer
information in accordance the
EN16942 specification
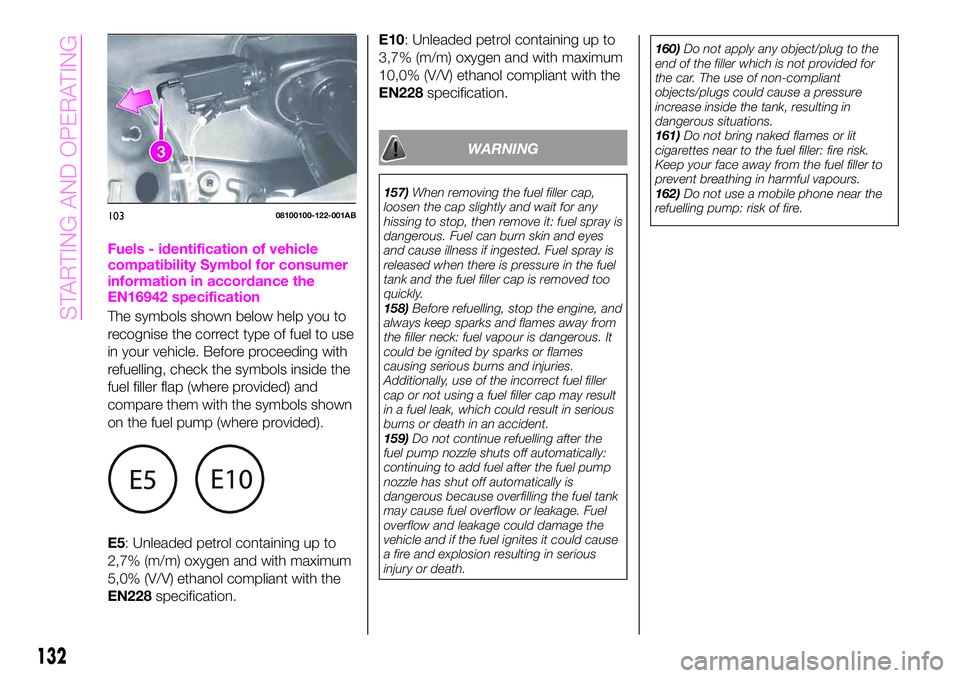
The symbols shown below help you to
recognise the correct type of fuel to use
in your vehicle. Before proceeding with
refuelling, check the symbols inside the
fuel filler flap (where provided) and
compare them with the symbols shown
on the fuel pump (where provided).
E5: Unleaded petrol containing up to
2,7% (m/m) oxygen and with maximum
5,0% (V/V) ethanol compliant with the
EN228specification.E10: Unleaded petrol containing up to
3,7% (m/m) oxygen and with maximum
10,0% (V/V) ethanol compliant with the
EN228specification.
WARNING
157)When removing the fuel filler cap,
loosen the cap slightly and wait for any
hissing to stop, then remove it: fuel spray is
dangerous. Fuel can burn skin and eyes
and cause illness if ingested. Fuel spray is
released when there is pressure in the fuel
tank and the fuel filler cap is removed too
quickly.
158)Before refuelling, stop the engine, and
always keep sparks and flames away from
the filler neck: fuel vapour is dangerous. It
could be ignited by sparks or flames
causing serious burns and injuries.
Additionally, use of the incorrect fuel filler
cap or not using a fuel filler cap may result
in a fuel leak, which could result in serious
burns or death in an accident.
159)Do not continue refuelling after the
fuel pump nozzle shuts off automatically:
continuing to add fuel after the fuel pump
nozzle has shut off automatically is
dangerous because overfilling the fuel tank
may cause fuel overflow or leakage. Fuel
overflow and leakage could damage the
vehicle and if the fuel ignites it could cause
a fire and explosion resulting in serious
injury or death.160)Do not apply any object/plug to the
end of the filler which is not provided for
the car. The use of non-compliant
objects/plugs could cause a pressure
increase inside the tank, resulting in
dangerous situations.
161)Do not bring naked flames or lit
cigarettes near to the fuel filler: fire risk.
Keep your face away from the fuel filler to
prevent breathing in harmful vapours.
162)Do not use a mobile phone near the
refuelling pump: risk of fire.
10308100100-122-001AB
132
STARTING AND OPERATING
Page 138 of 224

WARNING
163)Parking and other potentially
dangerous manoeuvres are, however,
always the driver’s responsibility. While
carrying out these manoeuvres, always
make sure that no people (especially
children) or animals are in the area
concerned. The camera is an aid for the
driver, but the driver must never allow
his/her attention to lapse during potentially
dangerous manoeuvres, even those
executed at low speeds. Always keep a
slow speed, so as to promptly brake in the
case of obstacles.
164)Always adjust the picture quality of
the rear view monitor while the vehicle is
stopped: do not adjust the picture quality
of the rear view monitor while driving the
vehicle. Adjusting the picture quality of the
rear view monitor such as brightness,
contrast, color, and tint while driving the
vehicle is dangerous as it could distract
your attention from the vehicle operation
which could lead to an accident.
IMPORTANT
29)It is vital, for correct operation, that the
camera is always kept clean and free from
mud, dirt, snow or ice. Be careful not to
scratch or damage the camera while
cleaning it. Avoid using dry, rough or hard
cloths. The camera must be washed using
clean water, with the addition of car
shampoo if necessary. In washing stations
which use steam or high-pressure jets,
clean the camera quickly, keeping the
nozzle more than 10 cm away from the
sensors. Do not apply stickers to the
camera.
TOWING TRAILERS
Your car is not designed for towing.
136
STARTING AND OPERATING
Page 178 of 224

BATTERY
RECHARGING
209) 210)
CAUTIONS
IMPORTANT The battery recharging
procedure is given as information only.
You are advised to contact an Abarth
Dealership to have this operation
carried out.
IMPORTANT Before recharging the
battery, turn off all accessories and stop
the engine.
IMPORTANT Charging should be slow
at a low ampere rating for
approximately 24 hours. Charging for a
longer time may damage the battery.
IMPORTANT Make sure that the cables
of the electrical system are correctly
reconnected to the battery, i.e. the
positive cable (+) to the positive
terminal and the negative cable (-) to
the negative terminal. The battery
terminals are marked with the positive
(+) and negative (-) symbols, and are
shown on the battery cover. The battery
terminals must also be corrosion-free
and firmly secured to the terminals. If a
“quick-type” battery charger is used
with the battery fitted on the vehicle,before connecting it disconnect both
cables of the battery itself. Do not use a
“quick-type” battery charger to provide
the starting voltage.
IMPORTANT After reconnecting the
battery, perform the phonic wheel
learning procedure described in the
“Battery maintenance” in this chapter.
BATTERY CHARGING
PROCEDURE
Charge battery as follows:
remove the caps before recharging
the battery;
connect the charger cables to the
battery terminals, observing the polarity;
turn on the charger;
when finished, turn the charger off
before disconnecting the battery;
reconnect the negative battery
terminal.
WARNING
209)Battery fluid is poisonous and
corrosive: avoid contact with skin and
eyes. The battery recharging operation
must be performed in a ventilated place,
away from naked flames or possible
sources of sparks to avoid the risk of
explosion and fire.
210)Do not try to recharge a frozen
battery: it must be thawed first, otherwise it
may explode. If the battery was frozen,
have it inspected by specialized personnel
before recharging to check that the internal
elements are not damaged and that the
casing is not cracked, which causes the
risk of leakage of poisonous, corrosive
acid.
176
MAINTENANCE AND CARE
Page 201 of 224

REG (Regional Programme) (*);
ALC (Automatic volume adjustment);
BASS (Low pitch sound);
TREB (Treble sound);
FADE (Front/back volume balance);
BAL (Left/right volume balance);
BEEP (Audio operation sound);
BT SETUP (**);
12Hr < > 24Hr (12 Hr/24 Hr time
adjustment).
(*) With Radio Data System (RDS)
(where provided).
(**) Depending on the model, this
function may not be available.
CLOCK
Setting the time
The clock can be set at any time when
the ignition is switched to ACC or ON.
To adjust the time, press the clock
buttonFM/AMfor about 2 seconds
until a beep is heard. The clock's
current time will flash.
Time adjustment
To adjust the time, press the
hour/minute set button
/
while the clock's current time is
flashing.
The hours advance while the hour set
button
is pressed. The minutes
advance while the minute
set
button is pressed.Press the clock buttonFM/AMagain
to start the clock.
OPERATING THE RADIO
Radio ON: press a band selector
button FM/AM to turn the radio on.
Band selection: press the band
selector buttonFM/AMto switch the
bands as follows: FM1–FM2–AM
(without Radio Data System RDS) /
MW/LW (with Radio Data System RDS).
Manual tuning: select the station by
pressing the tuning button
/
lightly.
Seek tuning: press tuning button
/. The search stops when a
station is found.
Scan tuning: press and hold the scan
buttonMEDIAto automatically sample
strong stations. Scanning stops at each
station for about 5 seconds. To hold a
station, press and hold the scan button
MEDIA again during this interval.
Preset channel tuning
The 6 preset channels can be used to
store 6 AM (without Radio Data System
RDS), MW/LW (with Radio Data System
RDS) and 12 FM stations.
To set a channel first select AM
(without Radio Data System RDS),
MW/LW (with Radio Data System RDS),
FM1, or FM2. Tune to the desired
station.
Press a channel preset button for
about 2 seconds until a beep is heard.
The preset channel number or station
frequency will be displayed. The station
is now held in the memory.
Repeat this operation for the other
stations and bands you want to store.
To tune one in the memory, select AM
(without Radio Data System RDS),
MW/LW (with Radio Data System RDS),
FM1, or FM2 and then press its channel
preset button. The station frequency or
the channel number will be displayed.
AUX / USB / iPod MODE
Auxiliary jack / USB port
Audio can be heard from the vehicle's
speakers by connecting a commercially
available portable audio unit to the
auxiliary jack. A commercially-available,
non-impedance (3.5 Ø) stereo mini plug
lead is required. In addition, audio can
be played from the vehicle audio device
by connecting a USB device or an iPod
to the USB port.
How to use AUX mode
Switch the ignition to ACC or ON, press
the power/volume dial to turn the audio
system on and press theMEDIA
button of the audio unit to change to
the AUX mode.
199