gearbox Abarth 124 Spider 2021 Owner handbook (in English)
[x] Cancel search | Manufacturer: ABARTH, Model Year: 2021, Model line: 124 Spider, Model: Abarth 124 Spider 2021Pages: 224, PDF Size: 3.9 MB
Page 3 of 224
Dear Customer,
We would like to congratulate and thank you for choosing an Abarth 124 Spider.
We have written this handbook to help you get to know all the features of your vehicle and use it in the best possible way.
Here you will find information, advice and important warnings regarding use of your vehicle and how to achieve the best
performance from the technical features of your vehicle.
You are advised to read it right through before taking to the road for the first time, to become familiar with the controls and
above all with those concerning brakes, steering and gearbox; at the same time, you can understand the vehicle behaviour on
different road surfaces.
This document also provides a description of special features and tips, as well as essential information for the safe driving, care
and maintenance of your vehicle over time.
After reading it, you are advised to keep the handbook inside the vehicle, for an easy reference and for making sure it remains
on board the vehicle should it be sold.
In the attached Warranty Booklet you will also find a description of the Services that Abarth offers to its customers, the Warranty
Certificate and the detail of the terms and conditions for maintaining its validity.
We are sure that these will help you to get in touch with and appreciate your new vehicle and the service provided by the
people at Abarth.
Enjoy reading. Happy motoring!
IMPORTANT This Owner Handbook describes all versions of the vehicle; please consider only the information
relevant to your vehicle’s trim level, engine and version. All data contained in this publication are purely indicative.
FCA Italy S.p.A. can modify the vehicle model described in this publication at any time, for technical or commercial
purposes. For further information, contact an Abarth Dealership.
Page 118 of 224
STARTING THE
ENGINE
134) 135) 136)
24)
Before starting the engine, adjust the
seat, the interior rear view mirrors, the
door mirrors and fasten the seat belt
correctly.
Never press the accelerator pedal for
starting the engine.
For starting procedure see “Starting the
engine” in “Getting to know your
vehicle” chapter.
STOPPING THE ENGINE
Proceed as follows:
park the car in a position that is not
dangerous for oncoming traffic; engage
a gear (versions with manual
transmission) or position the gear lever
to P (Parking) (versions with automatic
transmission);
turn the ignition device to STOP with
the engine idling.
WARNING
134)It is dangerous to run the engine in
enclosed areas. The engine takes in
oxygen and releases carbon dioxide,
carbon monoxide and other toxic gases.
135)The brake servo is not active until the
engine is started, so you would need to
apply much more force than usual to the
brake pedal.
136)Do not start the engine by pushing,
towing or driving downhill. These
manoeuvres may damage the catalytic
converter.
IMPORTANT
24)A quick burst on the accelerator before
turning off the engine serves absolutely no
practical purpose; it wastes fuel and is
damaging for the engine.
PARKING
Keep away the key when leaving the
vehicle and take it with you.
When parking and leaving the vehicle,
proceed as follows:
engage a gear (first gear if facing
uphill or reverse if facing downhill) and
leave the wheels turned;
stop the engine and engage the
handbrake.
Block the wheels with a wedge or a
stone if the car is parked on a steep
slope.
On versions equipped with automatic
transmission, before releasing the brake
pedal, wait for letter P to be displayed.
IMPORTANT NEVER leave the vehicle
with the gearbox in neutral (or, on
versions equipped with automatic
transmission, before placing the gear
lever at P).
116
STARTING AND OPERATING
Page 120 of 224
MANUAL
TRANSMISSION
140) 141) 142)
25)
To engage the gears, press the clutch
pedal fully and put the gear lever into
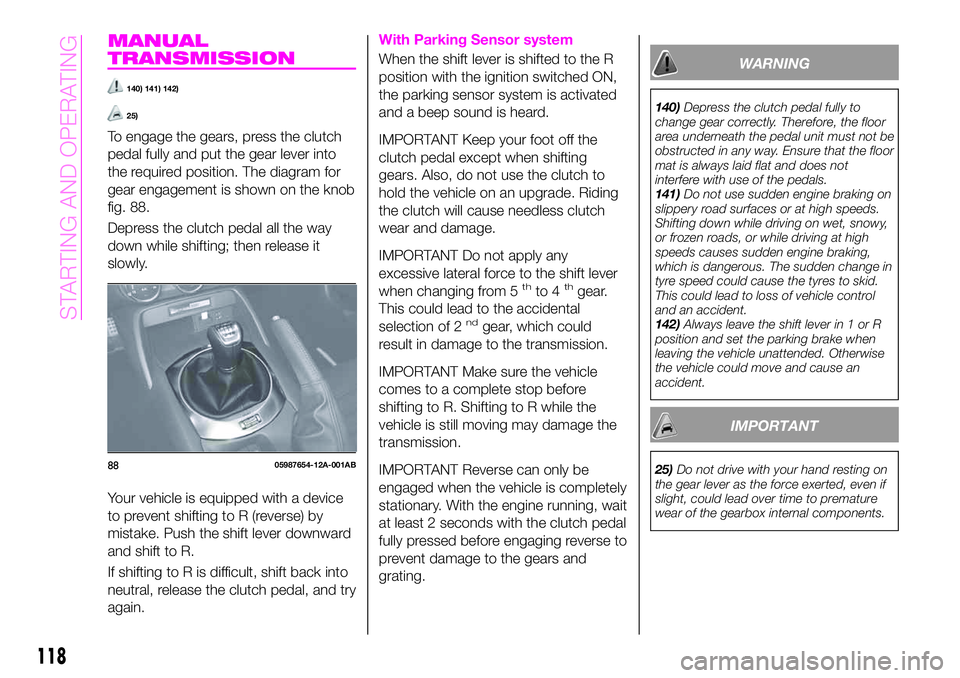
the required position. The diagram for
gear engagement is shown on the knob
fig. 88.
Depress the clutch pedal all the way
down while shifting; then release it
slowly.
Your vehicle is equipped with a device
to prevent shifting to R (reverse) by
mistake. Push the shift lever downward
and shift to R.
If shifting to R is difficult, shift back into
neutral, release the clutch pedal, and try
again.
With Parking Sensor system
When the shift lever is shifted to the R
position with the ignition switched ON,
the parking sensor system is activated
and a beep sound is heard.
IMPORTANT Keep your foot off the
clutch pedal except when shifting
gears. Also, do not use the clutch to
hold the vehicle on an upgrade. Riding
the clutch will cause needless clutch
wear and damage.
IMPORTANT Do not apply any
excessive lateral force to the shift lever
when changing from 5
thto 4thgear.
This could lead to the accidental
selection of 2
ndgear, which could
result in damage to the transmission.
IMPORTANT Make sure the vehicle
comes to a complete stop before
shifting to R. Shifting to R while the
vehicle is still moving may damage the
transmission.
IMPORTANT Reverse can only be
engaged when the vehicle is completely
stationary. With the engine running, wait
at least 2 seconds with the clutch pedal
fully pressed before engaging reverse to
prevent damage to the gears and
grating.
WARNING
140)Depress the clutch pedal fully to
change gear correctly. Therefore, the floor
area underneath the pedal unit must not be
obstructed in any way. Ensure that the floor
mat is always laid flat and does not
interfere with use of the pedals.
141)Do not use sudden engine braking on
slippery road surfaces or at high speeds.
Shifting down while driving on wet, snowy,
or frozen roads, or while driving at high
speeds causes sudden engine braking,
which is dangerous. The sudden change in
tyre speed could cause the tyres to skid.
This could lead to loss of vehicle control
and an accident.
142)Always leave the shift lever in 1 or R
position and set the parking brake when
leaving the vehicle unattended. Otherwise
the vehicle could move and cause an
accident.
IMPORTANT
25)Do not drive with your hand resting on
the gear lever as the force exerted, even if
slight, could lead over time to premature
wear of the gearbox internal components.8805987654-12A-001AB
118
STARTING AND OPERATING
Page 123 of 224

accelerator pedal when driving in D
range, 5th gear/6th gear, the gear may
shift to M4/M5.
Manually shifting up / down
Using selector lever
To shift upto a higher gear, tap the
selector lever back+once.To shift
downto a lower gear, tap the selector
lever forward–once.
Using steering shift switch
146)
To shift up to a higher gear with the
steering shift switches, pull the UP
switch+/OFFfig. 92 toward you once
with your fingers. To shift down to a
lower gear with the steering shift
switches, pull the DOWN switch–
toward you once with your fingers.
Second gear fixed mode
When the selector lever is moved back
while the vehicle speed is about 2 km/h
or less, the gearbox is set in the second
gear. The gear is set in second while in
this mode for easier acceleration from a
stop and driving on slippery roads such
as snow-covered roads.
SHIFT GEAR (SHIFTING)
SPEED LIMIT
When the selector lever is operated
within the range of the speed limit, the
gear is shifted.
Shift up
The gear does not shift up while the
vehicle speed is lower than the speed
limit.
Shift down
The gear does not shift down while the
vehicle speed exceeds the speed limit.
If the vehicle speed exceeds the speed
limit and the gear does not shift down,
the gear position indication flashes
2 times to notify the driver that the gear
cannot be shifted.
Kickdown
When the accelerator pedal is
depressed fully while driving, the gear
shifts down.
However, the gears do not kickdown
while the DSC is turned off.NOTE The gear also shifts down using
kickdown while in the second gear fixed
mode.
Auto-shift down
The gear shifts down automatically
depending on the vehicle speed during
deceleration.
NOTE If the vehicle comes to a stop
while in the second gear fixed mode,
the gear remains in second.
DIRECT MODE(where provided)
Direct mode can be used for
temporarily switching gears by
operating the steering shift switch while
the vehicle is being driven with the
selector lever in the D range.
Direct mode is cancelled under the
following conditions:
the UP switch (+/OFF) is pulled
rearward for a certain amount of time or
longer;
the vehicle is driven for a certain
amount of time or longer (time differs
depending on the driving conditions
while operating);
the vehicle is stopped or moving at a
slow speed.
IMPORTANT Shifting up and down
while in direct mode may not be
possible depending on the vehicle
speed. In addition, because direct9207040110-124-007AB
121
Page 156 of 224
WARNING
169)If the fuse blows again contact an
Abarth Dealership.
170)Never replace a fuse with another
with a higher amp rating; DANGER OF
FIRE.
171)Contact an Abarth Dealership if a
safety system (airbags, brakes), power unit
system (engine, gearbox) or steering
system general protection fuse blows.
172)Do not replace the main fuse and
multiplex slow blow fuse by yourself.
Contact an Abarth Dealership to perform
the replacement. Replacing these fuses by
yourself is dangerous because they are
high current fuses. Incorrect replacement
could cause an electrical shock or a short
circuit resulting in a fire.
173)Before replacing a fuse, make sure
that the ignition device is in OFF position
and that all the other services are switched
off and/or deactivated.
IMPORTANT
32)Never replace a fuse with metal wires
or anything else.
33)If it is necessary to wash the engine
compartment, take care not to directly hit
the junction unit and the window wiper
motors with the water jet.
TIRE SERVICE KIT
(where provided)
174) 175) 176) 177) 178) 179) 180)
3)
TOOL STORAGE
Your vehicle is not equipped with a
spare tire, jack and wheel brace. For
details, contact an Abarth Dealership.
Tools are stored in the locations
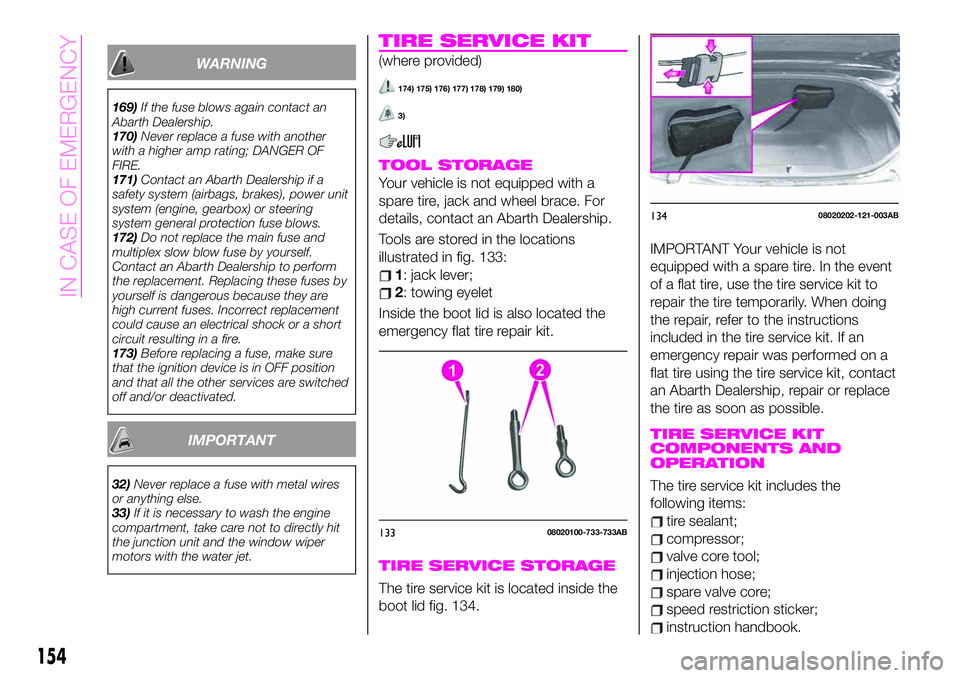
illustrated in fig. 133:
1: jack lever;
2: towing eyelet
Inside the boot lid is also located the
emergency flat tire repair kit.
TIRE SERVICE STORAGE
The tire service kit is located inside the
boot lid fig. 134.
IMPORTANT Your vehicle is not
equipped with a spare tire. In the event
of a flat tire, use the tire service kit to
repair the tire temporarily. When doing
the repair, refer to the instructions
included in the tire service kit. If an
emergency repair was performed on a
flat tire using the tire service kit, contact
an Abarth Dealership, repair or replace
the tire as soon as possible.
TIRE SERVICE KIT
COMPONENTS AND
OPERATION
The tire service kit includes the
following items:
tire sealant;
compressor;
valve core tool;
injection hose;
spare valve core;
speed restriction sticker;
instruction handbook.
13308020100-733-733AB
13408020202-121-003AB
154
IN CASE OF EMERGENCY
Page 168 of 224
fluids. Please dispose of your waste
properly and with due regard to the
environment.
We recommend that you entrust the oil
and fluid changes of your vehicle to an
Abarth Dealership.
PERIODIC CHECKS
Every1,000 kmor before long trips
check and, if necessary, top up:
engine coolant level;
brake fluid level;
windscreen washer fluid level;
tire inflation pressure and condition;
operation of lighting system
(headlights, direction indicators, hazard
warning lights, etc.);
operation of windscreen
washer/wiper system and
positioning/wear of windscreen window
wiper blades.
Every 3,000 km, check and top up if
required: engine oil level.
HEAVY-DUTY USE OF THE
VEHICLE
If the vehicle is used under one of the
following conditions:
dusty roads;
short, repeated journeys (less than
7-8 km) at sub-zero outside
temperatures;
engine often idling or driving long
distances at low speeds or long periods
of inactivity;
the following checks must be carried
out more often than indicated in the
Scheduled Servicing Plan:
check front disc brake pad condition
and wear;
check cleanliness of bonnet and
luggage compartment locks,
cleanliness and lubrication of linkage;
visually inspect conditions of: engine,
gearbox, transmission, pipes and hoses
(exhaust/fuel system/brakes) and
rubber elements (gaiters/sleeves/
bushes, etc.);
check battery charge and battery
fluid level (electrolyte);
visually inspect conditions of the
accessory drive belts;
check and, if necessary, change
engine oil and replace oil filter;
check and, if necessary, replace
pollen filter;
check and, if necessary, replace air
cleaner.
166
MAINTENANCE AND CARE
Page 220 of 224
Internal equipment............38
Jump starting..............159
Jump starting (procedure).......160
Key battery replacement........10
Keyless Entry System...........9
Keys......................9
Lane change signals...........27
Leaving Home Light system.......27
Load limiter (pretensioner)........85
Maintaining the finish.........179
Maintenance monitor...........53
Manual climate control system.....32
Manual transmission..........118
Mechanical Limited Slip
Differential................79
Message indicated on display.....71
Mirrors....................22
Multimedia.................195
Navigation................208
Occupant protection systems.....81
Odometer/Trip meter...........50
Outside mirrors...............22
Owner maintenance precautions . . .165
Paintwork (preserving).........178
Parking...................116
Parking brake...............117
Parking Sensor System.........129
Passenger Air Bag............102Passenger occupant classification
system.................107
Passive Entry................17
Performance...............192
Periodic checks (scheduled
servicing)................166
Power mirrors...............23
Power window lock switch.......37
Power windows..............36
Prescriptions for handling the
vehicle at the end of its life.....194
Pretensioners................85
Push button start positions.......11
Radio 3”.................197
Radio 7”..................202
Read this carefully..............2
Rear camera (ParkView rear
backup camera)...........133
Rear fog lights...............26
Refuelling procedure..........131
Refuelling the vehicle..........131
Replacing a bulb.............139
Replacing a tire..............177
Replacing exterior light bulbs.....142
Replacing fuses.............147
Rims and tires..............185
Rims and tires provided........186
SBA system (Seat Belt Alert)......84
Scheduled servicing plan.......167Seat belt precautions...........82
Seat belt pretensioner and load
limiting systems.............85
Seat Belt pretensioners.........102
Seat belts..................82
Seat belts (fastening/unfastening)}.......................82
Seats.....................19
Seats (manual adjustment).......19
Seats and fabric parts (cleaning) . . .181
Shift-lock override (automatic
gearbox)................120
Shift-lock system (automatic
gearbox)................120
Side Air Bags...............103
Snow chains...............177
Speed limiter...............126
SPORT mode...............123
Starting the engine.........11,116
Steering wheel...............21
Supplementary restraint system
(SRS) - Air bag............100
Symbols....................3
TCS (Traction Control System).....73
Theft deterrent system..........15
Tips, controls and general
information...............196
Tire service kit..............154
Tires rotation (recommendations) . .177
Tool storage................154
Towing the vehicle............161
INDEX