remove seats Acura MDX 2006 Owner's Manual
[x] Cancel search | Manufacturer: ACURA, Model Year: 2006, Model line: MDX, Model: Acura MDX 2006Pages: 311, PDF Size: 3.94 MB
Page 17 of 311

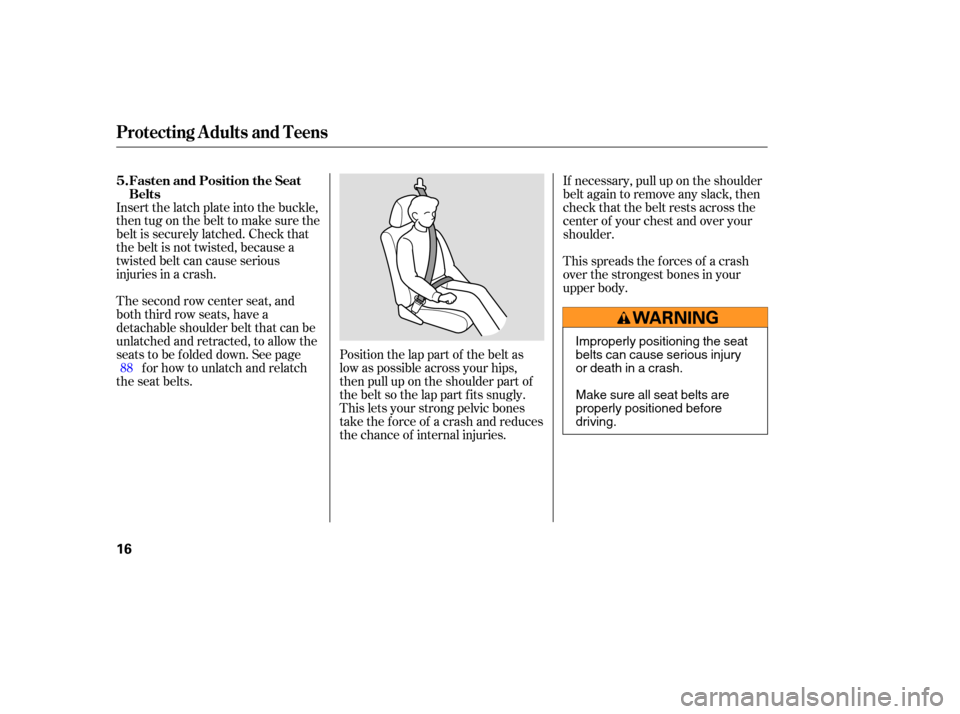
Position the lap part of the belt as
low as possible across your hips,
then pull up on the shoulder part of
the belt so the lap part f its snugly.
This lets your strong pelvic bones
take the force of a crash and reduces
the chance of internal injuries.
Insert the latch plate into the buckle,
then tug on the belt to make sure the
belt is securely latched. Check that
the belt is not twisted, because a
twisted belt can cause serious
injuries in a crash.
The second row center seat, and
both third row seats, have a
detachable shoulder belt that can be
unlatched and retracted, to allow the
seats to be f olded down. See page
for how to unlatch and relatch
the seat belts. If necessary, pull up on the shoulder
belt again to remove any slack, then
check that the belt rests across the
center of your chest and over your
shoulder.
This spreads the f orces of a crash
over the strongest bones in your
upper body.
88 Fasten and Position the Seat
Belts
5.
Protecting A dults and Teens
16
Improperly positioning the seat
belts can cause serious injury
or death in a crash.
Make sure all seat belts are
properly positioned before
driving.
Page 91 of 311

Store the head restraints in the
storage compartment. Make sure
the head restraints are f ace up
(storing them face down can
damage the compartment or the
headrests), then insert the shaf ts
into the holes in the sides of the
storage compartment.
Use the ignition key to release the
seat belt from the detachable
anchor.
Pull on the handle on the back of the
seat-back, move the seat-back to the
desired position, and release the
handle. Let the seat-back latch in the
new position.
Remove the head restraints by
pushing the release buttons and
pulling the restraints out.
To get into the third row seats, pull
uptheleveronthesideof the
passenger’s side second row seat-
back. The seat-back will tilt f orward,
and the seat will slide f orward.
After you return the seat-back to the
upright position, push the whole seat
backwards until it latches. Make
sure the seat is f ully latched bef ore
sitting in it.
1.2.
3.
Seats
Folding the T hird Row Seat A djusting the T hird Row Seat
T hird Row A ccess
90
HANDLE
THIRD
SEAT
RELEASE LEVER
Page 143 of 311

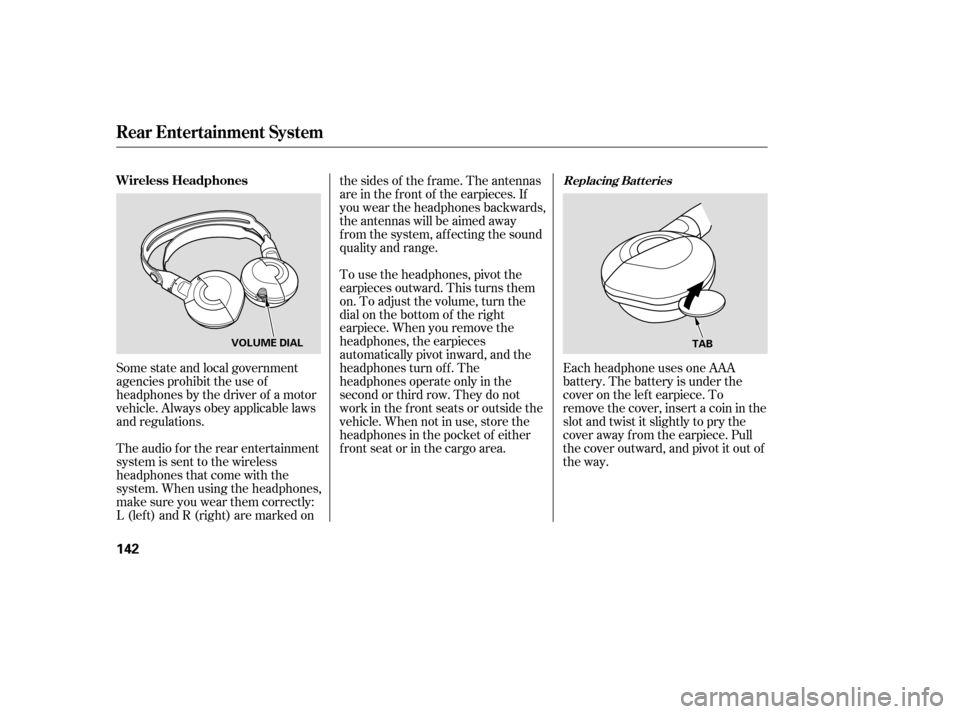
Each headphone uses one AAA
battery. The battery is under the
cover on the lef t earpiece. To
remove the cover, insert a coin in the
slot and twist it slightly to pry the
cover away f rom the earpiece. Pull
the cover outward, and pivot it out of
the way.
Some state and local government
agencies prohibit the use of
headphones by the driver of a motor
vehicle. Always obey applicable laws
and regulations.
The audio f or the rear entertainment
system is sent to the wireless
headphones that come with the
system. When using the headphones,
make sure you wear them correctly:
L (lef t) and R (right) are marked on the sides of the frame. The antennas
are in the f ront of the earpieces. If
you wear the headphones backwards,
the antennas will be aimed away
from the system, affecting the sound
quality and range.
To use the headphones, pivot the
earpieces outward. This turns them
on. To adjust the volume, turn the
dial on the bottom of the right
earpiece. When you remove the
headphones, the earpieces
automatically pivot inward, and the
headphones turn of f . The
headphones operate only in the
second or third row. They do not
work in the f ront seats or outside the
vehicle. When not in use, store the
headphones in the pocket of either
frontseatorinthecargoarea.
Replacing Bat t eriesWireless Headphones
Rear Entertainment System
142
TAB
VOLUME DIAL