warning Acura MDX 2012 User Guide
[x] Cancel search | Manufacturer: ACURA, Model Year: 2012, Model line: MDX, Model: Acura MDX 2012Pages: 621, PDF Size: 11.15 MB
Page 156 of 621

Front Seat Power AdjustmentsSee pages 14-15 for important safety
information and warnings about how to
properly position the seats and seat-
backs.The controls for the power adjustable
front seats are on the outside edge of
each seat bottom. You can adjust the
seats with the ignition switch in any
position. Make all seat adjustments
before you start driving.
The passenger seat has the same
adjustments as the driver's seat but
without any lumbar adjustment.
Moves the seat forward
and backward.
Moves the front of the
seat up or down.
Raises or lowers the seat.Moves the whole seat up
and forward, or down
and backward. The front
of the seat also tilts up or
down at the same time.
Adjusts the seat-back
angle forward or
backward.
Increases or decreases
the lumbar support.
(Driver's seat only)
CONTINUED
Seats
149
Instruments and Controls
Page 157 of 621

Head RestraintsSee page 15 for important safety
information and a warning about
improperly positioning head restraints.Your vehicle is equipped with head
restraints in all seating positions to
help protect you and your
passengers from the likelihood of
whiplash and other injuries.
They are most effective when you
adjust them so the center of the back
of the occupant's head rests against
the center of the restraint.
Adjusting the Head RestraintThe head restraints adjust for height.
You need both hands to adjust the
restraint. Do not attempt to adjust it
while driving. To raise it, pull
upward. To lower the restraint, push
the release button sideways, and
push the restraint down.FRONT
SEAT-
BACK
LEGS
RELEASE BUTTONCUSHION
Seats150
Page 465 of 621

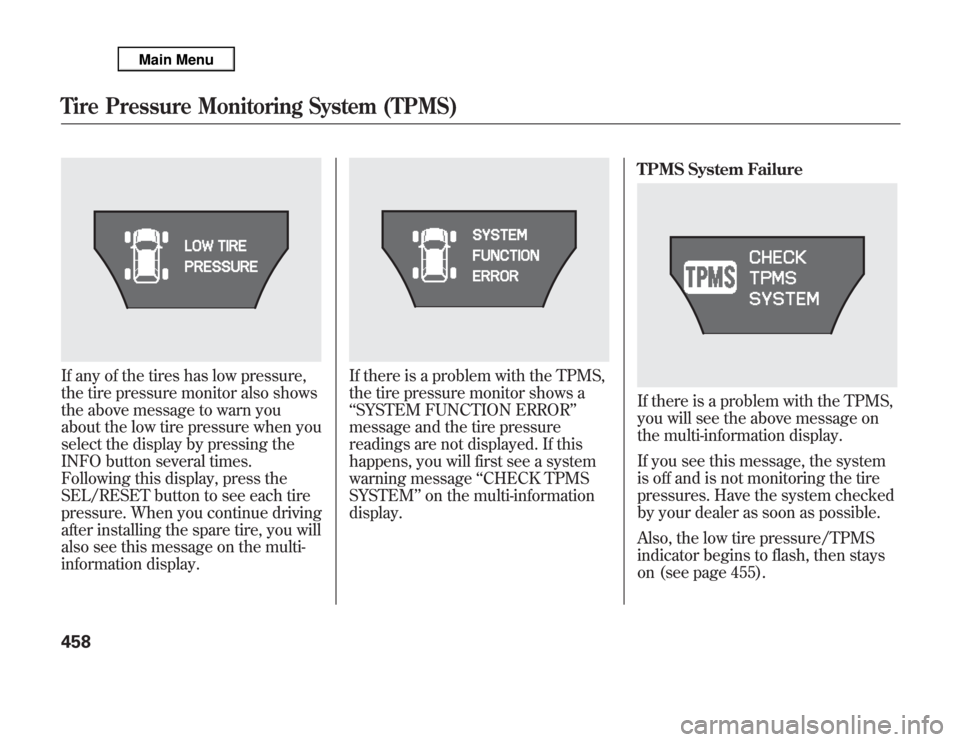
If any of the tires has low pressure,
the tire pressure monitor also shows
the above message to warn you
about the low tire pressure when you
select the display by pressing the
INFO button several times.
Following this display, press the
SEL/RESET button to see each tire
pressure. When you continue driving
after installing the spare tire, you will
also see this message on the multi-
information display.
If there is a problem with the TPMS,
the tire pressure monitor shows a
‘‘SYSTEM FUNCTION ERROR’’
message and the tire pressure
readings are not displayed. If this
happens, you will first see a system
warning message‘‘CHECK TPMS
SYSTEM’’on the multi-information
display.TPMS System Failure
If there is a problem with the TPMS,
you will see the above message on
the multi-information display.
If you see this message, the system
is off and is not monitoring the tire
pressures. Have the system checked
by your dealer as soon as possible.
Also, the low tire pressure/TPMS
indicator begins to flash, then stays
on (see page 455).
Tire Pressure Monitoring System (TPMS)458
Page 466 of 621

If the low tire pressure/TPMS
indicator comes on, or the multi-
information display shows a‘‘CHECK
TPMS SYSTEM’’message, the VSA
system automatically turns on even
when the VSA system is turned off
by pressing the VSA OFF button
(see page 474). If this happens, you
cannot turn the VSA system off by
pressing the VSA OFF button again.
When you restart the vehicle with
the compact spare tire, the TPMS
system message will also be
displayed on the multi-information
display after several miles
(kilometers) driving.Changing a Tire with TPMS
If you have a flat tire, the low tire
pressure/TPMS and tire monitor
indicators will come on. Replace the
indicated flat tire with the compact
spare tire (see page 551).
After the flat tire is replaced with the
spare tire, the low tire pressure/
TPMS indicator stays on while
driving. After several miles
(kilometers) driving, this indicator
begins to flash, then stays on again.
You will also see a‘‘CHECK TPMS
SYSTEM’’message on the multi-
information display. This is normal;
the system cannot monitor the spare
tire pressure. Manually check the
spare tire pressure to be sure it is
correct.This indicator and the warning
message on the multi-information
display will go off, after several miles
(kilometers) driving, when the spare
tire is replaced with the specified
regular tire equipped with the tire
pressure monitor sensor.
Each wheel is equipped with a tire
pressure sensor. You must use
TPMS specific wheels. It is
recommended that you always have
your tires serviced by your dealer or
a qualified technician.
Never use a puncture-repairing agent
in a flat tire. If used, you will have to
replace the tire pressure sensor.
Have the flat tire repaired by your
dealer as soon as possible.
CONTINUED
Tire Pressure Monitoring System (TPMS)
459
Driving
Page 470 of 621

OverviewIf equippedThe collision Mitigation braking
system™(CMBS™) can assist the
driver when there is a possibility of
colliding with the vehicle in front of
yours. It is designed to reduce the
speed of your vehicle before an
unavoidable collision occurs and, if
possible, to alert you to a potential
collision while there is time for the
driver to prevent it. Here is a brief
description of what the CMBS can
do:When your speed is above 10 mph
(15 km/h), the CMBS is monitoring
the vehicle ahead of you with radar.
When your vehicle is approaching
the vehicle ahead of yours too
quickly, the system may activate one
or more of the following: a visual
alert, an audible alert, apply the
brakes and e-pretensioners to tighten
the front seat belts - first as a
warning, then to prepare for an
impending crash. (see page 24).
The CMBS consists of a radar sensor
in the front grille, a brake actuator in
the engine compartment, an
indicator on the instrument panel,
seat belt e-pretensioners on the front
seats, and an on/off button on the
dashboard.RADAR SENSOR
BRAKE
ACTUATORSEAT BELT
e-PRETENSIONERS
CONTINUED
Collision Mitigation Braking System™(CMBS™)
463
Driving
Page 473 of 621

Distance between vehicles
CMBS
The radar sensor
detects a vehicleE-pretensionerAudio & Visual
WARNINGSBraking
Stage oneThere is a risk of a
collision with the
vehicle ahead of you.
—
‘‘BRAKE’’flashes
on the multi-
information
display.
—
A beep sounds
and‘‘BRAKE’’
flashes on the
multi-information
display. Stage twoThe risk of a collision
has increased, time to
respond is reduced.Retracts the driver's
seat belt gently a few
times, providing a
physical warning.
Lightly
applied
Stage three
ᤳ
The CMBS determines
that a collision is
unavoidable.Forcefully tightens
driver and front
passenger seat belts.
Forcefully
applied
ᤳ: Depending on the circumstances, CMBS may not go through all of the alert stages before initiating the last stage.
YOUR
VEHICLEVEHICLE
AHEAD
YOUR
VEHICLEVEHICLE
AHEAD
YOUR
VEHICLEVEHICLE
AHEAD
Collision Mitigation Braking System™(CMBS™)466
Page 477 of 621

●
Driving in heavy, stop-and-go
traffic.
●
The vehicle ahead of you is a
motorcycle or other small vehicle.
●
A vehicle suddenly crosses in front
of you.
The CMBS is not designed to detect
pedestrians.This system is designed to detect
and provide sufficient advanced
warning of a collision. As a result,
you may experience occasional false
activations.
Even with little or no chance of a
collision, the CMBS may activate
under these conditions:
●
When you change lanes quickly,
and go around the vehicle ahead of
you.
YOUR VEHICLE
YOUR VEHICLE
Collision Mitigation Braking System™(CMBS™)470
Page 493 of 621

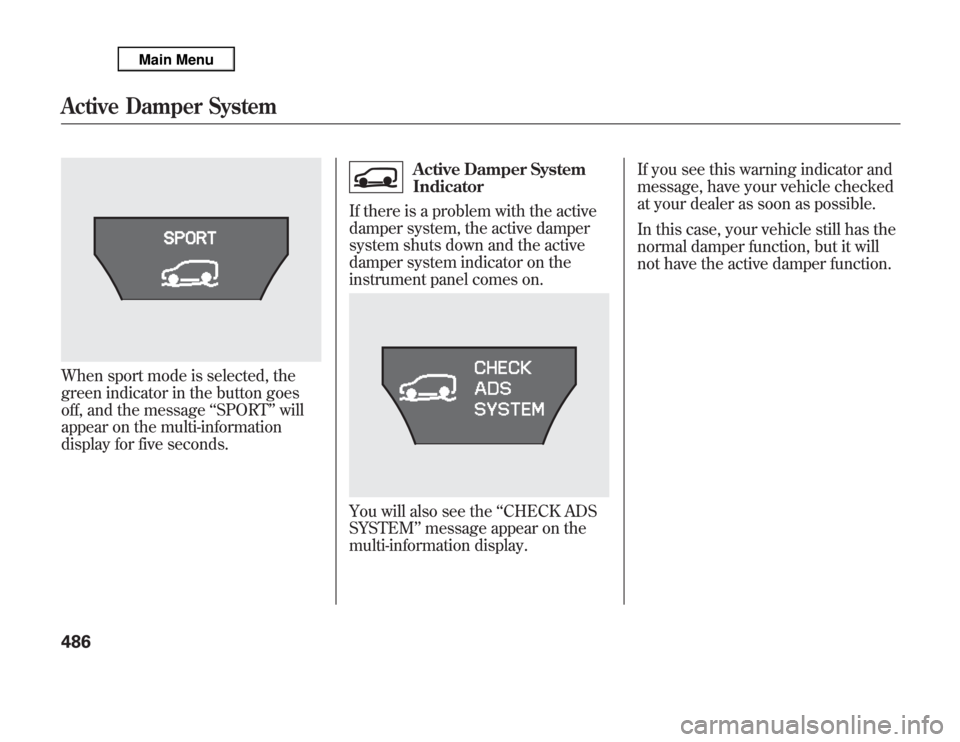
When sport mode is selected, the
green indicator in the button goes
off, and the message‘‘SPORT’’will
appear on the multi-information
display for five seconds.
Active Damper System
Indicator
If there is a problem with the active
damper system, the active damper
system shuts down and the active
damper system indicator on the
instrument panel comes on.
You will also see the‘‘CHECK ADS
SYSTEM’’message appear on the
multi-information display.If you see this warning indicator and
message, have your vehicle checked
at your dealer as soon as possible.
In this case, your vehicle still has the
normal damper function, but it will
not have the active damper function.
Active Damper System486
Page 507 of 621

In this case, your vehicle still has the
VSA traction and stability
enhancement, but it will not have the
trailer stability assist function.
If there is a problem with the VSA
system, the system and trailer
stability assist shuts off. The VSA
system indicator also come on (see
page 473).
The ABS indicator and the brake
system indicator may also come on
along with the VSA system indicator.
If you see these warning indicators,
have your vehicle checked at your
dealer as soon as possible.If you turn off the VSA, the trailer
stability assist function also shuts off.
Press and hold the VSA off button
until you hear a beep (see page 474).
The VSA off indicator comes on as a
reminder. Press and hold the switch
again to turn the system on.
The function turns on every time you
start the engine along with the VSA,
even if you turned it off the last time
you drove the vehicle.Off-Highway Driving Guidelines
General Information
Your vehicle has been designed
primarily for use on pavement. But
its higher ground clearance and
super handling-all wheel drive
(SH-AWD) system allow you to
occasionally travel on unpaved roads,
to campgrounds, picnic sites, and
similar locations. It is not designed
for trailblazing, mountain climbing,
or other challenging off-road
activities.
If you decide to drive on unpaved
roads, you will find that it requires
somewhat different driving skills.
Your vehicle will also handle
somewhat differently than it does on
pavement. Be sure to pay extra
attention to the precautions and tips
in this section, and get acquainted
with your vehicle before leaving the
pavement.Trailer Stability Assist, Off-Highway Driving Guidelines500
Page 554 of 621

The sensor on the negative terminal
monitors your vehicles battery
condition.
If there is a problem with the sensor,
you will see a‘‘CHECK BATTERY
SENSOR’’message on the
multiinformation display. Have the
vehicle checked by your dealer.
Check the terminals for corrosion (a
white or yellowish powder). To
remove it, cover the terminals with a
solution of baking soda and water. It
will bubble up and turn brown. When
this stops, wash it off with plain
water. Dry off the battery with a cloth
or paper towel. Coat the terminals
with grease to help prevent further
corrosion.If additional battery maintenance is
needed, see your dealer or a
qualified technician.
WARNING:Battery posts,
terminals, and related accessories
contain lead and lead compounds.
Wash your hands after handling.
If you need to connect the battery to
a charger, disconnect both cables to
prevent damaging your vehicle's
electrical system. Always disconnect
the negative (-) cable first, and
reconnect it last.
The battery gives off explosive
hydrogen gas during normal
operation.
A spark or flame can cause the
battery to explode with enough
force to kill or seriously hurt
you.
Wear protective clothing and a
face shield, or have a skilled
technician do the battery
maintenance.
If the radio fuse is removed, the
audio system will disable itself. The
next time you turn on the radio you
will see‘‘ENTER CODE’’in the
frequency display. Use the preset
buttons to enter the digit code (see
page 308).
Checking the Battery
547
Maintenance