check engine Acura MDX 2012 Owner's Manual
[x] Cancel search | Manufacturer: ACURA, Model Year: 2012, Model line: MDX, Model: Acura MDX 2012Pages: 621, PDF Size: 11.15 MB
Page 8 of 621

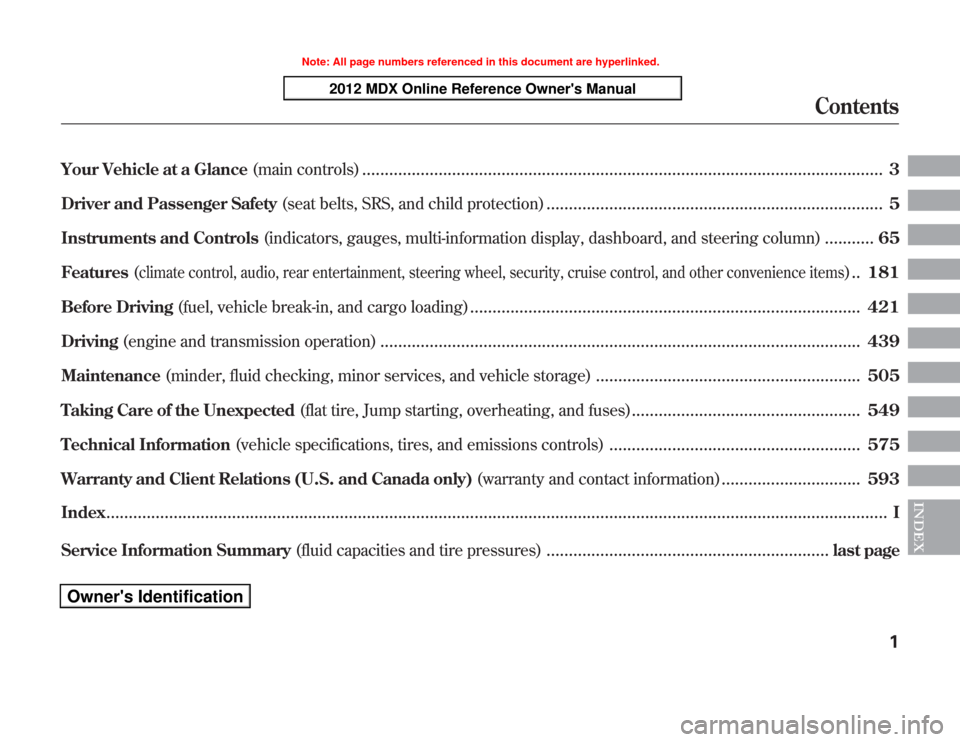
Your Vehicle at a Glance(main controls)
....................................................................................................................
3
Driver and Passenger Safety(seat belts, SRS, and child protection)
...........................................................................
5
Instruments and Controls(indicators, gauges, multi-information display, dashboard, and steering column)
...........
65
Features(
climate control, audio, rear entertainment, steering wheel, security, cruise control, and other convenience items
)..
181
Before Driving(fuel, vehicle break-in, and cargo loading)
.......................................................................................
421
Driving(engine and transmission operation)
...........................................................................................................
439
Maintenance(minder, fluid checking, minor services, and vehicle storage)
...........................................................
505
Taking Care of the Unexpected(flat tire, Jump starting, overheating, and fuses)
...................................................
549
Technical Information(vehicle specifications, tires, and emissions controls)
........................................................
575
Warranty and Client Relations (U.S. and Canada only)(warranty and contact information)
...............................
593
Index
..............................................................................................................................................................................
I
INDEX
Service Information Summary(fluid capacities and tire pressures)
...............................................................
last page
Contents
1
Page 9 of 621

Contents
A convenient reference to the
sections in this manual.
Your Vehicle at a Glance
A quick reference to the main
controls in your vehicle.
Driver and Passenger Safety
Important information about the
proper use and care of your vehicle's
seat belts, an overview of the
supplemental restraint system, and
valuable information on how to
protect children with child restraints.
Instruments and Controls
Explains the purpose of each
instrument panel indicator and
gauge, and how to use the controls
on the dashboard and steering
column.
Features
How to operate the climate control
system, the audio system, rear
entertainment system, and other
convenience features.Before Driving
What gasoline to use, how to break-
in your new vehicle, and how to load
luggage and other cargo.
Driving
The proper way to start the engine,
shift the transmission, and park; plus
what you need to know if you're
planning to tow a trailer.
Maintenance
The Maintenance Minder™shows
you when you need to take your
vehicle to the dealer for maintenance
service. There is also a list of things
to check and instructions on how to
check them.
Taking Care of the Unexpected
This section covers several problems
motorists sometimes experience, and
details how to handle them.Technical Information
ID numbers, dimensions, capacities,
and technical information.
Warranty and Client Relations
(U.S. and Canada only)
A summary of the warranties
covering your new vehicle, and how
to contact us for any reason. Refer to
your warranty manual for detailed
information.
Index
Service Information Summary
A summary of the information you
need when you pull up to the fuel
pump.Overview of Contents2
Page 43 of 621

How the SRS Indicator Works
The SRS indicator alerts you
to a potential problem with
your airbag system components.
When you turn the ignition switch to
the ON (II) position, this indicator
comes on briefly then goes off. This
tells you the system is working
properly.
If the indicator comes on at any other
time, or does not come on at all, you
should have the system checked by
your dealer. For example:
●
If the SRS indicator does not come
on after you turn the ignition switch
to the ON (II) position.
●
If the indicator stays on after the
engine starts.
●
If the indicator comes on or flashes
on and off while you drive.You will also see a‘‘CHECK AIRBAG
SYSTEM’’message on the multi-
information display (see page 87).
If you see any of these indications,
the airbag system components may
not work properly when you need
them.
Ignoring the SRS indicator can
result in serious injury or death
if the airbag systems or
tensioners do not work
properly.
Have your vehicle checked by a
dealer as soon as possible if
the SRS indicator alerts you to
a possible problem.How the Side Airbag Off Indicator
Works
U.S. Canada
This indicator
alerts you that the
passenger's side airbag has been
automatically shut off. It does
not
mean there is a problem with your
side airbags.
When you turn the ignition switch to
the ON (II) position, the indicator
should come on briefly and then go
out (see page 70). If it does not come
on, stays on, or comes on while
driving without a passenger in the
front seat, you will also see a
‘‘PASSENGER SIDE AIRBAG OFF’’
message on the multi-information
display. Have the system checked
(see page 87).
Additional Information About Your Airbags36
Page 76 of 621

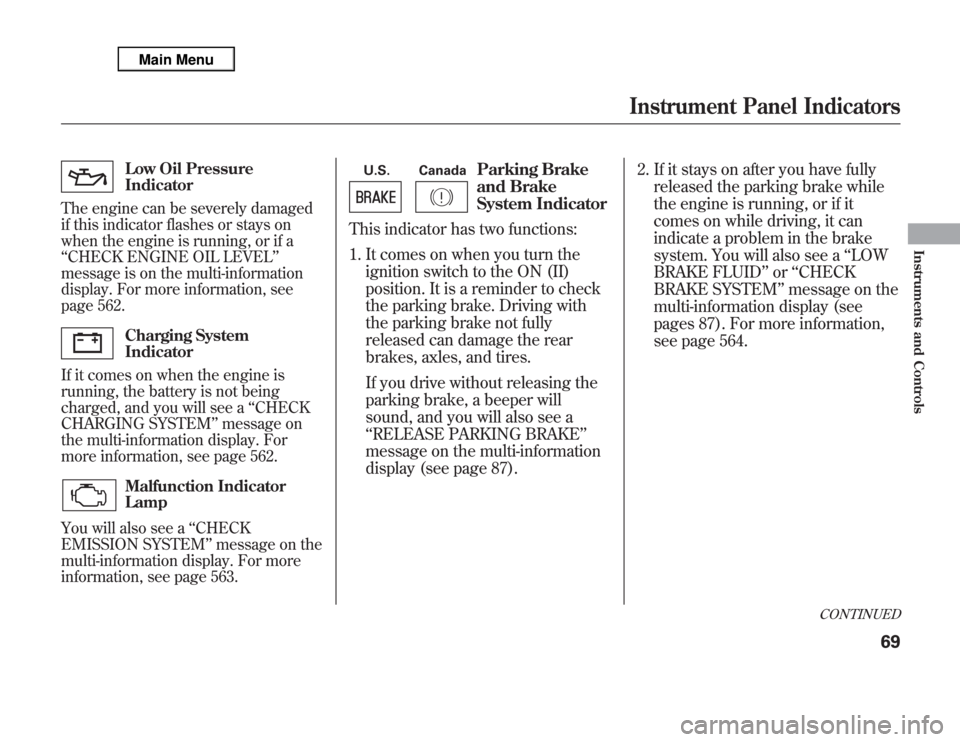
Low Oil Pressure
Indicator
The engine can be severely damaged
if this indicator flashes or stays on
when the engine is running, or if a
‘‘CHECK ENGINE OIL LEVEL’’
message is on the multi-information
display. For more information, see
page 562.Charging System
Indicator
If it comes on when the engine is
running, the battery is not being
charged, and you will see a‘‘CHECK
CHARGING SYSTEM’’message on
the multi-information display. For
more information, see page 562.Malfunction Indicator
Lamp
You will also see a‘‘CHECK
EMISSION SYSTEM’’message on the
multi-information display. For more
information, see page 563.
U.S. Canada
Parking Brake
and Brake
System Indicator
This indicator has two functions:
1. It comes on when you turn the
ignition switch to the ON (II)
position. It is a reminder to check
the parking brake. Driving with
the parking brake not fully
released can damage the rear
brakes, axles, and tires.
If you drive without releasing the
parking brake, a beeper will
sound, and you will also see a
‘‘RELEASE PARKING BRAKE’’
message on the multi-information
display (see page 87).2. If it stays on after you have fully
released the parking brake while
the engine is running, or if it
comes on while driving, it can
indicate a problem in the brake
system. You will also see a‘‘LOW
BRAKE FLUID’’or‘‘CHECK
BRAKE SYSTEM’’message on the
multi-information display (see
pages 87). For more information,
see page 564.
CONTINUED
Instrument Panel Indicators
69
Instruments and Controls
Page 79 of 621

Low Tire Pressure/
TPMS Indicator
This indicator normally comes on for
a few seconds when you turn the
ignition switch to the ON (II)
position.
This indicator has two functions:
1. If it comes on while driving, it
indicates that one or more of your
vehicle's tires are significantly low
on pressure.
You will also see a‘‘CHECK TIRE
PRESSURE’’message on the multi-
information display (see page 88).
Check the tire pressure monitor on
the multi-information display and
determine the cause (see page 456).If this happens, pull to the side of the
road when it is safe, check which tire
has lost pressure on the multi-
information display, and determine
the cause. If it is because of a flat tire,
have the flat tire repaired as soon as
possible. If two or more tires are
underinflated, call a professional
towing service. For more
information, see page 572.
2. If this indicator begins to flash,
there is a problem with the tire
pressure monitoring system
(TPMS). You will also see a
‘‘CHECK TPMS SYSTEM’’
message on the multi-information
display. The indicator continues to
flash for a while (approximately 1
minute), then stays on. If this
happens, have your dealer check
the system as soon as possible.
For more information, see page
458.
A/T Temperature
Indicator
This indicator monitors the
temperature of the automatic
transmission fluid. It should come on
for a few seconds when you turn the
ignition switch to the ON (II)
position. If it comes on while driving,
it means the transmission fluid
temperature is too high. Pull to the
side of the road when it is safe, shift
to Park, and let the engine idle until
the indicator goes out.
You will also see an‘‘A/T TEMP
HIGH’’message on the multi-
information display (see page 88).
Continuing to drive with the A/T
temperature indicator on may cause
serious damage to the transmission.
Instrument Panel Indicators72
Page 80 of 621

Message Indicator
This indicator comes on when there
is a system message on the multi-
information display. Press the INFO
button on the steering wheel (see
page 79) to see the message (see
page 87).
Most of the time, this indicator
comes on along with other indicators
in the instrument panel such as the
seat belt reminder indicator, SRS
indicator, VSA system indicator, etc.
Super Handling-All
Wheel Drive (SH-AWD)
Indicator
This indicator normally comes on for
a few seconds when you turn the
ignition switch to the ON (II)
position. If this indicator comes on at
any other time, there is a problem in
the SH-AWD system. You will also
see a‘‘CHECK SH-AWD SYSTEM’’
message on the multi-information
display (see page 88). Take your
vehicle to a dealer to have it checked.
For more information, see page 452.If the indicator blinks while driving,
it indicates the differential
temperature is too high.
You will also see a‘‘SH-AWD DIFF
TEMP. HIGH’’message on the multi-
information display (see page 88).
Pull to the side of the road when it is
safe, shift to Park, and let the engine
idle until the indicator goes out.
Continuing to drive with the SH-AWD
indicator blinking may cause serious
damage to the system.
CONTINUED
Instrument Panel Indicators
73
Instruments and Controls
Page 85 of 621

Temperature Gauge
This shows the temperature of the
engine's coolant. During normal
operation, the pointer should rise to
about the middle of the gauge. In
severe driving conditions, the pointer
may rise to the upper zone. If it
reaches the red (hot) mark, pull
safely to the side of the road. For
instructions and precautions on
checking the engine's cooling
system, see page 560.
Fuel Gauge
This shows how much fuel you have.
It may show slightly more or less
than the actual amount.Avoid driving with an extremely low
fuel level. Running out of fuel could
cause the engine to misfire, damaging
the catalytic converter.
U.S. model is shown.TEMPERATURE
GAUGETACHOMETER SPEEDOMETER
FUEL GAUGE
Gauges78
Page 168 of 621

AUTO REVERSE-If either front
window senses any obstacle while it
is closing automatically, it will
reverse direction and then stop. To
close the window, remove the
obstacle, then use the window switch
again.
Auto reverse stops sensing when the
window is almost closed. You should
always check that all passengers and
objects are away from the window
before closing it.If your vehicle's battery is
disconnected or goes dead, or the
driver's window fuse is removed, the
AUTO function may be disabled. If
the AUTO function is disabled, the
power window system will need to be
reset after reconnecting the battery
or installing the fuse.
1. Start the engine. Push down and
hold the driver's window switch
until the window is fully open.
2. Pull and hold the driver's window
switch to close the window
completely, then hold the switch
for about 2 seconds.
If the power windows do not operate
properly after resetting, have your
vehicle checked by your dealer.Opening the Windows and
Moonroof with the Remote
Transmitter
You can open all of the windows and
the moonroof from outside with the
remote transmitter.
1. Press the UNLOCK button once to
unlock the driver's door.
2. Press the UNLOCK button a
second time, and hold it. All the
doors unlock, and all four windows
and moonroof start to open. To
stop the windows and moonroof,
release the button.
3. To open the windows and
moonroof further, press the button
again (within 10 seconds of step 1)
and hold it. If the windows and the
moonroof stop before the desired
position, repeat steps 1 and 2.
You cannot close the windows or the
moonroof with the remote
transmitter.
CONTINUED
Power Windows
161
Instruments and Controls
Page 428 of 621

Before you begin driving your
vehicle, you should know what
gasoline to use and how to check the
levels of important fluids. You also
need to know how to properly store
luggage or packages. The
information in this section will help
you. If you plan to add any
accessories to your vehicle, please
read the information in this section
first.Break-in Period
...........................
422
Fuel Recommendation
................
422
Service Station Procedures
.........
424
Refueling
.................................
424
Tighten Fuel Cap Message
.....
425
Opening and Closing the
Hood
...................................
426
Oil Check
................................
427
Engine Coolant Check
............
427
Fuel Economy
.............................
428
Accessories and
Modifications
..........................
431
Carrying Cargo
...........................
433
Before Driving
421
Before Driving
Page 432 of 621

5. Screw the fuel fill cap back on until
it clicks at least once. If you do not
properly tighten the cap, you will
see a‘‘TIGHTEN FUEL CAP’’
message on the multi-information
display (see right column on this
page), and the malfunction
indicator lamp may also come on
(see page 563).
6. Push the fuel fill door closed until
it latches.Tighten Fuel Cap Message
Your vehicle's on board diagnostic system
will detect a loose or missing fuel fill cap as
an evaporative system leak. The first time a
leak is detected a‘‘TIGHTEN FUEL CAP’’
message appears on the multi-information
display. Turn the engine off, and confirm the
fuel fill cap is installed. If it is, loosen it, then
retighten it until it clicks at least once. The
message should go off after several days of
normal driving once you tighten or replace
the fuel fill cap. To scroll to another message,
press the INFO button. The‘‘TIGHTEN
FUEL CAP’’message will appear each time
you restart the engine until the system turns
the message off.
If the system still detects a leak in
the vehicle's evaporative emissions
system, the malfunction indicator
lamp (MIL) comes on. If the fuel fill
cap was not already tightened, turn
the engine off, and check or
retighten the fuel fill cap until it
clicks at least once. The MIL should
go off after several days of normal
driving once the cap is tightened or
replaced. If the MIL does not go off,
have your vehicle inspected by a
dealer. For more information, see
page 563.Service Station Procedures
425
Before Driving