change time Acura MDX 2014 Navigation Manual
[x] Cancel search | Manufacturer: ACURA, Model Year: 2014, Model line: MDX, Model: Acura MDX 2014Pages: 343, PDF Size: 15.72 MB
Page 1 of 343
The information and specifications included in this publication were in effect at the time of approval for printing. Honda Motor Co., Ltd., reserves the right,
however, to discontinue or change specifications or design at any time without notice and without incurring any obligation.
Accessories Precautions
The GPS antenna is located in the dashboard. Metallic front or side window tinting can seriously degrade or obstruct GPS recept ion.
Signal noise from devices such as radar detectors, vehicle tracking devices, remote starters, and additional amplifiers can dis rupt the navigation system. If you
install any such item, install it away from the navigation display and antenna.
Important Safety Information
Avoid focusing on the screen or manually operating the system controls while driving.
Enter information before you begin driving or when stopped. As yo u drive, listen to the audible instructions and use voice commands when possible. Pull to the
side of the road if you need more time to look at the screen or operate the controls.
Route guidance may conflict with street closures, road construction, detours, and out-of-date map data.
The system itself may also have limitations. Verify route info rmation by carefully observing roads, signs, and signals. Always use your own judgment and obey
traffic laws.
2System Limitations
P. 310
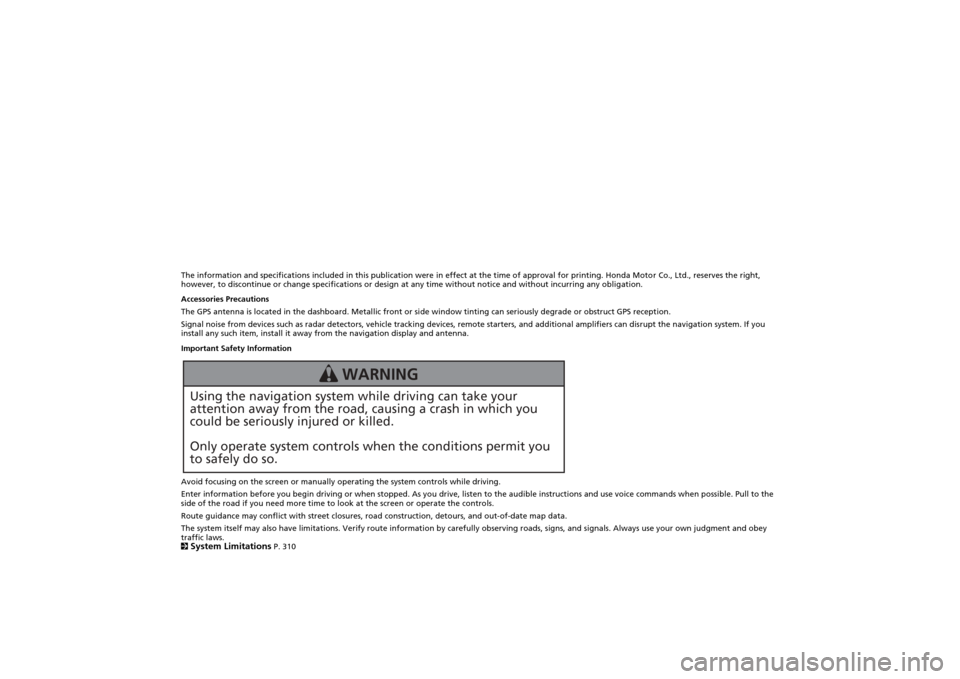
Using the navigation system while driving can take your
attention away from the road, causing a crash in which you
could be seriously injured or killed.
Only operate system controls when the conditions permit you
to safely do so.
WARNING
Page 30 of 343
29
Interface Settings
Clock Adjustment
System Setup
Clock AdjustmentHSETTINGS button
System Settings
Clock
Set the automatic adjustment of the sy stem clock for daylight saving and
international time zones.
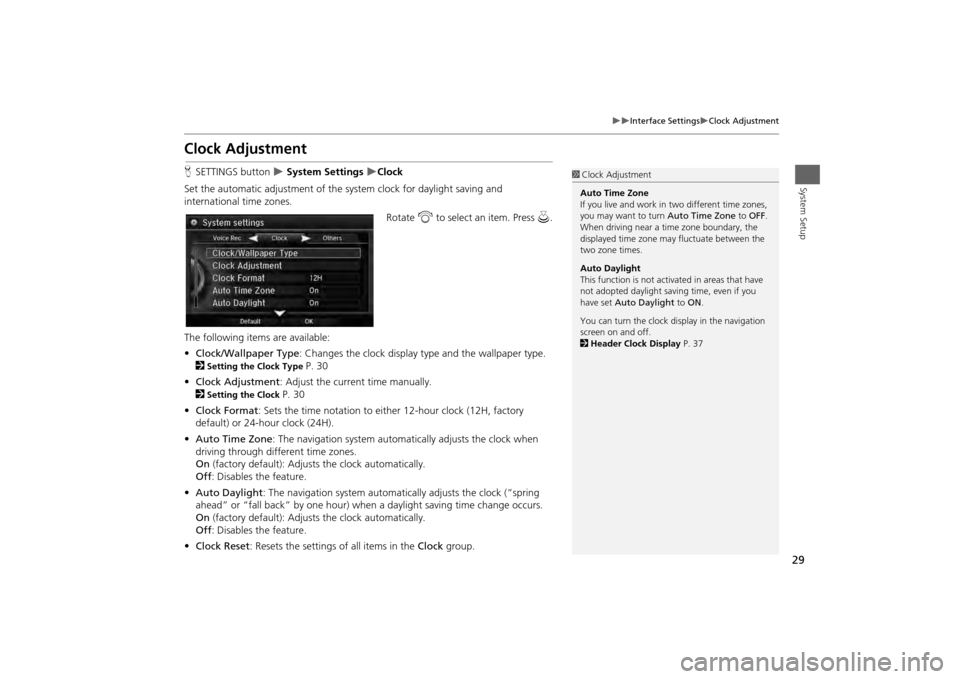
Rotate i to select an item. Press u.
The following items are available:
• Clock/Wallpaper Type : Changes the clock display ty pe and the wallpaper type.
2
Setting the Clock Type
P. 30
• Clock Adjustment : Adjust the current time manually.
2
Setting the Clock
P. 30
• Clock Format : Sets the time notation to either 12-hour clock (12H, factory
default) or 24-hour clock (24H).
• Auto Time Zone : The navigation syst em automatically adju sts the clock when
driving through different time zones.
On (factory default): Adjusts the clock automatically.
Off : Disables the feature.
• Auto Daylight : The navigation system automati cally adjusts the clock (“spring
ahead” or “fall back” by one hour) when a daylight saving time change occurs.
On (factory default): Adjusts the clock automatically.
Off : Disables the feature.
• Clock Reset : Resets the settings of all items in the Clock group.
1Clock Adjustment
Auto Time Zone
If you live and work in two different time zones,
you may want to turn Auto Time Zone to OFF.
When driving near a time zone boundary, the
displayed time zone ma y fluctuate between the
two zone times.
Auto Daylight
This function is not activated in areas that have
not adopted daylight saving time, even if you
have set Auto Daylight to ON .
You can turn the clock di splay in the navigation
screen on and off.
2 Header Clock Display P. 37
Page 55 of 343
54
Routing
Route Preference
System Setup
Route PreferenceHSETTINGS button
Navi Settings
Routing
Route Preference
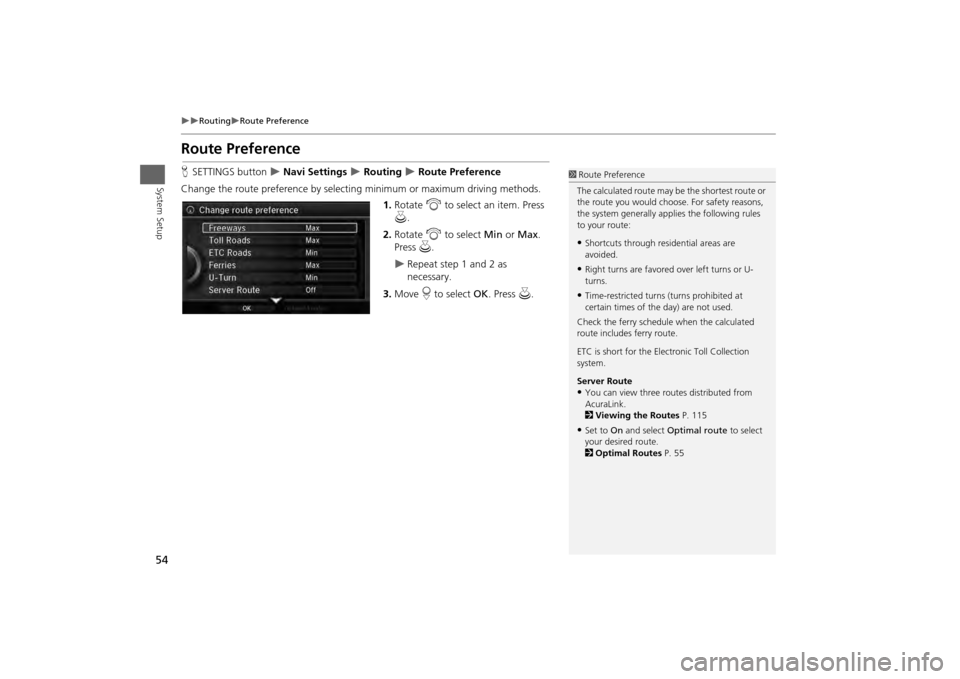
Change the route preference by select ing minimum or maximum driving methods.
1.Rotate i to select an item. Press
u .
2. Rotate i to select Min or Max.
Press u.
Repeat step 1 and 2 as
necessary.
3. Move r to select OK. Press u.
1Route Preference
The calculated route may be the shortest route or
the route you would choose. For safety reasons,
the system generally appl ies the following rules
to your route:•Shortcuts through resi dential areas are
avoided.•Right turns are favored over left turns or U-
turns.•Time-restricted turns (turns prohibited at
certain times of the day) are not used.
Check the ferry schedule when the calculated
route includes ferry route.
ETC is short for the Electronic Toll Collection
system.
Server Route •You can view three r outes distributed from
AcuraLink.
2 Viewing the Routes P. 115•Set to On and select Optimal route to select
your desired route.
2 Optimal Routes P. 55
Page 87 of 343
86System Setup
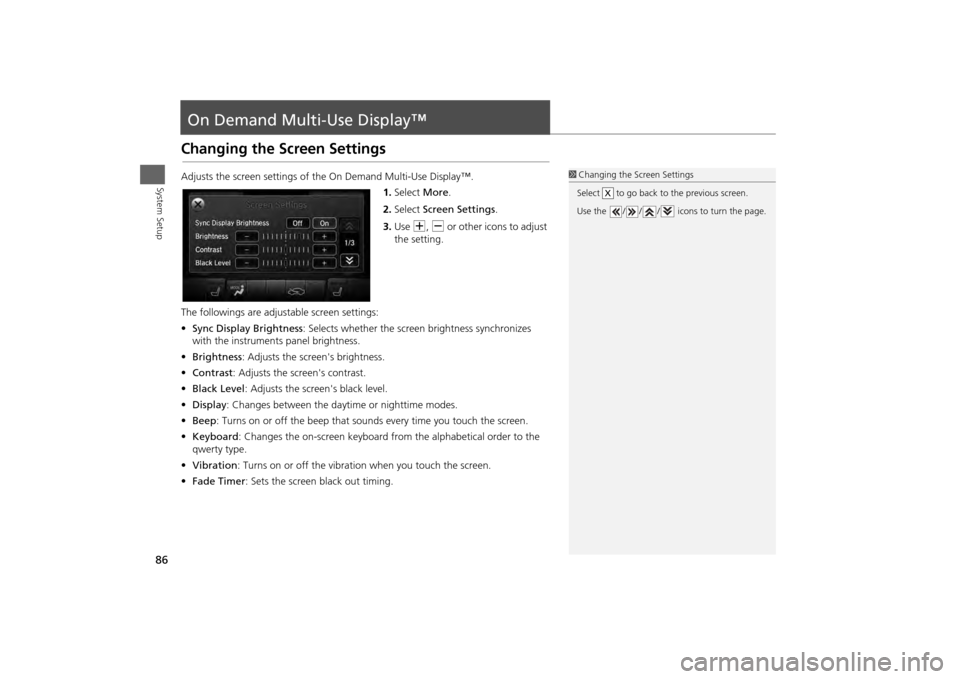
On Demand Multi-Use Display™Changing the Screen SettingsAdjusts the screen settings of the On Demand Multi-Use Display™.1.Select More.
2. Select Screen Settings .
3. Use N, B or other icons to adjust
the setting.
The followings are adju stable screen settings:
• Sync Display Brightness : Selects whether the screen brightness synchronizes
with the instruments panel brightness.
• Brightness : Adjusts the screen's brightness.
• Contrast : Adjusts the screen's contrast.
• Black Level : Adjusts the screen's black level.
• Display : Changes between the daytime or nighttime modes.
• Beep : Turns on or off the beep that sounds every time you touch the screen.
• Keyboard : Changes the on-screen keyboard fro m the alphabetical order to the
qwerty type.
• Vibration : Turns on or off the vibration when you touch the screen.
• Fade Timer : Sets the screen black out timing.
1Changing the Screen Settings
Select to go back to the previous screen.
Use the / / / icons to turn the page.
X
Page 117 of 343
116Navigation
Driving to Your DestinationThis section describes how to follow the route guidance to your destination, receive
traffic information and choose the icons displayed on the map screen.Viewing the Route
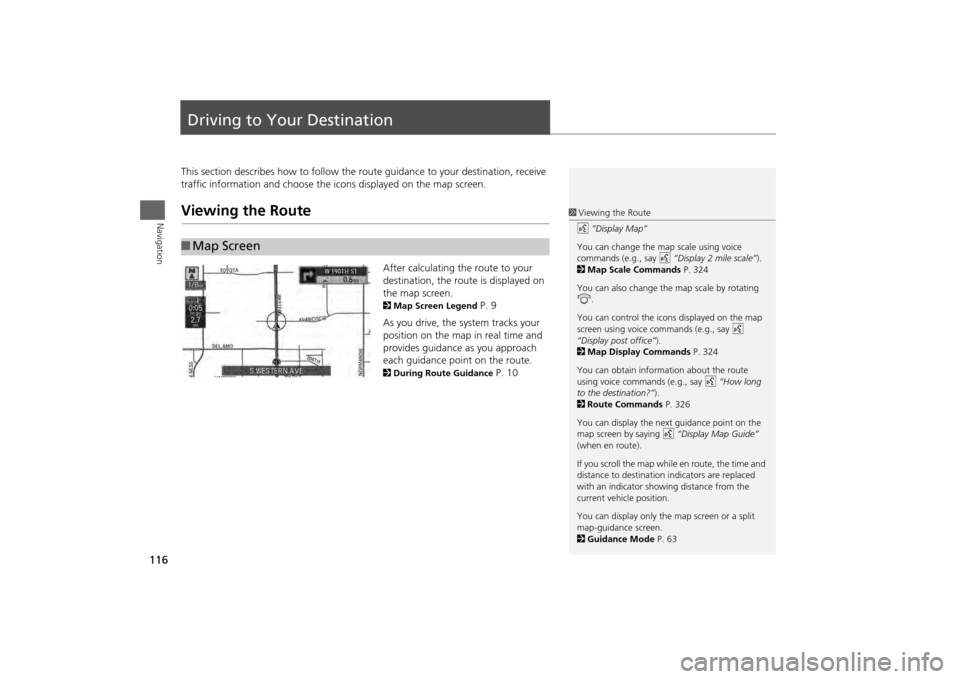
After calculating the route to your
destination, the route is displayed on
the map screen. 2Map Screen Legend
P. 9
As you drive, the system tracks your
position on the map in real time and
provides guidance as you approach
each guidance point on the route.
2 During Route Guidance
P. 10
■Map Screen
1 Viewing the Route
d “Display Map”
You can change the map scale using voice
commands (e.g., say d “Display 2 mile scale”).
2 Map Scale Commands P. 324
You can also change the map scale by rotating
i .
You can control the icons displayed on the map
screen using voice commands (e.g., say d
“Display post office” ).
2 Map Display Commands P. 324
You can obtain information about the route
using voice commands (e.g., say d “How long
to the destination?” ).
2 Route Commands P. 326
You can display the next guidance point on the
map screen by saying d “Display Map Guide”
(when en route).
If you scroll the map while en route, the time and
distance to destination indicators are replaced
with an indicator showing distance from the
current vehicle position.
You can display only the map screen or a split
map-guidance screen.
2 Guidance Mode P. 63
Page 119 of 343
118
Driving to Your Destination
Viewing the Route
Navigation
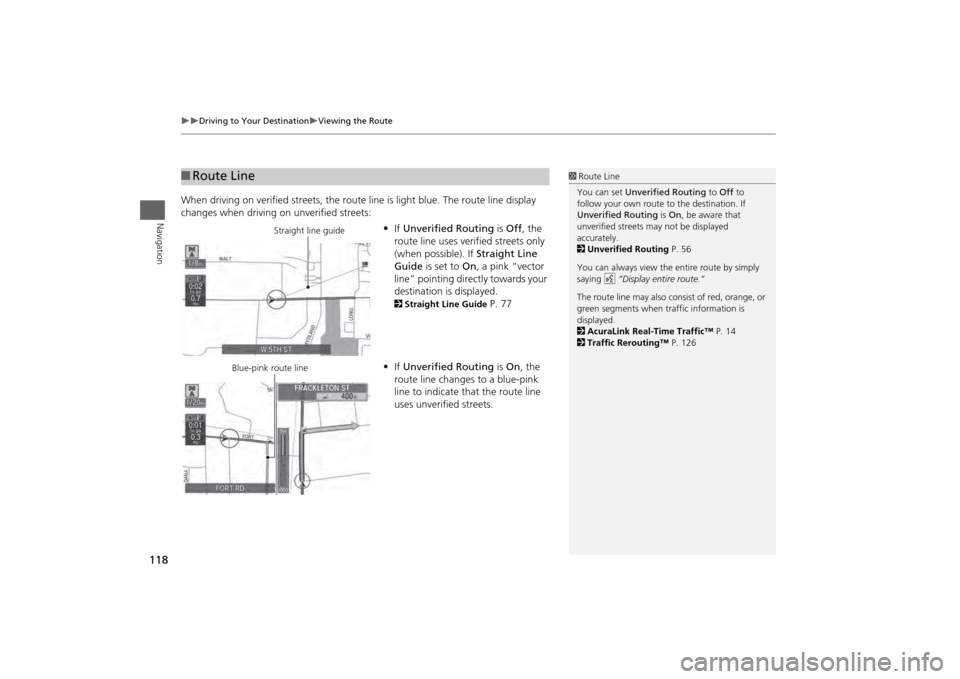
When driving on verified streets, the route line is light blue. The route line display
changes when driving on unverified streets:
•If Unverified Routing is Off , the
route line uses verified streets only
(when possible). If Straight Line
Guide is set to On, a pink “vector
line” pointing directly towards your
destination is displayed.
2 Straight Line Guide
P. 77
• If Unverified Routing is On , the
route line changes to a blue-pink
line to indicate that the route line
uses unverified streets.
■ Route Line
1 Route Line
You can set Unverified Routing to Off to
follow your own route to the destination. If
Unverified Routing is On, be aware that
unverified streets ma y not be displayed
accurately.
2 Unverified Routing P. 56
You can always view the entire route by simply
saying d “Display entire route.”
The route line may also c onsist of red, orange, or
green segments when traffic information is
displayed.
2 AcuraLink Real-Time Traffic™ P. 14
2 Traffic Rerouting™ P. 126
Straight line guide
Blue-pink route line
Page 172 of 343
171Audio
Playing Hard Disc Drive (HDD) AudioThe Hard Disc Drive (HDD) Audio function plays tracks from music CDs that have
been recorded onto the built-in HDD. You ca n arrange the tracks in playlists or play
the tracks using various search methods.Selecting HDD Mode1. Press the MENU button. (in AUDIO mode)
2. Rotate i to select Change Source. Press u.
3. Rotate to select HDD. Press to play tracks stored on the HDD.
Title information is displayed if found in the Gracenote® Album Info
(Gracenote® Media Database) stored on the HDD.
The HDD has two types of playlists: original playlists and user playlists. An
original playlist is automatically creat ed for each album when a music CD is
recorded. You can customize up to six us er playlists provided on the HDD by
adding tracks from your original playlists.
1. Select Audio Source .
2. Select the HDD icon to play tracks stored on the HDD.
1Playing Hard Disc Drive (HDD) Audio
You can control the HDD audio using voice
commands.
2 Voice Control Operation P. 5
2 Song By Voice
TM (SBV) P. 190
Music tracks recorded on HDD cannot be
recorded onto CDs or other devices.
Tracks are recorded at four times the playback
speed using ultra-efficient compression
technology; therefore, sound quality may vary
slightly from the original.
If the HDD is ever replaced, all music data is lost
and cannot be recovered.
If there is a problem, you may see an error
message on the display.
2 Hard Disc Drive (HDD) Audio P. 302
Interface DialOn Demand Multi-Use Display
TM
Page 216 of 343
215
Bluetooth® HandsFreeLink®
Pairing a Phone
Bluetooth® HandsFreeLink®
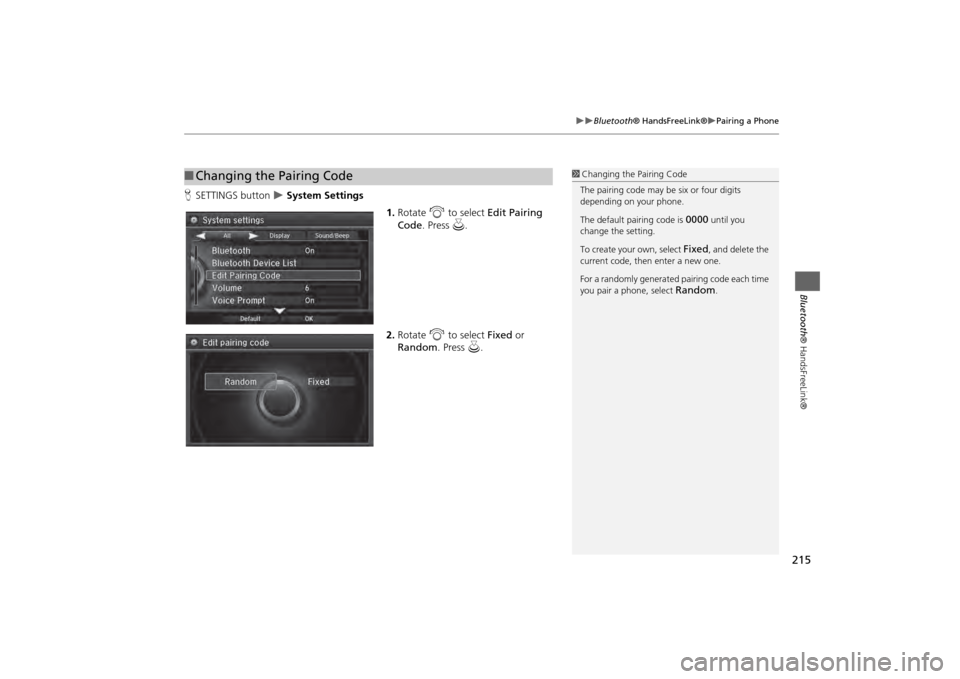
HSETTINGS button
System Settings
1.Rotate i to select Edit Pairing
Code . Press u.
2. Rotate i to select Fixed or
Random . Press u.
■Changing the Pairing Code
1 Changing the Pairing Code
The pairing code may be six or four digits
depending on your phone.
The default pair ing code is
0000
until you
change the setting.
To create your own, select
Fixed
, and delete the
current code, then enter a new one.
For a randomly generated pairing code each time
you pair a phone, select
Random
.
Page 291 of 343
290Other Features
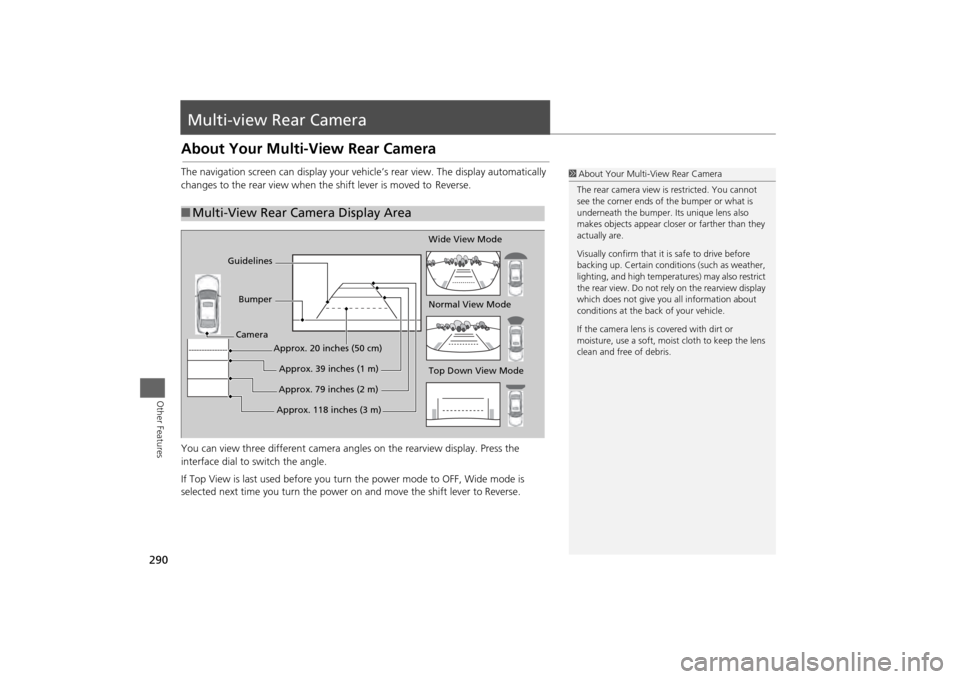
Multi-view Rear CameraAbout Your Multi-View Rear CameraThe navigation screen can display your vehi cle’s rear view. The display automatically
changes to the rear vi ew when the shift leve r is moved to Reverse.
You can view three different camera angl es on the rearview display. Press the
interface dial to switch the angle.
If Top View is last used before you turn the power mode to OFF, Wide mode is
selected next time you turn the power on and move the shift lever to
Reverse.
■Multi-View Rear Camera Display Area
1 About Your Multi- View Rear Camera
The rear camera view is restricted. You cannot
see the corner ends of the bumper or what is
underneath the bumper. Its unique lens also
makes objects appear closer or farther than they
actually are.
Visually confirm that it is safe to drive before
backing up. Certain conditi ons (such as weather,
lighting, and high temperat ures) may also restrict
the rear view. Do not rely on the rearview display
which does not give you all information about
conditions at the back of your vehicle.
If the camera lens is covered with dirt or
moisture, use a soft, moist cloth to keep the lens
clean and free of debris.
Top Down View Mode Normal View Mode Wide View Mode
Guidelines
Bumper
Camera
Approx. 118 inches (3 m)Approx. 79 inches (2 m)Approx. 39 inches (1 m)
Approx. 20 inches (50 cm)
Page 296 of 343
295
Troubleshooting
Map, Voice, Entering Destinations
Troubleshooting
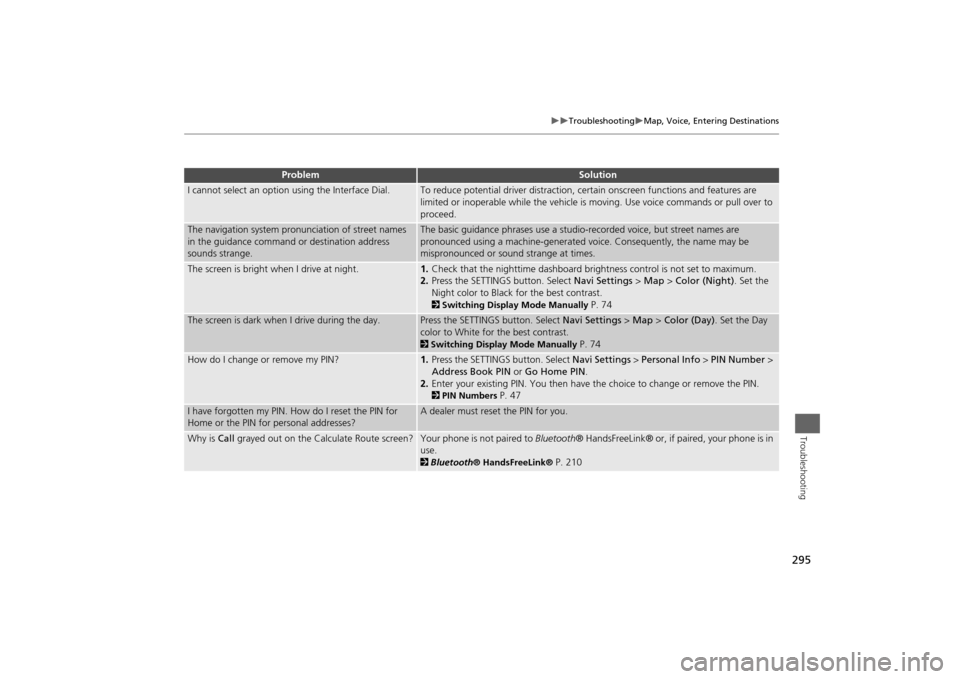
I cannot select an option using the Interface Dial.
To reduce potential driver distraction, ce rtain onscreen functions and features are
limited or inoperable while the vehicle is moving. Use voice commands or pull over to
proceed.
The navigation system pronunciation of street names
in the guidance command or destination address
sounds strange.
The basic guidance phrases use a studio- recorded voice, but street names are
pronounced using a machine-generated voice. Consequently, the name may be
mispronounced or sound strange at times.
The screen is bright when I drive at night.
1. Check that the nighttime dashboard brig htness control is not set to maximum.
2. Press the SETTINGS button. Select Navi Settings > Map > Color (Night) . Set the
Night color to Black for the best contrast. 2 Switching Display Mode Manually
P. 74
The screen is dark when I drive during the day.
Press the SETTINGS button. Select Navi Settings > Map > Color (Day) . Set the Day
color to White for the best contrast. 2 Switching Display Mode Manually
P. 74
How do I change or remove my PIN?
1. Press the SETTINGS button. Select Navi Settings > Personal Info > PIN Number >
Address Book PIN or Go Home PIN.
2. Enter your existing PIN. Yo u then have the choice to change or remove the PIN. 2PIN Numbers
P. 47
I have forgotten my PIN. How do I reset the PIN for
Home or the PIN for personal addresses?
A dealer must reset the PIN for you.
Why is Call grayed out on the Calculate Route screen?
Your phone is not paired to Bluetooth® HandsFreeLink® or, if paired, your phone is in
use. 2 Bluetooth ® HandsFreeLink®
P. 210
Problem
Solution