Address Acura MDX 2017 Navigation Manual
[x] Cancel search | Manufacturer: ACURA, Model Year: 2017, Model line: MDX, Model: Acura MDX 2017Pages: 369, PDF Size: 29.59 MB
Page 3 of 369
Quick Reference Guide
2
Overview—Functions at a Glance
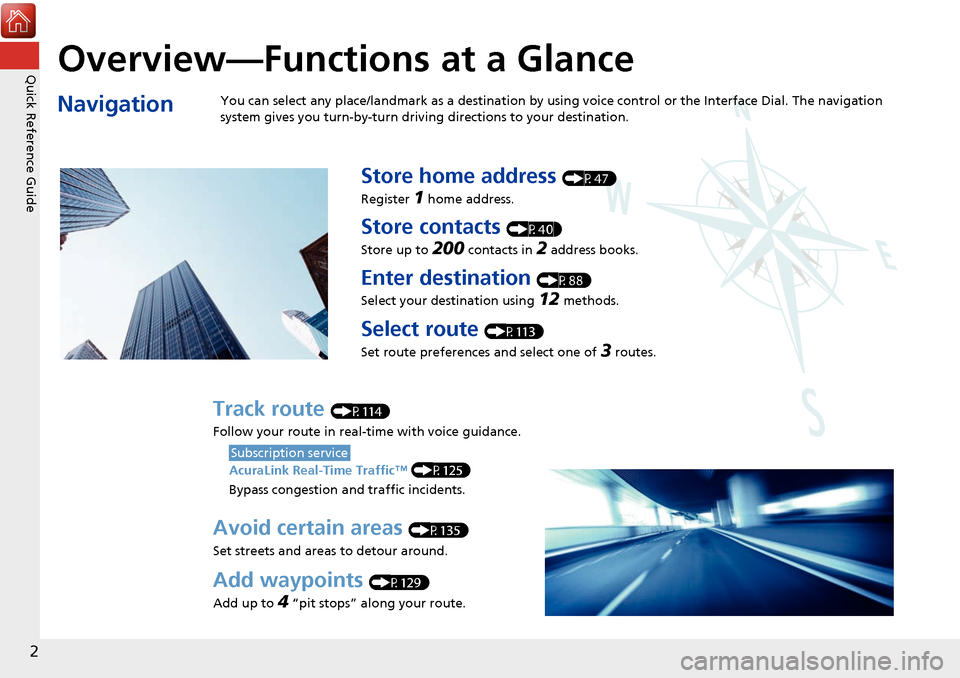
NavigationYou can select any place/landmark as a destination by using voice control or the Interface Dial. The navigation
system gives you turn-by-turn driving directions to your destination.
Store home address (P47)
Register
1 home address.
Store contacts (P40)
Store up to
200 contacts in 2 address books.
Enter destination (P88)
Select your destination using
12 methods.
Select route (P113)
Set route preferences and select one of
3 routes.
Track route (P114)
Follow your route in real-time with voice guidance.
AcuraLink Real-Time Traffic™ (P125)
Bypass congestion an d traffic incidents.
Subscription service
Avoid certain areas (P135)
Set streets and areas to detour around.
Add waypoints (P129)
Add up to
4 “pit stops” along your route.
Page 12 of 369
11
Quick Reference GuideNavigation—Home Addresses and Going Home
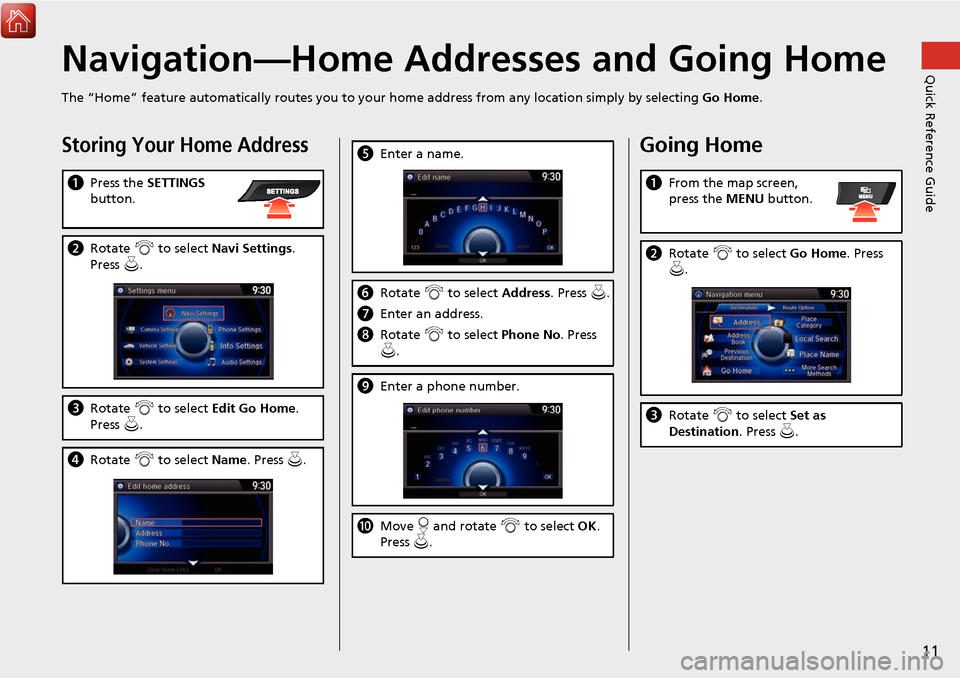
The “Home” feature automatically routes you to your home address from any location simply by selecting Go Home.
Storing Your Home Address
aPress the SETTINGS
button.
b Rotate i to select Navi Settings .
Press u.
c Rotate i to select Edit Go Home.
Press u.
d Rotate i to select Name. Press u .
eEnter a name.
fRotate i to select Address. Press u.
g Enter an address.
h Rotate i to select Phone No . Press
u .
i Enter a phone number.
jMove r and rotate i to select OK .
Press u.
Going Home
a From the map screen,
press the MENU button.
bRotate i to select Go Home . Press
u .
c Rotate i to select Set as
Destination . Press u.
Page 13 of 369
12
Quick Reference GuideNavigation—Entering a Destination
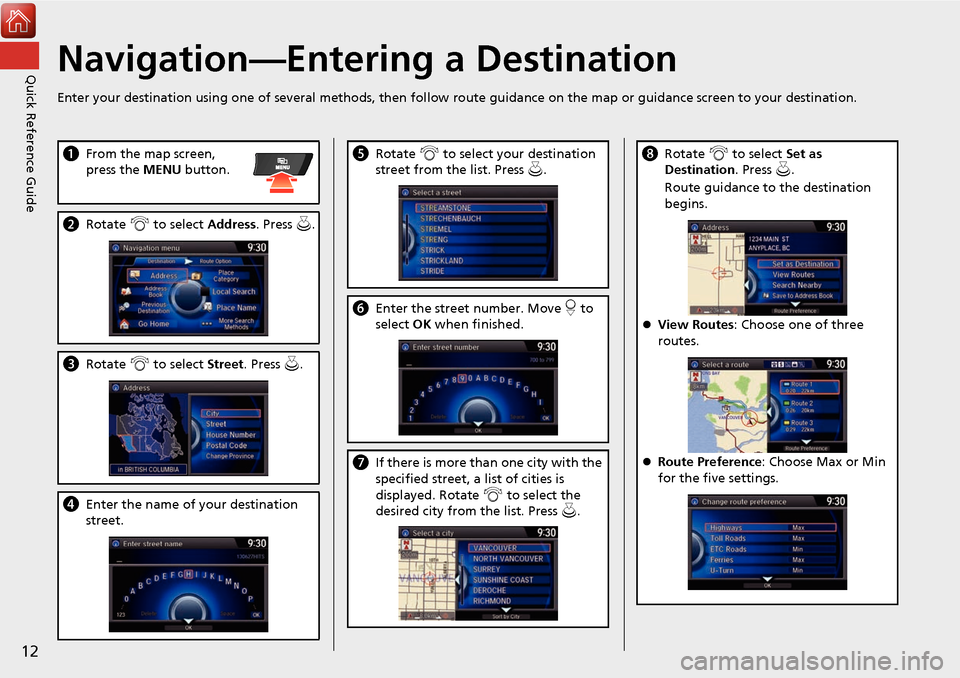
Enter your destination using one of several methods, then follow route guidance on the map or guidance screen to your destination.
aFrom the map screen,
press the MENU button.
bRotate i to select Address. Press u.
c Rotate i to select Street . Press u.
dEnter the name of your destination
street.
e Rotate i to select your destination
street from the list. Press u.
f Enter the street number. Move r to
select OK when finished.
g If there is more than one city with the
specified street, a list of cities is
displayed. Rotate i to select the
desired city from the list. Press u.
h Rotate i to select Set as
Destination . Press u.
Route guidance to the destination
begins.
View Routes : Choose one of three
routes.
Route Preference: Choose Max or Min
for the five settings.
Page 19 of 369
18
How to Use This Manual
This section explains different methods on how you can easily find information in this manual.
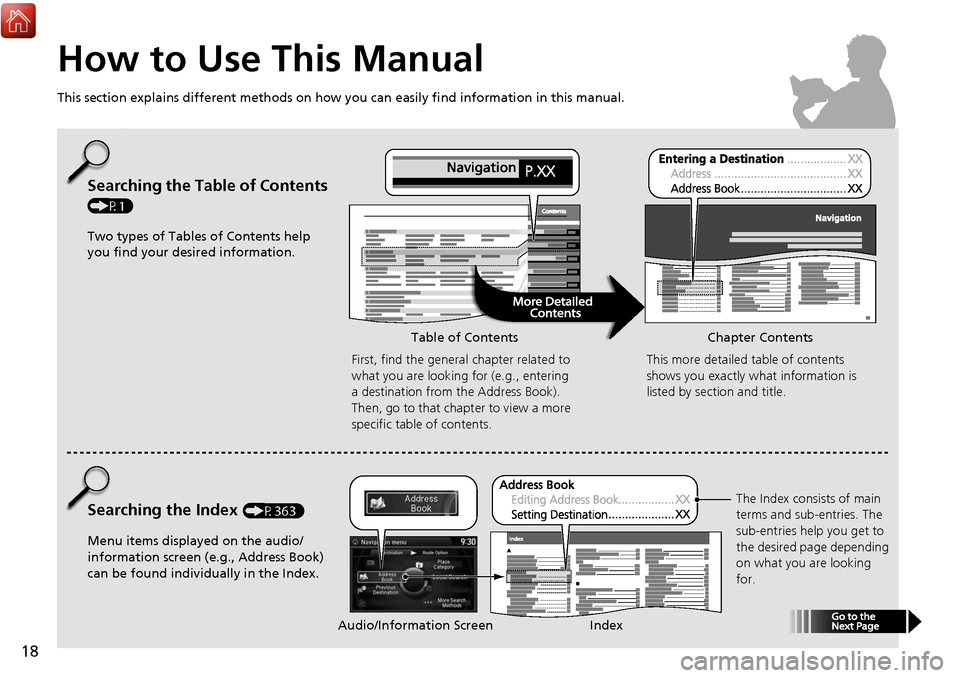
Searching the Table of Contents
(P1)
Two types of Tables of Contents help
you find your desired information.First, find the general chapter related to
what you are looking for (e.g., entering
a destination from the Address Book).
Then, go to that chapter to view a more
specific table of contents.
Searching the Index (P363)
Menu items displayed on the audio/
information screen (e.g., Address Book)
can be found individually in the Index. This more detailed table of contents
shows you exactly what information is
listed by section and title.
The Index consists of main
terms and sub-entries. The
sub-entries help you get to
the desired page depending
on what you are looking
for.
Table of Contents Chapter Contents
Audio/Information Screen Index
Page 20 of 369
19
Entering a DestinationAddress Book
Navigation
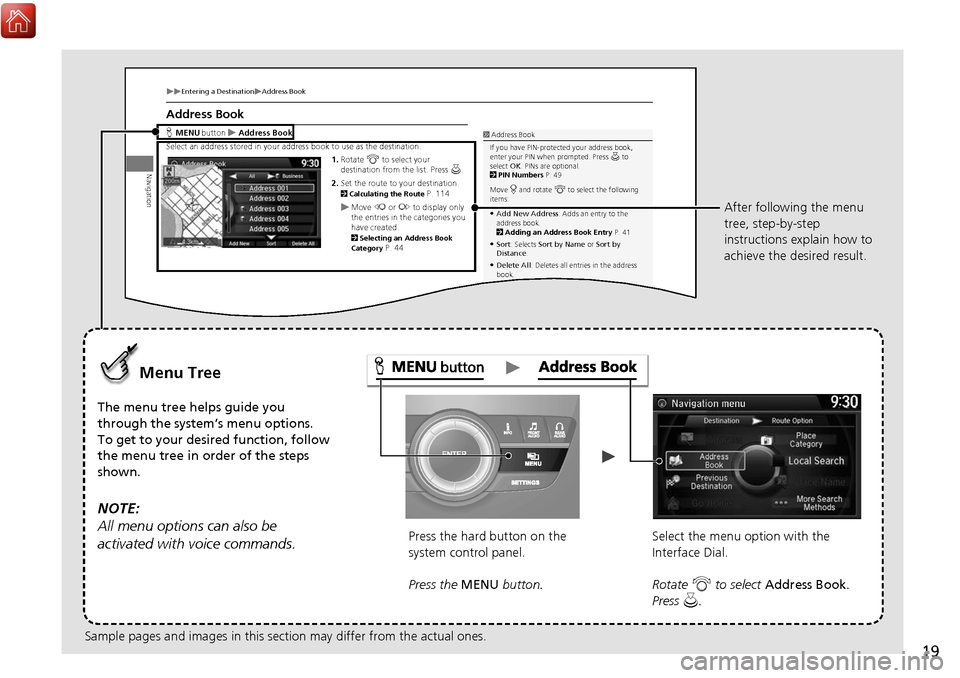
Address Book
Hbutton Address Book
Select an address stored in your address bo ok to use as the destination.
1.Rotate i to select your
destination from the list. Press u.
2. Set the route to your destination.
2 Calculating the Route P. 114Move w or y to display only
the entries in the categories you
have created.
2 Selecting an Address Book
Category P. 44
1 Address Book
If you have PIN-protec ted your address book,
enter your PIN when prompted. Press u to
select OK. PINs are optional.
2 PIN Numbers P. 49
Move r and rotate i to select the following
items:
Add New Address : Adds an entry to the
address book.
2 Adding an Address Book Entry P. 41
Sort: Selects Sort by Name or Sort by
Distance .
Delete All : Deletes all entries in the address
book.
Driver 1 or Driver 2 : Displays the address
book for the selected user.
MENU
Menu Tree
The menu tree helps guide you
through the system’s menu options.
To get to your desired function, follow
the menu tree in order of the steps
shown.
NOTE:
All menu options can also be
activated with voice commands.
Press the hard button on the
system control panel.
Press the MENU button. Select the menu option with the
Interface Dial.
Rotate
i to select Address Book .
Press u. After following the menu
tree, step-by-step
instructions explain how to
achieve the desired result.
Sample pages and images in this section may differ from the actual ones.
Page 22 of 369
21
System Setup
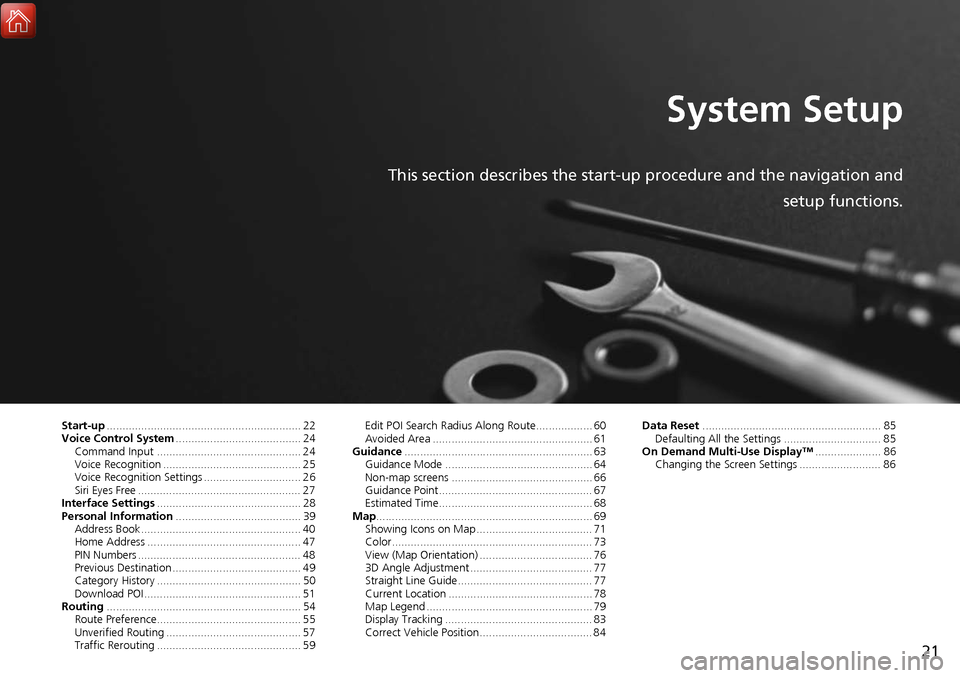
This section describes the start-up procedure and the navigation andsetup functions.
Start-up.............................................................. 22
Voice Control System ........................................ 24
Command Input .............................................. 24
Voice Recognition ............................................ 25
Voice Recognition Settings ............................... 26
Siri Eyes Free .................................................... 27
Interface Settings .............................................. 28
Personal Information ........................................ 39
Address Book ................................................... 40
Home Address ................................................. 47
PIN Numbers .................................................... 48
Previous Destination ......................................... 49
Category History .............................................. 50
Download POI .................................................. 51
Routing .............................................................. 54
Route Preference.............................................. 55
Unverified Routing ........................................... 57
Traffic Rerouting .............................................. 59 Edit POI Search Radius Along Route.................. 60
Avoided Area ................................................... 61
Guidance ............................................................ 63
Guidance Mode ............................................... 64
Non-map screens ............................................. 66
Guidance Point................................................. 67
Estimated Time................................................. 68
Map ..................................................................... 69
Showing Icons on Map ..................................... 71
Color................................................................ 73
View (Map Orientation) .................................... 76
3D Angle Adjustment ....................................... 77
Straight Line Guide........................................... 77
Current Location .............................................. 78
Map Legend ..................................................... 79
Display Tracking ............................................... 83
Correct Vehicle Position.................................... 84 Data Reset
......................................................... 85
Defaulting All the Settings ............................... 85
On Demand Multi-Use Display™ ..................... 86
Changing the Screen Settings .......................... 86
Page 23 of 369
22
System Setup
Start-up
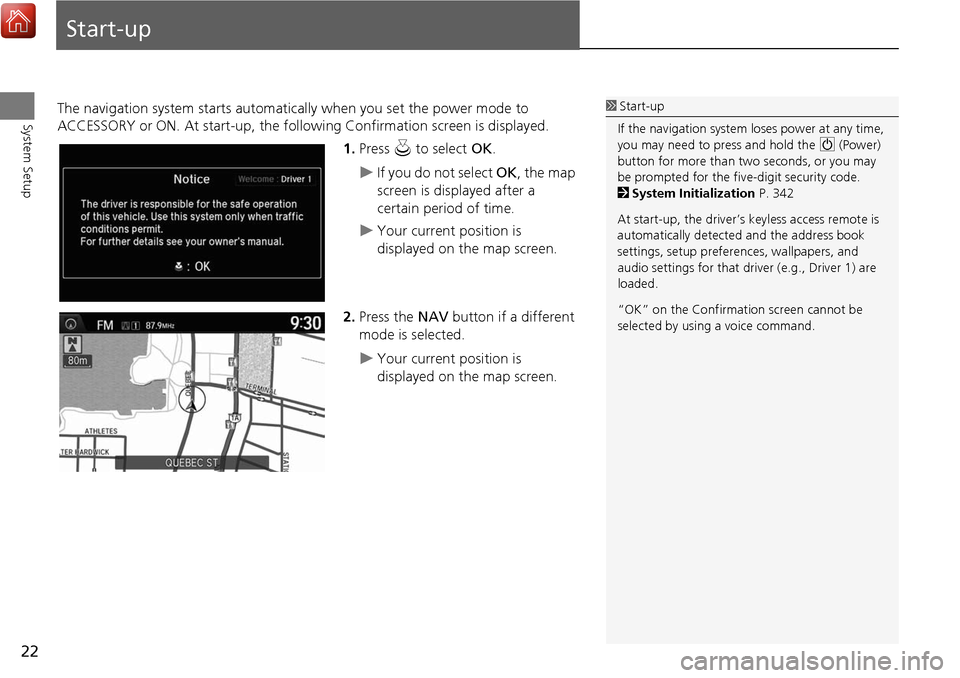
The navigation system starts automatically when you set the power mode to
ACCESSORY or ON. At start-up, the follow ing Confirmation screen is displayed.
1.Press u to select OK.
If you do not select OK, the map
screen is displayed after a
certain period of time.
Your current position is
displayed on the map screen.
2. Press the NAV button if a different
mode is selected.
Your current position is
displayed on the map screen.
1 Start-up
If the navigation system loses power at any time,
you may need to press and hold the 9 (Power)
button for more than two seconds, or you may
be prompted for the five-digit security code.
2 System Initialization P. 342
At start-up, the driver’s keyless access remote is
automatically detected and the address book
settings, setup preferences, wa llpapers, and
audio settings for that driver (e.g., Driver 1) are
loaded.
“OK” on the Confirmati on screen cannot be
selected by using a voice command.
Page 40 of 369
39
System Setup
Personal Information
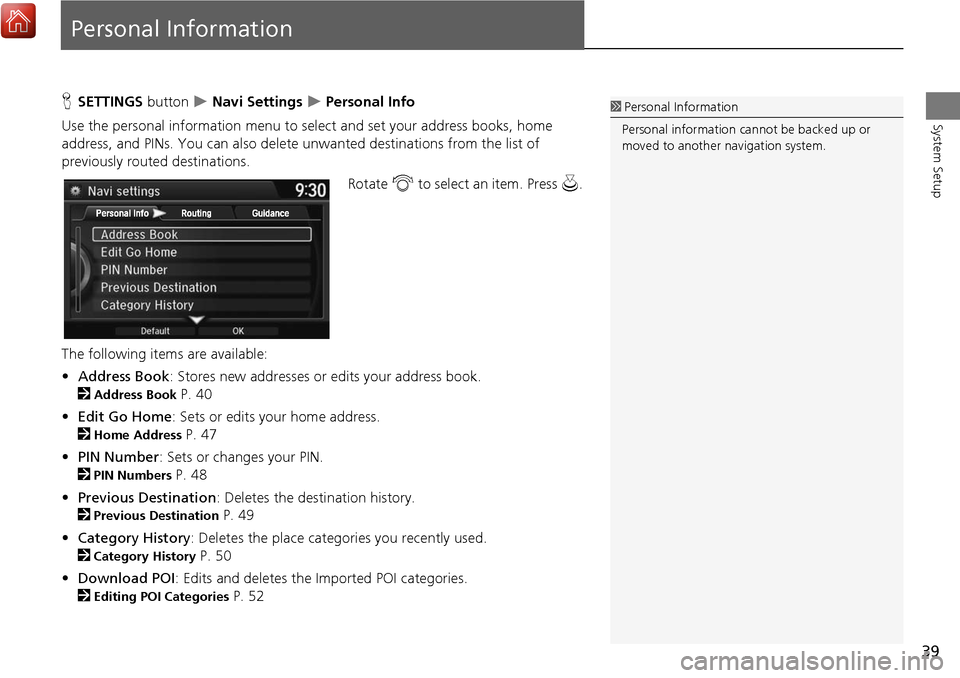
HSETTINGS button Navi Settings Personal Info
Use the personal information menu to select and set your address books, home
address, and PINs. You can also delete unwanted destinations from the list of
previously routed destinations.
Rotate i to select an item. Press u.
The following items are available:
• Address Book : Stores new addresses or edits your address book.
2
Address Book P. 40
• Edit Go Home : Sets or edits your home address.
2
Home Address P. 47
• PIN Number : Sets or changes your PIN.
2
PIN Numbers P. 48
• Previous Destination : Deletes the destination history.
2
Previous Destination P. 49
• Category History : Deletes the place categories you recently used.
2
Category History P. 50
• Download POI: Edits and deletes the Imported POI categories.
2
Editing POI Categories P. 52
1Personal Information
Personal information cannot be backed up or
moved to another navigation system.
Page 41 of 369
40
Personal InformationAddress Book
System Setup
Address Book
HSETTINGS button Navi Settings Personal Info Address Book
Store up to 200 address entries in two ad dress books (Driver 1 and Driver 2). You can
add, edit, and delete information in the address books.
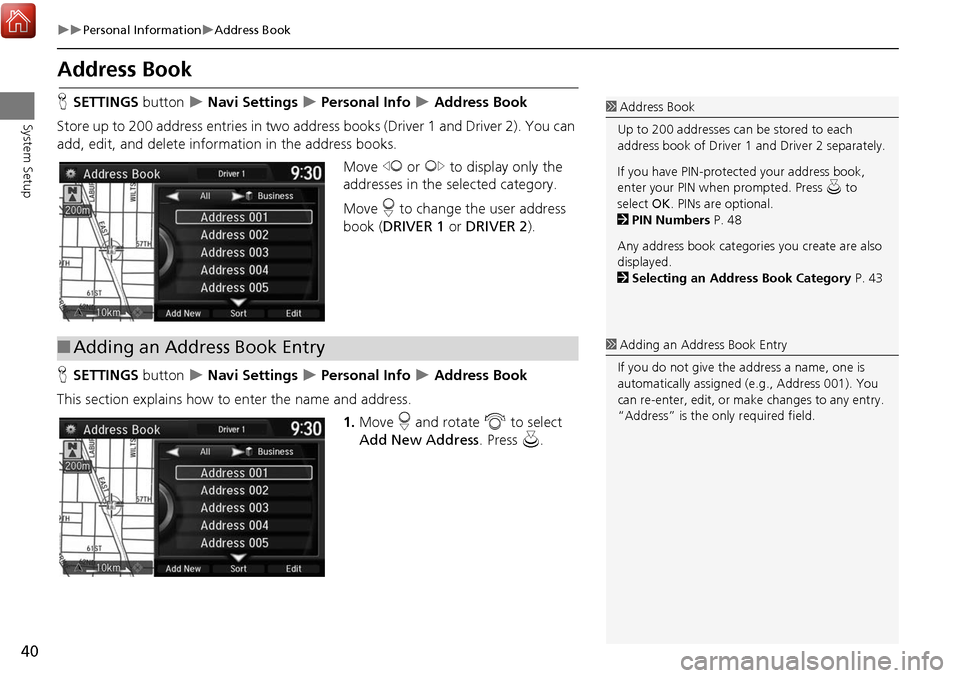
Move w or y to display only the
addresses in the selected category.
Move r to change the user address
book ( DRIVER 1 or DRIVER 2 ).
H SETTINGS button
Navi Settings Personal Info Address Book
This section explains how to enter the name and address.
1.Move r and rotate i to select
Add New Address . Press u.
1Address Book
Up to 200 addresses can be stored to each
address book of Driver 1 and Driver 2 separately.
If you have PIN-protec ted your address book,
enter your PIN when prompted. Press u to
select OK. PINs are optional.
2 PIN Numbers P. 48
Any address book categories you create are also
displayed.
2 Selecting an Address Book Category P. 43
■Adding an Address Book Entry1 Adding an Address Book Entry
If you do not give the address a name, one is
automatically assigned (e.g., Address 001). You
can re-enter, edit, or make changes to any entry.
“Address” is the only required field.
Page 42 of 369
41
Personal InformationAddress Book
System Setup
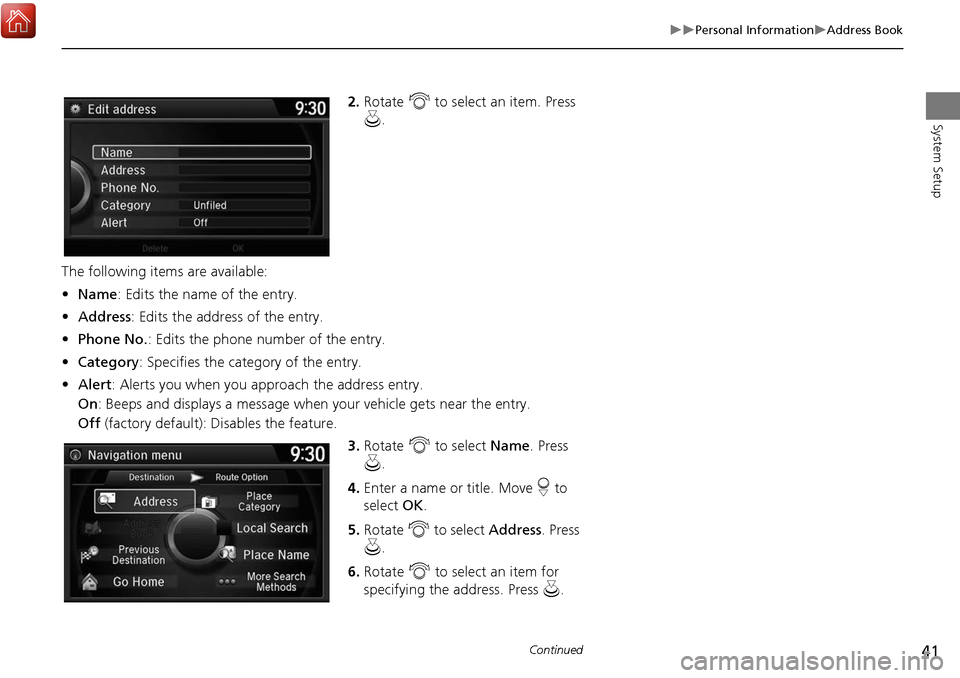
2.Rotate i to select an item. Press
u .
The following items are available:
• Name: Edits the name of the entry.
• Address : Edits the address of the entry.
• Phone No. : Edits the phone number of the entry.
• Category : Specifies the category of the entry.
• Alert : Alerts you when you approach the address entry.
On : Beeps and displays a message when your vehicle gets near the entry.
Off (factory default): Disables the feature.
3.Rotate i to select Name. Press
u .
4. Enter a name or title. Move r to
select OK.
5. Rotate i to select Address. Press
u .
6. Rotate i to select an item for
specifying the address. Press u.
Continued