Navigation system dri er info Acura RDX 2017 Owner's Manual
[x] Cancel search | Manufacturer: ACURA, Model Year: 2017, Model line: RDX, Model: Acura RDX 2017Pages: 449, PDF Size: 10.88 MB
Page 100 of 449
Continued99
uuGauges and Multi-Information Display uMulti-Information Display
Instrument Panel
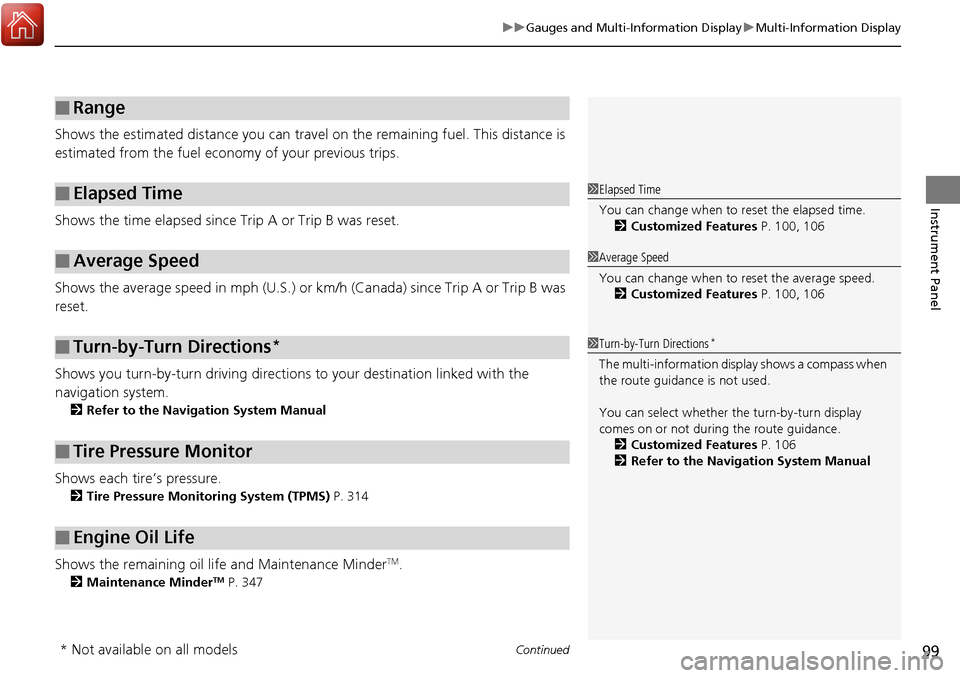
Shows the estimated distance you can travel on the remaining fuel. This distance is
estimated from the fuel economy of your previous trips.
Shows the time elapsed since Trip A or Trip B was reset.
Shows the average speed in mph (U.S.) or km/h (Canada) since Trip A or Trip B was
reset.
Shows you turn-by-turn driv ing directions to your destination linked with the
navigation system.
2 Refer to the Navigation System Manual
Shows each tire’s pressure.
2Tire Pressure Monitoring System (TPMS) P. 314
Shows the remaining oil life and Maintenance MinderTM.
2Maintenance MinderTM P. 347
■Range
■Elapsed Time
■Average Speed
■Turn-by-Turn Directions*
■Tire Pressure Monitor
■Engine Oil Life
1Elapsed Time
You can change when to reset the elapsed time.
2 Customized Features P. 100, 106
1Average Speed
You can change when to reset the average speed.
2 Customized Features P. 100, 106
1Turn-by-Turn Directions*
The multi-information disp lay shows a compass when
the route guidance is not used.
You can select whether the turn-by-turn display
comes on or not during the route guidance. 2 Customized Features P. 106
2 Refer to the Navigation System Manual
* Not available on all models
Page 183 of 449
182
uuClimate Control System uSynchronized Mode
Controls
Synchronized Mode
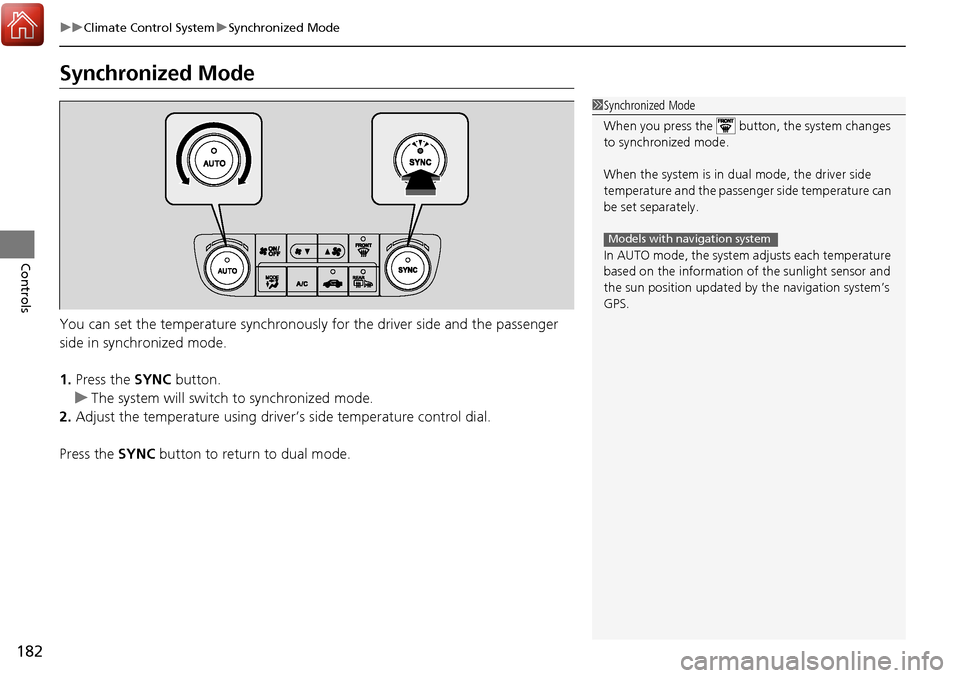
You can set the temperature synchronously for the driver side and the passenger
side in synchronized mode.
1. Press the SYNC button.
u The system will switch to synchronized mode.
2. Adjust the temperature using driver ’s side temperature control dial.
Press the SYNC button to return to dual mode.
1Synchronized Mode
When you press the button, the system changes
to synchronized mode.
When the system is in dua l mode, the driver side
temperature and the passenger side temperature can
be set separately.
In AUTO mode, the system adjusts each temperature
based on the information of the sunlight sensor and
the sun position updated by the navigation system’s
GPS.
Models with navigation system
Page 187 of 449
186
Features
Audio System*
About Your Audio System
On models with navigation system, see Navigation System Manual for operation of
the audio system, AcuraLink, Bluetooth ® HandsFreeLink ®, and voice commands for
these features.
The audio system features AM/FM radio and the SiriusXM ® Radio service. It can also
play audio CDs, WMA/MP3/AAC files, iPod, iPhone, USB flash drives, and
Bluetooth ® devices.
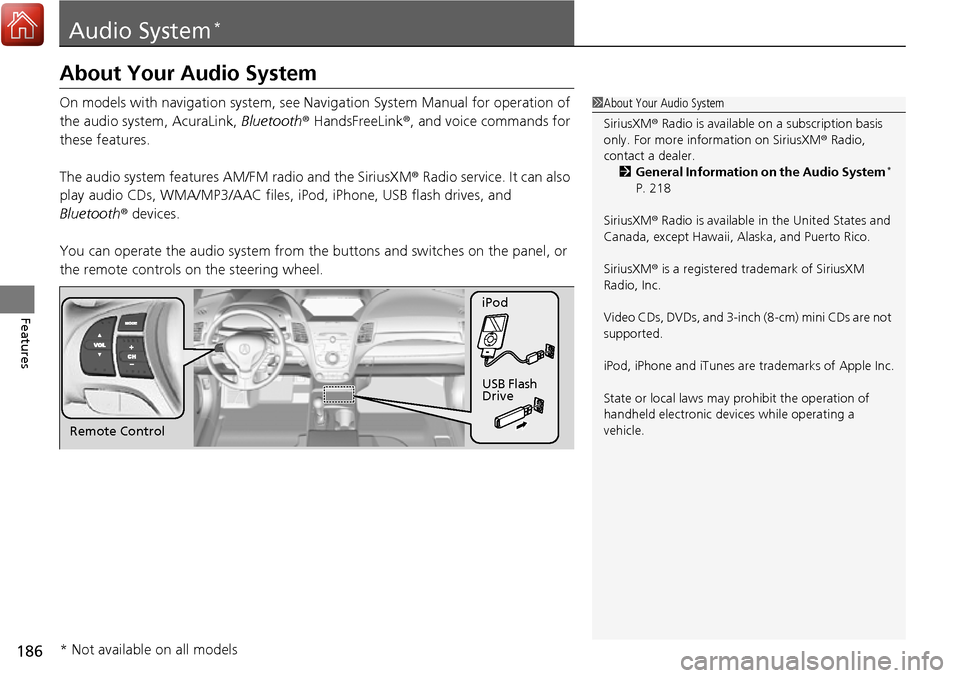
You can operate the audio sy stem from the buttons and sw itches on the panel, or
the remote controls on the steering wheel.1About Your Audio System
SiriusXM ® Radio is available on a subscription basis
only. For more information on SiriusXM ® Radio,
contact a dealer.
2 General Information on the Audio System
*
P. 218
SiriusXM ® Radio is available in the United States and
Canada, except Ha waii, Alaska, and Puerto Rico.
SiriusXM ® is a registered trademark of SiriusXM
Radio, Inc.
Video CDs, DVDs, and 3-inch (8-cm) mini CDs are not
supported.
iPod, iPhone and iTunes are trademarks of Apple Inc.
State or local laws may pr ohibit the operation of
handheld electronic devi ces while operating a
vehicle.
Remote Control iPod
USB Flash
Drive
* Not available on all models
Page 195 of 449
194
uuAudio System Basic Operation*uWallpaper Setup
Features
Wallpaper Setup
You can change, store, and delete the wa llpaper on the audio/information screen.
See the navigation system manual for how to change the wallpaper.
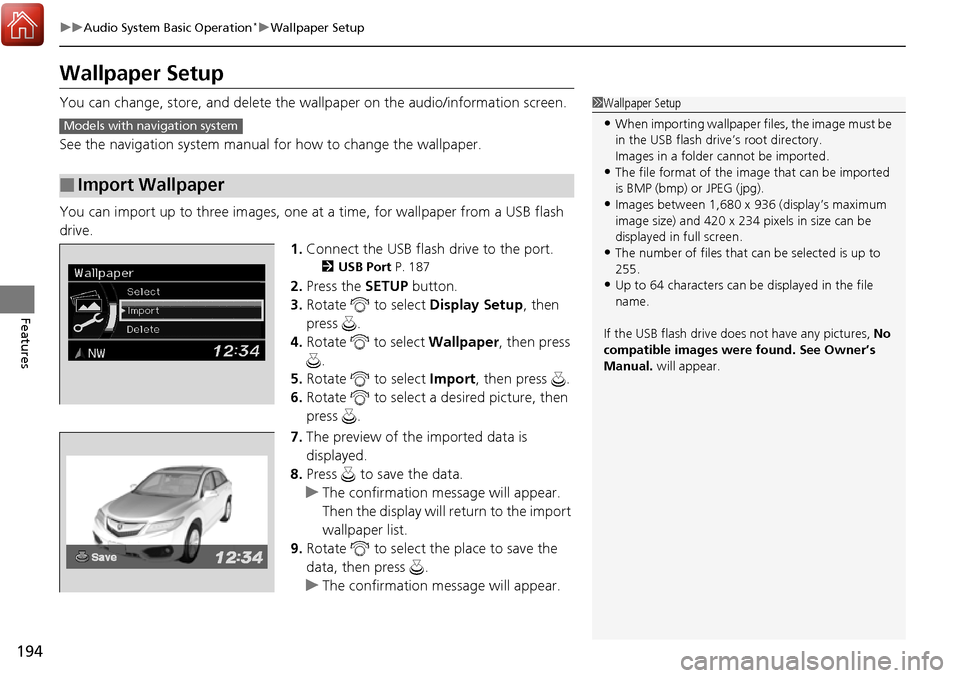
You can import up to three images, one at a time, for wallpaper from a USB flash
drive. 1.Connect the USB flash drive to the port.
2 USB Port P. 187
2.Press the SETUP button.
3. Rotate to select Display Setup, then
press .
4. Rotate to select Wallpaper, then press
.
5. Rotate to select Import, then press .
6. Rotate to select a desired picture, then
press .
7. The preview of the imported data is
displayed.
8. Press to save the data.
u The confirmation message will appear.
Then the display will return to the import
wallpaper list.
9. Rotate to select the place to save the
data, then press .
u The confirmation message will appear.
■Import Wallpaper
1Wallpaper Setup
•When importing wallpaper files, the image must be
in the USB flash drive’s root directory.
Images in a folder cannot be imported.
•The file format of the im age that can be imported
is BMP (bmp) or JPEG (jpg).
•Images between 1,680 x 936 (display’s maximum
image size) and 420 x 234 pixels in size can be
displayed in full screen.
•The number of files that can be selected is up to
255.
•Up to 64 characters can be displayed in the file
name.
If the USB flash drive doe s not have any pictures, No
compatible images were found. See Owner’s
Manual. will appear.
Models with navigation system
Page 339 of 449
338
Driving
Multi-View Rear Camera
About Your Multi-View Rear Camera
For models with navigation system, see Navigation System Manual.
The audio/information screen can display your vehicle’s rear view. The display
automatically changes to the rear view when the shift lever is moved to
(R.
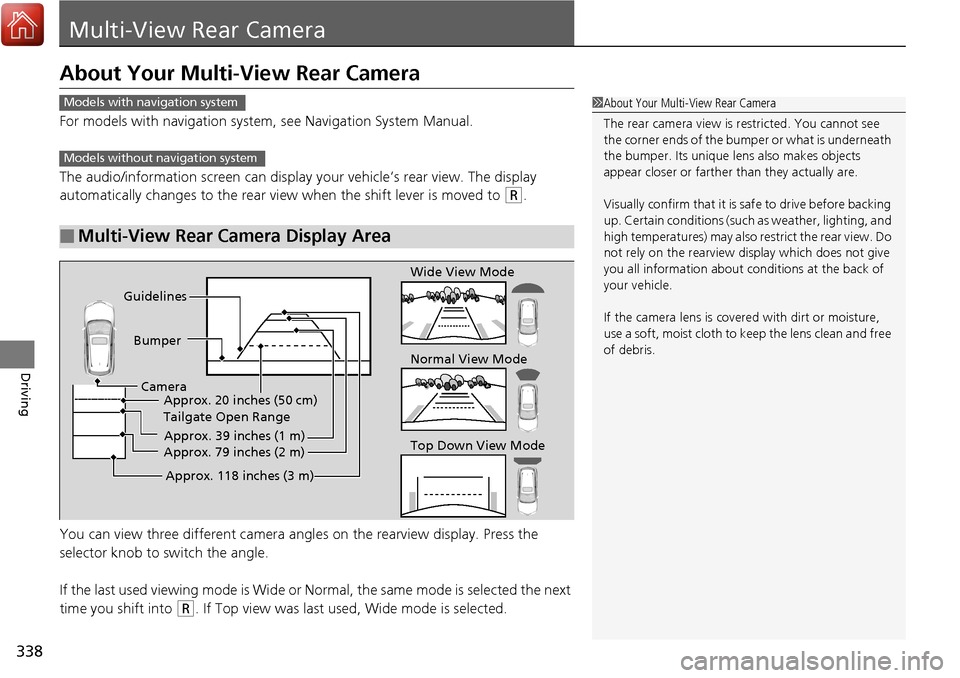
You can view three different camera angl es on the rearview display. Press the
selector knob to switch the angle.
If the last used viewing mode is Wide or Normal, the same mode is selected the next
time you shift into
(R. If Top view was last used, Wide mode is selected.
■Multi-View Rear Camera Display Area
1 About Your Multi-View Rear Camera
The rear camera view is restricted. You cannot see
the corner ends of the bum per or what is underneath
the bumper. Its unique le ns also makes objects
appear closer or farther than they actually are.
Visually confirm that it is safe to drive before backing
up. Certain conditions (such as weather, lighting, and
high temperatures) may also restrict the rear view. Do
not rely on the rearview display which does not give
you all information about conditions at the back of
your vehicle.
If the camera lens is cove red with dirt or moisture,
use a soft, moist cloth to keep the lens clean and free
of debris.Models with navigation system
Models without navigation system
Guidelines
Bumper
Camera Approx. 20 inches (50 cm)
Tailgate Open Range
Approx. 39 inches (1 m)
Approx. 79 inches (2 m)
Approx. 118 inches (3 m)
Wide View Mode
Normal View Mode
Top Down View Mode