Acura RDX 2019 Owner's Manual
Manufacturer: ACURA, Model Year: 2019, Model line: RDX, Model: Acura RDX 2019Pages: 649, PDF Size: 33 MB
Page 261 of 649
uuAudio System Basic Operation uAudio/Information Screen
260
Features
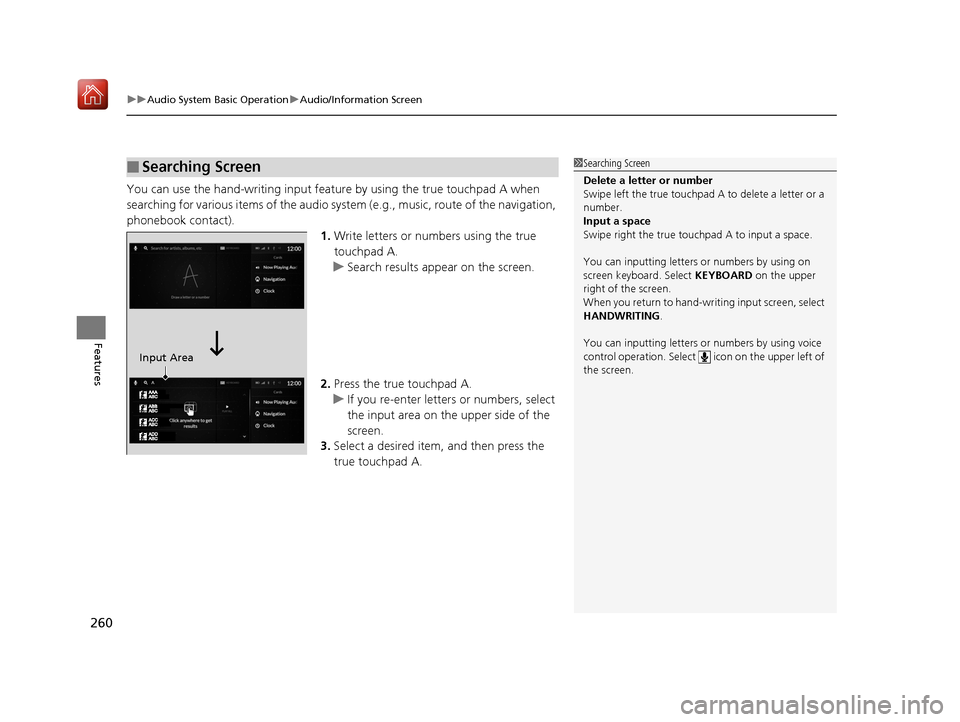
You can use the hand-writing input feature by using the true touchpad A when
searching for various items of the audio syst em (e.g., music, route of the navigation,
phonebook contact). 1.Write letters or numbers using the true
touchpad A.
u Search results appear on the screen.
2. Press the true touchpad A.
u If you re-enter letters or numbers, select
the input area on the upper side of the
screen.
3. Select a desired item, and then press the
true touchpad A.
■Searching Screen1Searching Screen
Delete a letter or number
Swipe left the true touchpad A to delete a letter or a
number.
Input a space
Swipe right the true touchpad A to input a space.
You can inputting letters or numbers by using on
screen keyboard. Select KEYBOARD on the upper
right of the screen.
When you return to hand-wr iting input screen, select
HANDWRITING.
You can inputting letters or numbers by using voice
control operation. Select icon on th e upper left of
the screen.
Input Area
19 ACURA RDX-31TJB6000.book 260 ページ 2018年4月26日 木曜日 午後4時51分
Page 262 of 649
261
uuAudio System Basic Operation uAudio/Information Screen
Continued
Features
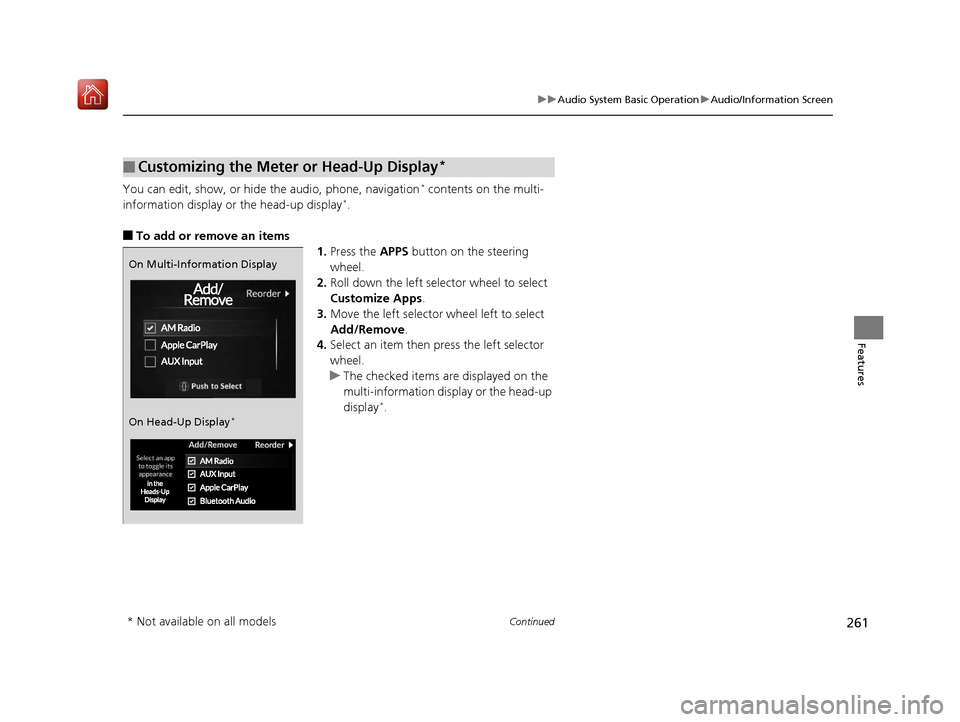
You can edit, show, or hide the audio, phone, navigation* contents on the multi-
information display or the head-up display*.
■To add or remove an items 1.Press the APPS button on the steering
wheel.
2. Roll down the left selector wheel to select
Customize Apps .
3. Move the left selector wheel left to select
Add/Remove.
4. Select an item then press the left selector
wheel.
u The checked items are displayed on the
multi-information display or the head-up
display
*.
■Customizing the Meter or Head-Up Display*
On Multi-Information Display
On Head-Up Display
*
* Not available on all models
19 ACURA RDX-31TJB6000.book 261 ページ 2018年4月26日 木曜日 午後4時51分
Page 263 of 649

262
uuAudio System Basic Operation uAudio/Information Screen
Features
■Editing order
1.Press the APPS button on the steering
wheel.
2. Using the left selector wheel, scroll to
Customize Apps and then press the
selector wheel.
3. Move the selector wheel to the right to go
to the Reorder screen.
4. Scroll to an item you want to move, then
press the left selector wheel.
5. Scroll to where you want to move the
contents, then press the left selector wheel.
On Multi-Information Display
On Head-Up Display
*
* Not available on all models
19 ACURA RDX-31TJB6000.book 262 ページ 2018年4月26日 木曜日 午後4時51分
Page 264 of 649
263
uuAudio System Basic Operation uSystem Updates
Continued
Features
System Updates
The audio system’s firmware can be updated with the telematics control unit (TCU)
through the subscrip tion-based service.
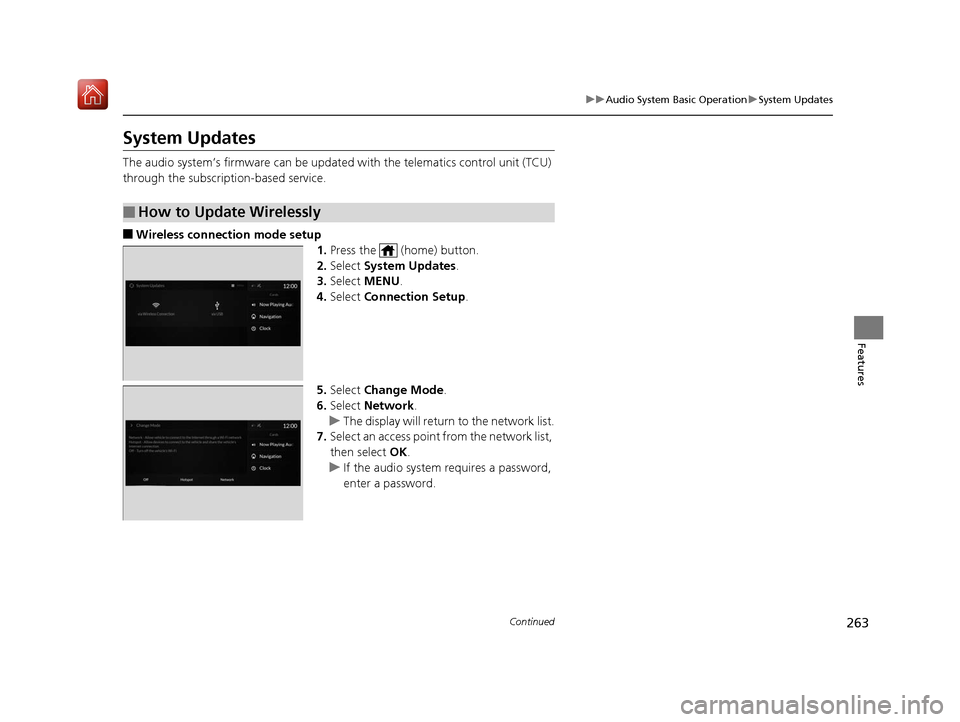
■Wireless connection mode setup
1.Press the (home) button.
2. Select System Updates .
3. Select MENU .
4. Select Connection Setup.
5. Select Change Mode .
6. Select Network .
u The display will return to the network list.
7. Select an access point from the network list,
then select OK.
u If the audio system requires a password,
enter a password.
■How to Update Wirelessly
19 ACURA RDX-31TJB6000.book 263 ページ 2018年4月26日 木曜日 午後4時51分
Page 265 of 649

264
uuAudio System Basic Operation uSystem Updates
Features
■How to update
When the audio system update is available, the notification is shown on the audio/
information screen. Use the following procedure to update the system.
1.Press the (home) button.
2. Select System Updates .
3. Select via Wireless Connection .
u When the download is complete, the
screen for step 6 will be displayed.
4. Select Download Now .
u A notification will appear on the screen.
Notification
19 ACURA RDX-31TJB6000.book 264 ページ 2018年4月26日 木曜日 午後4時51分
Page 266 of 649
Continued265
uuAudio System Basic Operation uSystem Updates
Features
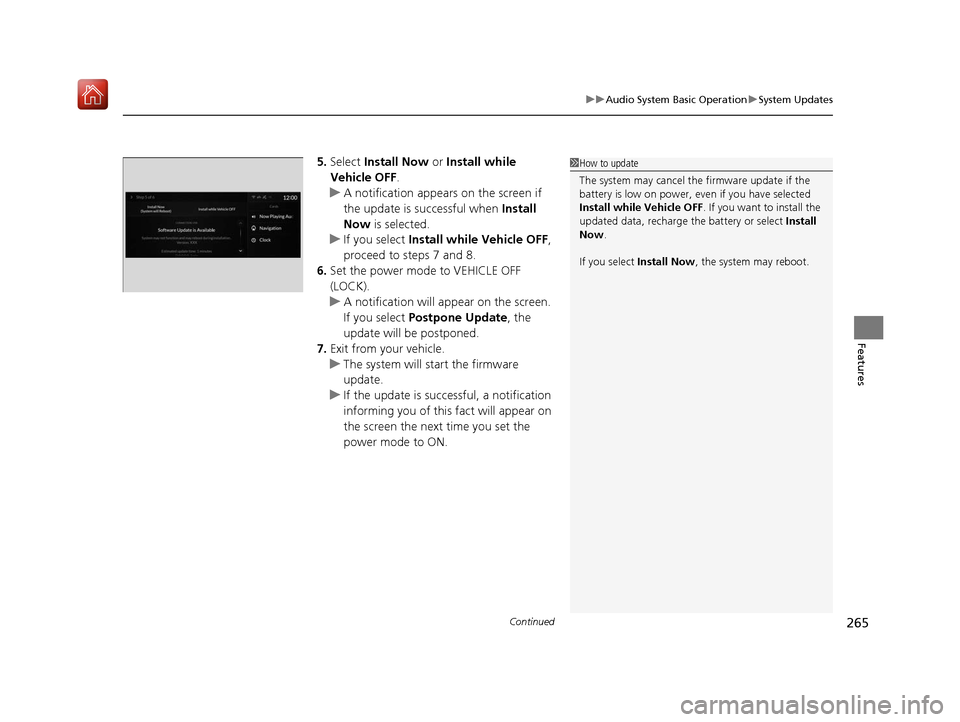
5. Select Install Now or Install while
Vehicle OFF .
u A notification appears on the screen if
the update is su ccessful when Install
Now is selected.
u If you select Install while Vehicle OFF ,
proceed to steps 7 and 8.
6. Set the power mode to VEHICLE OFF
(LOCK).
u A notification will appear on the screen.
If you select Postpone Update , the
update will be postponed.
7. Exit from your vehicle.
u The system will start the firmware
update.
u If the update is succ essful, a notification
informing you of this fact will appear on
the screen the next time you set the
power mode to ON.1 How to update
The system may cancel the firmware update if the
battery is low on power, even if you have selected
Install while Vehicle OFF . If you want to install the
updated data, recharge th e battery or select Install
Now .
If you select Install Now, the system may reboot.
19 ACURA RDX-31TJB6000.book 265 ページ 2018年4月26日 木曜日 午後4時51分
Page 267 of 649
266
uuAudio System Basic Operation uSystem Updates
Features
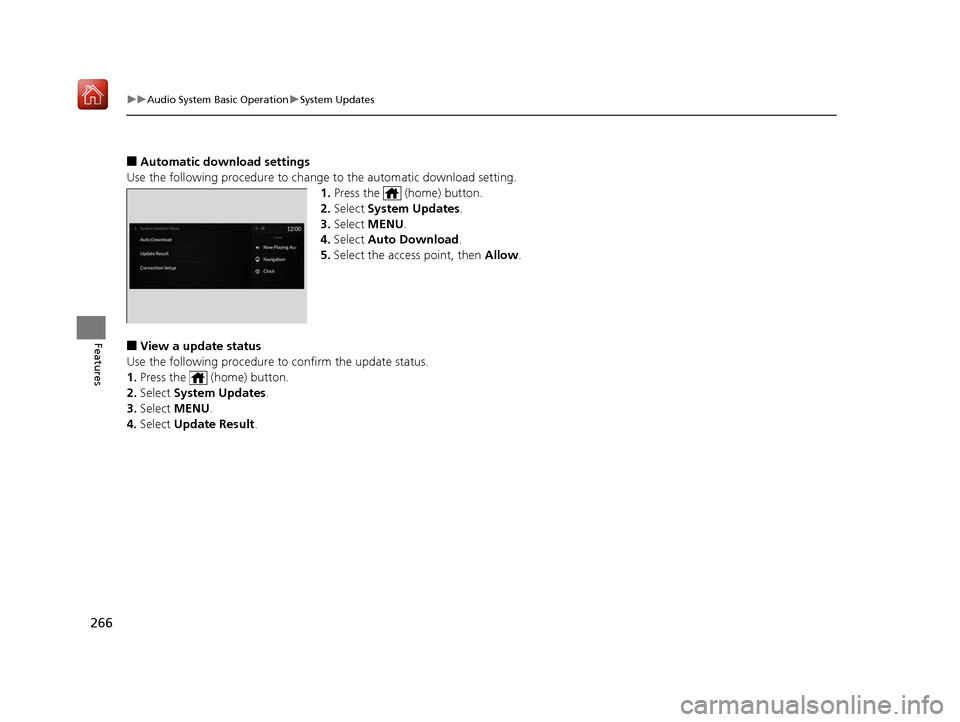
■Automatic download settings
Use the following procedure to change to the automatic download setting.
1. Press the (home) button.
2. Select System Updates .
3. Select MENU .
4. Select Auto Download .
5. Select the access point, then Allow .
■View a update status
Use the following procedure to confirm the update status.
1. Press the (home) button.
2. Select System Updates .
3. Select MENU .
4. Select Update Result .
19 ACURA RDX-31TJB6000.book 266 ページ 2018年4月26日 木曜日 午後4時51分
Page 268 of 649
Continued267
uuAudio System Basic Operation uSystem Updates
Features
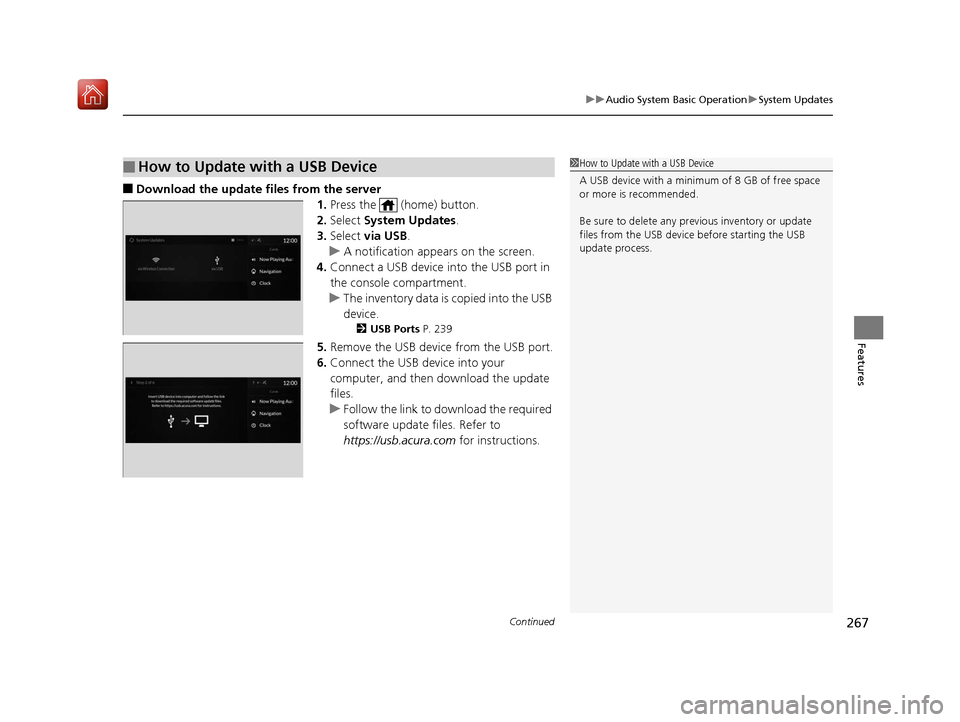
■Download the update files from the server
1.Press the (home) button.
2. Select System Updates .
3. Select via USB .
u A notification appears on the screen.
4. Connect a USB device into the USB port in
the console compartment.
u The inventory data is copied into the USB
device.
2 USB Ports P. 239
5.Remove the USB device from the USB port.
6. Connect the USB device into your
computer, and then do wnload the update
files.
u Follow the link to do wnload the required
software update files. Refer to
https://usb.acura.com for instructions.
■How to Update with a USB Device1How to Update with a USB Device
A USB device with a minimum of 8 GB of free space
or more is recommended.
Be sure to delete any pr evious inventory or update
files from the USB device before starting the USB
update process.
19 ACURA RDX-31TJB6000.book 267 ページ 2018年4月26日 木曜日 午後4時51分
Page 269 of 649
uuAudio System Basic Operation uSystem Updates
268
Features
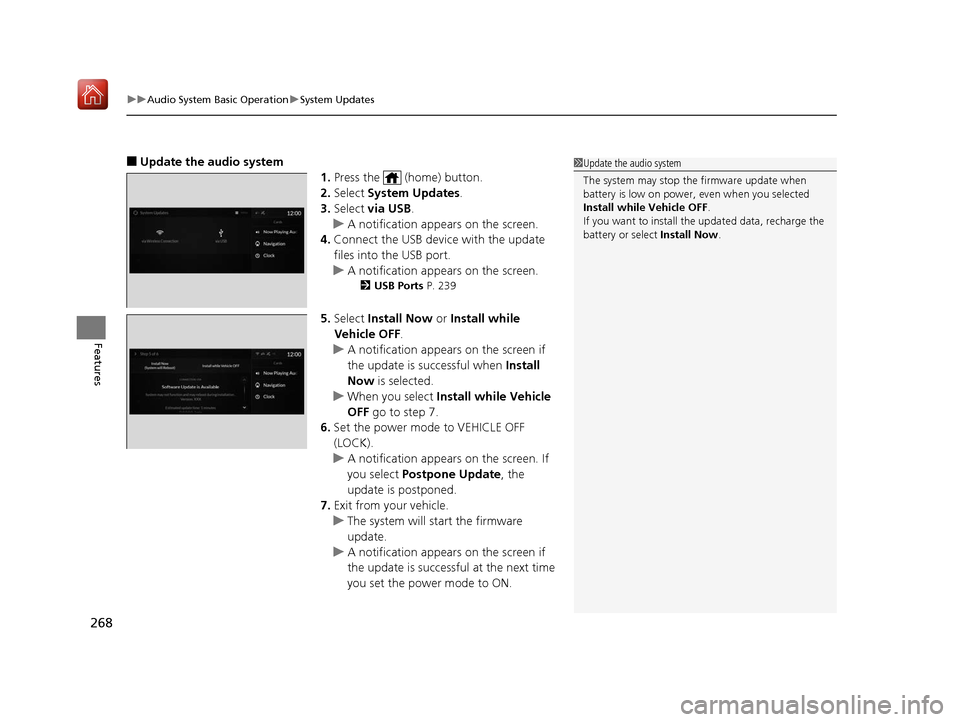
■Update the audio system
1.Press the (home) button.
2. Select System Updates .
3. Select via USB .
u A notification appears on the screen.
4. Connect the USB device with the update
files into the USB port.
u A notification appears on the screen.
2 USB Ports P. 239
5.Select Install Now or Install while
Vehicle OFF .
u A notification appears on the screen if
the update is successful when Install
Now is selected.
u When you select Install while Vehicle
OFF go to step 7.
6. Set the power mode to VEHICLE OFF
(LOCK).
u A notification appears on the screen. If
you select Postpone Update , the
update is postponed.
7. Exit from your vehicle.
u The system will start the firmware
update.
u A notification appears on the screen if
the update is successful at the next time
you set the power mode to ON.
1Update the audio system
The system may stop the firmware update when
battery is low on power, even when you selected
Install while Vehicle OFF .
If you want to install the updated data, recharge the
battery or select Install Now.
19 ACURA RDX-31TJB6000.book 268 ページ 2018年4月26日 木曜日 午後4時51分
Page 270 of 649
269
uuAudio System Basic Operation uAdjusting the Sound
Features
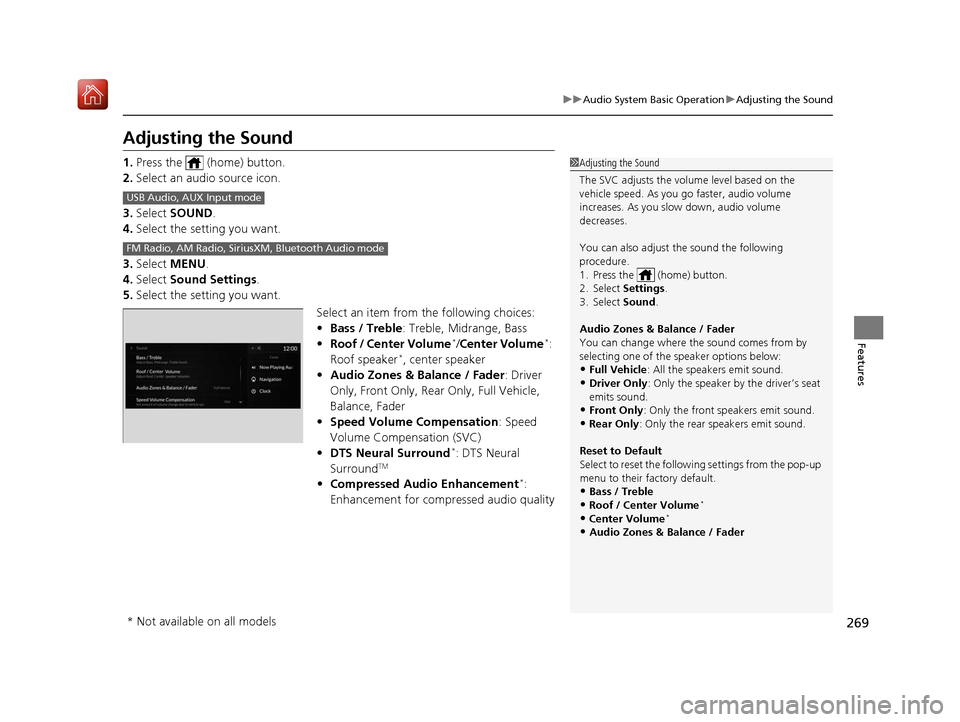
Adjusting the Sound
1. Press the (home) button.
2. Select an audio source icon.
3. Select SOUND.
4. Select the setting you want.
3. Select MENU .
4. Select Sound Settings.
5. Select the setting you want.
Select an item from the following choices:
•Bass / Treble : Treble, Midrange, Bass
• Roof / Center Volume
*/Center Volume*:
Roof speaker*, center speaker
• Audio Zones & Balance / Fader : Driver
Only, Front Only, Rear Only, Full Vehicle,
Balance, Fader
• Speed Volume Compensation : Speed
Volume Compensation (SVC)
• DTS Neural Surround
*: DTS Neural
SurroundTM
• Compressed Audio Enhancement*:
Enhancement for compressed audio quality
1 Adjusting the Sound
The SVC adjusts the volume level based on the
vehicle speed. As you go faster, audio volume
increases. As you slow down, audio volume
decreases.
You can also adjust the sound the following
procedure.
1. Press the (home) button.
2. Select Settings .
3. Select Sound.
Audio Zones & Balance / Fader
You can change where the sound comes from by
selecting one of the speaker options below:
•Full Vehicle: All the speakers emit sound. •Driver Only: Only the speaker by the driver’s seat
emits sound.
•Front Only : Only the front speakers emit sound.•Rear Only: Only the rear speakers emit sound.
Reset to Default
Select to reset the follow ing settings from the pop-up
menu to their factory default.
•Bass / Treble•Roof / Center Volume*
•Center Volume*
•Audio Zones & Balance / Fader
USB Audio, AUX Input mode
FM Radio, AM Radio, Siri usXM, Bluetooth Audio mode
* Not available on all models
19 ACURA RDX-31TJB6000.book 269 ページ 2018年4月26日 木曜日 午後4時51分