Acura RSX 2003 Owner's Manual
Manufacturer: ACURA, Model Year: 2003, Model line: RSX, Model: Acura RSX 2003Pages: 320, PDF Size: 4.24 MB
Page 101 of 320

To open the console compartment,
push the right knob and slide the
cover f orward.
Another beverage holder is located
in the center console behind the
parking brake lever.
Beverage Holder, Console Compartment
Inst rument s and Cont rols
Console Compartment
98
Push
Page 102 of 320

They will not power an automotive
type cigarette lighter element. These sockets are intended to supply
power f or 12 volt DC accessories
that are rated 120 watts or less (10
amps).
To power an accessory, the ignition
switch must be in ACCESSORY (I)
or ON (II).
There are two accessory power
sockets, one is located in the f ront of
the center console. The other is
located at the rear of the console. To
use either power socket, pull up the
cover. The ceiling light has a three-position
switch. In the OFF position, the light
does not come on. In the center
position, the ceiling light comes on
when you open either door. Af ter the
doors are closed tightly, the light
dims slightly, then f ades out in about
30 seconds. In the ON position, the
ceiling light stays on continuously.
U.S. :
Canada : Standard on all models
Rear power socket optional
Inst rument s and Cont rols
Accessory Power Socket, Interior Lights
A ccessory Power Socket Ceiling L ight
99
DOOR ACTIVATED
Page 103 of 320

The cargo area light comes on when
you open the hatch.
Turn on the spotlight by pushing the
button next to each light. Push the
button again to turn it off. You can
use the spotlights at all times.U.S.: Canada: All models
Premium and Type-S modelsonly
Inst rument s and Cont rols
Interior Lights
Spotlights Cargo Area Light
100
Page 104 of 320

.....................
Heating and Cooling .102
...............
Temperature Sensors . 108
Audio System (All models ......................
except Type-S) .109
....
AM/FM/CD Audio System . 109
.................
Operating the Radio . 109
.................
Adjusting the Sound . 113
..............................
Digital Clock .114
............
Audio System Lighting . 115
.........
Operating the CD Player . 115
.....
Operating the CD Changer . 117
....
CD Player Error Indications . 119
CD Changer Error .............................
Indications .120
Operating the Cassette .....................................
Player .121
............
Tape Search Functions . 123
.................
Caring f or Cassettes . 124
................
Audio System (Type S) . 125
AM/FM/Cassette/ .
CD Changer Audio System . 125
.................
Operating the Radio . 126
.................
Adjusting the Sound . 129
..............................
Digital Clock .130
............
Audio System Lighting . 131
....................
Radio Frequencies . 131........................
Radio Reception .131
Operating the Cassette .....................................
Player .133
............
Tape Search Functions . 134
Caring f or the Cassette .....................................
Player .137
Loading CDs in the .................................
Changer .139
...................................
Operation .141
Removing CDs from the .................................
Changer .143
.......
Protecting Compact Discs . 145
CD Changer Error .............................
Indications .146
.......................
Thef t Protection .147
............................
Security System .148
...............................
Cruise Control .149
Comf ort and Convenience Features
Comf ort and Convenience Feat ures101
Page 105 of 320

The engine must be running f or the
heater and air conditioning to
generate hot and cold air. The heater
uses engine coolant to warm the air.
If the engine is cold, it will be several
minutes bef ore you f eel warm air
coming from the system.
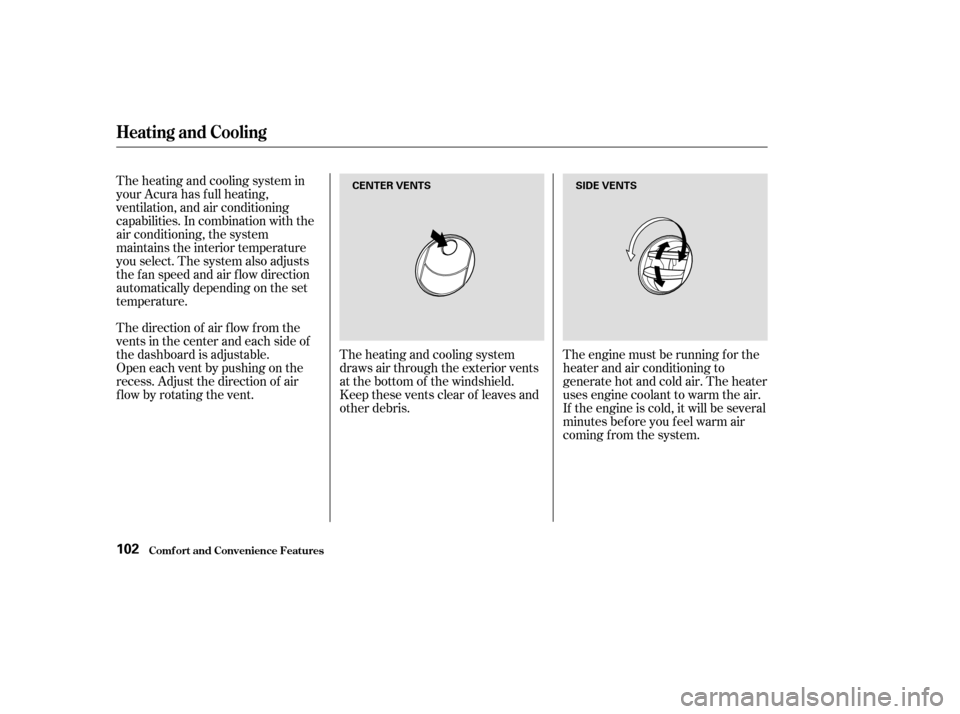
The heating and cooling system
draws air through the exterior vents
at the bottom of the windshield.
Keep these vents clear of leaves and
other debris.
The direction of air f low f rom the
vents in the center and each side of
the dashboard is adjustable.
Open each vent by pushing on the
recess. Adjust the direction of air
flow by rotating the vent. The heating and cooling system in
your Acura has f ull heating,
ventilation, and air conditioning
capabilities. In combination with the
air conditioning, the system
maintains the interior temperature
you select. The system also adjusts
the fan speed and air flow direction
automatically depending on the set
temperature.
Comf ort and Convenience Feat ures
Heating and Cooling
102
SIDE VENTS
CENTER VENTS
Page 106 of 320

Your car has a f low-through venti-
lation system. Air enters the car
through vents in f ront of the wind-
screen. It circulates through the
interior then exits through vents
near the tailgate. This system pro-
vides fresh air even when the car is
standing still. To bring in outside air,
select the Fresh Air mode. Set the
f an at a comf ortable speed.
Comf ort and Convenience Feat ures
Vent ilat ion
Heating and Cooling
103
Page 107 of 320

To use the heating and cooling
system in automatic mode, set the
system as f ollows.Set the f an control dial to AUTO.
Set the mode control dial to AUTO.
Turn the temperature control dial
to the desired temperature.
Select Fresh Air mode by pressing
the Recirculation button. The
indicator in the switch should be
off.
Turn on the A/C by pressing the
button. TurningthefancontroldialtoOFF
shuts the heating and cooling system
completely off. Keep the system
completely of f only f or short periods.
To keep stale air and mustiness from
collecting, you should have the f an
running at all times.
To heat or cool the interior f aster,
select Recirculation mode and set
the temperature control dial to the
upper or lower limit. The system runs of f ull cooling or
heating only. It does not regulate the
interior temperature. When the
temperature is set between the lower
and upper limits, the system
regulates the interior temperature to
the set value.
1.
2.
3.
4.
5.
Heating and Cooling
Automatic Operation
Comf ort and Convenience Feat ures104
FAN CONTROL DIAL
TEMPERATURE CONTROL DIAL
RECIRCULATION BUTTON AIR CONDITIONING BUTTON MODE CONTROL DIAL
Page 108 of 320

CONT INUED
When you turn the A/C of f , the
system cannot regulate the inside
temperature if you set the dial below
the outside air temperature.
With A/C on, use the temperature
control dial to adjust the temperature
of the air f low to a comf ortable
setting.Air conditioning also removes mois-
ture from the air as it operates. You
can use it to def og the windows
quickly in cool or damp weather.
Used in combination with the heater,
it also makes the interior warm and
dry.Air conditioning places an extra load
on the engine. Watch the engine
coolant temperature gauge (see page
) when using the A/C in heavy
traf f ic or driving up long hills. If it
moves near the red zone, turn of f the
air conditioning until the gauge
reads normally.
You can manually set the system
controls f or ventilation, air condi-
tioning, heating, air f low direction,
and fan speed in various combination.
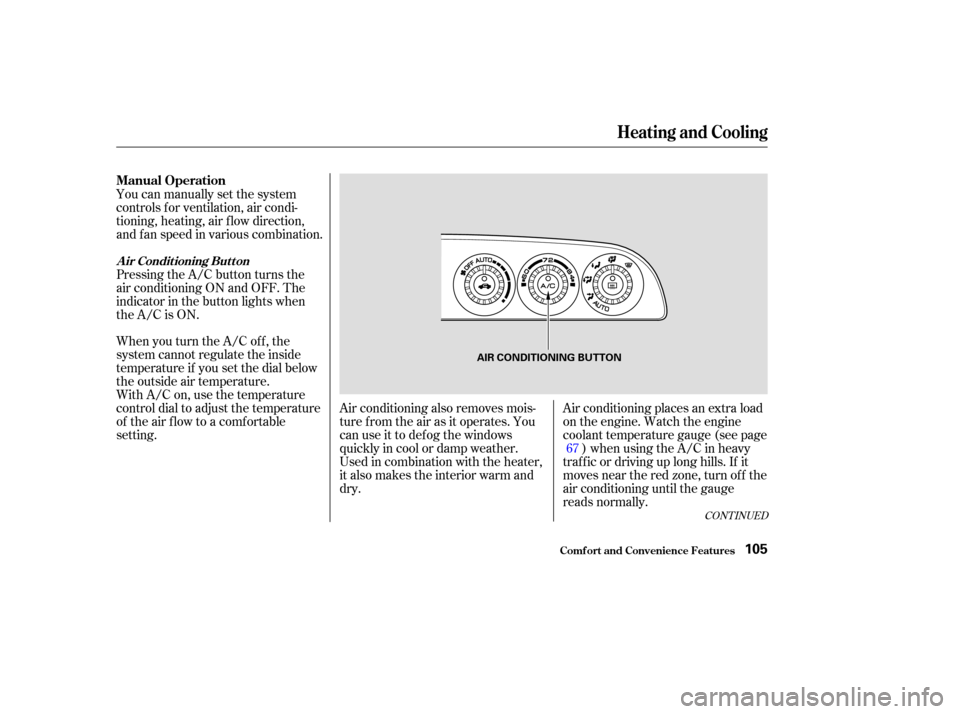
Pressing the A/C button turns the
air conditioning ON and OFF. The
indicator in the button lights when
the A/C is ON.
67
Comf ort and Convenience Feat ures
Manual Operation
Heating and Cooling
A ir Condit ioning But t on
105
AIR CONDITIONING BUTTON
Page 109 of 320

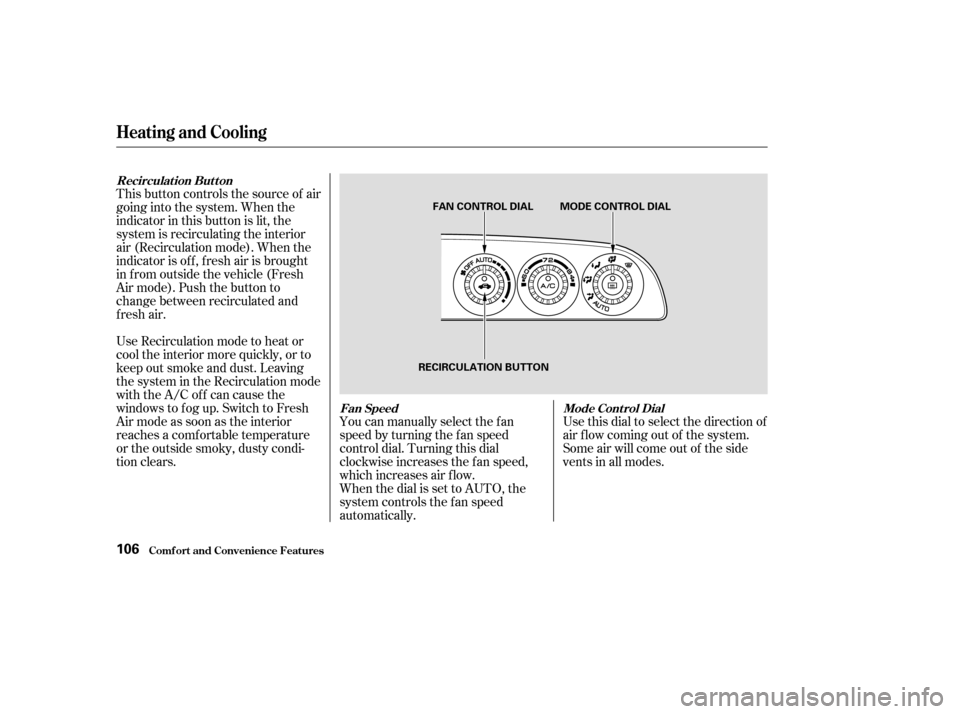
This button controls the source of air
going into the system. When the
indicator in this button is lit, the
system is recirculating the interior
air (Recirculation mode). When the
indicator is of f , f resh air is brought
in f rom outside the vehicle (Fresh
Air mode). Push the button to
change between recirculated and
f resh air.
Use Recirculation mode to heat or
cool the interior more quickly, or to
keep out smoke and dust. Leaving
the system in the Recirculation mode
with the A/C off can cause the
windows to f og up. Switch to Fresh
Air mode as soon as the interior
reaches a comf ortable temperature
or the outside smoky, dusty condi-
tion clears.You can manually select the f an
speed by turning the f an speed
control dial. Turning this dial
clockwise increases the f an speed,
which increases air flow.
Some air will come out of the side
vents in all modes. Use this dial to select the direction of
air f low coming out of the system.
When the dial is set to AUTO, the
system controls the f an speed
automatically.
Comf ort and Convenience Feat ures
Heating and Cooling
Recirculat ion But t on
Fan SpeedMode Cont rol Dial
106
FAN CONTROL DIAL MODE CONTROL DIAL
RECIRCULATION BUTTON
Page 110 of 320

CONT INUED
The main air flow comes out
of the dashboard vents.
The main air f low is directed
to the floor vents. In AUTO mode, the system controls
the air f low direction automatically
between the dashboard vents and
the f loor vents. The main air f low is divided
between the f loor vents and
defroster vents at the base of the
windshield.
The main air f low is directed
to the windshield for faster defrost-
ing or def ogging. To def rost or def og
more quickly, turn the temperature
control dial to maximum. Select and set the f an speed to high.
If there is actual frost on the win-
dows, f irst select the Recirculation
mode. If the windows are f ogged,
select the Fresh Air mode. Warmed
air will then flow from the wind-
shield and side def roster vents. When you select or ,
the A/C turns on automatically to
help dehumidif y the air and def og
the windshield. When you select
another mode, the A/C stays on. If
you do not want to use the A/C in
that mode, press the button to turn it
of f .
Comf ort and Convenience Feat ures
Heating and Cooling
107