ECO mode Acura TL 2009 Navigation Manua
[x] Cancel search | Manufacturer: ACURA, Model Year: 2009, Model line: TL, Model: Acura TL 2009Pages: 172, PDF Size: 16.82 MB
Page 2 of 172
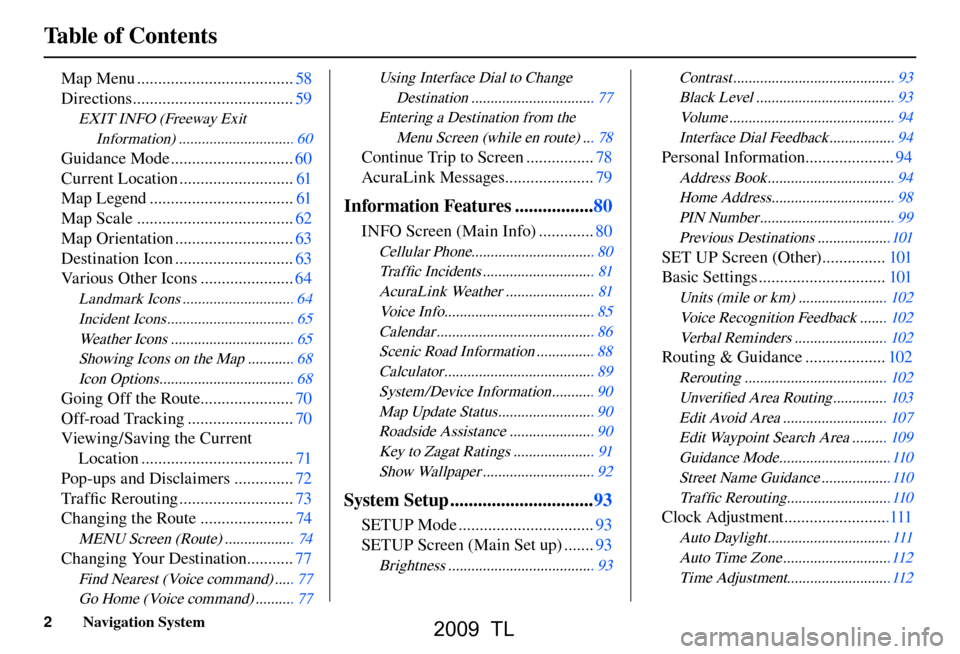
Table of Contents
2 Navigation System
Map Menu ..................................... 58
Directions ...................................... 59
EXIT INFO (Freeway Exit
Information ) .............................. 60
Guidance Mode ............................. 60
Current Location ........................... 61
Map Legend .................................. 61
Map Scale ..................................... 62
Map Orientation ............................ 63
Destination Icon ............................ 63
Various Other Icons ...................... 64
Landmark Icons ............................. 64
Incident Icons ................................. 65
Weather Icons ................................ 65
Showing Icons on the Map ............ 68
Icon Options ................................... 68
Going Off the Route...................... 70
Off-road Tracking ......................... 70
Viewing/Saving the Current Location .................................... 71
Pop-ups and Disclaimers .............. 72
Tra f fi c Rerouting ........................... 73
Changing the Route ...................... 74
MENU Screen (Route) .................. 74
Changing Your Destination ........... 77
Find Nearest (Voice command) ..... 77
Go Home (Voice command) .......... 77
Using Interface Dial to Change
Destinatio n ................................ 77
Entering a Destination from the Menu Screen (while en route) ... 78
Continue Trip to Screen ................ 78
AcuraLink Messages ..................... 79
Information Features .................80
INFO Screen (Main Info) ............. 80
Cellular Phone................................ 80
Tra f fi c Incidents ............................. 81
AcuraLink Weather ....................... 81
Voice Info ....................................... 85
Calenda r ......................................... 86
Scenic Road Information ............... 88
Calcul ator ....................................... 89
System /Device Information ........... 90
Map Update Status ......................... 90
Roadside Assistance ...................... 90
Key to Zagat Ratings ..................... 91
Show Wallpaper ............................. 92
System Setup ............................... 93
SETUP Mode ................................ 93
SETUP Screen (Main Set up) ....... 93
Brightness ...................................... 93 Contras
t .......................................... 93
Black Level .................................... 93
Volu me ........................................... 94
Interface Dial Feedback ................. 94
Personal Information ..................... 94
Address Book ................................. 94
Home Address ................................ 98
PIN Number ................................... 99
Previous Destinations ...................101
SET UP Screen (Other) ............... 101
Basic Settings .............................. 101
Units (mile or km) ....................... 102
Voice Recognition Feedback ....... 102
Verbal Reminders ........................ 102
Routing & Guidance ................... 102
Rerouting ..................................... 10 2
Unver ifi ed Area Routing .............. 103
Edit Avoid Area ........................... 10 7
Edit Waypoint Search Area ......... 109
Guidance Mode .............................11 0
Street Name Guidance ..................110
Tra f fi c Rerouting ...........................11 0
Clock Adjustment .........................111
Auto Daylight ................................ 11 1
Auto Time Zone ............................11 2
Time Adjustment ...........................11 2
2009 TL
Page 18 of 172
Getting Started
18 Navigation System
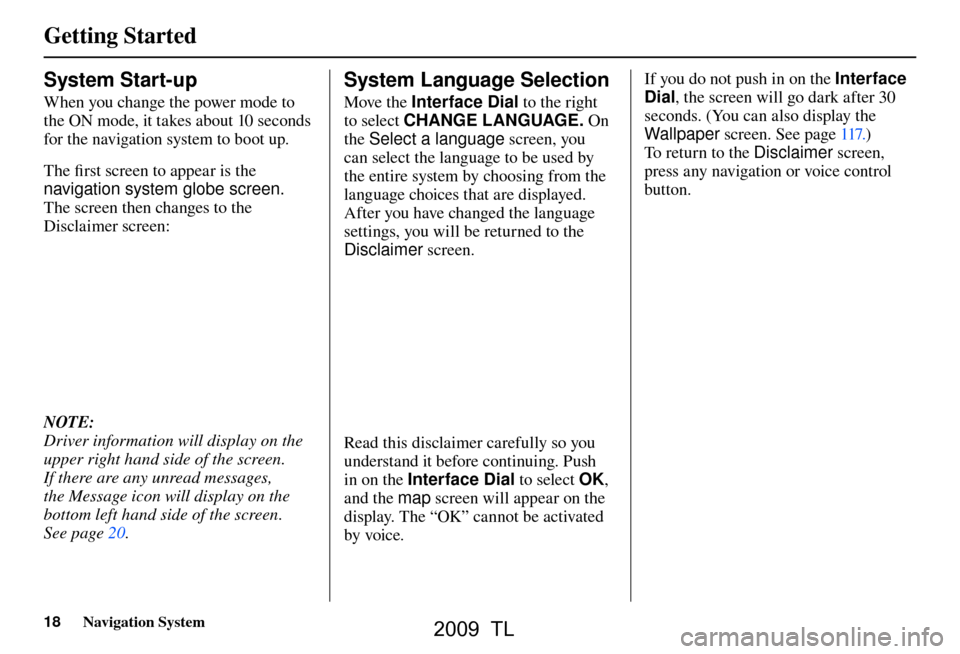
System Start-up
When you change the power mode to
the ON mode, it takes about 10 seconds
for the navigation system to boot up.
The fi rst screen to appear is the
navigation system globe screen.
The screen then changes to the
Disclaimer screen:
NOTE:
Driver information will display on the
upper right hand side of the screen.
If there are any unread messages,
the Message icon will display on the
bottom left hand side of the screen.
See pag e 20 .
System Language Selection
Move the Interface Dial to the right
to select CHANGE LANGUAGE. On
th e
Select a language screen, you
can select the language to be used by
the entire system by choosing from the
language choices that are displayed.
After you have changed the language
settings, you will be returned to the
Disclaimer screen.
Read this disclaimer carefully so you
understand it before continuing. Push
in on the Interface Dial to select OK,
and the map screen will appear on the
display. The “OK” cannot be activated
by voice. If you do not push in on the Interface
Dial
, the screen will go dark after 30
seconds. (You can also display the
Wallpaper screen. See page 117
.)
T o re
turn to the Disclaimer screen,
press any navigation or voice control
button.
2009 TL
Page 30 of 172
Entering a Destination
30 Navigation System
Selecting the ZIP Code
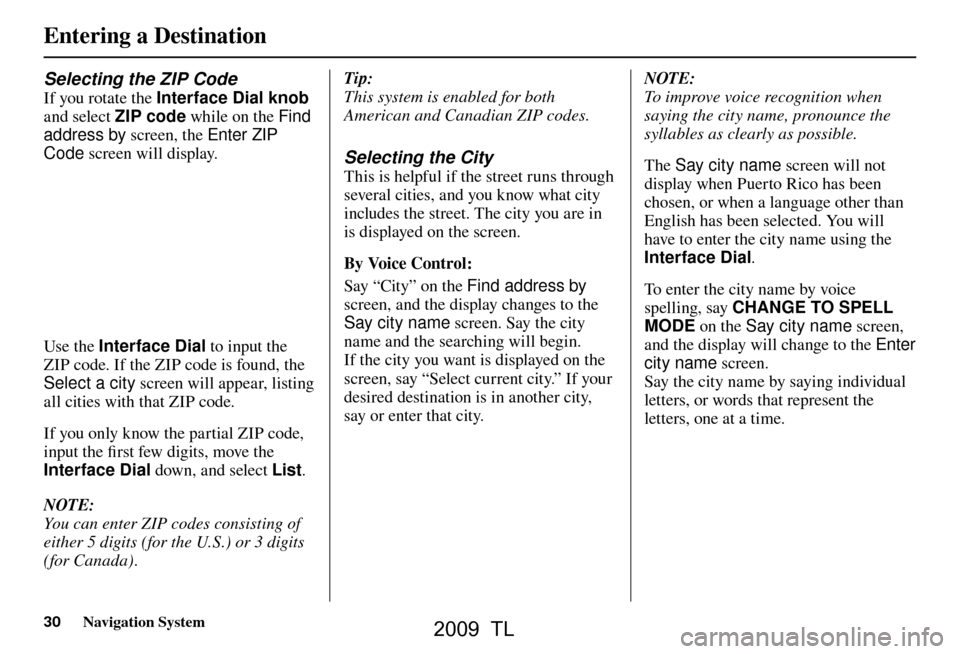
If you rotate the Interface Dial knob
and select ZIP code while on the Find
address by screen, the Enter ZIP
Code screen will display.
Use the Interface Dial to input the
ZIP code. If the ZIP code is found, the
Select a city screen will appear, listing
all cities with that ZIP code.
If you only know the partial ZIP code,
input the fi rst few digits, move the
Interface Dial down, and select List .
NOTE:
You can enter ZIP codes consisting of
either 5 digits (for the U.S.) or 3 digits
(for Canada). Tip:
This system is enabled for both
American and Canadian ZIP codes.
Selecting the City
This is helpful if the street runs through
several cities, and you know what city
includes the street. The city you are in
is displayed on the screen.
By Voice Control:
Say “City” on the Find address
by
screen, and the display changes to the
Say city name screen. Say the city
name and the searching will begin.
If the city you want is displayed on the
screen, say “Select current city.” If your
desired destination is in another city,
say or enter that city.
NOTE:
To improve voice recognition when
saying the city name, pronounce the
syllables as clearly as possible.
The Say city name screen will not
display when Puerto Rico has been
chosen, or when a language other than
English has been selected. You will
have to enter the city name using the
Interface Dial .
To enter the city name by voice
spelling, say CHANGE TO SPELL
MODE on the Say city name screen,
and the display will change to the Enter
city name screen.
Say the city name by saying individual
letters, or words that represent the
letters, one at a time.
2009 TL
Page 32 of 172

Entering a Destination
32 Navigation System
Select DESTINATION MAP and use
the Interface Dial to select an icon,
approximate area, or street you wish to
choose as your destination. Otherwise,
a central location of the city will be
selected. If you select a point of interest
(POI) or road in an unverifi ed area, you
may or may not have routing in these
areas. See Map Overview on page 6 . Selecting the Street
By Voice Control
After you have selected the city, or if
you say “Street” on the Find address
by screen, the display changes to the
Say street name screen. Say the street
name and the searching will begin.
To enter the street name by voice
spelling, say or select CHANGE TO
SPELL MODE on the Say street
name screen, and the display will
change to the Enter street name
screen.
Say the street name by saying
individual letters or numbers, or words
that represent the letters, one at a time.
The system has a talk back function.
If your spoken letter is not recognized,
the system will talk back to you. For
example, if you say “E” but the system
does not recognize the command, it
will ask you, “Please select the number
of the input letter from the list”, and the
following pop-up box will appear:
2009 TL
Page 39 of 172
Entering a Destination
Navigation System39
Tip:
When trying to fi nd a specifi c
restaurant, select the category All
types . Some restaurants may be
miscategorized.
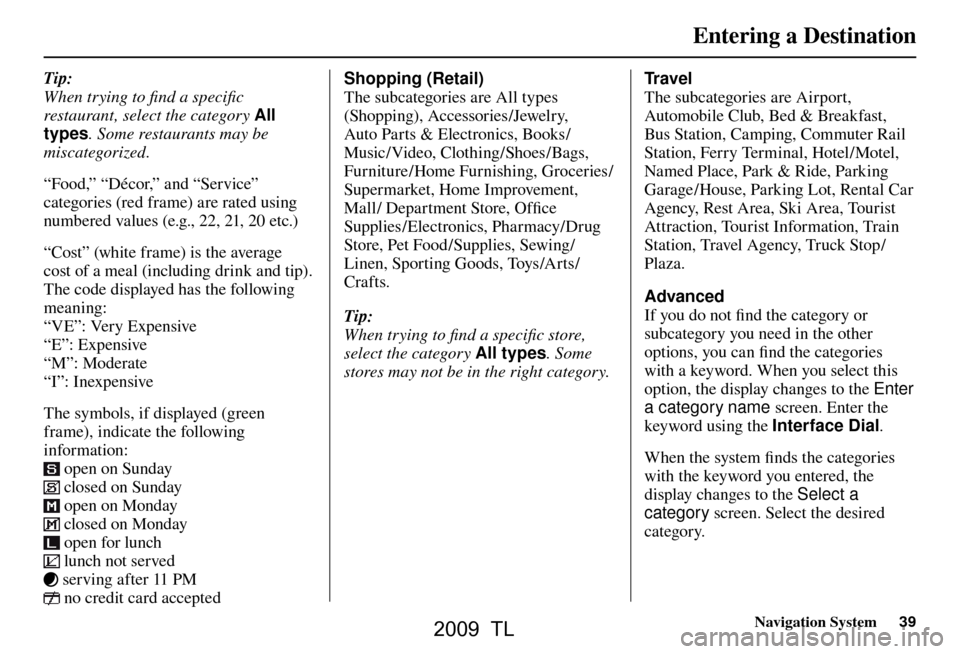
“Food,” “Décor,” and “Service”
categories (red frame) are rated using
numbered values (e.g., 22, 21, 20 etc.)
“Cost” (white frame) is the average
cost of a meal (including drink and tip).
The code displayed has the following
meaning:
“VE”: Very Expensive
“E”: Expensive
“M”: Moderate
“I”: Inexpensive
The symbols, if displayed (green
frame), indicate the following
information:
open on Sunday
closed on Sunday
open on Monday
closed on Monday
open for lunch
lunch not served
serving after 11 PM
no credit card accepted Shopping (Retail)
The subcategories are All types
(Shopping), Accessories/Jewelry,
Auto Parts & Electronics, Books/
Music / Video, Clothing/ Shoes /Bags,
Furniture /Home Furnishing, Groceries/
Supermarket, Home Improvement,
Mall/ Department Store, Offi
ce
Supplies/Electronics, Pharmacy/Drug
Store, Pet Food/Supplies, Sewing/
Linen, Sporting Goods, Toys/Arts/
Crafts.
Tip:
When trying to fi nd a specifi c store,
select the category All types. Some
stores may not be in the right category. Travel
The subcategories are Airport,
Automobile Club, Bed & Breakfast,
Bus Station, Camping, Commuter Rail
Station, Ferry Terminal, Hotel/Motel,
Named Place, Park & Ride, Parking
Garage/House, Parking Lot, Rental Car
Agency, Rest Area, Ski Area, Tourist
Attraction, Tourist Information, Train
Station, Travel Agency, Truck Stop/
Plaza.
Advanced
If you do not fi
nd the category or
subcategory you need in the other
options, you can fi nd the categories
with a keyword. When you select this
option, the display changes to the Enter
a category name screen. Enter the
keyword using the Interface Dial .
When the system fi nds the categories
with the keyword you entered, the
display changes to the Select a
category screen. Select the desired
category.
2009 TL
Page 43 of 172
Entering a Destination
Navigation System43
When you edit the phone number,
continue pushing in on Interface Dial
more than three seconds to display
the Edit Mode screen. You can move
the position of the cursor by rotating
Interface Dial knob . To return the
Enter phone number screen, move
Interface Dial down.
After entering the number, move the
Interface Dial down and select OK.
Multiple listings for the same phone
number may be shown.
NOTE:
All 10 digits must be entered.
Tip:
When using the voice control system,
the entry should be spoken as a
continuous string of numbers. For
example, the telephone number (310)
555-4000 should be spoken as “Three,
one, zero, fi ve, fi ve, fi ve, four, zero, zero,
zero.” By Coordinate
If you select Coordinate from the
MENU screen ( Dest. MENU 2 ),
the display will change to the Enter
Latitude screen. Use the Interface
Dial to input the latitude.
NOTE:
Prior to departure, you can set areas to
avoid. The system then includes them in
its calculations for the destination you
have entered. See Edit Avoid Area o n
page 107 .
After entering the latitude, move the
Interface Dial down and select OK.
The display will change as indicated in
the following paragraph. NOTE:
Latitude and longitude must be entered
up to the seconds’ value.
If the Enter Longitude screen is
displayed, use the Interface Dial to
input the longitude. With the selection of Coordinate, it
is assumed that you are searching for
the destination within the area that is in
the closest proximity. The display will
change as indicated on the next page.
2009 TL
Page 48 of 172
Entering a Destination
48 Navigation System
The Say city name screen will not
display when Puerto Rico has been
chosen, or when a language other than
English has been selected.
To enter the city name by voice
spelling, say CHANGE TO SPELL
MODE on the Say city name screen,
and the display will change to the Enter
city name screen.
Say the city name by saying individual
letters, or words that represent the
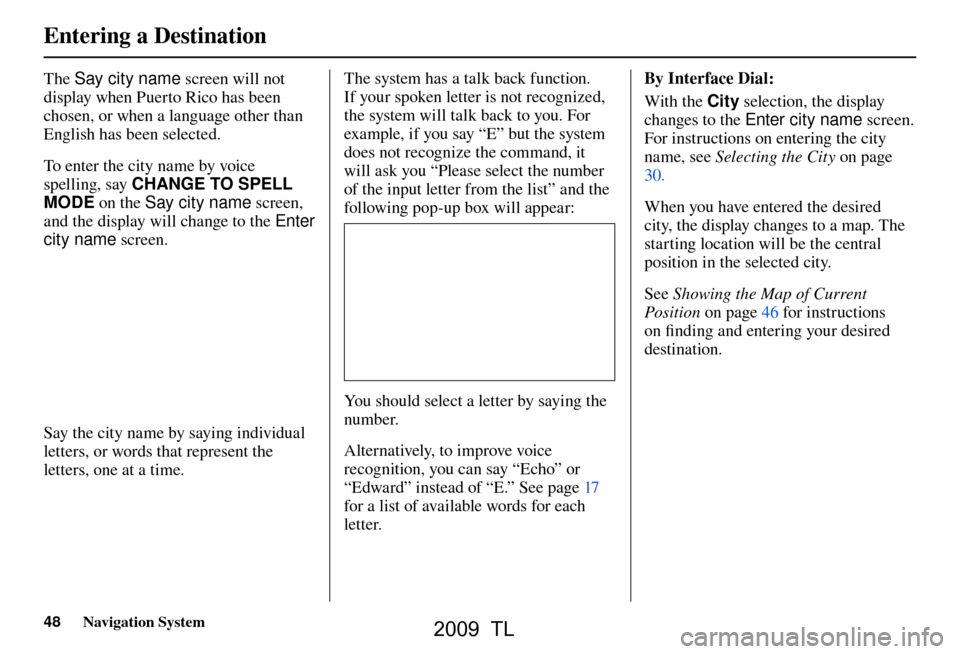
letters, one at a time. The system has a talk back function.
If your spoken letter is not recognized,
the system will talk back to you. For
example, if you say “E” but the system
does not recognize the command, it
will ask you “Please select the number
of the input letter from the list” and the
following pop-up box will appear:
You should select a letter by saying the
number.
Alternatively, to improve voice
recognition, you can say “Echo” or
“Edward” instead of “E.” See pag
e 17
for a list of available words for each
letter. By Interface Dial:
With the City selection, the display
changes to the Enter city name screen.
For instructions on entering the city
name, see
Selecting the City on page
30 .
When you have entered the desired
city, the display changes to a map. The
starting location will be the central
position in the selected city.
See Showing the Map of Current
Position on page 46 for instructions
on fi nding and entering your desired
destination.
2009 TL
Page 91 of 172
Information Features
Navigation System91
Key to Zagat Ratings
By saying or selecting Key to Zagat
Ratings on the INFO screen (Other),
you can see the explanation of the
data displayed for the Zagat-surveyed
restaurants.
• “Food,” “Décor,” and “Service” categories are rated using numbered
values (e.g., 0-9, 10-15, etc.)
• “Cost” is the average cost of a meal (including drink and tip).
The code displayed has the following
meaning:
“VE”: Very Expensive
“E”: Expensive
“M”: Moderate
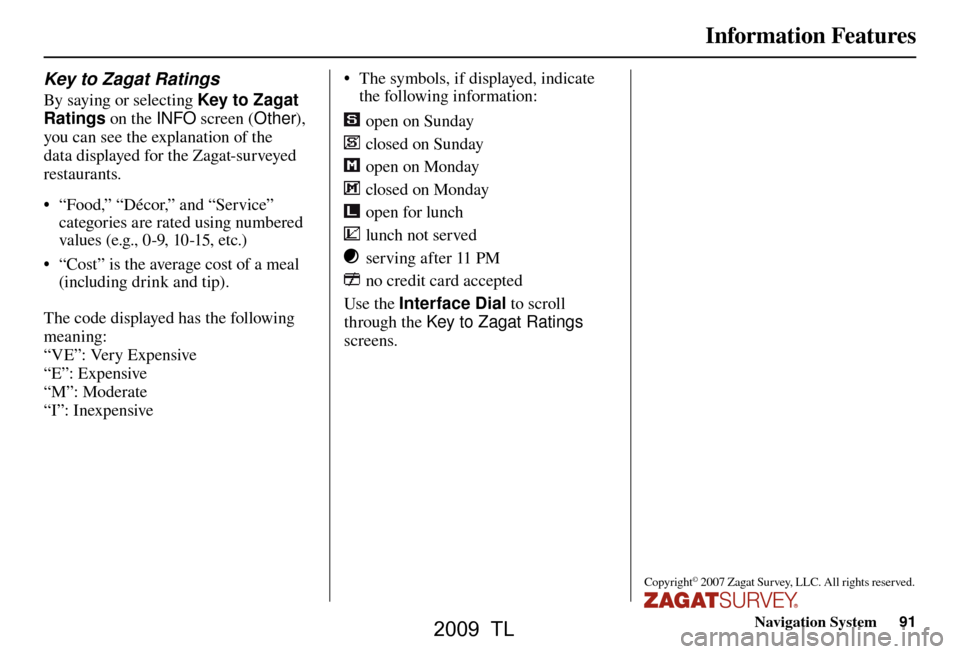
“I”: Inexpensive • The symbols, if displayed, indicate
the following information:
open on Sunday
closed on Sunday
open on Monday
closed on Monday
open for lunch
lunch not served
serving after 11 PM
no credit card accepted
Use the Interface Dial to scroll
through the Key to Zagat Ratings
screens.
Copyright© 2007 Zagat Survey, LLC. All rights reserved.
2009 TL
Page 116 of 172
System Setup
116 Navigation System
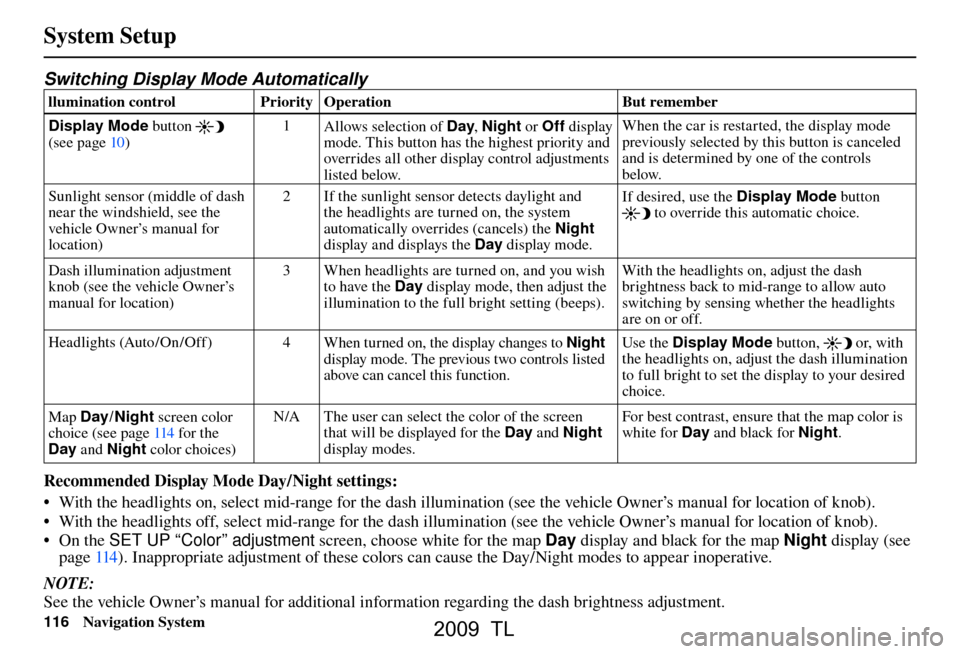
Switching Display Mode Automatically
llumination control Priority Operation But remember
Display Mode button
(see pag e 10 ) 1
Allows selection of Day , Night or Off display
mode. This button has the highest priority and
overrides all other display control adjustments
listed below. When the car is restarted, the display mode
previously selected by this button is canceled
and is determined by one of the controls
below.
Sunlight sensor (middle of dash
near the windshield, see the
vehicle Owner’s manual for
location) 2 If the sunlight sensor detects daylight and
the headlights are turned on, the system
automatically overrides (cancels) the Night
display and displays the Day display mode. If desired, use the
Display Mode button
to override this automatic choice.
Dash illumination adjustment
knob (see the vehicle Owner’s
manual for location) 3 When headlights are turned on, and you wish
to have the Day display mode, then adjust the
illumination to the full bright setting (beeps). With the headlights on, adjust the dash
brightness back to mid-range to allow auto
switching by sensing whether the headlights
are on or off.
Headlights (Auto /On /Off) 4 When turned on, the display changes to Night
display mode. The previous two controls listed
above can cancel this function. Use the Display Mode
button,
or, with
the headlights on, adjust the dash illumination
to full bright to set the display to your desired
choice.
Map Day/ Night screen color
choice (see pag e 114 for the
Day and Night color choices) N/A The user can select the color of the screen
that will be displayed for the Day and Night
display modes. For best contrast, ensure that the map color is
white for Day
and black for Night .
Recommended Display Mode Day/Night settings:
• With the headlights on, select mid-range for the dash illumination (see the vehicle Owner’s manual for location of knob).
• With the headlights off, select mid-range for the dash illumination (see the vehicle Owner’s manual for location of knob).
• On the SET UP “Color” adjustment screen, choose white for the map Day display and black for the map Night display (see
page 114 ). Inappropriate adjustment of these colors can cause the Day/Night modes to appear inoperative.
NOTE:
See the vehicle Owner’s manual for additional information regarding the dash brightness adjustment.
2009 TL
Page 144 of 172
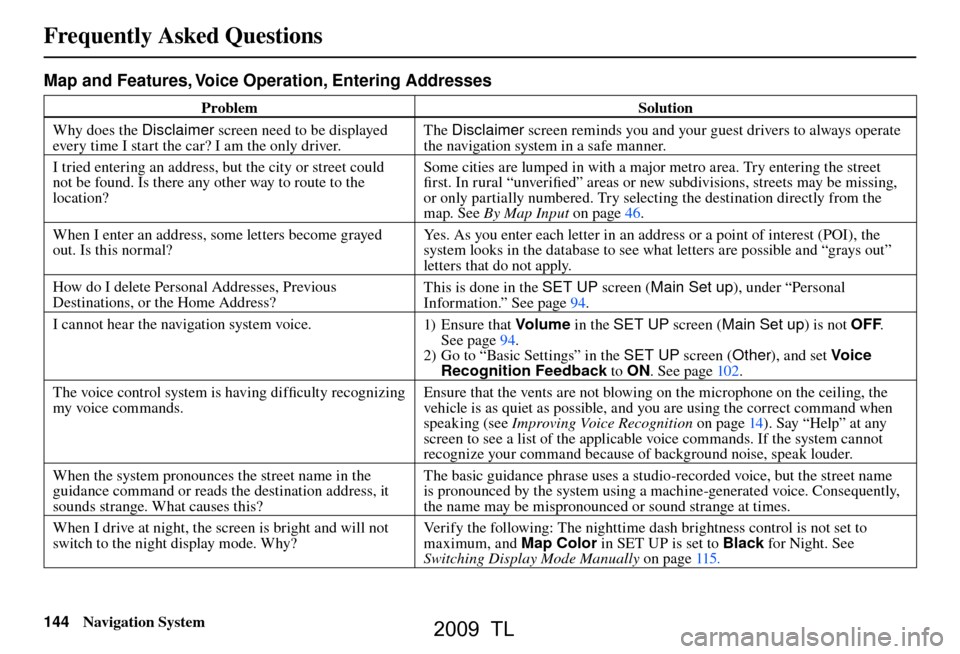
Frequently Asked Questions
144 Navigation System
Map and Features, Voice Operation, Entering Addresses
Problem Solution
Why does the Disclaimer screen need to be displayed
every time I start the car? I am the only driver. The
Disclaimer screen reminds you and your guest drivers to always operate
the navigation system in a safe manner.
I tried entering an address, but the city or street could
not be found. Is there any other way to route to the
location? Some cities are lumped in with a major metro area. Try entering the street
fi
rst. In rural “unverifi ed” areas or new subdivisions, streets may be missing,
or only partially numbered. Try selecting the destination directly from the
map. See By Map Input on page 46 .
When I enter an address, some letters become grayed
out. Is this normal? Yes. As you enter each letter in an address or a point of interest (POI), the
system looks in the database to see what letters are possible and “grays out”
letters that do not apply.
How do I delete Personal Addresses, Previous
Destinations, or the Home Address? This is done in the
SET UP screen (Main Set up ), under “Personal
Information.” See pag e 94 .
I cannot hear the navigation system voice. 1) E n su r e t hat Volum e in the SET UP screen ( Main Set up) is not OFF.
See pag e 94 .
2) Go to “Basic Settings” in the SET UP screen (Other), and set Voic e
Recognition Feedback to ON . See pag e 102 .
The voice control system is having diffi culty recognizing
my voice commands. Ensure that the vents are not blowing on the microphone on the ceiling, the
vehicle is as quiet as possible, and you are using the correct command when
speaking (see
Improving Voice Recognition on page 14 ). Say “Help” at any
screen to see a list of the applicable voice commands. If the system cannot
recognize your command because of background noise, speak louder.
When the system pronounces the street name in the
guidance command or reads the destination address, it
sounds strange. What causes this? The basic guidance phrase uses a studio-recorded voice, but the street name
is pronounced by the system using a machine-generated voice. Consequently,
the name may be mispronounced or sound strange at times.
When I drive at night, the screen is bright and will not
switch to the night display mode. Why? Verify the following: The nighttime dash brightness control is not set to
maximum, and Map Color in SET UP is set to Black
for Night. See
Switching Display Mode Manually on page 115 .
Frequently Asked Questions
2009 TL