change time Acura TL 2012 Navigation Manual
[x] Cancel search | Manufacturer: ACURA, Model Year: 2012, Model line: TL, Model: Acura TL 2012Pages: 184, PDF Size: 20.24 MB
Page 56 of 184
Driving to Your Destination
Navigation System55
Map Screen
When you select OK on the Calculate
route to screen, the map screen
appears, showing your highlighted route
(blue line) in real time.
Route Line
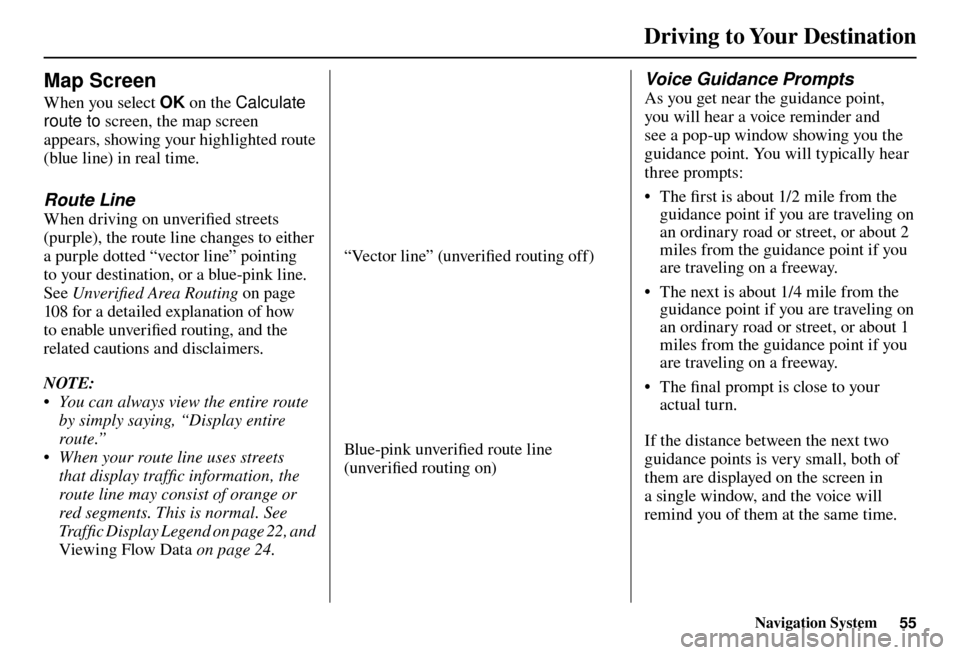
When driving on unverifi ed streets
(purple), the route line changes to either
a purple dotted “vector line” pointing
to your destination, or a blue-pink line.
See Unverifi ed Area Routing on page
10 8 for a detailed explanation of how
to enable unverifi ed routing, and the
related cautions and disclaimers.
NOTE:
• You can always view the entire route by simply saying, “Display entire
route.”
• When your route line uses streets that display traffi c information, the
route line may consist of orange or
red segments. This is normal. See
Traffi c Display Legend on page 22 , and
Viewing Flow Data
on page 24 .
“Vector line” (unverifi ed routing off)
Blue-pink unverifi ed route line
(unverifi ed routing on)
Voice Guidance Prompts
As you get near the guidance point,
you will hear a voice reminder and
see a pop-up window showing you the
guidance point. You will typically hear
three prompts:
• The fi rst is about 1/2 mile from the
guidance point if you are traveling on
an ordinary road or street, or about 2
miles from the guidance point if you
are traveling on a freeway.
• The next is about 1/4 mile from the guidance point if you are traveling on
an ordinary road or street, or about 1
miles from the guidance point if you
are traveling on a freeway.
• The fi nal prompt is close to your
actual turn.
If the distance between the next two
guidance points is very small, both of
them are displayed on the screen in
a single window, and the voice will
remind you of them at the same time.
Page 60 of 184
Driving to Your Destination
Navigation System59
Distance and Time to
Destination
When you select a destination, the
distance to the destination is the actual
road distance of the calculated route,
and not “as the crow fl ies.” When
viewing a list of destinations (points
of interest), such as restaurants, the
distance is “as the crow fl ies” (see Sort
by Distance to Travel on page 41 ).
The displayed time to the destination
may differ from the actual travel time
because the time is calculated based
on the posted road speed data and your
current speed.
NOTE:
If you are en route and the Interface
Dial is moved, the “Time to
Destination” and “Distance to
Destination” indications are replaced
with an indicator showing distance
from the current vehicle location.
Map Menu
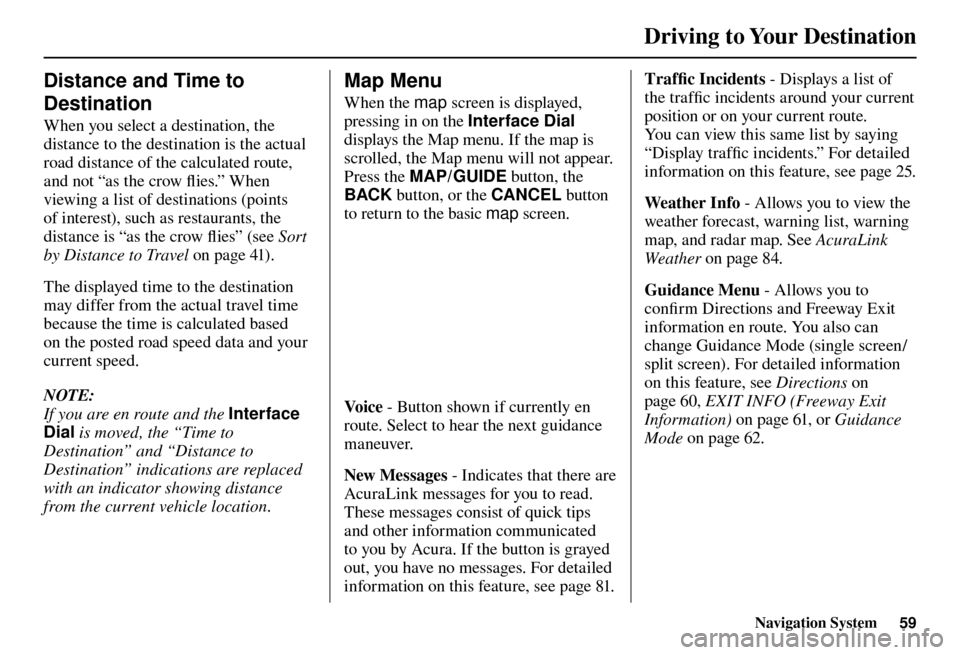
When the map screen is displayed,
pressing in on the Interface Dial
displays the Map menu. If the map is
scrolled, the Map menu will not appear.
Press the MAP/GUIDE button, the
BACK button, or the CANCEL button
to return to the basic map screen.
Vo i c e - Button shown if currently en
route. Select to hear the next guidance
maneuver.
New Messages - Indicates that there are
AcuraLink messages for you to read.
These messages consist of quick tips
and other information communicated
to you by Acura. If the button is grayed
out, you have no messages. For detailed
information on this feature, see page 81 . Traffi
c Incidents - Displays a list of
the traffi c incidents around your current
position or on your current route.
You can view this same list by saying
“Display traffi c incidents.” For detailed
information on this feature, see page 25 .
Weather Info - Al
lows you to view the
weather forecast, warning list, warning
map, and radar map. See AcuraLink
Weather on page 84 .
Guidance Menu - Allows you to
confi rm Directions and Freeway Exit
information en route. You also can
change Guidance Mode (single screen/
split screen). For detailed information
on this feature, see Directions on
page 60 , EXIT INFO (Freeway Exit
Information) on page 61 , or Guidance
Mode on page 62 .
Page 74 of 184
Driving to Your Destination
Navigation System73
Viewing / Saving the Current
Location
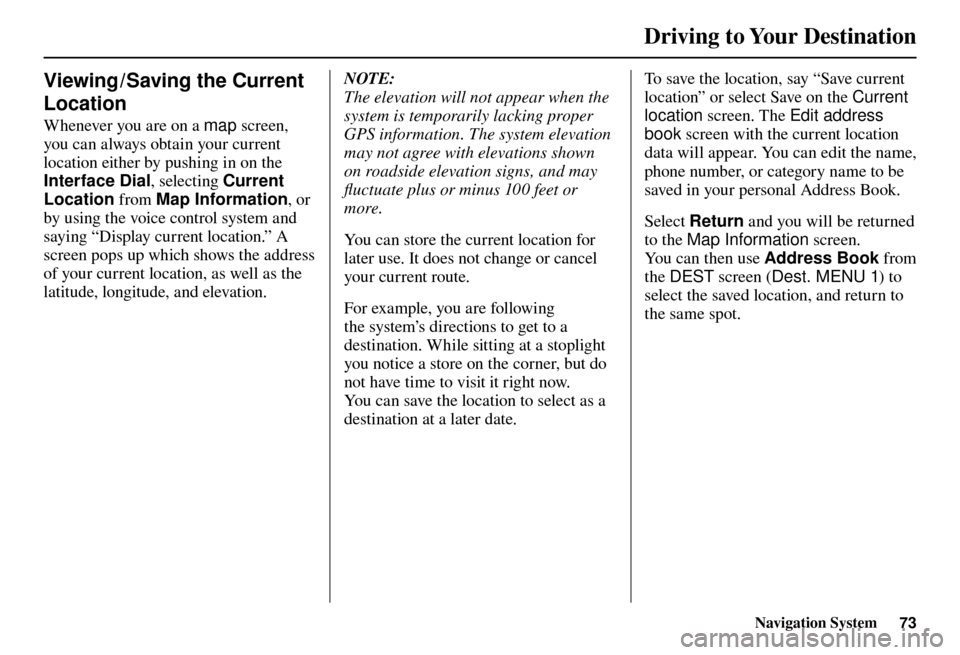
Whenever you are on a map screen,
you can always obtain your current
location either by pushing in on the
Interface Dial , selecting Current
Location from Map Information , or
by using the voice control system and
saying “Display current location.” A
screen pops up which shows the address
of your current location, as well as the
latitude, longitude, and elevation.
NOTE:
The elevation will not appear when the
system is temporarily lacking proper
GPS information. The system elevation
may not agree with elevations shown
on roadside elevation signs, and may
fl uctuate plus or minus 100 feet or
more.
You can store the current location for
later use. It does not change or cancel
your current route.
For example, you are following
the system’s directions to get to a
destination. While sitting at a stoplight
you notice a store on the corner, but do
not have time to visit it right now.
You can save the location to select as a
destination at a later date. To save the location, say “Save current
location” or select Save on the
Current
location screen. The Edit address
book screen with the current location
data will appear. You can edit the name,
phone number, or category name to be
saved in your personal Address Book.
Select Return and you will be returned
to the Map Information screen.
You can then use Address Book from
the DEST screen ( Dest. MENU 1 ) to
select the saved location, and return to
the same spot.
Page 78 of 184
Driving to Your Destination
Navigation System77
Cancel Route
Cancels the current route (and any
waypoints) and returns you to the map
screen.
D e t o u r
Calculates a detour route for you if
you encounter an unexpected obstacle
such as a closed road or extremely
heavy traffi c congestion. If a detour
is selected, the system will attempt to
recalculate a new route, avoiding the
next 5 miles (while on a freeway) or 1
mile (while on a surface street).
Avoid Streets
From the DEST screen (Route), if
you say or select Avoid Streets , the
system displays a list of streets that will
get you to your destination. This feature
allows you to avoid a street or streets
along your route. This is helpful if you
know of road construction, closures,
or excessive traffi c along the route.
Simply select the street or streets you
wish to avoid. You can store up to 10
streets to be avoided. You cannot avoid
your current street or the streets of your waypoint(s) or destination (system
beeps if selected).
NOTE:
Although you can choose streets to
avoid, you cannot choose specifi c
streets you want to use.
Change Route Preference
From the DEST
screen (Route), if you
say or select Change Route Pref. ,
then the Route Preference screen is
displayed. See Changing the Routing
Method on page 53 for details. W a y p o i n t
Waypoints allow you to add an
interim “pit stop” while traveling to
a destination. For instance, you may
want to stop for gas or food, and then
continue on to your destination.
Although you can enter up to fi ve places
including the destination at a time,
typically you may never use more than
one at a time.
Waypoints are routed to in the order
they were entered (number 1 fi rst, etc.),
with your fi nal destination routed to
last.
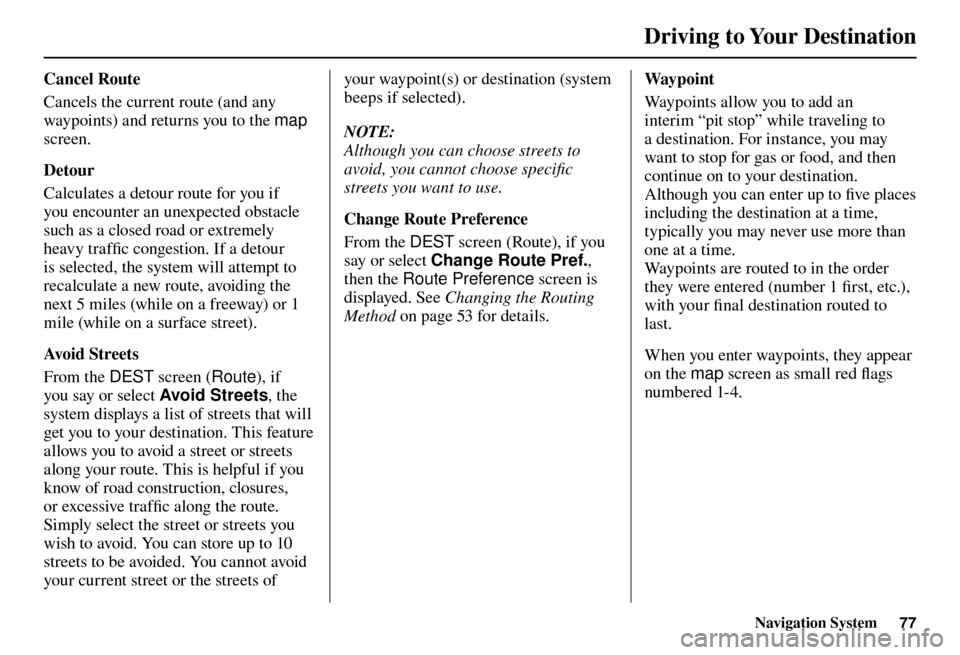
When you enter waypoints, they appear
on the map screen as small red fl ags
numbered 1-4.
Page 92 of 184
Information Features
Navigation System91
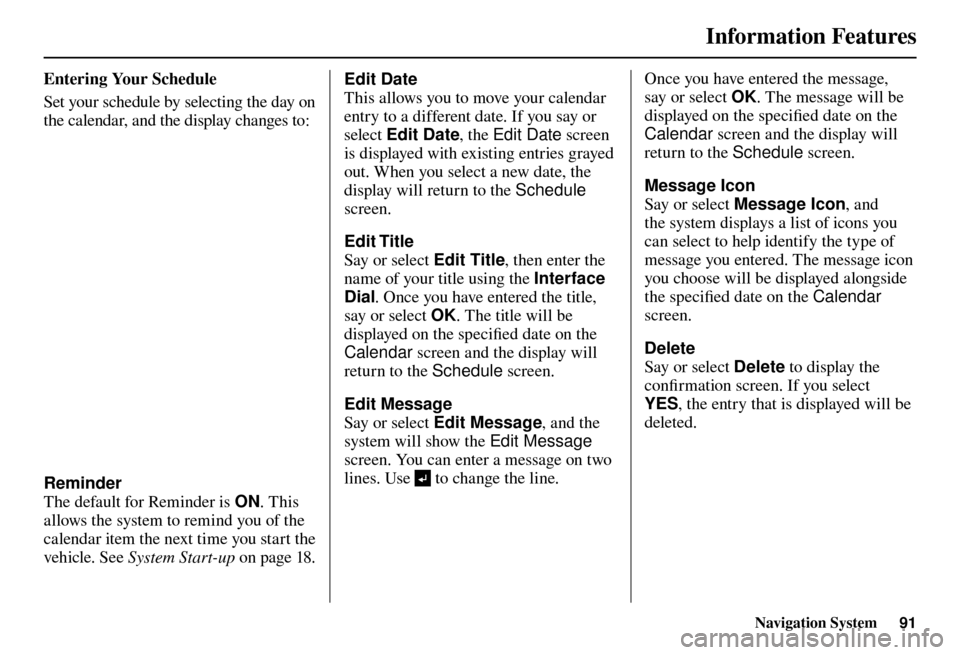
Entering Your Schedule
Set your schedule by selecting the day on
the calendar, and the display changes to:
Reminder
The default for Reminder is ON. This
allows the system to remind you of the
calendar item the next time you start the
vehicle. See S y s t e m S t a r t - u p on page 18 . Edit Date
This allows you to move your calendar
entry to a different date. If you say or
select
Edit Date , the Edit Date screen
is displayed with existing entries grayed
out. When you select a new date, the
display will return to the Schedule
screen.
Edit Title
Say or select Edit Title , then enter the
name of your title using the Interface
Dial . Once you have entered the title,
say or select OK. The title will be
displayed on the specifi ed date on the
Calendar screen and the display will
return to the Schedule screen.
Edit Message
Say or select Edit Message , and the
system will show the Edit Message
screen. You can enter a message on two
lines. Use to change the line. Once you have entered the message,
say or select
OK. The message will be
displayed on the specifi ed date on the
Calendar screen and the display will
return to the Schedule screen.
Message Icon
Say or select Message Icon , and
the system displays a list of icons you
can select to help identify the type of
message you entered. The message icon
you choose will be displayed alongside
the specifi ed date on the Calendar
screen.
Delete
Say or select Delete to display the
confi rmation screen. If you select
YES , the entry that is displayed will be
deleted.
Page 97 of 184
System Setup
96 Navigation System
SETUP Mode
The SET UP function consists of two
main screens that allow you to change
and update information in the system.
NOTE:
For information on the available voice
commands, see Voice Command Index
on page 174 .
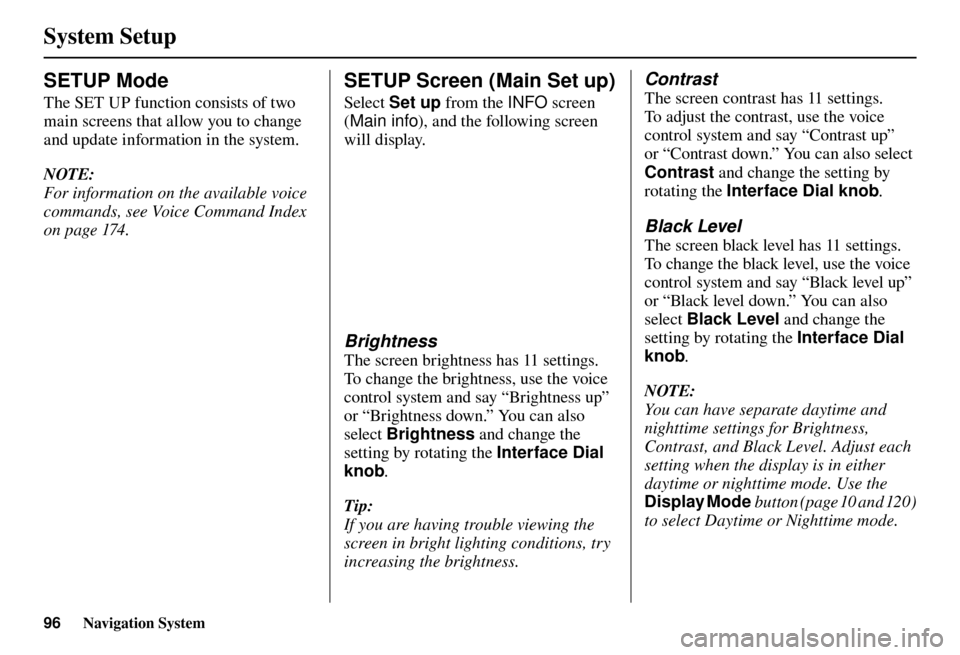
SETUP Screen (Main Set up)
Select Set up from the INFO screen
( Main info ), and the following screen
will display.
Brightness
The screen brightness has 11 settings.
To change the brightness, use the voice
control system and say “Brightness up”
or “Brightness down.” You can also
select Brightness and change the
setting by rotating the Interface Dial
knob .
Tip:
If you are having trouble viewing the
screen in bright lighting conditions, try
increasing the brightness.
Contrast
The screen contrast has 11 settings.
To adjust the contrast, use the voice
control system and say “Contrast up”
or “Contrast down.” You can also select
Contrast and change the setting by
rotating the Interface Dial knob .
Black Level
The screen black level has 11 settings.
To change the black level, use the voice
control system and say “Black level up”
or “Black level down.” You can also
select Black Level and change the
setting by rotating the Interface Dial
knob .
NOTE:
You can have separate daytime and
nighttime settings for Brightness,
Contrast, and Black Level. Adjust each
setting when the display is in either
daytime or nighttime mode. Use the
Display Mode button (page 10 and 120 )
to select Daytime or Nighttime mode.
Page 103 of 184
System Setup
102 Navigation System
NOTE:
If your Home Address cannot be found
in the system, then while located on
the street close to your home, select
“Current Position” when entering the
“Edit Address” fi eld . PIN
You can set a four-digit PIN (Personal
Identifi cation Number) for accessing
and changing personal addresses and
your home address if desired. Once you
set the PIN on this screen, the system
asks you to enter the PIN when you
access a personal address or your home
address.
NOTE:
PINs are optional. If you choose to use
a PIN, make sure you remember it. If
you forget your PIN, the dealer will
have to reset it for you, and all of your
stored information will be cleared.
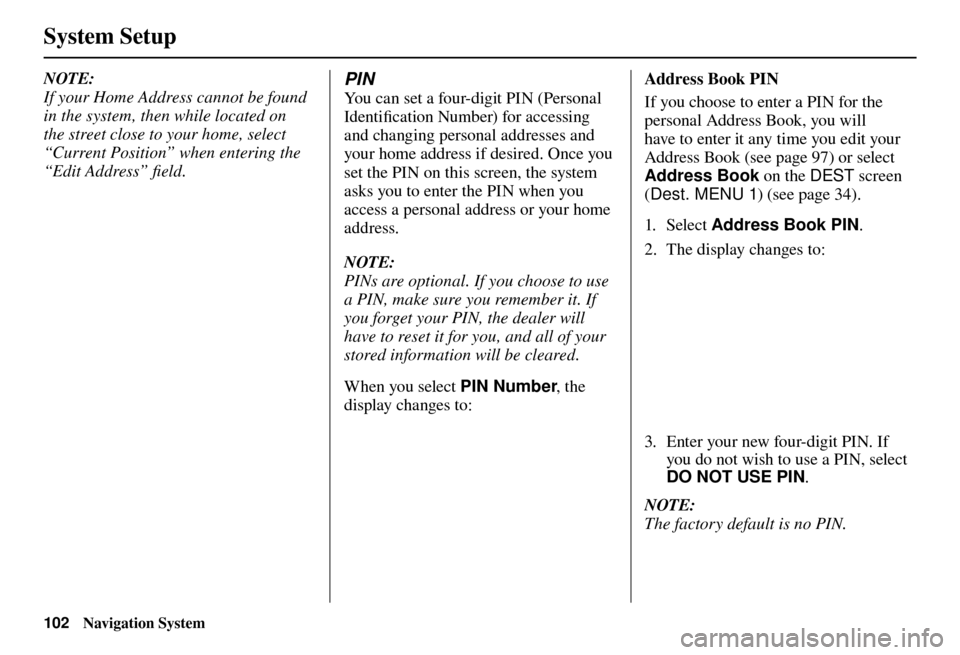
When you select PIN Number, the
display changes to:
Address Book PIN
If you choose to enter a PIN for the
personal Address Book, you will
have to enter it any time you edit your
Address Book (see page 97 ) or select
Address Book on the DEST screen
( Dest. MENU 1 ) (see page 34 ).
1. Sele ct Address Book PIN .
2. The display changes to:
3. Enter your new four-digit PIN. If you do not wish to use a PIN, select
DO NOT USE PIN .
NOTE:
The factory default is no PIN.
Page 104 of 184
System Setup
Navigation System103
4. When you have entered your PIN,
the display changes to the Please
reenter new PIN screen. Enter the
same number to validate the number
you have selected.
5. If you have entered the same number both times, the display returns to the
Select one of the following screen.
If not, “INCORRECT PIN” appears.
Enter your PIN again.
NOTE:
• If you wish to remove your PIN, return to the same screen and, after
entering your PIN correctly, select
DO NOT USE PIN .
• PINs are optional. If you choose to use a PIN, make sure you remember
it. If you forget your PIN, your dealer
will have to reset it for you, and all
PINs will be cleared. Go home 1 or 2 PIN
1. Sele ct
Go home 1 or 2 PIN , and
the system displays the Enter your
new PIN screen.
2. Enter your PIN in the same way as entering the Address Book PIN.
NOTE:
• The factory default is no PIN. If you choose to use a PIN, you will have to
enter it whenever you say “Go home
1 or 2” at the map screen or select
Go home 1 or 2 on the DEST
screen ( Dest. MENU 1 or 2 ).
• PINs are optional. If you choose to use a PIN, make sure you remember
it. If you forget your PIN, your dealer
will have to reset it for you, and all
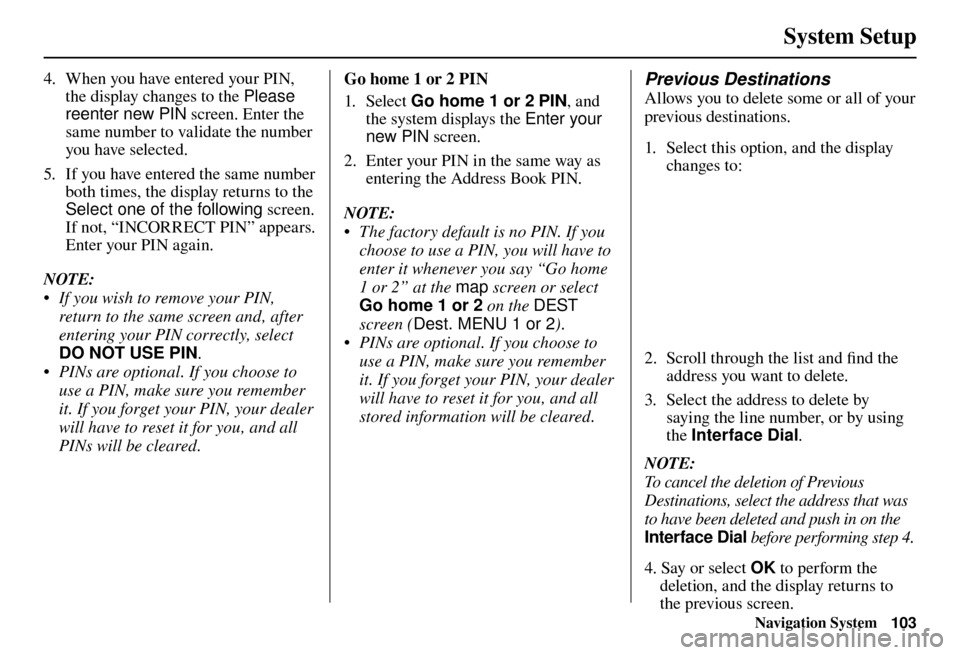
stored information will be cleared. Previous Destinations
Allows you to delete some or all of your
previous destinations.
1. Select this option, and the display changes to:
2. Scroll through the list and fi nd the
address you want to delete.
3. Select the address to delete by saying the line number, or by using
the Interface Dial .
NOTE:
To cancel the deletion of Previous
Destinations, select the address that was
to have been deleted and push in on the
Interface Dial before performing step 4.
4. Say or select OK to perform the
deletion, and the display returns to
the previous screen.
Page 117 of 184
System Setup
116 Navigation System
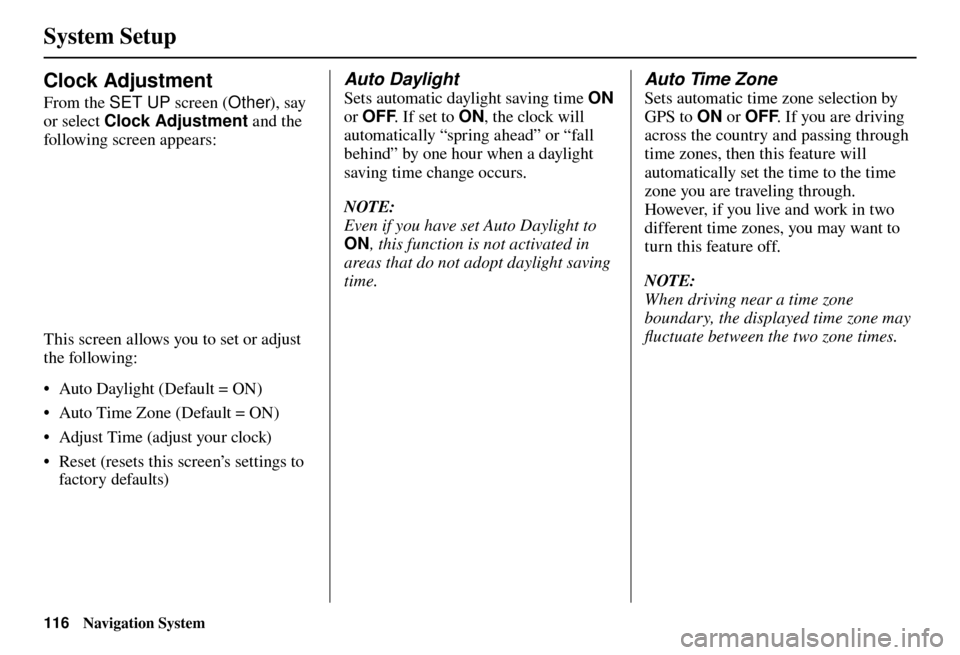
Clock Adjustment
From the SET UP screen (Other), say
or select Clock Adjustment and the
following screen appears:
This screen allows you to set or adjust
the following:
• Auto Daylight (Default = ON)
• Auto Time Zone (Default = ON)
• Adjust Time (adjust your clock)
• Reset (resets this screen’s settings to factory defaults)
Auto Daylight
Sets automatic daylight saving time ON
or OFF . If set to ON, the clock will
automatically “spring ahead” or “fall
behind” by one hour when a daylight
saving time change occurs.
NOTE:
Even if you have set Auto Daylight to
ON , this function is not activated in
areas that do not adopt daylight saving
time.
Auto Time Zone
Sets automatic time zone selection by
GPS to ON or OFF . If you are driving
across the country and passing through
time zones, then this feature will
automatically set the time to the time
zone you are traveling through.
However, if you live and work in two
different time zones, you may want to
turn this feature off.
NOTE:
When driving near a time zone
boundary, the displayed time zone may
fl uctuate between the two zone times.
Page 118 of 184
System Setup
Navigation System117
Time Adjustment
Adjusts the current time in hours and
minutes. Select the current time by
moving the Interface Dial up, and
then switch HOUR and MINUTE
by moving the Interface Dial to
the left and right and changing the
value by rotating the Interface Dial
knob . Selecting OK returns you to
the previous screen. You can reset the
adjustment by selecting RESET.
NOTE:
Selecting RESET also clears any
changes you made to “Auto Daylight,”
or “Auto Time Zone” settings.
Depending on your location, you may
need to adjust these settings.
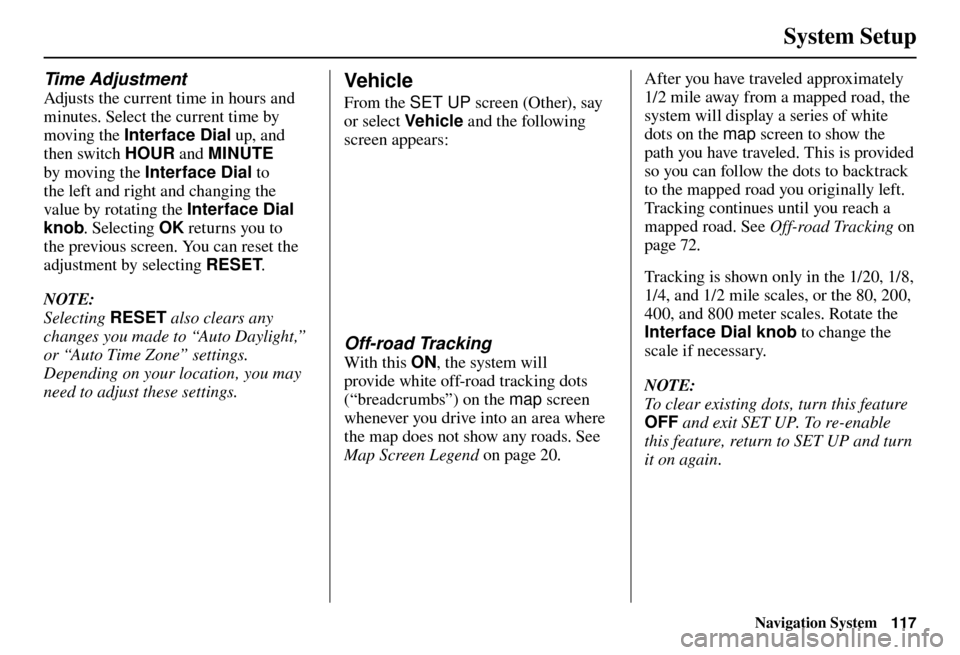
Vehicle
From the SET UP screen (Other), say
or select Vehicle and the following
screen appears:
Off-road Tracking
With this ON, the system will
provide white off-road tracking dots
(“breadcrumbs”) on the map screen
whenever you drive into an area where
the map does not show any roads. See
Map Screen Legend on page 20 . After you have traveled approximately
1/2 mile away from a mapped road, the
system will display a series of white
dots on the map
screen to show the
path you have traveled. This is provided
so you can follow the dots to backtrack
to the mapped road you originally left.
Tracking continues until you reach a
mapped road. See Off-road Tracking on
page 72 .
Tracking is shown only in the 1/20, 1/8,
1/4, and 1/2 mile scales, or the 80, 200,
400, and 800 meter scales. Rotate the
Interface Dial knob to change the
scale if necessary.
NOTE:
To clear existing dots, turn this feature
OFF and exit SET UP. To re-enable
this feature, return to SET UP and turn
it on again.